

In-air pathogen surveillance solution
Quick start guide
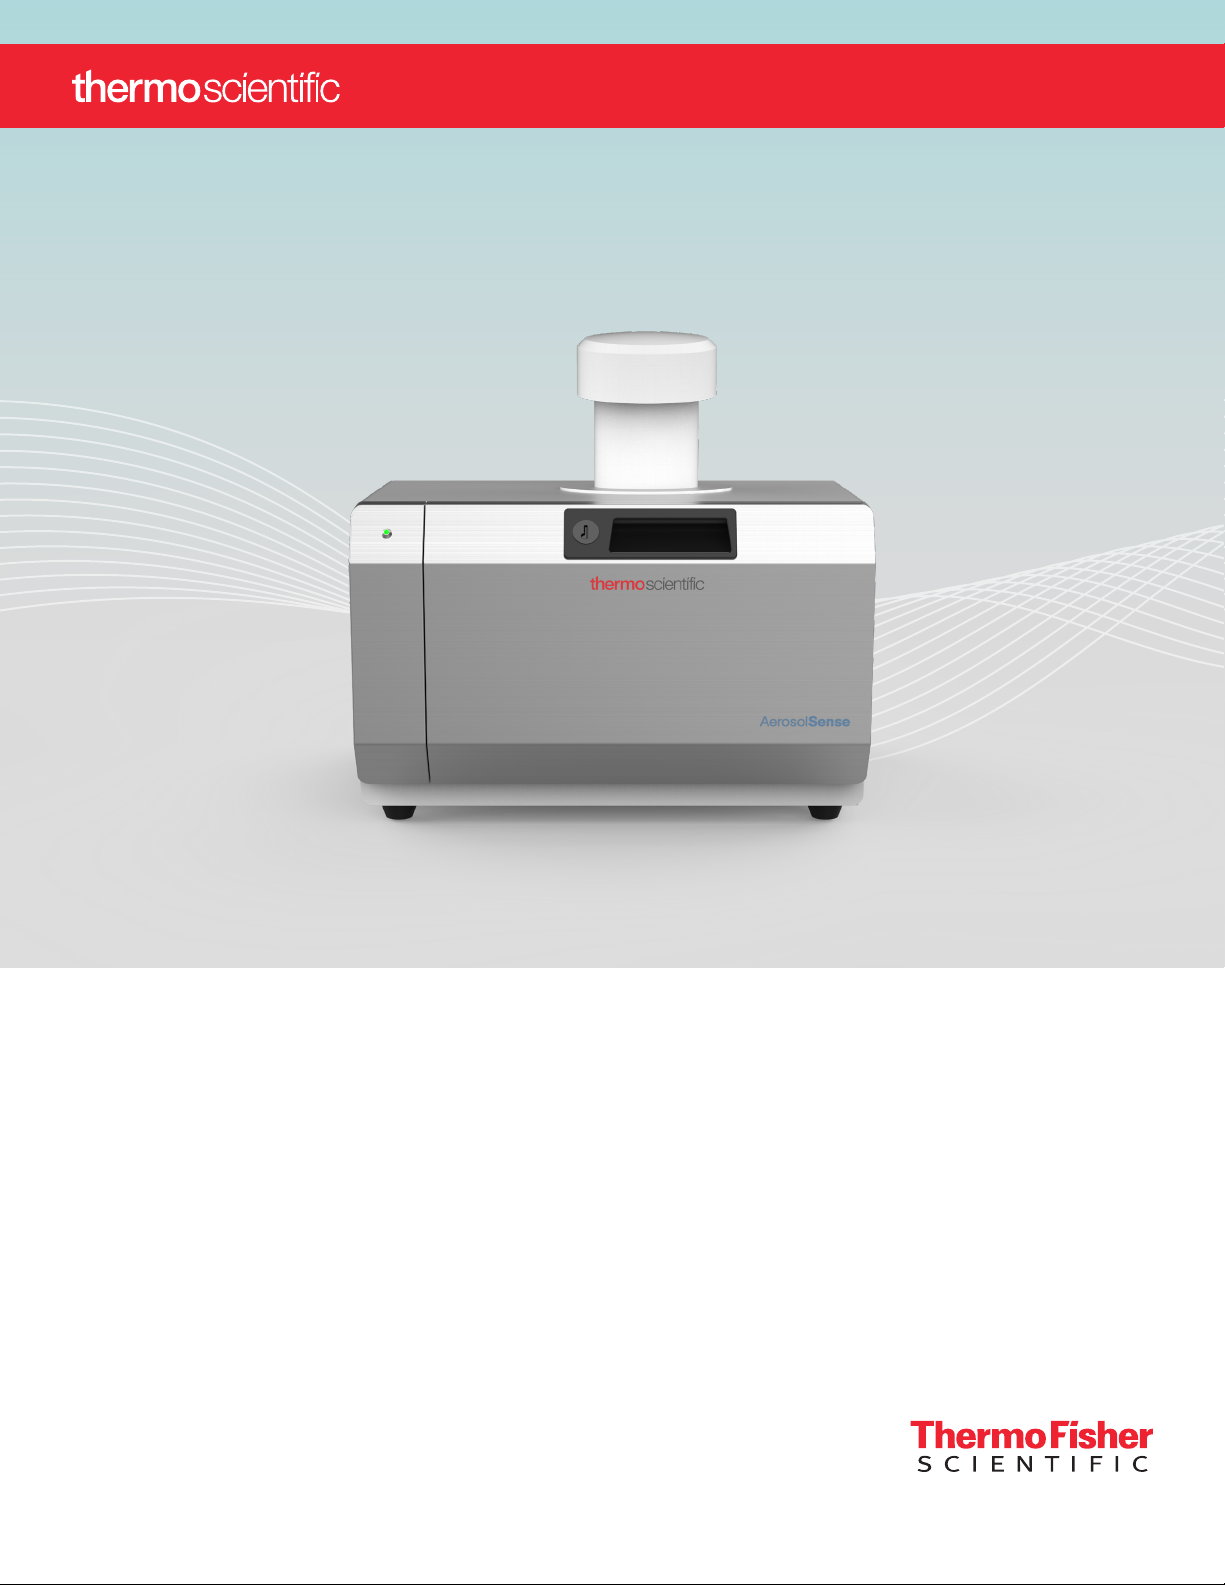
AerosolSense 2900 Sampler
Part Number 121560-00
17Feb2021

Setting up the sampler
1. Place the sampler on a flat surface 2 to 5 feet o the
ground with the inlet and exhaust unobstructed.
2. Plug the power cord into an outlet with the
appropriate voltage.
3. Toggle the power switch to the ON position.
4. Sampler is ready for cartridge installation.
By default, the device is set to continuous
sampling. For the procedure to set up
a daily sampling schedule, scan the QR
code on the back cover.
LED GUIDE
LED COLOR LED INDICATION ACTION TO TAKE
Blinking Green
Yel l ow
Green
Non-illuminating
Red
Cartridge was installed correctly
(door open)
Ready for sampling
(door closed)
Active sampling
(door closed)
Unit o No action required.
Door closed – sampling error
Door open – cartridge removal
Sample
cartridge parts
The Thermo Scientific™
AerosolSense™ 2900
Sampler can only use this
specific sample cartridge.
Close door.
No action required. Sampling will start shortly.
No action required.
Check the door and cartridge states.
Collection
Cap
Substrates
Plunger
2

Installing and removing the sample cartridge
Installing the sample cartridge
1. Open the front door of the sampler.
2. Unscrew the sample cartridge cap and screw it onto
the tray for storage.
3. Align the cartridge with the opening on the sampler.
4. Turn the cartridge clockwise to screw it on until it no
longer turns. If the cartridge is installed correctly, the
collection substrate will be facing up.
5. Fully push in the plunger.
6. Close the door. The LED will be solid yellow and will
turn solid green when active sampling starts.
Removing the sample cartridge
7. When the sampling time has elapsed, open the
front door.
8. Pull out the plunger all the way.
9. Turn the cartridge counterclockwise until it disengages.
10. Seal the cartridge with the cartridge cap.
11. Place the cartridge into the biohazard bag.
The sample is ready to be sent to a lab for testing.
See below for next steps depending on whether you are
using an on-site lab, a third-party lab, or the Thermo Fisher
Scientific™ Testing Services.
Testing services
Self-testing on-site lab
The sample is now ready to be processed using
the steps in the AerosolSense Sample Preparation
Procedure. To download the procedure, visit the
In-Air Pathogen Surveillance Solution support
page at www.thermofisher.com/APSsupport.
Third-party testing lab
The sample is now ready to be sent to your
choice of a third-party testing lab. Please advise
your testing lab to follow the AerosolSense
sample preparation procedure in order to support
testing protocol. To download the procedure, visit
www.thermofisher.com/APSsupport.
Thermo Fisher Scientific testing services
The following steps apply if the sample is being mailed to
an external partner laboratory as part of the testing service.
The shipping material is included.
1. Assemble the box.
2. Place the sealed biohazard safety bag that contains
the cartridge into the box and seal the box.
3. Adhere the shipping label to the box and send it out
for shipping.

In-air pathogen surveillance solution support
Scan the QR code for access to:
• Instructions
• Guides
• FAQs
• Videos
• Workflows
Find out more at thermofisher.com/APSsupport
© 2021 Thermo Fisher Scientific Inc. All rights reserved. All trademarks are the property of Thermo Fisher Scientific and its
subsidiaries unless otherwise specified. EPM_AerosolSense_QSG_0321
 Loading...