

Telex SpinWise User Manual

SpinWise CD Duplicator
User Guide
Document Number: 38110-248
Version: Rev. A


Declaration of
Conformity.
Safety
Precautions
CE
Certification
Telex Communications, Inc
12000 Portland Avenue South
Burnsville, MN 55337
Equipment Information
Description: CD Duplicator
Model Number Number of Drives
2-52 NH 2
3-52 H 3
3-52 NH 3
3-52 R 3
4-52 NH 4
6-52 R 6
7-52 H 7
SpinWise Duplicator products have been tested and found to comply with the Class A digital device,
pursuant to Part 15 of FCC Rules. These limits are designed to provide reasonable protection against
harmful interference in a residential installation. This equipment generates, uses, and can radiate radio
frequency energy, and, if not installed and used in accordance with the instructions contained in this manual,
may cause harmful interference to radio and television communications.
However, there is no guarantee that interference will not occur in a particular installation. If this equipment
does cause harmful interference to radio or television reception, which can be determined by turning
equipment off and on, the user is encouraged to try correcting the interference by one or more of the
following measures:
Reorient or relocate the receiving antenna.
Increase the separation between the equipment and the receiver.
Connect the equipment to an outlet on a circuit different from that to which the receiver is
connected.
Consult the dealer or an experienced radio/TV technician for help.
You may find helpful the following booklet: How to Identify and Resolve Radio-TV Interference Problems. It
is available from the U.S. Government Printing Office, Washington, D.C. 20402, stock number 004-00000345-4.
Warning: Changes or modifications to this unit not expressly approved by Telex Communications, Inc.,
could void the user’s warranty.
SpinWise Duplicator products are high-precision electronic devices. Do not use them in any manner other
than as specified in this manual. Please read this manual in its entirety before using the SpinWise system.
To prevent fire or shock, do not expose the unit to moisture or rain
To prevent electrical shock, do not attempt to disassemble the duplicator or any of its internal components.
Refer servicing to authorized personnel.
The internal drives utilize a laser beam that can be harmful to the eyes. Do not disassemble the unit. Do not
attempt to look through the front panel or into the unit while the power is turned on.
A user who changes or modifies the unit or operation procedures specified herein without express written
approval by the manufacturer will void the user authority to operate the equipment.
Specifications and features subject to change without notice or obligation.
This product has been tested and complies with the requirements of:
The EMC Directive 89/336/EEC
EN55022: Radiated and Conducted Emissions A
EN55024: Generic Immunity ESD, RF, and Transient Susceptibility and Low Voltage Directive Product
Safety EN60950.
i

Copyright
Trademarks
Copyright © Telex Communications, Inc. All rights reserved. Printing 06/03.
The SpinWise CD Duplicator is used only for copying personal data and audio tracks. Violation of the
International Copyright Laws is a criminal charge. The SpinWise CD Duplicator is intended to be used only
in legal copying situations. Telex Communications, Inc. is not responsible for the illegal use or any damage
in connection with the use or performance of this system.
SpinWise is a registered trademark of Telex Communications, Inc.
ii

Table of Contents
CHAPTER 1 INTRODUCTION............................................................................................... 1
INTRODUCING THE SPINWISE CD DUPLICATOR SYSTEMS ........................................................... 1
FEATURES ............................................................................................................................... 1
SYSTEM SPECIFICATIONS.......................................................................................................... 2
INSTALLATION INSTRUCTIONS .................................................................................................... 2
WARRANTY INFORMATION ......................................................................................................... 2
TECHNICAL SUPPORT ............................................................................................................... 2
CHAPTER 2 GETTING STARTED......................................................................................... 3
TURNING ON THE SYSTEM ......................................................................................................... 3
ABOUT THE LCD PANEL DISPLAY .............................................................................................. 3
FOR BEST PERFORMANCE ........................................................................................................ 4
CHAPTER 3 THE BASICS..................................................................................................... 5
OVERVIEW ...............................................................................................................................5
COPYING A MASTER CD ........................................................................................................... 5
LOADING A CD ONTO THE HARD DRIVE ...................................................................................... 7
COPYING FROM A PARTITION ON THE HARD DRIVE...................................................................... 9
COPYING SELECTED TRACKS TO A PARTITION ON THE HARD DRIVE ........................................... 11
BURNING COMPOSITE CDS FROM A PARTITION ON THE HARD DRIVE ......................................... 15
SELECTING THE SOURCE TO COPY FROM (CD-ROM OR HARD DRIVE) ...................................... 18
SELECTING A SPECIFIC HARD DRIVE PARTITION AS THE SOURCE .............................................. 20
CHAPTER 4 BEYOND THE BASICS................................................................................... 23
TESTING (SIMULATING) THE COPY PROCESS............................................................................ 23
TESTING AND COPYING CDS ................................................................................................... 23
VERIFYING THE TARGET (DUPLICATE) CDS .............................................................................. 24
COMPARING THE SOURCE AND TARGET AFTER COPYING .......................................................... 24
PRESCANNING THE MASTER (SOURCE) CD.............................................................................. 25
VIEWING THE DISC INFO OF THE MASTER (SOURCE) CD ........................................................... 26
CHAPTER 5 USING THE HARD DRIVE PARTITIONS AS THE SOURCE.......................... 27
OVERVIEW ............................................................................................................................. 27
LOADING A CD (IMAGE) INTO A PARTITION OF THE HARD DRIVE................................................. 28
DELETE THE CONTENTS OF A HARD DRIVE PARTITION .............................................................. 28
REVIEW THE CONTENTS OF A PARTITION.................................................................................. 28
COMPARE THE PARTITION TO THE CD...................................................................................... 29
SELECTING A HARD DRIVE PARTITION...................................................................................... 29
CHAPTER 6 EDITING TRACKS.......................................................................................... 31
OVERVIEW ............................................................................................................................. 31
COPYING TRACKS, MASTER CD TO TARGET CD....................................................................... 31
PLAYING AN AUDIO TRACK ...................................................................................................... 32
CLOSING A SESSION ............................................................................................................... 32
iii

CHAPTER 7 ABOUT THE SETUP OPTIONS...................................................................... 33
OVERVIEW ............................................................................................................................. 33
LANGUAGE ............................................................................................................................. 33
BURN SPEED.......................................................................................................................... 33
READ SPEED.......................................................................................................................... 33
AUTO START DRIVE ................................................................................................................ 33
STARTUP MENU ..................................................................................................................... 33
AUTO VERIFY ......................................................................................................................... 33
AUTO COMPARE..................................................................................................................... 33
AUTO PRESCAN...................................................................................................................... 33
EJECT DISC ........................................................................................................................... 34
BURN ON THE FLY.................................................................................................................. 34
BURN MODE........................................................................................................................... 34
BUTTON SOUND ..................................................................................................................... 34
DEVICE INFO .......................................................................................................................... 34
SYSTEM INFO ......................................................................................................................... 34
QUICK ERASE......................................................................................................................... 34
FULL ERASE........................................................................................................................... 34
A
PPENDIX A: OVERVIEW OF THE SPINWISE FUNCTIONS .......................................................... 35
LOSSARY............................................................................................................................. 37
G
I
NDEX .................................................................................................................................... 41
iv
TELEX SpinWise CD Duplicator Chapter 1 Introduction
Chapter 1 Introduction
Introducing the SpinWise CD Duplicator Systems
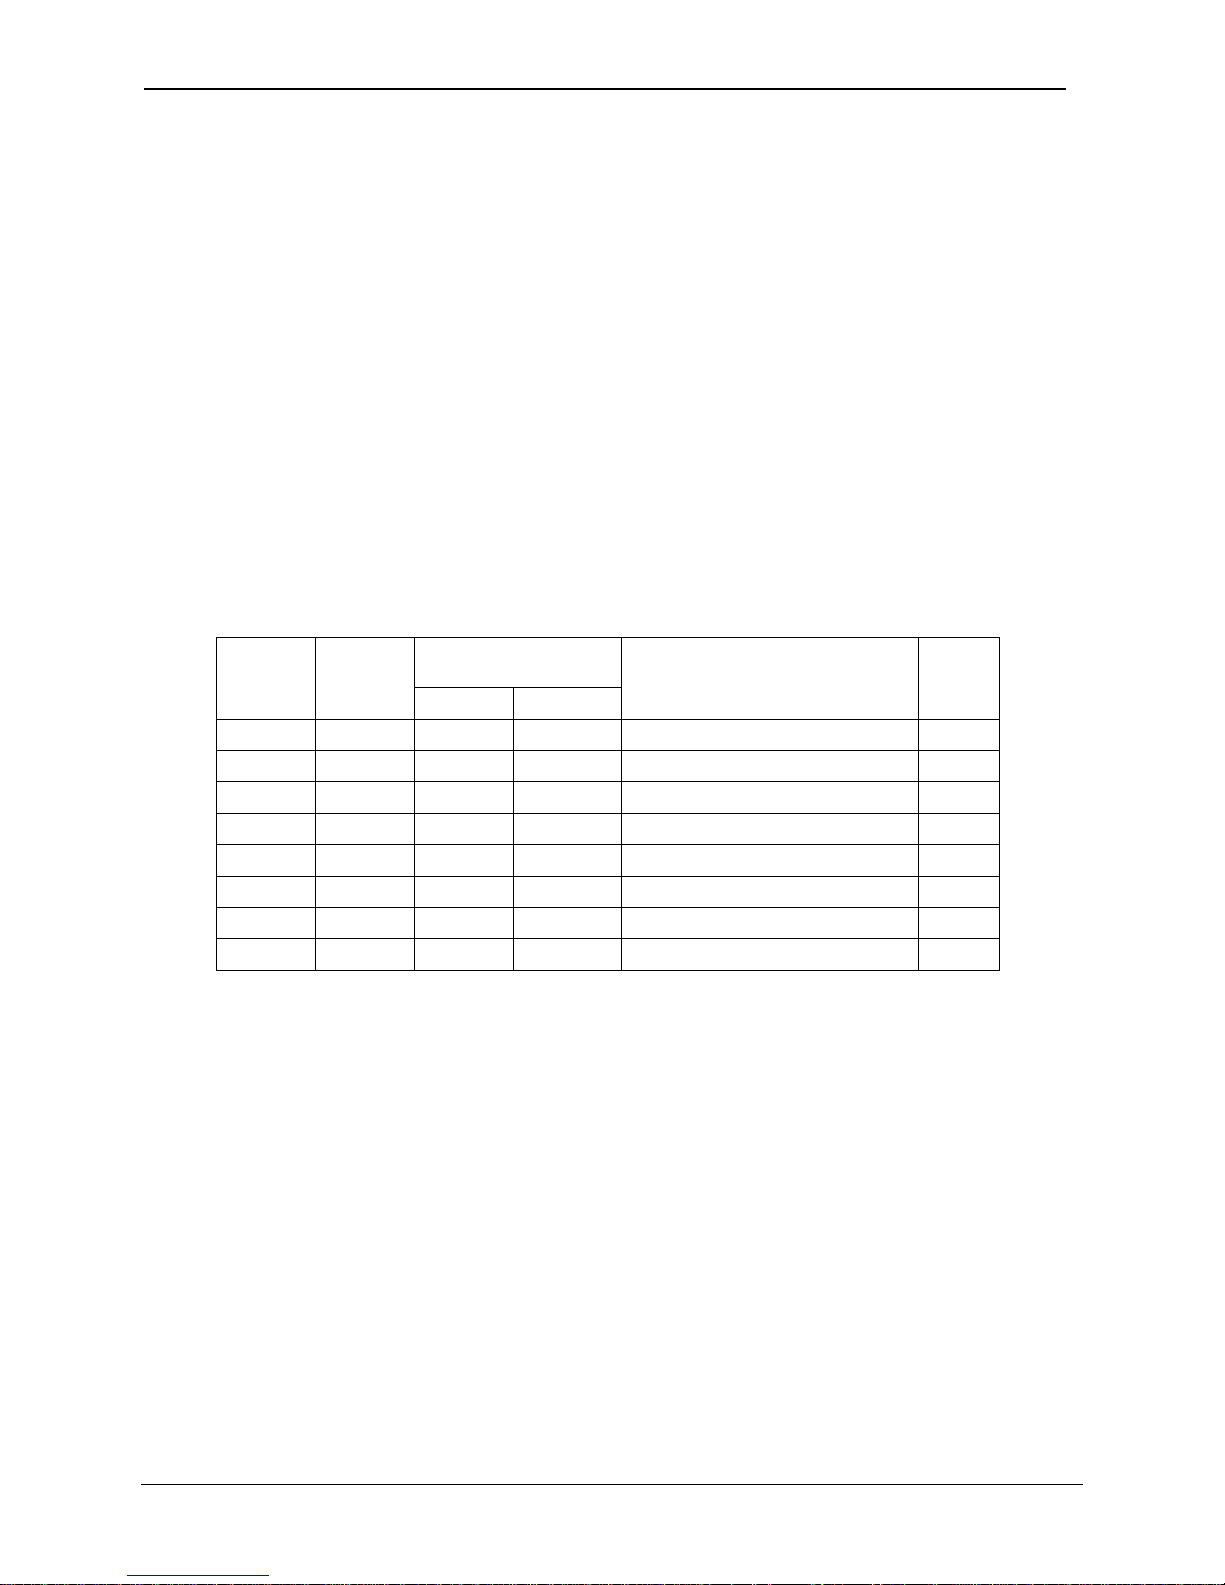
SpinWise CD Duplicator systems enable you to copy CDs up to 52X speed. They are available in
the configurations listed in Table 1 shown below, which shows how many CD copies can be
made at once (number of target drives) and whether or not a 40-Gigabyte hard drive is included in
the system configuration.
If your system includes the hard drive, you can load the original CD onto the hard drive and use
all of the available CD drives to duplicate multiple CDs all at once. The hard drive has 36
partitions of one gigabyte each. You can load up to 36 CDs in the hard drive and duplicate from
one partition at a time. You can also use each partition in the hard drive to load selected tracks
from any number of CDs and then duplicate the loaded tracks to multiple CDs.
If your system does not include a hard drive, you can use the first CD drive as the reader, and the
remaining drives for duplication.
Model
Number
2-52 NH 2
3-52 H 3
3-52 NH 3
3-52 R 3
4-52 NH 4
5-52 R 5
7-52 H 7
7-52 NH 7
Number
of Target
Drives
Includes 40-Gigabyte
Hard Drive
Yes No
x
x
x
x
x
x
x
x
Dimensions
H x W x D
6½” x 7” x 11” 12 lbs
10 3/8” x 7” x 15¼” 16 lbs
10 3/8” x 7” x 15¼” 16 lbs
5 ¼” x 19” x 15 ½” 22 lbs
13 ¾’x 7” x 18” 29 lbs
5 ¼” x 19” x 15 ½” 29 lbs
17’ x 17” x 18” 40 lbs
17’ x 17” x 18” 40 lbs
Weight
Features
Up to 52X recording speed
Disk At Once support for audio
Support for multiple CD formats, including:
- CD+G (compact disc and graphics)
- Karaoke
Cooling fans
Audio track extraction for music disc compilation
Table 1: SpinWise System Configurations
1

Chapter 1 Introduction TELEX SpinWise CD Duplicator
System Specifications
Power: 115/230 VAC 0.5 Amp 50/60 Hz
Duplication Speeds: Up to 52X recording speed
CD Formats Support for multiple CD formats (including CD+G, Karaoke)
Other: Disc At Once support for Audio
Copy, Copy and Compare, Verification, Emulation, and Load to
Hard Drive are supported
All sizes of business card CD format are supported
Installation Instructions
Unpack the SpinWise system in a clean working area with moderate temperature control.
Confirm that the following items have been shipped with the system: power cable, user manual,
and warranty card.
Confirm that the voltage setting (AC 115/230V) is correct.
Confirm that the power input is stable and consistent. Install an uninterruptible power supply
(UPS) if necessary.
Make sure that the environment for the SpinWise system is properly ventilated and free of dust,
excessive heat and humidity, and electronic interference.
Make sure the system is properly grounded. Do not attempt to defeat the third ground prong on
the power cable.
The system is shipped in professionally designed, foam-based external packaging.
Please keep and store this packaging for future transport or storage of the system.
Warranty Information
The SpinWise system is guaranteed to be free from defect in materials and workmanship for one
year. This warranty is applicable when the warranty registration card is completed and returned
to Telex Communications, Inc. within 90 days from the date of purchase. The warranty is not
applicable to defects or malfunctions caused by misuse, accidents, or system changes by the end
user. Telex is not responsible for damages to data or related content by the SpinWise system.
You can register your SpinWise product online at www.telex.com/duplication
online warranty registration link.
Note: Telex assumes no responsibility for the illegal copying and distribution of audio, video, and
text/graphics data.
. Click on the
Technical Support
For detailed technical support or questions regarding the SpinWise CD Duplicator, contact Telex
Technical Support at 1-800-828-6107, ext 5549 (952-887-5549).
2
TELEX SpinWise CD Duplicator Chapter 2 Getting Started
K
Chapter 2 Getting Started
Turning on the System
Plug the AC cord into the SpinWise system and then into a wall outlet. Press the ON/OFF button
located in the bottom right corner of the tower unit. The LCD Panel display will light up,
indicator lights on each of the CD disc drives will flash momentarily, the ON indicator light next
to the ON/OFF button will be lit, and the LCD Panel Display will indicate that it is initializing
and detecting drives. It is ready for operation when the LCD Panel displays 1.Copy.
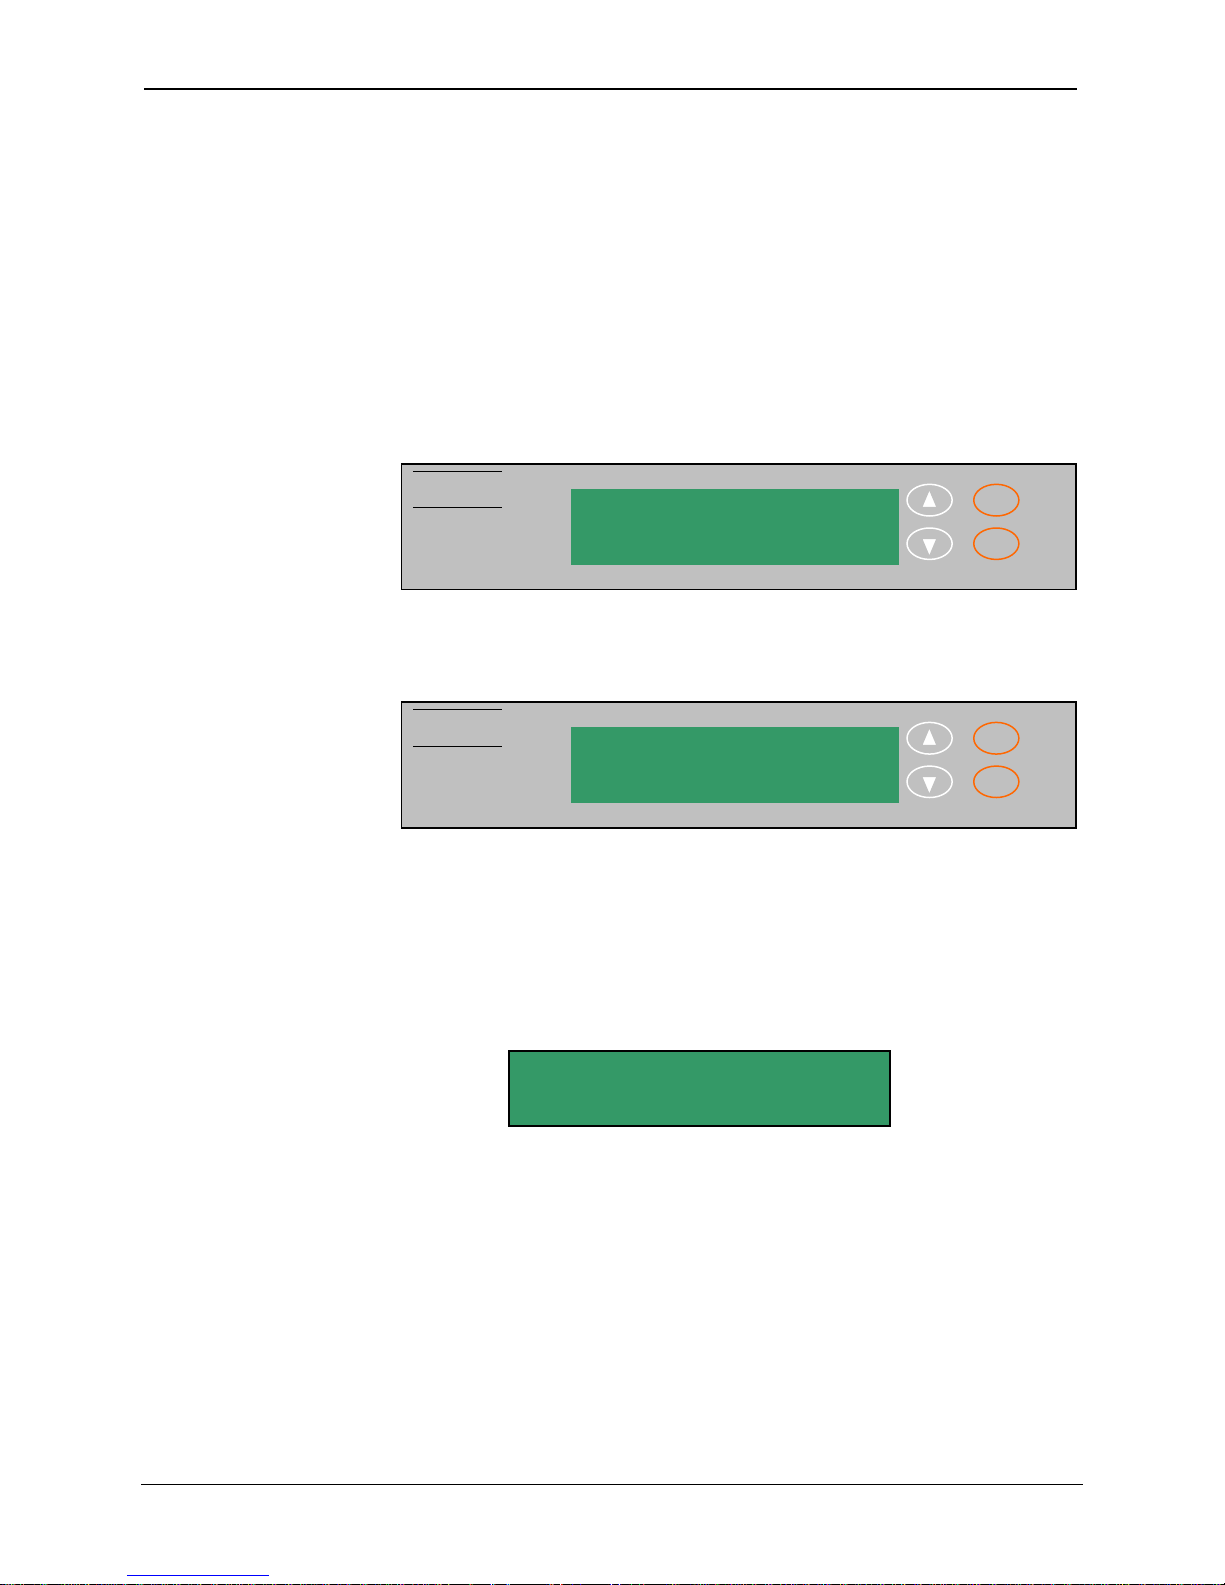
About the LCD Panel Display
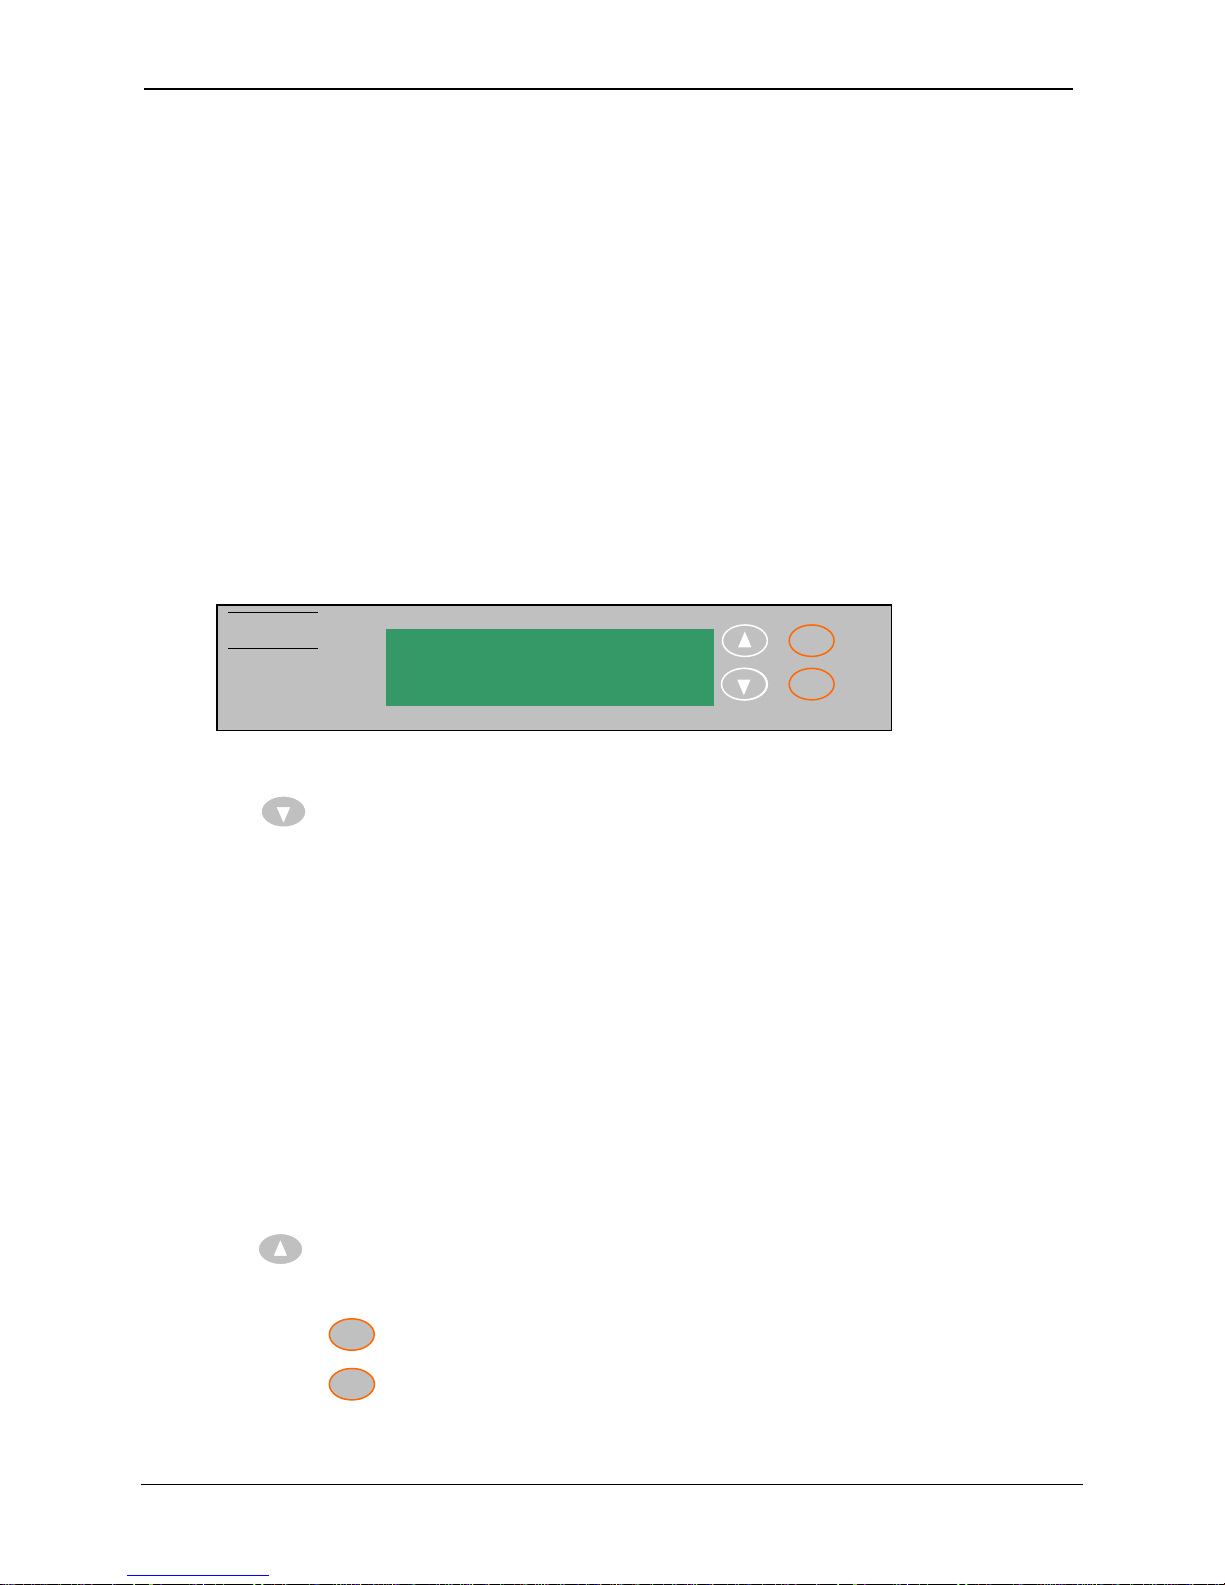
When you first turn the system on, the information displayed in the LCD Panel will indicate that
Copy function is selected. :
TELEX
O
1. Copy
ESC
SpinWise
Press the down arrow button:
to scroll through the functions that are available in the system. They appear in the following
order:
1. Copy
2. Test
3. Test & Copy
4. Verify
5. Compare
6. Prescan
7. Disc Info
8. Select Source
9. Image (when a hard drive is in the duplicator)
10. Edit Track
11. Setup
Press the up arrow button:
to scroll through the functions in the opposite order.
Pressing the button starts the function that you have selected.
OK
Pressing the button stops/cancels any function that you have started or selected.
ESC
3

Chapter 2 Getting Started TELEX SpinWise CD Duplicator
For Best Performance
For best performance, quality CDs are a considerable factor. Telex recommends Telex Branded
Bulk Media CDs (recommended for best performance), which are available in 300-disc cartons
(six 50-disc spindle packs).
4
TELEX SpinWise CD Duplicator Chapter 3 The Basics
K
Chapter 3 The Basics
Overview
This chapter provides procedures for the most frequently used functions of the SpinWise CD
Duplicator, which are as follows:
Duplicating (Copying) a CD
Copying a CD to the Hard Drive
Duplicating from the Hard Drive
Copying Selected Tracks to the Hard Drive
Burning Composite CDs from a Hard Drive Partition
Selecting or Changing the Source (Master CD or Hard Drive)
Selecting a Specific Hard Drive Partition as the Source
Copying a Master CD
Overview
The Copy
Function is the
Default
Function
The Master
(Source) Drive
The Slave
(Destination )
Drive(s)
Duplicating (Copying) from CD to CD is the most frequently used function
of the SpinWise system. This procedure provides step-by-step instructions
for making duplicates from a Master CD.
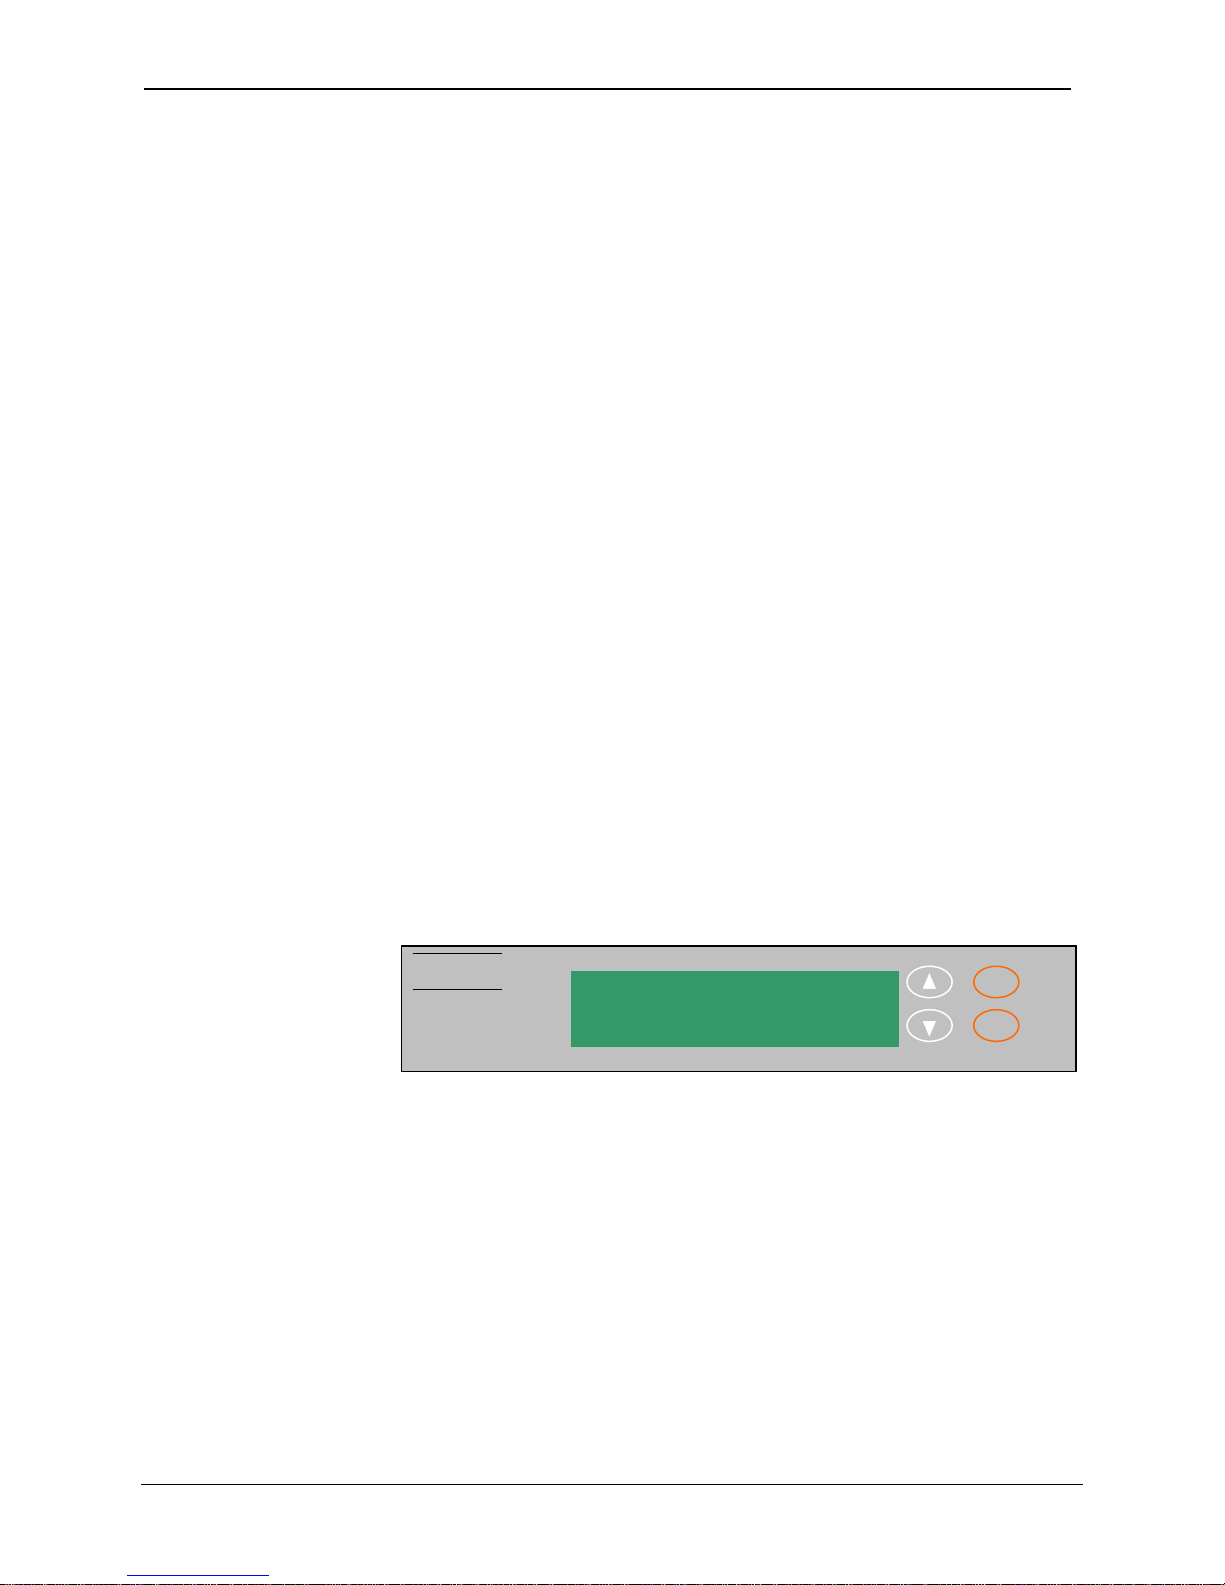
1. Turn on the system. Note that the 1.Copy command is displayed. Your
LCD display should look like this:
TELEX
O
1. Copy
ESC
SpinWise
2. Place the Master CD in the top drive. This is the drive that functions as
the Master or “source” drive.
3. Place one or more blank CDs in the remaining drives. It doesn’t matter
which drive(s) you use; the system will automatically detect which Slave
or “destination” drives have blank discs in them ready to be copied to.
5

Chapter 3 The Basics TELEX SpinWise CD Duplicator
k
Copying a Master CD (continued)
Start the Copy
Process
4. Press the OK button. The system will begin by copying information
from the master CD to the CDs in the slave drives. Red lights on the
slave drives indicate when information is being written to the discs in
those drives. The Master drive flashes a green light, indicating that it is
reading and copying the information. In the LCD Panel display, the
status of the copy operation is indicated. For example:
Copying 52X 77%
13/15 Tr
00:11
Duplicates
Produced
5. When the copies are produced, the slave disc drawers will automatically
open and the LCD Panel will display the status of the successful
duplication process:
1. Copy
OK: 06
Remove the
Duplicated
CD(s)
Remove the
Master CD
End the Copy
Session
6. Remove the duplicated CD(s) from the drive(s) and close the drive(s)
(using the open/close button on the CD drive).
Congratulations! You have just copied a master CD.
7. Unless you intend to make more copies of the same master CD, remove
the master CD from the Master (source) drive.
8. Press the ESC button to return to the Copy function.
6
TELEX SpinWise CD Duplicator Chapter 3 The Basics
A
K
K
K
Loading a CD onto the Hard Drive
Overview
This procedure applies to SpinWise systems that have a hard drive. It
explains how to copy the contents of a CD into a partition on the hard drive.
Once a CD is copied to the hard drive, it is easy to make duplicates using all
of the available CD drives.
The Initial
Default
Function
1. Turn on the system. Note that the copy command is displayed. Your
LCD display should look like this:
TELEX
O
1. Copy
ESC
SpinWise
Insert the
Master CD
2. Place the CD to be Loaded onto the Hard Drive into the Master (Source)
Drive (the top drive of your SpinWise system).
Select the
Image Load
Function
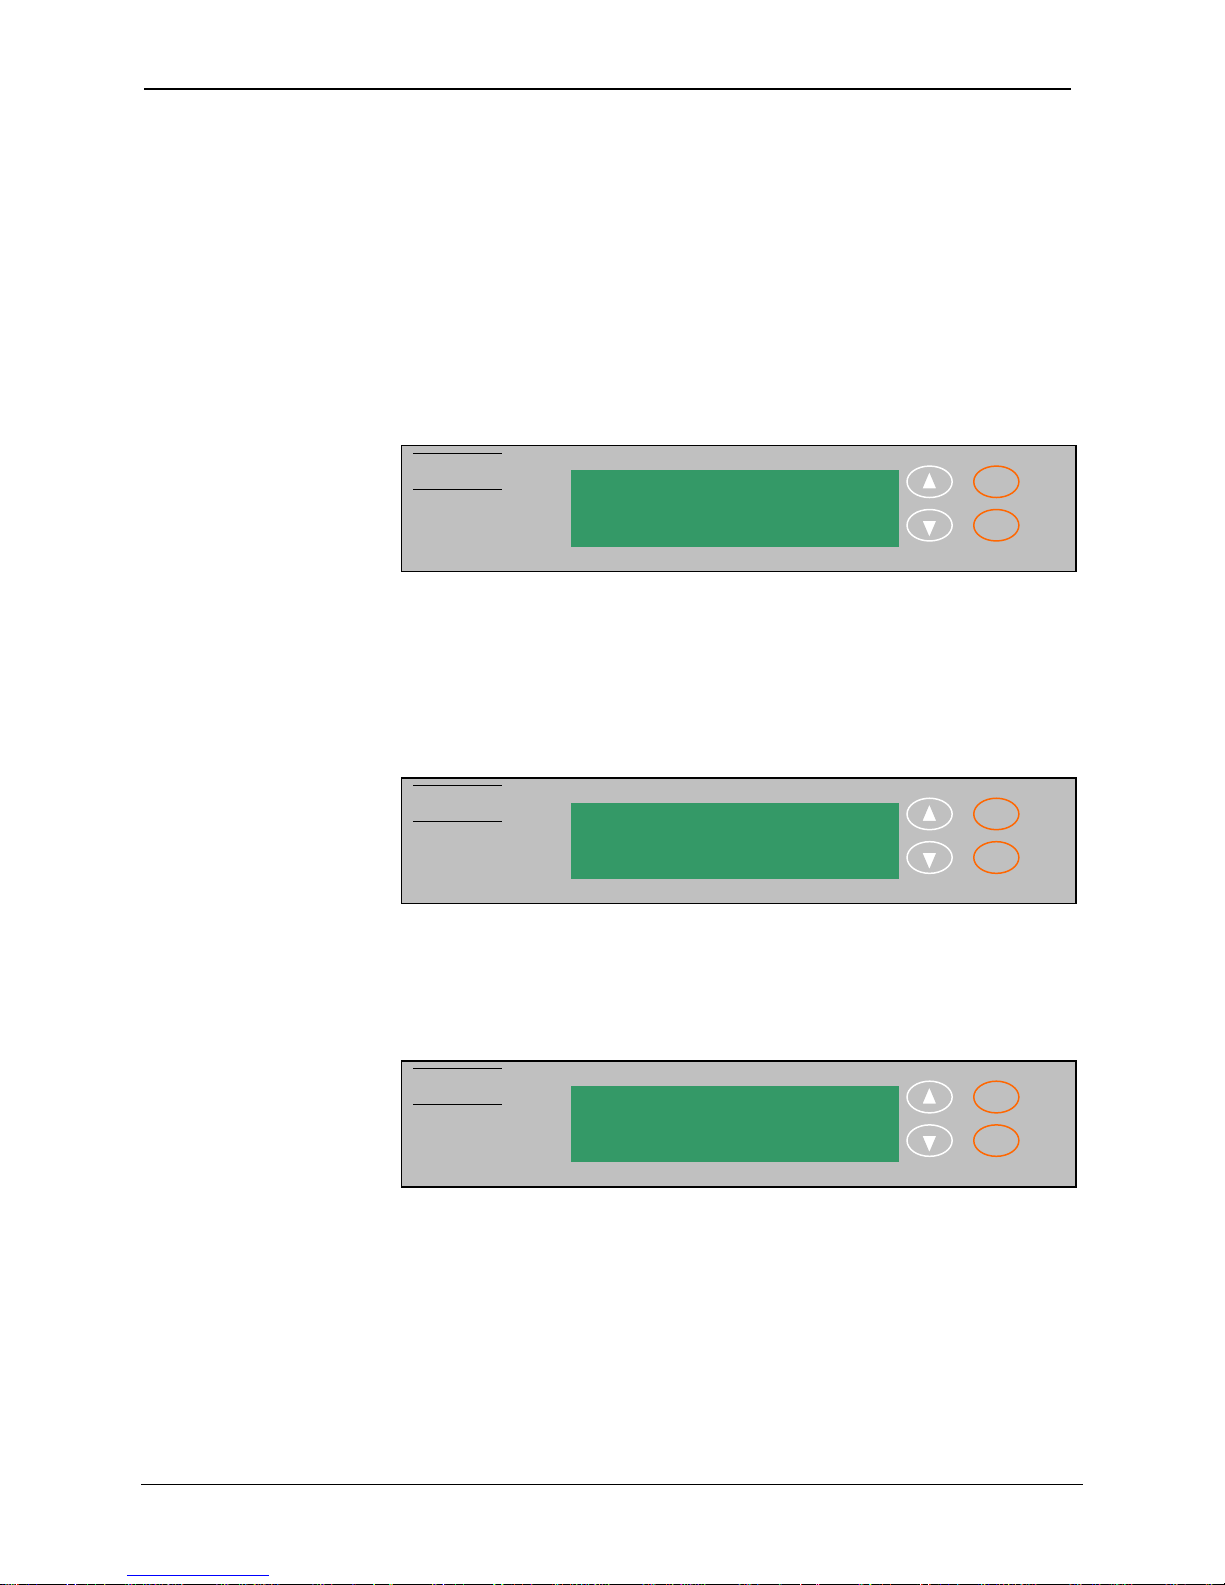
3. Use the down arrow button to display the Image function:
TELEX
O
9. Image
ESC
SpinWise
Then press the OK button to select the Image function. Note that the LCD
Panel display shows which partition of the hard drive the CDs contents
(image) will be loaded into. In the following example, the Image will be
loaded into hard drive partition A:
(To learn more about how to select a particular partition on the hard drive,
see page 20.)
TELEX
SpinWise
9-01. Image P:
Load
O
ESC
7
Chapter 3 The Basics TELEX SpinWise CD Duplicator
K
K
Loading a CD onto the Hard Drive (continued)
Load the
Contents of
the Master CD
onto the Hard
Drive
4. Press the OK button. The LCD Panel display will indicate the status of
the load process by displaying the percent of the CD’s contents that have
been loaded, the number of tracks that have been loaded, etc.
In the following example, we can see that the contents of the Master CD
are being loaded into partition A of the hard drive. This particular
“snapshot” shows that 43 percent of the CD has been copied, 9 of the 15
tracks have been copied, the present copying speed is 35X, and that 26
seconds of track 9 have yet to be copied from the Master CD to the hard
drive:
Remove the
Master CD
Exit the Image
Load Function
TELEX
Load-A- 35X 43%
9/15 Trk 00:26
O
ESC
SpinWise
When the load process is complete, the system will beep and display the
following message:
TELEX
O
Image Load OK
ESC
SpinWise
Congratulations! You have just loaded a master CD onto the hard drive.
5. Remove the master CD from the Master (source) drive.
6. Press the ESC button two times to return to the numbered functions list.
Use the up or down arrow buttons to set the display to 1.Copy.
8
1.Copy

TELEX SpinWise CD Duplicator Chapter 3 The Basics
Copying from a Partition on the Hard Drive
Overview
Initial
Operation
Mode
This procedure applies to SpinWise systems that have a hard drive. It
explains how to copy a CD that has been loaded into a partition on the hard
drive to blank CDs in all of the available CD drives in the system.
1. Turn on the system. Note that the copy command is displayed. Your
LCD display should look like this:
1. Copy
2. Use the down arrow button to display the 8.Select Source function.
Your LCD display should look like this:
8. Select Source
Select the
Hard Drive
(HDD) as the
Source
3. Press the OK button, and then press the down arrow key to select the
HDD Source. For example, your LCD display should look like this:
Src: HDD
00 IDE0 Master
4. Press the OK button again to confirm that the hard drive is selected:
HDD Selected!
5. Then press the ESC button to return to the list of functions, and use the
up or down arrow keys to redisplay the 1.Copy function. Note that the
Copy function now indicates the hard disc source of data. In the
following example, the hard disk partition that is the “Source” is
partition A:
1. Copy P: A
The Copy function is indicating that it will be copying from Partition A
of the hard drive. To learn how to select a different partition, refer to
page 20.
9
 Loading...