

Telefunken TF-SRP3449 User Manual [ru]
RADIO PLAYER /
СТЕРЕОМАГНИТОЛА
TF-SRP3449
Instruction manual
Руководство по
эксплуатации

Instruction manual
Dear customer!
Thank you for purchasing our product. For safety, it is strongly recommended to read
this manual carefully before connecting, operating and/or adjusting the product and keep
the manual for reference in future.
Description
1
8
2
3
4
5
6
7
1. Telescopic FM antenna
2. USB port
3. VOL+/AL1 button
4. VOL-/AL2 button
5. FUNCTION/MODE button
6. Top: PLAY/PAUSE button
Bottom: MUTE/SNOOZE button
Left: (SKIP-) button
Right: (SKIP+) button
9
PRE.
PRE.
10
11
12
7. LCD display
8. Handle
9. SD card slot
10. PRESET+/ALBUM+ button
11. PRESET-/ALBUM- button
12. POWER/SLEEP button
Not indicated:
Battery compartment (bottom panel)
Headphone socket (back panel)
Power cord socket (back panel)
AUX input (back panel)
2

Instruction manual
Utilization of the product
If you want to dispose of this product, do not
mix it with general household waste. There is a
separate collection system for used electronic
products in accordance with legislation that
requires proper treatment, recovery and
recycling.
Please contact your local authorities for
the correct method of disposal. By doing so,
you will ensure that your disposed product
undergoes the necessary treatment, recovery
and recycling and thus prevent potential
negative effects on the environment and
human health.
Important safeguards
• Attention: The owner’s manual contains
important operating and maintenance
instructions. For your safety, it is necessary to
refer to the manual.
• Dangerous voltage: Uninsulated
dangerous voltage that may be of sufficient
magnitude to constitute a risk of electrical
shock to persons is present within this product
enclosure.
• Caution: To reduce the risk of electric
shock, do not dismantle the body. Prefer
servicing to qualified service personnel. Do not
use the unit in places where it can be exposed
to water, moisture and dust. Make sure that
pins or other foreign objects do not get inside
the unit; they may cause malfunctions, or
create safety hazards such as electrical shock.
Power supply
Battery operation
• Open the battery compartment cover.
• Insert 4 x UM-2/LR14 batteries. Please
observe correct battery polarities or the set will
not work.
• Close the battery compartment cover.
AC operation
• Before the first connecting of the appliance
check that voltage indicated on the rating label
corresponds the mains voltage in your home.
• Plug the corresponding end of cord into
the AC socket on the rear of the set.
• Insert the plug into power supply.
Caution:
• When the set is only used with AC or is
not used for 2 weeks or more, please remove
the batteries, to avoid damage to the set from
leakage of batteries.
• Always switch off the unit when not in use.
• Always unplug the appliance from power
supply, when no use long time.
General operations
Power on/off
Press POWER button to switch on the unit.
Press and hold this button to switch off the
unit.
Electronic volume control
• This unit uses an electronic volume control.
To increase or decrease the loudness of unit,
press respectively VOL+/VOL- buttons.
Automatic power off (sleep) function
• This set has a special sleep timer function
which can automatically switch off the unit.
• At any time while the unit is operating,
press SLEEP button repeatedly to choose the
automatic power off time: 90 min => 80 min =>
70 min => 60 min => 50 min => 40 min => 30
min => 20 min => 10 min => OFF.
Mute
Press MUTE button to mute the sound.
Press the button again or adjust the volume to
resume sound output.
3

Instruction manual
Headphone connection
• For private listening, insert 3.5 mm
headphone into the stereo headphone jack.
• Adjust volume control to the appropriate
level as desired.
• When the stereo headphone jack is
plugged, speaker will disconnect automatically.
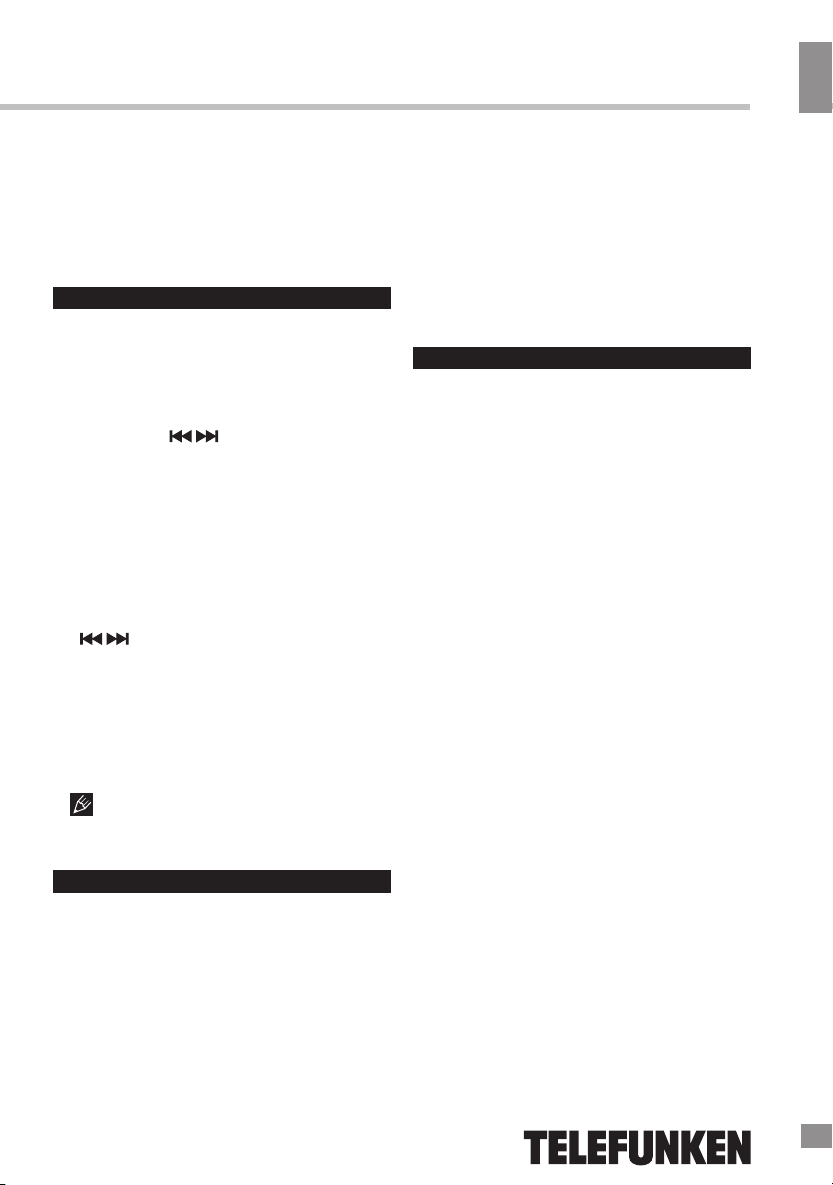
Radio operation
• Press repeatedly MODE button until the
display shows FM.
• Press and hold button or button;
the fast scanning starts. The frequency will
continue to change and will automatically stop
when a broadcast station is received.
• To receive a weak broadcast signal shortly
press button or button and adjust the
frequency you wish to receive step-by-step.
Saving stations to memory
• In radio mode, press and hold PLAY/
PAUSE button, the unit will search and save all
available radio stations.
• Press PRE.+ or PRE.- to cycle through the
all saved stations.
Antenna
• For FM reception, adjust the telescopic
antenna appropriately to obtain the best
reception on the band selected.
USB/SD operations
Playback
• Turn on the device
• Insert a USB device into the USB port or
SD card into the slot. The unit will switch to
USB/SD mode automatically and the USB/SD
icon will show in the top of the display. Or, if
afterwards you selcted another mode, press
MODE button repeatedly to select USB/SD
mode.
• Playback of the first track will start
automatically. The display will show PLAY icon
in the top and the number of the track.
• Press PLAY/PAUSE button to pause
playback. Press the button again to resume
playback.
• Press repeatedly button or button
to go to next or previous track. Press and
hold / buttons for backward or forward
searching; release the button for normal
playback.
• Press ALBUM+/ALBUM- buttons to select
next or previous albums or folders.
• Press and hold the MODE button once
to repeat the currently playing track. Press
and hold the MODE button twice to repeat the
whole album/folder.
General USB/SD notes
According to the USB 1.1/2.0 Standard,
usage of a USB device with power current
consumption exceeding 500 mA is not
recommended without supplementary power
supply. Failure to use supplementary power for
connected USB drives with power consumption
exceeding this value as well as defective
USB drives may cause mechanical or thermal
changes of elements of this unit as well as
failure of internal elements of the USB port.
Such damages are not warrantee cases.
Warning: usage of external USB drives
containing BIN files in the root directory may
cause malfunction of the unit or damage to the
software.
• This unit is equipped with a USB socket
that can accept and play MP3 files stored on
standard USB flash (2.0 version)/SD cards up
to 32 GB.
• FAT and FAT32 file system are supported
by this unit.
AUX jack
You can connect the audio output of an
external device to this unit, to listen to the sound
of that device through the speakers of this unit.
• To connect an external audio device,
please use a standard audio cable with 3.5-mmto-3.5 mm plugs (not included) to connect the
headphone out or audio line-out of the external
4
4
Instruction manual
device to the AUX input socket of this unit.
• Press MODE button repeatedly to select
AUX mode; AUX icon will be displayed.
• Turn on the external device. You cannot
control playback with the buttons of this unit
except adjusting the volume.
Clock and alarm operation
Setting the clock
• Clock setting is available only in the
STANDBY(OFF) mode.
• Press and hold the PLAY/PAUSE button.
The display will flash showing the 12/24 hour
setting. Use the / buttons to select the
desired setting. Press PLAY/PAUSE again to
confirm.
• Repeat this procedure to set hours and
minutes.
Alarm operation
• Alarm setting is available only in the
STANDBY(OFF) mode.
• Press and hold the ALARM1 or ALARM2
buttons to enter the alarm setting mode. Use
the / buttons to select the hour of alarm
going off. Press ALARM1 or ALARM2 again to
confirm and move to the next setting.
• Repeat this procedure to choose minutes
and wake up signals (Buzzer/FM radio/USB/
SD).
• Now press the ALARM1 or ALARM2
button once to activate/deactivate either of the
two alarms.
When the alarm is triggered, press the
MUTE button to snooze and delay it for 9
minutes.
• Electronic products of this kind should
never be subjected to moisture or extreme
temperatures.
• Do not use the unit in places where it can
be exposed to water, moisture and dust.
• If necessary, clean the unit with a piece of
cloth dampened with water only (be sure the
AC power cord is disconnected from the power
supply).
Accessories
Radio player
Power cord
Instruction manual
1 pc
1 pc
1 pc
Maintenance and care
• Check your batteries regularly, old or
discharged batteries should be replaced. If the
unit is not going to be used for some time or is
being run exclusively on the alternative power,
remove the batteries to avoid leakage and
damage.
5
5
Instruction manual
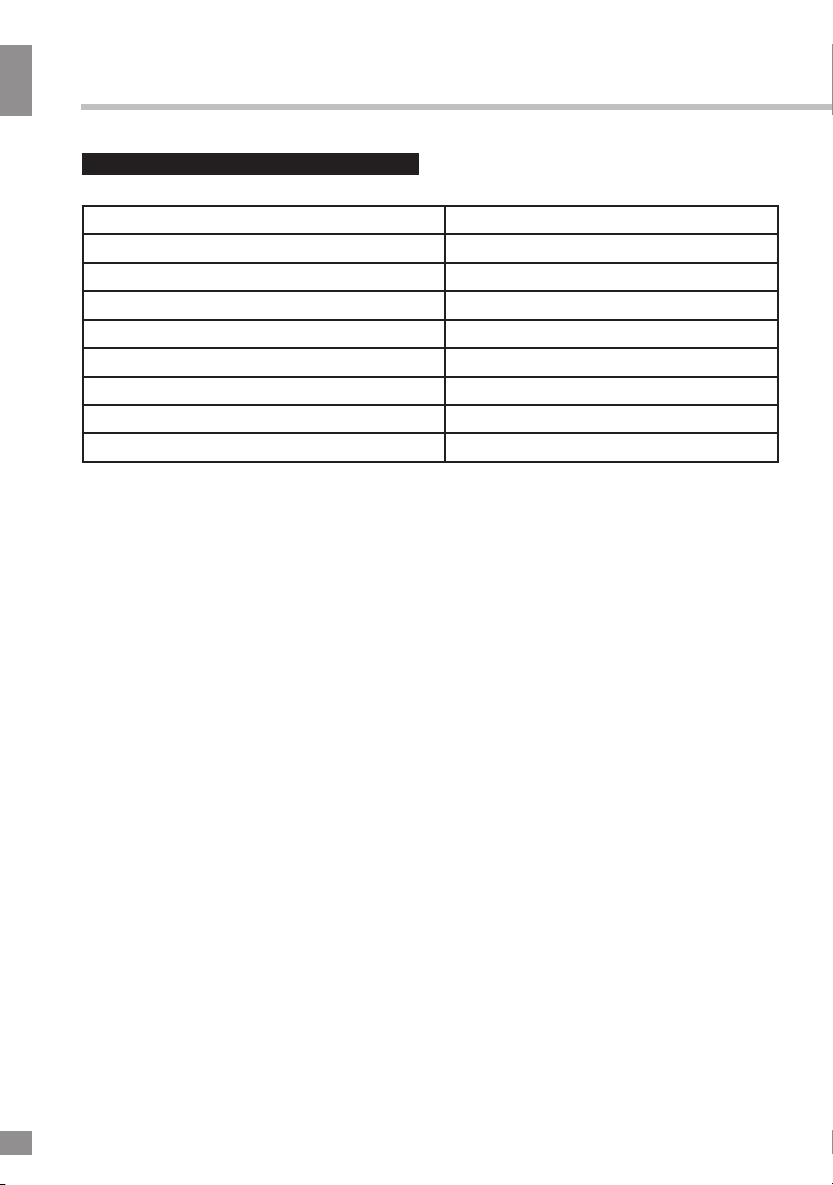
Specifications
Supported formats MP3
Supported storage USB/SD
Nominal voltage 100 - 240 V, 50 Hz
Battery power supply 6 V (4 х UM2/LR-14 batteries 1.5 V)
Output power, RMS 2 x 1.5 W
Nominal power consumption 4 W
FM frequency range 87.5 - 108 MHz
Net weight 1.1 kg
Unit dimensions (L x W x H) 170 mm x 185 mm x 90 mm
Specifications and functions are subject to change without notice. It is connected with continual
improvement of the device.
6
6
 Loading...