How it Works
Log In / Sign Up
Buy Points
How it Works
FAQ
Contact Us
Questions and Suggestions
Users
Teka
Loading...
H
HLC 840
6
HLC 8400
HLC 8400 BK
HLC 8400 LB
HLC 8400 SM
HLC 8400 ST
HLC 8400 WH
HLC 8406 BK AirFry
HLC 840 E00
HLC 8410
3
HLC 8440 C
4
HLC 8440 C BK
HLC 8440 C IL
HLC 8440 C WH
HLC 844 C
5
HLC 844 C BX
HLC 844 C W H
HLC 8471 S
HLC 8471 SC
HLC 847 C
5
HLC 847 C BLACK-SS
HLC 847 S
HLC847SC
5
HLC 847 SC 40589020 WISH
HLC 847 SC BLACK-SS
HLC 84 Infinity G1
2
HLC 860P
6
HLD 720
HLD 890
HLF 30 2H
HLF 840
2
HLF 924 G
HLF 940
3
HLX 60 3G 1P AI AL
HLX 60 4G AI AL
3
HLX 60 4G AI AL TR
HLX 60 4G AL
HLX 60 4G AL BUT
HLX 60 4G AL NAT
HM-815
2
HM-815 ME
2
HM-825
HM 900
3
HM 935
HML 840
HO 615
HO 625
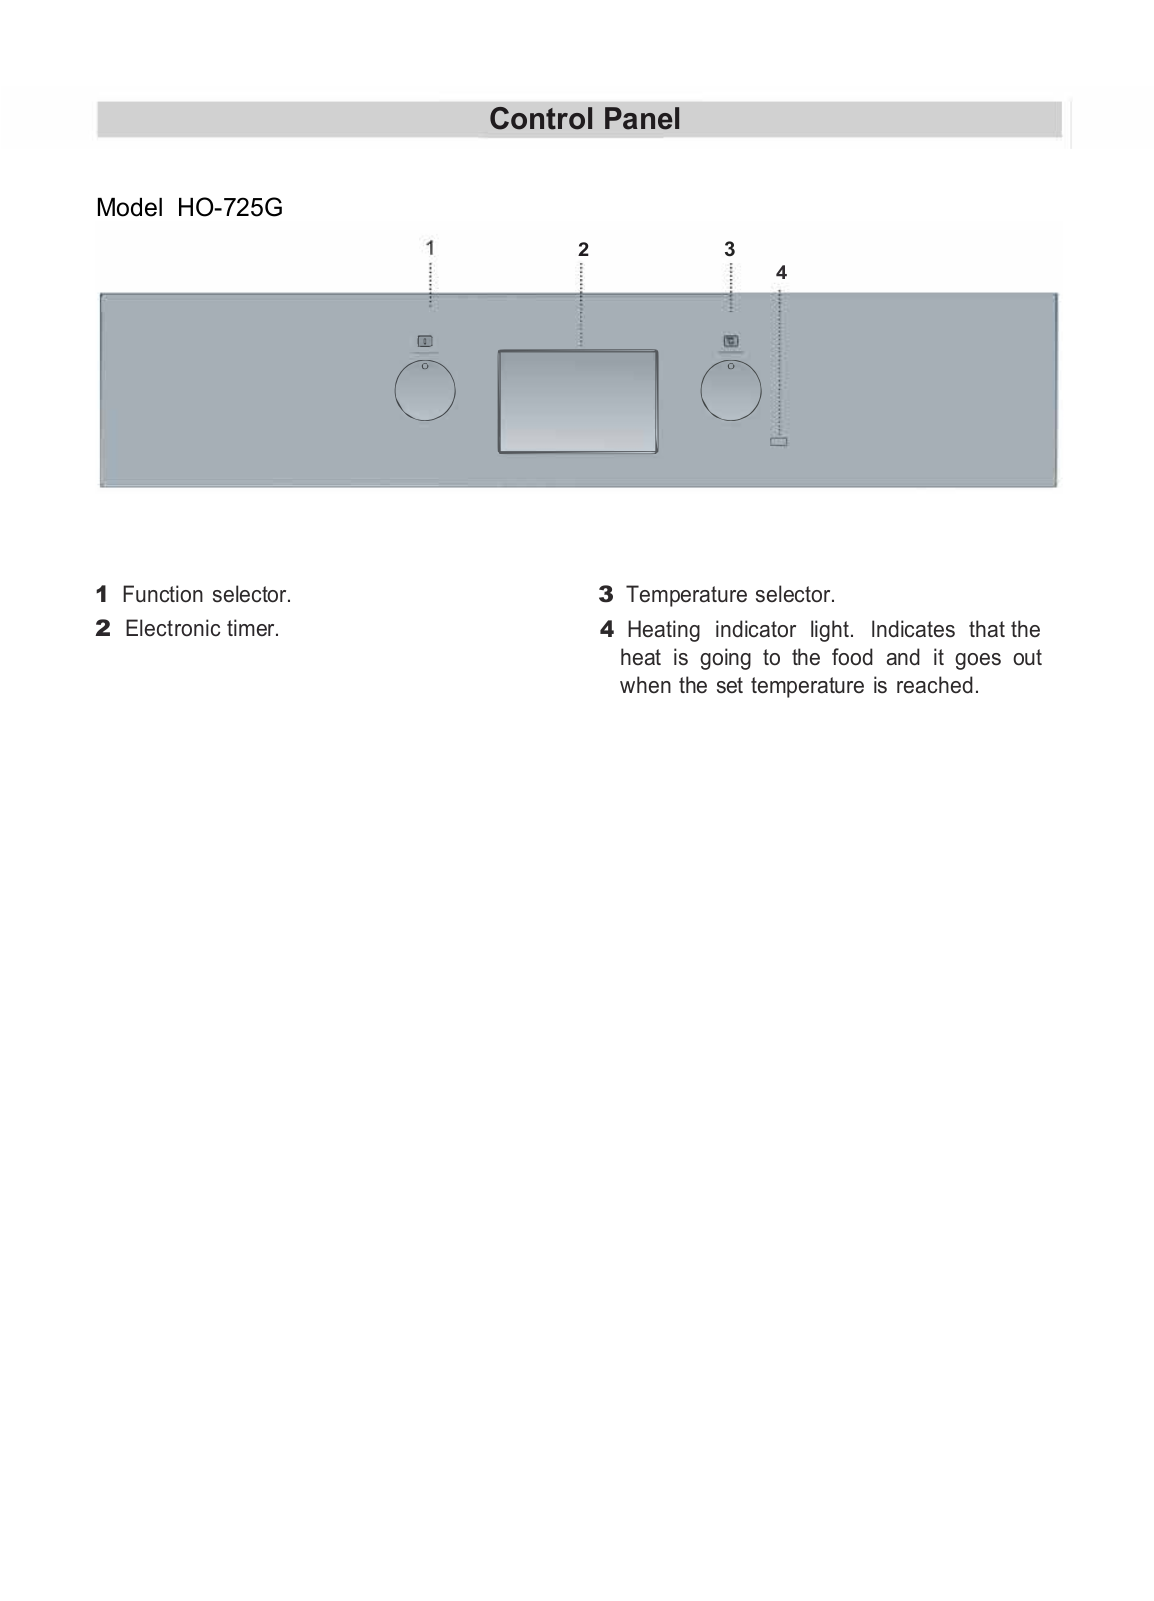
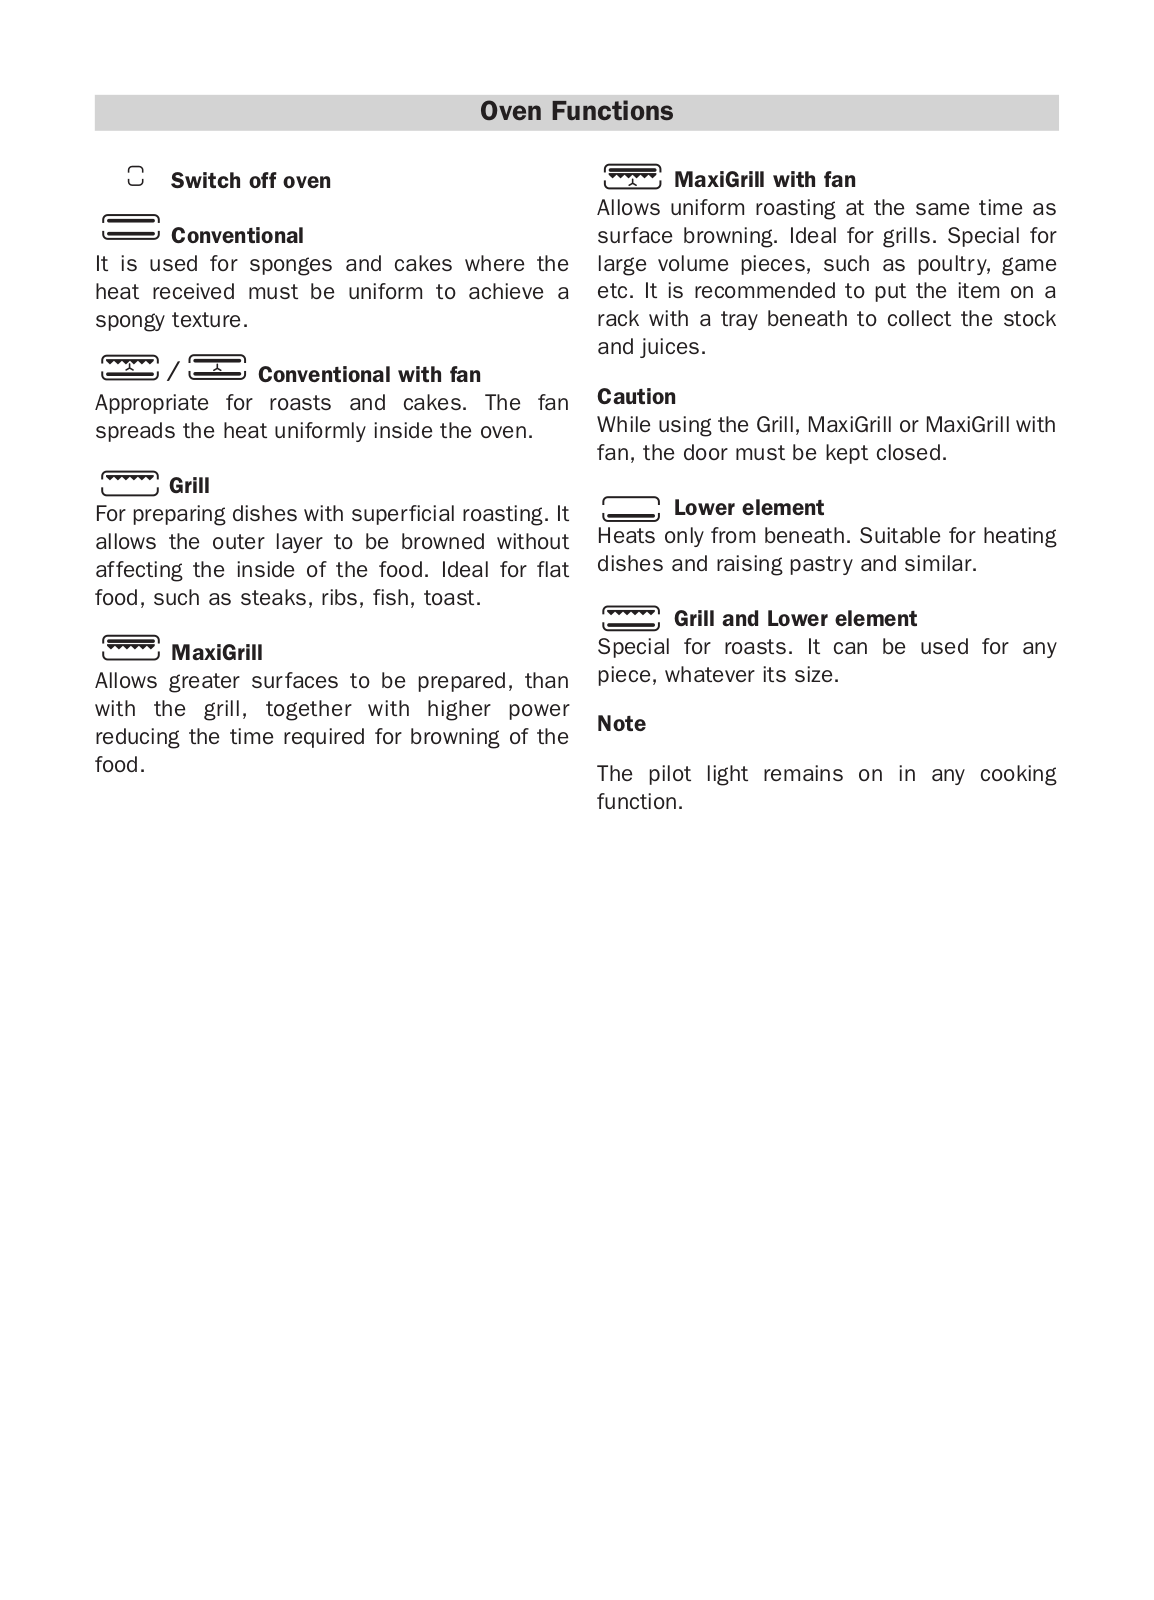
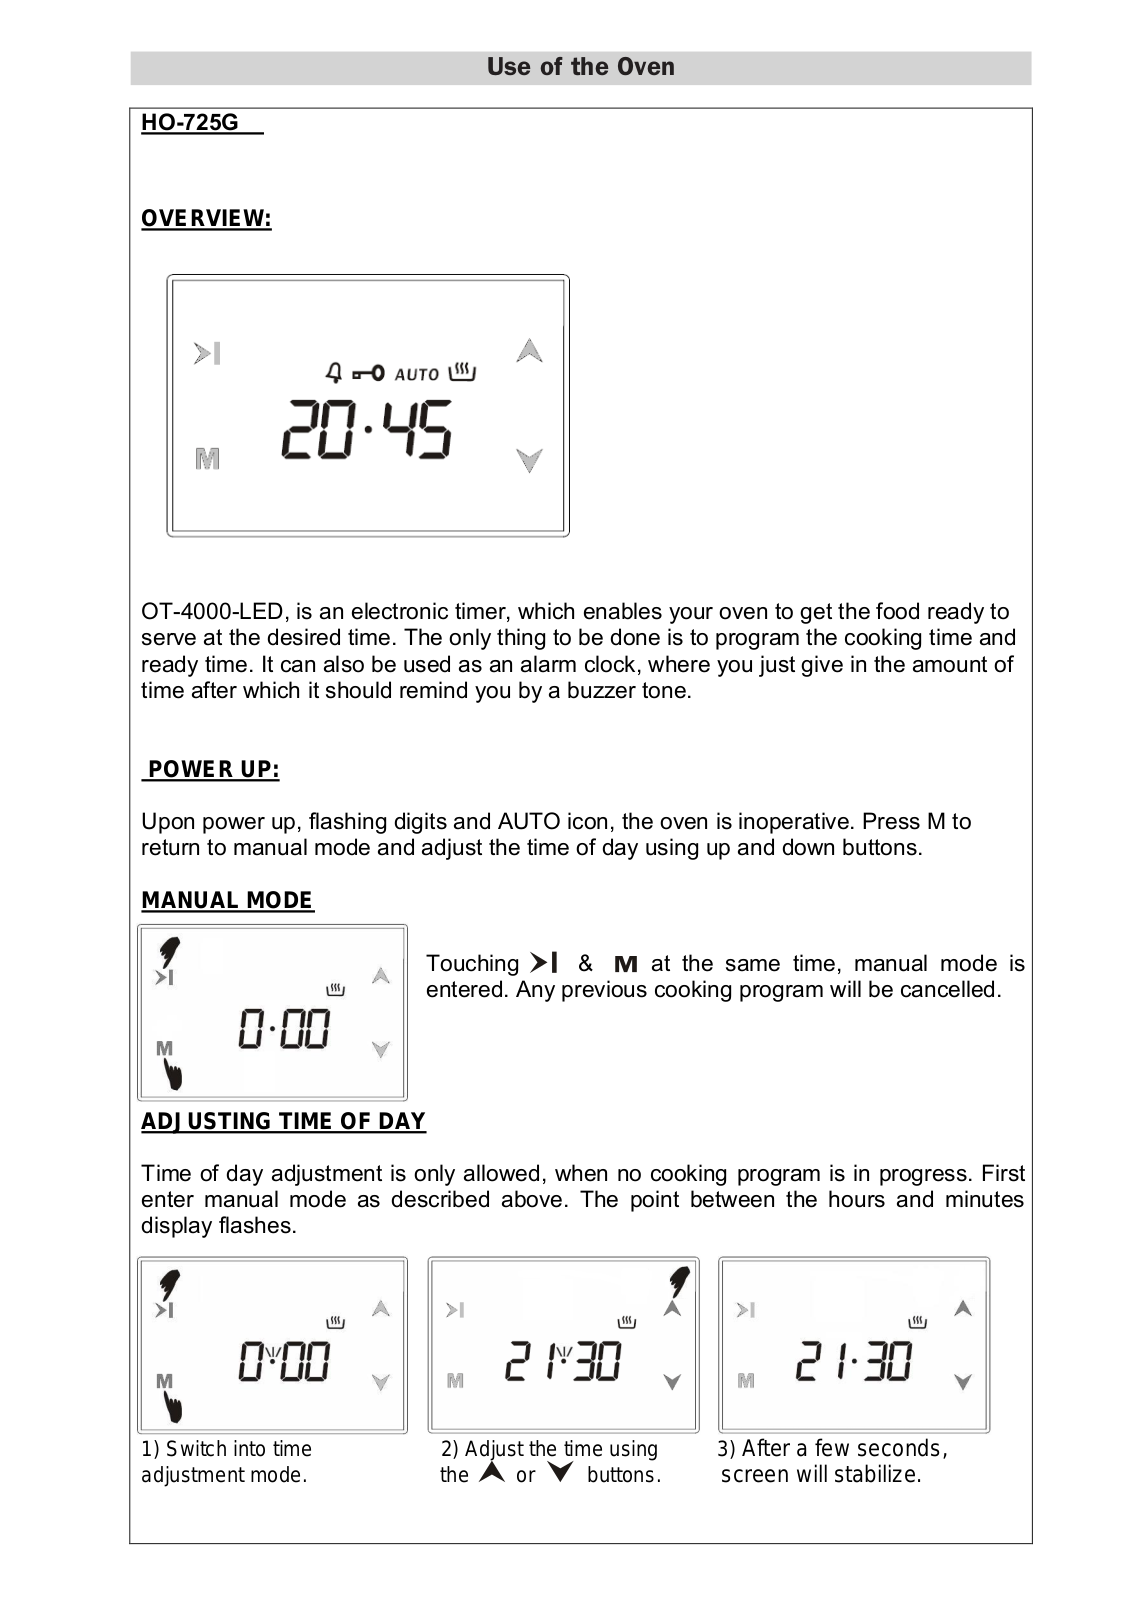
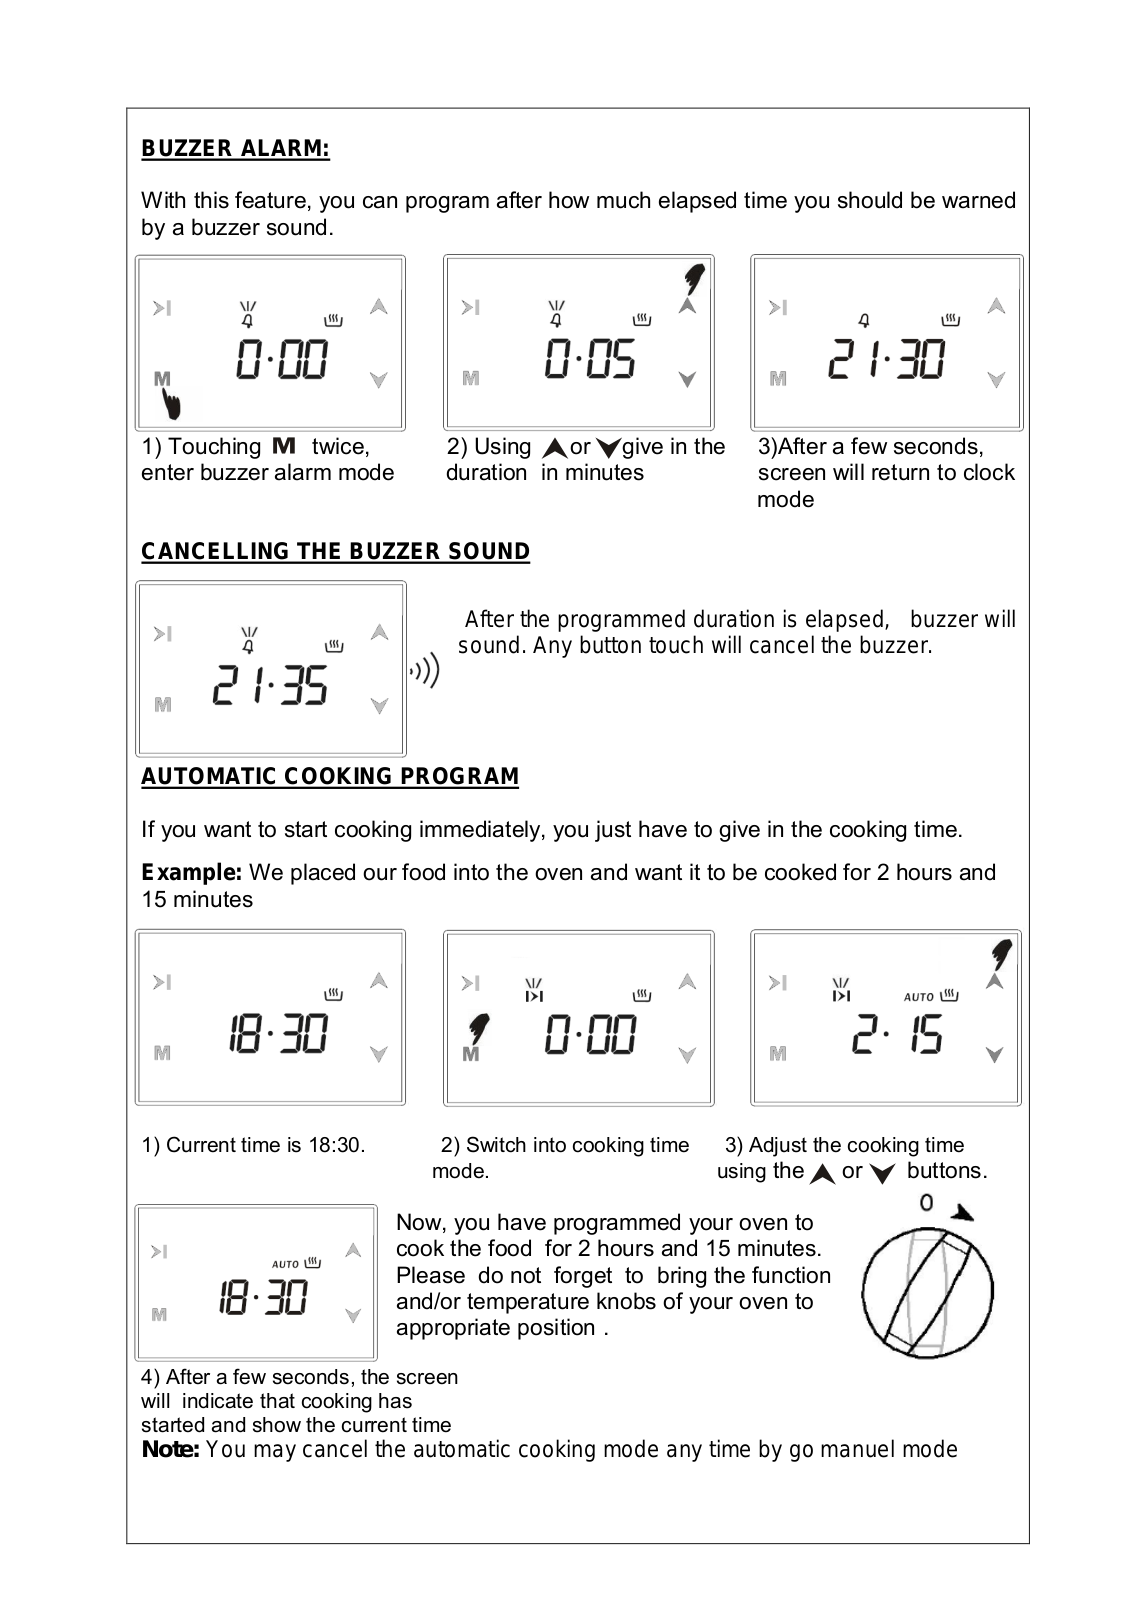
HO 725
3
HO-725 G
2
HO 725G BK
HO 725G WH
HO 725G X
HP725
HP-730
HP-740
2
HP-740I
HPA-840
2
HPE-635
2
HPE 735
3
HPL 830
HPL 840
HPL870
2
HPS 635
HPS 735
HPX-750
2
HR-550
4
HR 550 A-G
HR 550 A-OB
HR 550 B
HR 550 B-G
HR 550 B-OB
HR 650
5
HR 650 AG B
HR-700
2
HR 750
3
HR 750 A-G
HR 750 A-OB
HR 750 B
HR 750 B-G
HR 750 B-OB
HR 750 OB
HR 750 антрацит
HR 750 бежова
HR-800
6
HR-800 E
3
HR-800 ME
4
HRB 6100 ANTHRACITE-OB
HRB 6100 ATS
HRB 6300 AT
HRB 6300 ATS
HRB 6300 VN
2
HRB 6300 VNS
2
HRB 6300 антрацит / месинг
HRB 6400
HRB 6400 VANILLA-OB
HRB 6400 антрацит / месинг
HRB 8600
HS 435
2
HS 616 G
HS 625
2
Loading...
Loading...
Nothing found
HO 725G X
User Manual
52 pgs
7.12 Mb
0
Table of contents
Loading...
Teka HO 725G X User Manual
...
Teka User Manual
Download
Specifications and Main Features
Frequently Asked Questions
User Manual
Download
Loading...
+
hidden pages
Unhide
You need points to download manuals.
1 point = 1 manual.
You can buy points or you can get point for every manual you upload.
Buy points
Upload your manuals
 Loading...