

Page 1
1
F
GB
I
E
D
NOTICE D'UTILISATION
OPERATING INSTRUCTIONS
ISTRUZIONI D'USO
INSTRUCCIONES DE USO
BEDIENUNGSANLEITUNG
KPW
°C
20
15
30
25
312
KPW 2
KPW 3
KPW 5
10 11 250 - F.GB.I.E.D - 01
Janvier 1996
Page 2

2
GB
1 - Introduction .............................................................................................................3
2 - Installation location .................................................................................................3
3 - Electrical precautions ..............................................................................................4
4 - Safety instructions...................................................................................................4
5 - Using the control thermostat ...................................................................................4
6 - Adjusting the air flow ...............................................................................................5
7 - Maintenance and cleaning ......................................................................................5
8 - Air filter....................................................................................................................6
9 - Advice on comfort and energy saving ....................................................................6
10- Troub leshooting guide .............................................................................................7
Dear Customer,
Thank you for choosing a TECHNIBEL air conditioner which has been designed, built
and tested to meet your requirements .
We are certain that this product will give you complete satisfaction, if you comply with
the installation and maintenance standards.
We recommend that you read this manual carefully and keep it handy.
MARKING
This product marked conforms to the essential requirements of the European Directives :
- Low voltage no. 73/23 EEC, modified 93/68 EEC,
- Electromagnetic Compatibility no. 89/336 EEC, modified 92/31 and 93/68 EEC.
CONTENTS
Page 3

3
GB
°C
20
15
30
25
312
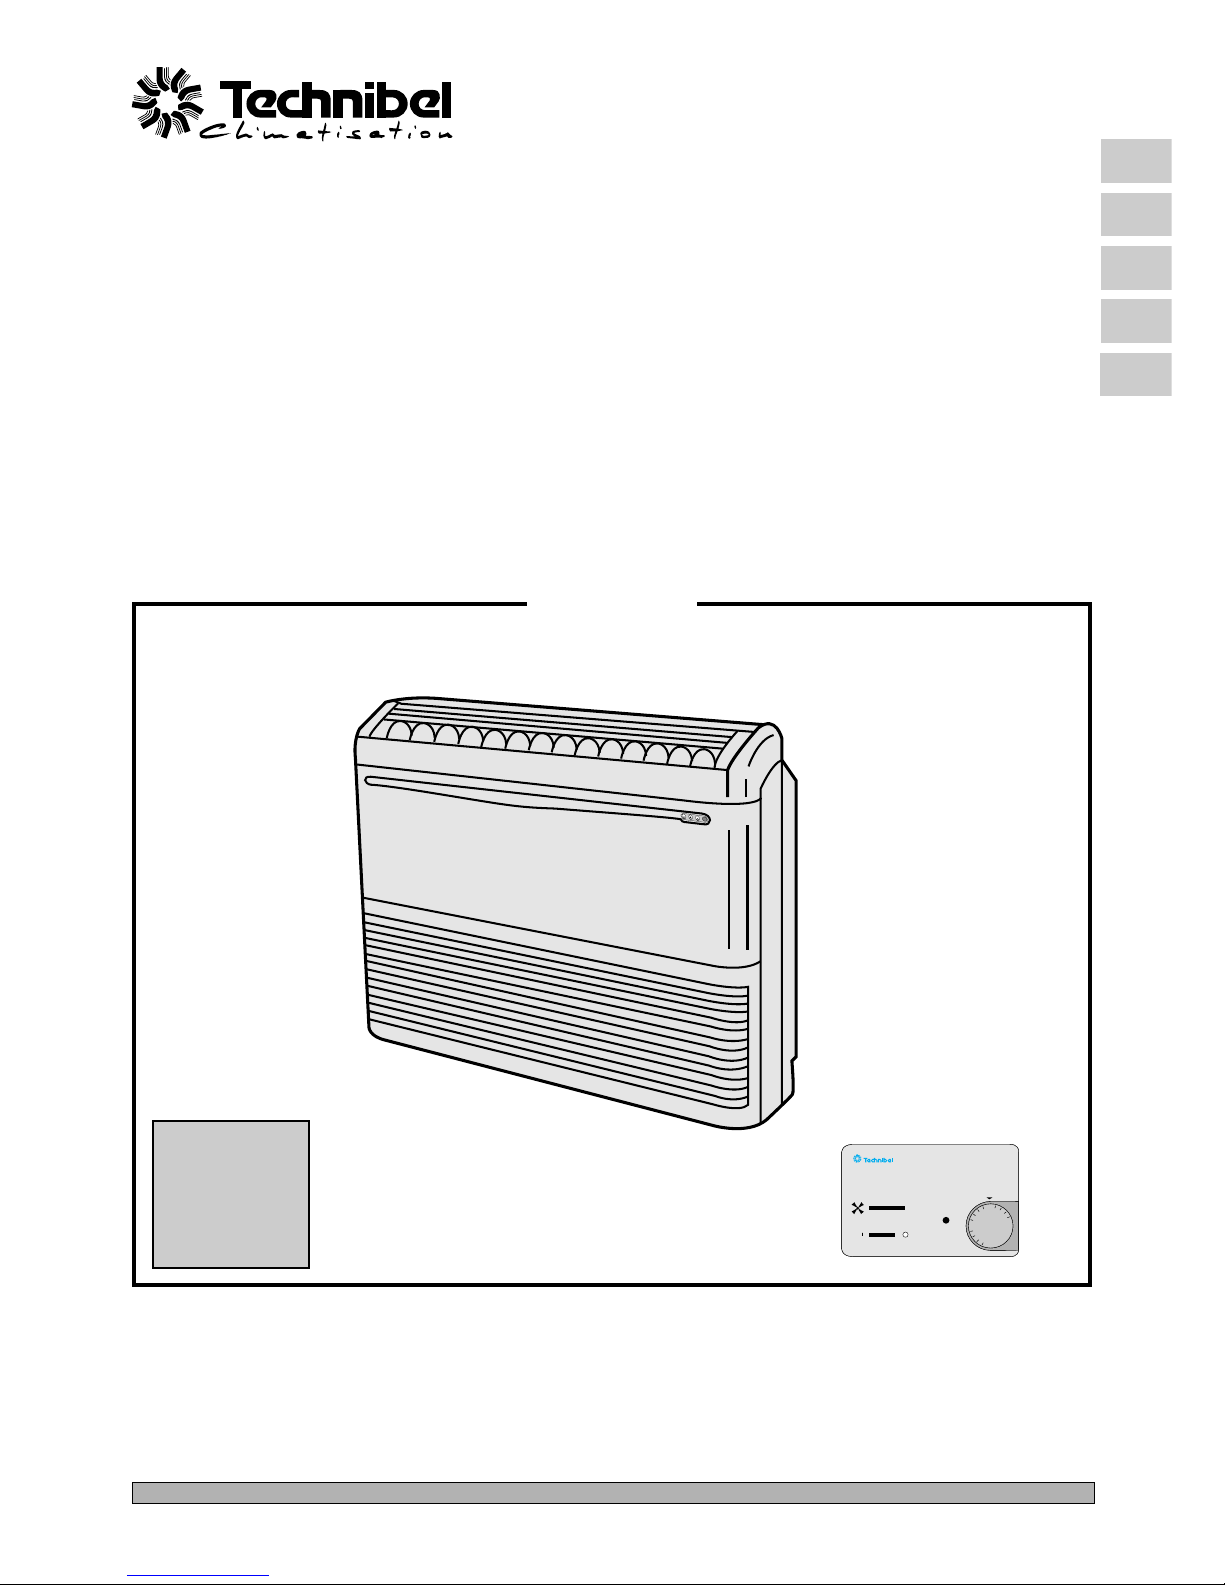
1 - INTRODUCTION
2 - INSTALLATION LOCATION
• It is recommended that you have the air conditioner installed by a qualified technician following the installation
instructions supplied with the appliance.
IMPORTANT
• Do not install the air-conditioning unit in premises where gases or inflammable gases are emitted, nor should it
be installed in a place that is damp or where there is a risk of water being projected (e.g., laundry room).
• Do not install the air conditioner in places where there are appliances producing excessive heat.
1 - Air outlet : the conditioned air is blown through the air outlet.
2 - Air inlet : the air in the room is sucked in and passes through a filter which retains the dust.
3 - Room thermostat :
- I /O : on/off;
- 3 ventilation speeds,
- temperature regulation.
IMPORTANT
• The “O” position (stop) does not cut-off the power supply. To completely cut-off all power to the device, use the
main power switch.
• For devices equipped with a condensation water discharge pump, stop the air-conditioning system 30 minutes
before powering off so as to ensure the discharge of residual condensates (and avoid inadvertent overflows).
3
2
1
Page 4

4
GB
°C
20
15
30
25
312
• Before installing, make sure that the mains voltage is the same as the voltage indicated on the air conditioner's rating plate.
• All the electric connections must comply with local regulations and be carried out by a qualified technician.
• Each unit must be correctly earthed with a good quality earth connection.
3 - ELECTRICAL PRECAUTIONS
4 - SAFETY INSTRUCTIONS
• Read this manual carefully before using the air conditioner for the first time. If you have any doubts or problems, consult
the dealer or the authorised After-Sales Department.
• This air conditioner has been designed to create comfortable climatic conditions. Only use it for the purpose for which it
was designed and according to the instructions indicated in this manual.
IMPORTANT
• Never use or store petrol or an y other flammable liquid near the air conditioner. This would be extremely dangerous.
• This air conditioner is not equipped with an outside air intake fan.
PRECAUTIONS
• Do not switch the air conditioner on or off using the main switch. Use only the on/off switch ( I / 0 ).
• Do not put anything into the air conditioner's air outlet. This is very dangerous because the fan works at high
speed.
• Do not let children play with the air conditioner.
• Do not cool the room excessively when there are babies or sick people in it.
5 - USING THE CONTROL THERMOSTAT
1 - ON/OFF SELECTOR SWITCH
0 : Off
I : On
2 - VENTILATION SPEED SELECTOR SWITCH
1 : Low speed
2 : Medium speed
3 : High speed
3 - THERMOSTAT
• Set the required temperature by turning the thermostat knob.
• The thermostat acts on the fan's on/off control.
4 - OPERATING LIGHT
• appliance on
4 32 1
Page 5

5
GB
6 - ADJUSTING THE AIR FLOW
7 - MAINTENANCE AND CLEANING
IMPORTANT
• For safety reasons : switch off the air conditioner and disconnect from the mains before starting cleaning (see §
1).
• Do not pour water onto the appliance to clean it. This could damage the internal components and cause electrical
discharges.
FRAME AND GRILLE
• Clean the frame and the grille of the appliance with a vacuum cleaner brush or with a soft, clean cloth.
If these parts are dirty, clean them with a clean cloth moistened with a mild liquid detergent.
When cleaning the grille, be careful not to change the position of the fins by rubbing them.
PRECAUTIONS
• Never use solvents or powerful chemicals. Do not clean with very hot water.
HORIZONTALLY
• The air flow can be adjusted horizontally by moving
the vertical fins to the right or to the left.
VERTICALLY
• To be adjusted in the required position when brought
into operation by the technician (by pressing the
motorised flap “SWEEP” switch located in the electric
box).
• In cooling mode, do not direct the damper downwards
more than 30° so as to avoid the formation of droplets
of condensation which could fall on the floor.
PRECAUTIONS
• Do not move the damper by hand.
RECOMMENDED POSITION FOR THE DAMPER
LEFT
RIGHT
Vertical fins
30°
60°
" A"
" B "
Zone "A" for cooling
Zone "B" for heating
30°
60°
" A"
" B "
FLOOR
INSTALLATION
CEILING
INSTALLATION
DOWNWARDS
UPWARDS Damper
Page 6
6
GB
• Some metal edges and the fins on the heat exchanger are sharp and must be handled carefully during cleaning to
prevent injury.
• Contact the After Sales Service for the exchanger, the
condensate pump suction filter (for devices so equipped)
and other components of the device requiring regular specific maintenance carried out by a qualified technician.
AVOID :
• Blocking the appliance's air inlet and outlet grilles. If
they are blocked, the appliance will not work
satisfactorily and it may be damaged.
• Allowing the sun to shine directly into the room when
the appliance is operating in "cooling" mode. Use
shutters or curtains.
CHECK :
• That the filter is alwa ys clean. A clogged filter will reduce
the appliance's efficiency.
• That all doors, windows and other openings are closed
in order to prevent non-refrigerated air entering when
the appliance is operating in the "cooling" mode.
9 - ADVICE ON COMFORT AND ENERGY SAVING
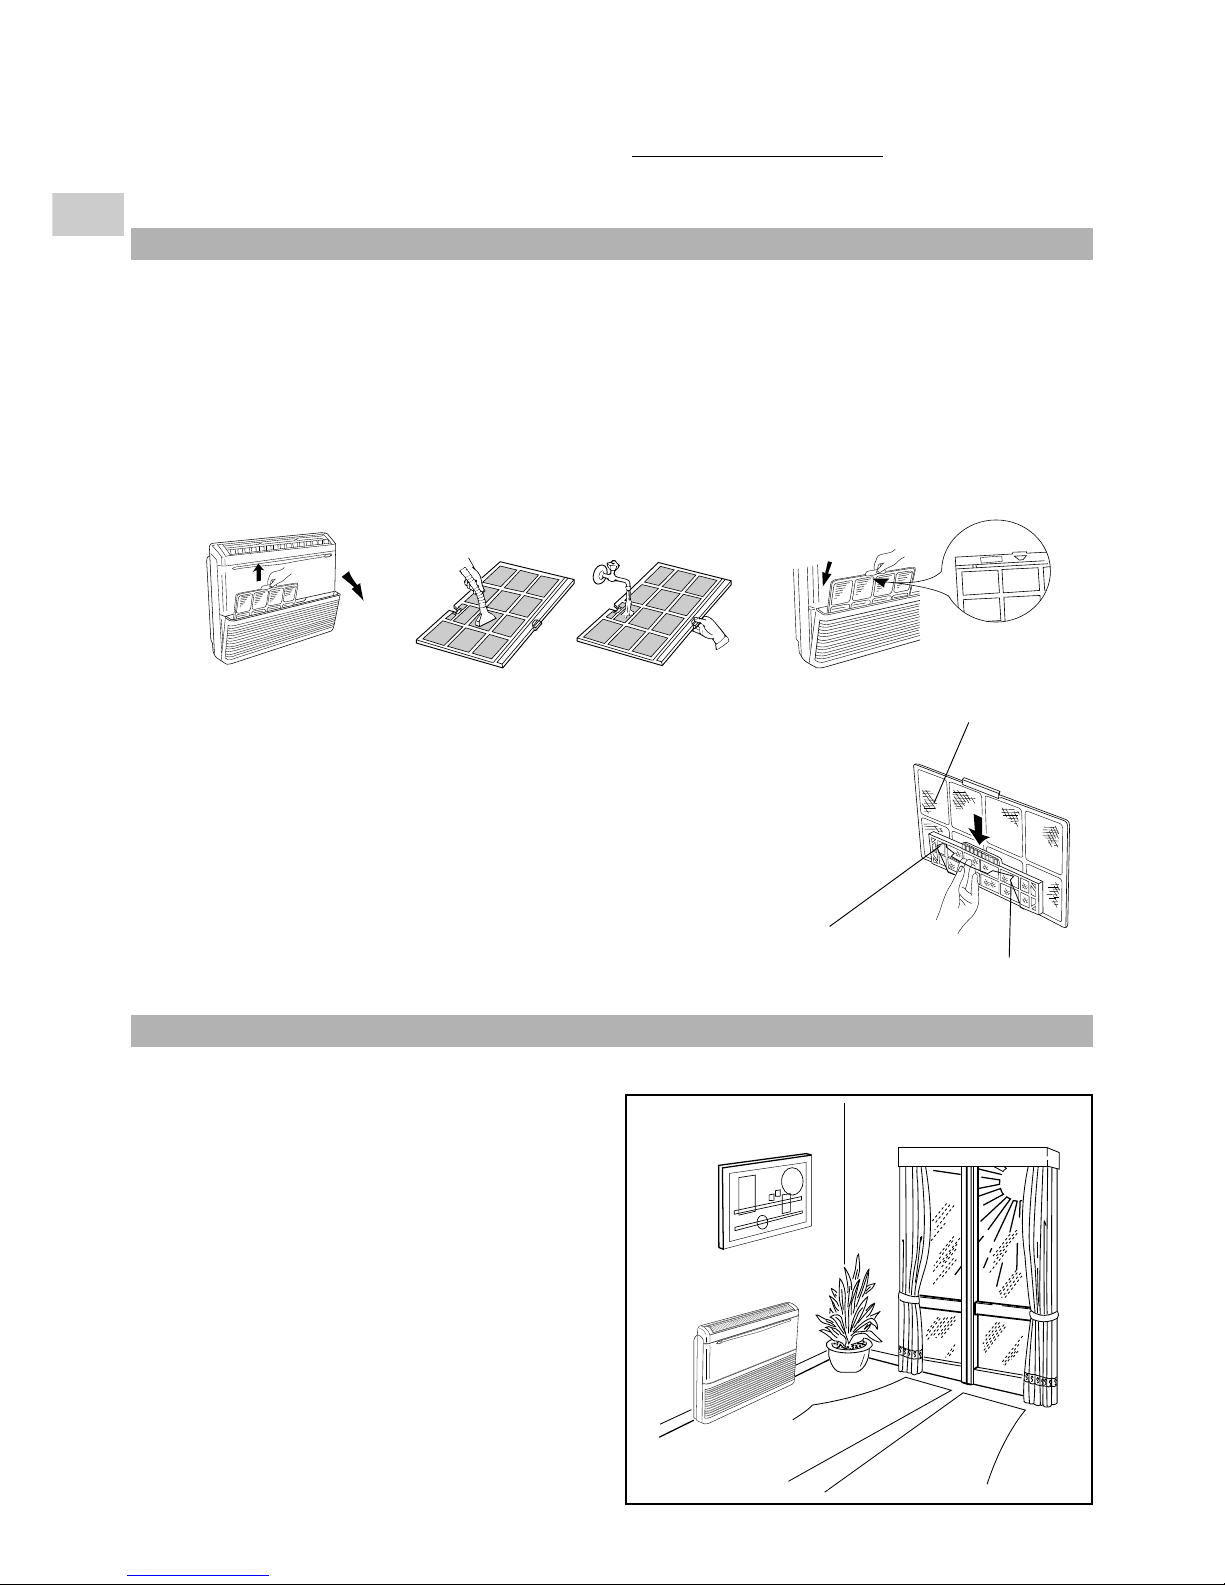
8 - AIR FILTER
• The air filter behind the air intake grille should be checked and cleaned at least once every two weeks.
HOW TO REMOVE THE FILTER
FRONT
Spring
1-2 4
1.Grasp both ends of the air intake grille and pull it open.
2.Pull out the anti-mold filter.
3.Use vacuum cleaner to remove light dust. If there is stic ky dust on the filter , wash the filter in luke warm, soapy water , rinse
it in clean water, and dry it.
4.When replacing the filter, mak e sure that the FRONT mark is facing you. After closing both sides , close the air intake grille
by pressing the center of the top of the grille until it snaps into place.
"AIR CLEAN" FILTER (ACCESSORY SUPPLIED ON REQUEST)
• The air filter is to be added by springs to the standard anti - mold filter.
• It is made of two layers:
- the first layer consist in a synthetic honey comb high efficiency media to
remove the dust and purifing the air
- the second layer in coarcoal media deodorizing the ambient air.
How to install the "Air clean" filter.
1. Open the unit intake air grille and pull out the standard air filter.
2. Apply on the rear side of anti-mold filter the two springs supplied with the
accessory.
3. Fix the "air clean" filter by the springs.
4. Insert the two air filters one over the other and close the intake grille.
Rear side of
anti-mold filter
3
"Air clean" filter
(high efficiency
honeycomb and
coarcoal media)
Page 7

7
GB
10 - TROUBLESHOOTING GUIDE
If the air conditioner is not working properly, carry out the following checks before calling the After-Sales Department.
If the problem persists, contact the dealer or the After-Sales Department.
PROBLEMS
The air conditioner is not operating at all
(the fan never comes on).
Insufficient cooling or heating.
For installations which can operate in
cooling or heating mode :
Excessive or non-existent cooling or
heating.
POSSIBLE CAUSES
1 - Power cut.
2 - Circuit-breaker thrown or fuse
blown.
3 - Line voltage too low.
4 - The selector switch is on "0" (off).
5 - The thermostat is set too high for
cooling (or too low for heating).
6 - Condensate collection system in
safety shutdown (for appliances
fitted with this system).
1 - Air filter dirty or blocked.
2 - Heat source or too many people in
the room.
3 - Doors and/or windows open
4 - Obstacle in front of the air inlet or
outlet.
5 - The thermostat is set too high for
cooling or too low for heating.
6 - The installation's cold water or hot
water generator is operating
incorrectly or not operating at all.
1 - The installation's operating mode
switch (cooling/heating) is not
working.
SOLUTIONS
1 - Restore the supply.
2 - Contact the After-Sales
Department.
3 - Consult your electrician
4 - Put the selector switch on "I" (on).
5 - Set the temperature lower (or
higher).
6 - Check the condensate discharge.
Contact the After-Sales
Department.
1 - Clean the air filter.
2 - If possible, eliminate the heat
source.
3 - Close them to prevent outside air
entering.
4 - Remove the obstacle in order to
provide good air circulation.
5 - Set the temperature lower (or
higher).
6 - Check the operation of the
generator.
Contact the After-Sales
Department.
1 - Contact the After-Sales
Department.
Page 8

8
F
GB
I
E
D
Par souci d'amélioration constante, nos produits peuvent être modifiés sans préavis.
Due to our policy of continuous development, our products are liable to modification whitout notice.
Per garantire un costante miglioramento dei nostri prodotti, ci riserviamo di modificarli senza preaviso.
En el interés de mejoras constantes, nuestros productos pueden modificarse sin aviso prévio.
Unsere Produkte werden laufend verbessert und können ohne Vorankündigung abgeändert werden.
R.D. 28 Reyrieux BP 131 01601 Trévoux CEDEX France
Tél. 74.00.92.92 - Fax 74.00.42.00
R.C.S. Bourg-en-Bresse B 759 200 728
 Loading...