

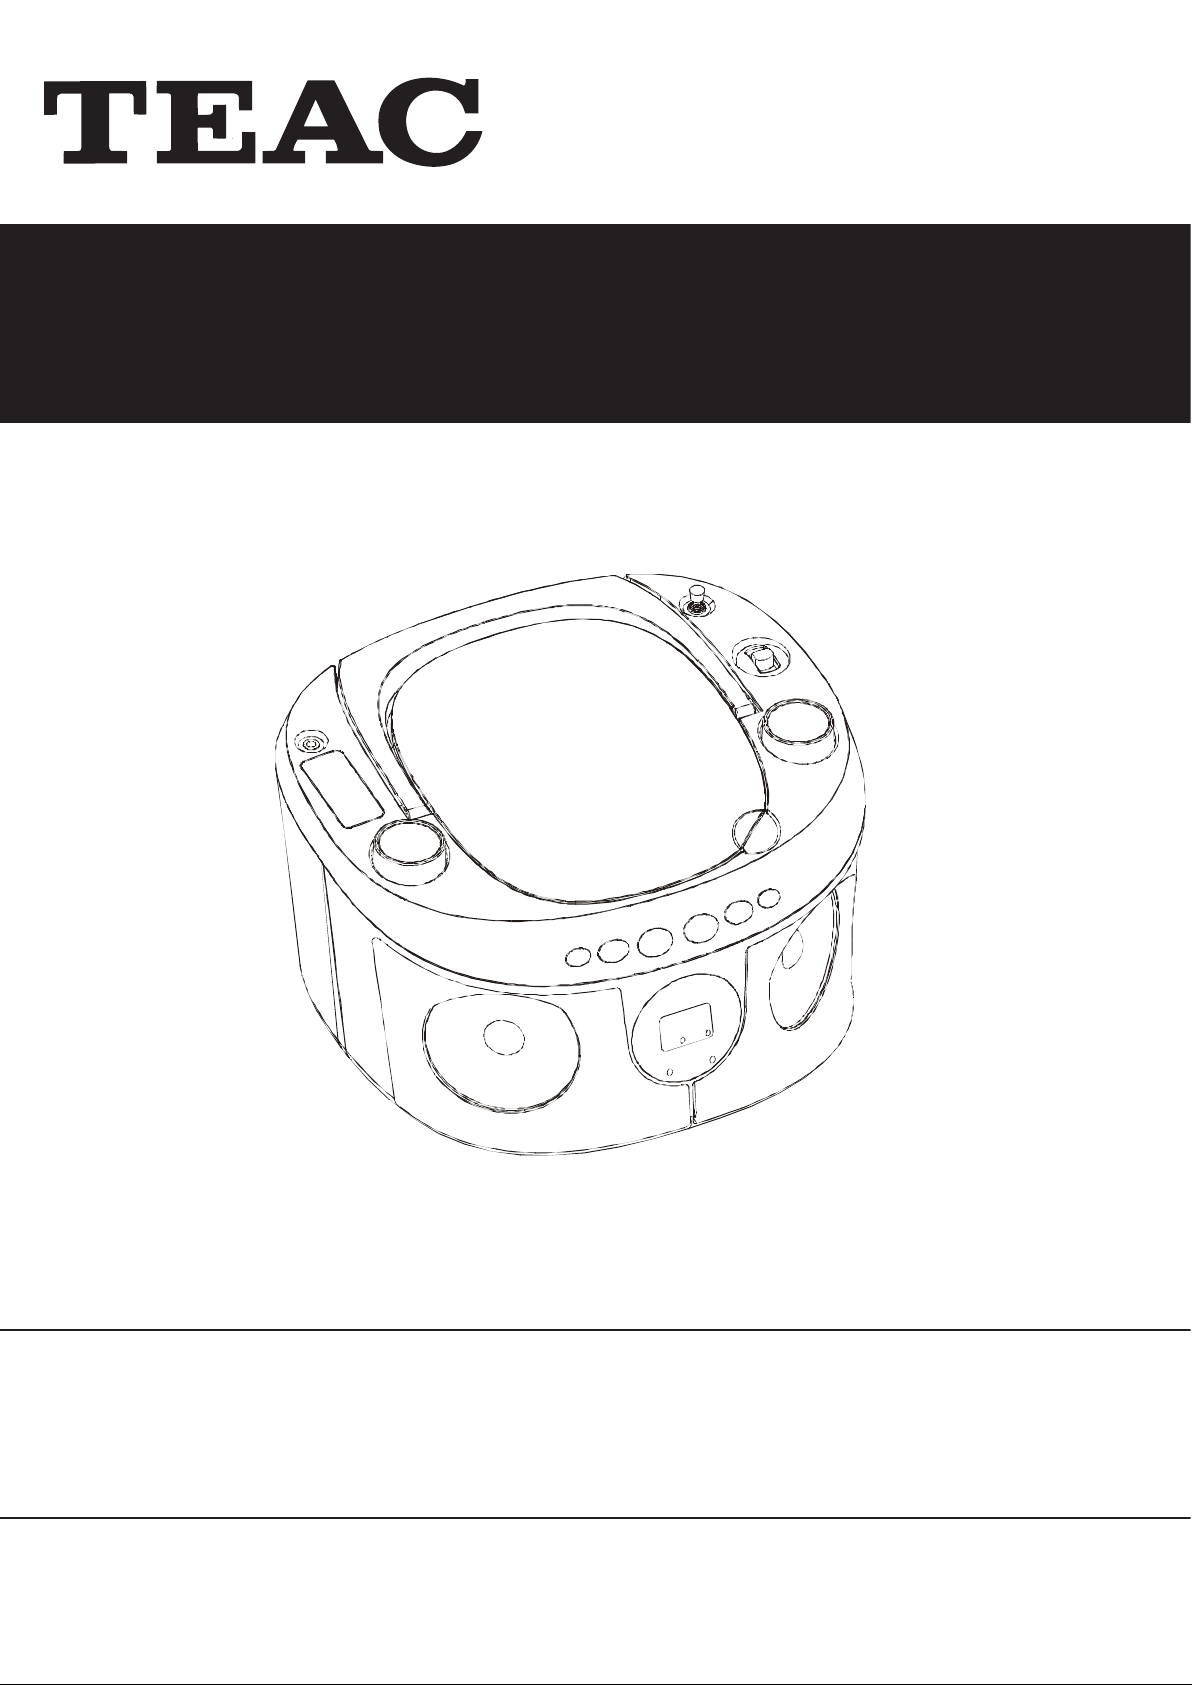
PCD807
Portable CD Boombox
USER MANUAL
IMPORTANT !
WARRANTY INFORMATION INSIDE. PLEASE READ
Trademark of TEAC Corporation JAPAN
www.teac.com.au


Postcode
NSW
Queensland
Western A ust ralia
South Australia
Victoria
Thank you for selecting a TEAC product
TEAC Customer Support Hotline
1300 553 315
www.teac.com.au
Please read th e ow n er ’s m anu al caref ul l y and ensure that you have followed the correct installation and operating procedures.
1. Please read this warranty card.
2. Keep your pur chas e rec eip t to en abl e you t o pr oc eed quickl y in t h e even t of a Warranty Servic e.
3. If you require Warranty Service, please contact the TEAC Customer Support Hotline at 1300 553 315 for
assist ance. Pleas e ens u re that you h ave the model number , s er i al nu mb er an d purc hase r ec eipt ready when
you call.
Please complete the section below and keep this information for your own records.
Owner’s Name
Owner’s Address
Model Name/No. Serial No.
Dealer’s Name
Dealer’s Address
Postcode
WARRANTY PROCEDURE
Authorised Service Centres in Major Australian Cit ies
v1.5.2: DEC 2011
151 Arthur Street
Homebush West, NSW 2140
11 McInnes Street
Ridleyton, SA 5008
Unit 1, 320 Curtin Ave West
Eagle Farm, QLD 4009
282 Normanby Road
South Mel bourne, VI C 32 05
Unit 2, 50 Pilbara Street
Welshpool, WA 6106
If you should r equire assist ance with your product regarding its setup
or operation, or if any dif ficulties ari se , please call us directly for advice
between Monday to Fri day at 8.30AM – 6PM AEST at the
teacservicesupport@awa.com.au
.

WARRANTY INFORMATION
v1.5.2: DEC 2011
TEAC PRODUCT
WARRANTY PERIOD
LED/LCD TV 32” (80 cm) and above
1 Year (In-Home Service/ Pick up Available)*
All other TEAC products
1 Year (Carry-in Service)
Our g oods com e with guarantees that cannot be exclud ed under the Aust ralian Consumer Law. You are
entitled to a replacement or refund for a major failure and for compensation for any other reasonably
fo re s eeable los s o r damag e. You are al s o en tit l e d t o h a ve the goods repaired or replaced if t he goods fail
to be of acceptable quality and the failure does not amount to a major failure.
Warranty Terms & Conditions
1. TEAC w arr ants t hat t his pr oduct is f r ee fr om d efects in mat eri al an d w orkm ans hip u nder n ormal dom estic use with
reason able care and skill. Mainten ance and c leaning ( i.e. las er head) is not cover ed by this warrant y. The TEAC
warrant y on ly applies to TEAC products purchased, used and serviced in Australia.
2. The ben efits t o the c onsum er given b y this W arrant y ar e in addit ion to other rights and r emedies of the c onsum er
under a law in relation t o goods or s ervic es to whic h t h e w arranty rel a tes, bein g th e Aus tr alian Cons u m er Law.
3. Refund or replac emen t via y our r etai ler is av ail able f or a peri od of 1 4 days after purch ase f or goods that h ave been
4. Subject to the terms herein, this warran ty effecti vely covers the eq uipment as s pecified i n the W arrant y Periods
5.
Th is s er vice will only b e pr ovi d ed as p ar t of t his war r anty if all the f ollow i ng conditions ar e met;
6. A 12-month replacement warranty is applicable to all Accessories such as Remote, Power Adaptors and Cables.
7. TEAC will ensure to the best of its ab il i ti es that all required parts are made available for any required s ervice/r ep air.
8. TEAC Aus tralia Pty Ltd and its Authorised Service Centr es will us e their best endeavours t o complete produc t
9. Refurbis hed p arts m ay be us ed to r epair the prod uct. I n the c ase of a replac ement, the pr oduct may be r eplac ed,
10. Please b e advised that if the pr od uc t pres ent ed for r epair is capabl e of retain in g user-gener at ed data, t h e data m ay
11. Servic e will be pr ovided on ly dur ing nor mal busi ness hour s and under saf ety condi tions and circ umstanc es. TE AC
12. The warranty is void and warranty claims may be refused, subject to the Australian Consumer Law, if:
13. No one is au t h orised to ass ume any li abilit y on b eh alf of TEAC or im p os e an y ob li gation on it, in connection w ith the
14. TEAC reserves the right to inspect and verify whether the product is exhibiting a major failure as claimed by
15. LCD dead pixel policy, please contact TEAC Customer Support Hotline on 1300 553 315 for assistance.
inspected and det ermined t o ha ve a m aj or f ailure. Refu n d and exc h a nge is not app licable f or change of mi nd.
Table below from the date of purchase.
In Home Service/Pick up* Service
a) The produc t is indicated in th e Warrant y P er i od T able.
b) The product is within the warranty period.
c) The product is located within the normal service area of the local TEAC Authorised Service Centre.
If TEAC determines that the product is not repairable on site, TEAC can complete the repair by taking the product to
a TEAC Authorised Service Centre.
Carry-in Service
Where In-Home service/Pick up* is not available, the purchaser is required to send the product to the nearest TEAC
Author is ed Ser vic e C entr e f or r epair . In t his even t, pr o of of pur ch ase is r equir ed to s upp ort a warr ant y cl aim. Af ter
the rep air, t he pr od uct will be avail abl e f or coll ecti on by or retur n to the pur chas er at a fee upon req uest. T EAC inhome service can be made available at a fee upon request.
repairs within a reasonable period based on available resources and workload during the time when service is
request ed and perf or m ed .
with a ref urbish ed unit of the s ame type or , if one is unavailab le, a si milar refur bished m odel with equal or b etter
features & specifications.
be lost during servicing. Customers are strongly encouraged to back up all important information/data before
sending the product in for service/repair.
and its aut horis ed s er vice agents can r efuse any r epair if safety, in rel ati on to OH&S, bec om es a c oncern t o its s t af f
or author ised service agents ’ p er sonnel.
a) The product was not transported, ins tall ed, op erated or m aintain ed a c c ording to man uf act urer instr uc t i on, or
b) The produc t was abused, dam aged, tam p ered, alt er ed or repair ed by any un au t h orised persons, or
c) Product failure is due to accidents during use, installation or transit, power surges, use of defective or
incompat ib le exter n al devic es, exp os ure to abn orm al cond itions suc h as exc essi ve tem perat ur es or humi dit y, or
entry of liquids, ob j ects or creatur es into the pr oduc t .
sale of any eq ui p m ent ot h er than as st ated in this warr anty and out l in ed ab ove.
customers/retailers.

SAFETY PRECAUTIONS
WARNING
* The apparatus shall not be exposed to dripping or splashing and that no objects filled with liquids, such as
vases, shalll be placed on apparatus.
* A minimum distance of 5cm should be left arround the apparatus for sufficient ventilations.
* No naked flame sources such as lighted candles should be placed on the apparatus.
* When replacing the battery, be sure to dispose of the old one in accordance with the current regulations.
To this end, deposit it at a point which has been provided for this purpose, in order that it will be disposed
of in a safe and environmentally-friendly way.
* The apparatus can be worked regularly between 10 to 40°C.
* To prevent fire or shock hazard, do not expose this appliance to rain or moisture.
* The ventilation should not be impeded by covering the ventilation openings with items, such as
newspapers, table-cloths, curtains, etc.
* Exc
* The batteries shall not be exposed to excessive heat such as sunshine, fire or the like.
NOTE
Main plug is used as the disconnect device. It shall remain readily operable and should not be obstructed
during intended used. To be completely disconnected the apparatus from supply mains, the main plug of the
apparatus shall be disconnected from the mains socket outlet completely.
In case of malfunction due to electrostatic discharge, just reset the product (reconnection of the power
source may be required) to resume normal operation.
IMPORTANT
Since the CD circuitry may cause interference to other radio tuners nearby, switch this unit off when not in
use or move it away from the affected radio tuner.
essive sound pressure from earphones and headphones can cause hearing loss.
WARNING
RISK OF ELECTRIC SHOCK
DO NOT OPEN
The lightning flash and
arrowhead within the
triangle is a warning sign
alerting you of
"dangerous voltage"
inside the product.
WARNING : To reduce the risk of fire or electric shock, do not expose this appliance to rain or moisture.
CLASS 1 LASER
PRODUCT
DANGER
This product contains a low power laser device.
LASER SAFETY
This unit employs an optical laser beam system in the CD mechanism, designed with built-in safeguards. Do
not attempt to disassemble, refer to qualified service personnel.
Exposure to this invisible laser light beam may be harmful to the human eye.
THIS IS A CLASS-1 LASER PRODUCT. USE OF CONTROLS, OR ADJUSTMENTS OR PROCEDURES
OTHER THAN THOSE SPECIFIED HEREIN, MAY RESULT IN HAZARDOUS LASER LIGHT BEAM
EXPOSURE.
WARNING : TO REDUCE THE RISK
OF ELECTRIC SHOCK, DO NOT
REMOVE COVER (OR BACK). NO
USER-SERVICEABLE PARTS INSIDE.
REFER SERVICING TO QUALIFIED
SERVICE PERSONNEL.
CAUTION
INVISIBLE LASER RADIATION WHEN OPEN
AND INTERLOCKS DEFEATED.
AVOID EXPOSURE TO BEAM.
The exclamation point within
the triangle is a warning sign
alerting you of important
instructions accompanying
the product.
The marking plate is indicated on the back side of the unit.

1. FM ANTENNA
2. FUNCTION SWITCH
3. DIAL SCALE
4. FM/AM RADIO TUNING KNOB
5. CD DOOR LEVERAGE
6. SKIP UP /
FAST FORWARD BUTTON
7. REPEAT BUTTON
8. PLAY/PAUSE BUTTON
9. SPEAKERS
10. CD TRACK DISPLAY
11. PROGRAM INDICATOR
12. ON INDICATOR
13. BATTERY COMPARTMENT
(AT THE BOTTOM)
14. AC SOCKET (AT THE BACK)
15. HANDLE
16. CD DOOR
17. AUX IN JACK
18. VOLUME KNOB
19. STOP BUTTON
20, PROGRAM BUTTON
21. SKIP DOWN /
FAST REWIND BUTTON
22. REPEAT INDICATOR
23. PLAY INDICATOR
CONTROL PANEL OVERVIEW
14
15
1
16
17
18
19
20
21
9
2
3
4
5
6
7
8
9
10
11
12
13
10
23 22

POWER SOURCE
UNIT OPERATION
Battery Installation
1. Open the Battery Compartment cover by pushing the catches downwards.
2. Install 6 x C size batteries (not included) securely, following the +/- polarities
indicated in the battery compartment.
3. Close the Battery Compartment with the cover.
NOTE: Please dispose of used batteries in an environmentally responsible manner.
AC Power Operation
1. Connect the power cord receptacle to the AC Socket on the unit, and the plug to
an AC power outlet.
2. Turn on the power supply at the AC power outlet.
CAUTION: Please turn off the power supply at the AC power outlet while making or
changing plug connections.
Radio Operation
1. Push the Function Switch to the AM or FM position. The ON indicator will light up.
2. Tune into a desired station by turning the Tuning Knob.
3. For FM radio, extend the antenna and adjust the direction, length and angle to
find the best reception.
4. For AM radio, rotate the unit to find the best reception.
5. Adjust the Volume Knob for your desired listening level.
6. To turn off the radio, push the Function Switch to the OFF position.
Loading a CD
1. Push the Function Switch to the CD position. The ON indicator will light up.
2. Use your fingertip to open the CD Door. Place a CD (with the printed label facing
upward) firmly into the compact disc compartment and close the CD Door..
3. The CD Track Display will show the total number of tracks after a few seconds.
4. "no" will be displayed when there is no CD inside the CD compartment.
NOTE: This unit can play normal audio CDs, CD-R and CD-RW discs.

CD Playback Controls
PLAY/PAUSE BUTTON
After a CD is loaded, press to start playing the CD. The CD Track Display will
show the first track and the PLAY Indicator will light up.
Press during CD playback to pause. The PLAY Indicator will flash while playback
is paused. Press again to resume playing from where the audio was paused.
STOP BUTTON
Press once to stop playing the CD.
SKIP UP / SEARCH FORWARD BUTTON
Press once to skip to next track. Press and hold to search for a desired position at
high speed forward. Release the button to resume normal play.
SKIP DOWN / SEARCH BACKWARD BUTTON
Press once to skip back to the beginning of the current track. Press repeatedly to go
to previous track. Press and hold to search for a desired position at high speed
backward. Release the button to resume normal play.
REPEAT BUTTON
Press once to turn on single track repeat playback. The REPEAT Indicator will
flash while in this mode.
Press twice to turn on repeat playback for all tracks. The REPEAT Indicator will
be lighted up continuously while in this mode.
To turn off repeat playback, press the REPEAT Button once or twice until the
REPEAT Indicator turns off.
To remove the CD from the unit, press the STOP Button, open the CD Door and take
out the CD.
To turn off CD playback, push the Function Switch to the OFF position.
Programmed CD Playback
Play tracks in a chosen order by programming a playlist of up to 20 tracks.
1. Press the PROGRAM button. The PROGRAM indicator and "01" will flash on the
display.
2. Press the SKIP UP/FAST FORWARD and/or SKIP DOWN/FAST REWIND
Buttons to select the desired track number.
3. Press once the PROGRAM Button again to memorize the track.
4. Repeat steps 2 and 3 until all desired tracks are programmed.
5. Press the PLAY / PAUSE Button to start playing. The PROGRAM Indicator will
light up.
6. W hen needed, press the STOP Button to stop programmed playback. Press the
PLAY/PAUSE Button to resume programmed playback.

Open the CD Door or turn off CD playback to clear the programmed playlist. When in
stop mode, pressing the STOP Button clears the program playlist also.
NOTE: Programming can only be made when the CD player is in stop mode.
Aux In
1. To listen to an external audio source equipped with an auxiliary audio output jack,
such as an MP3 player or smartphone, you need a stereo aux cable with 3.5mm
plugs (not included).
2. Connect one end o
f the aux cable into the output jack on the audio source unit,
and the other end into the AUX IN Jack on this unit.
3. Play the audio source.
4. Push the Function Switch to AM, FM or RADIO positions. The ON indicator will
light up.
5. Y ou can now listen to audio from the audio source through the unit. Adjust the
Volume Knob for your desired listening volume. Control media playback on the
audio source unit directly.
6. T o turn off the
unit, set the Function Switch to the OFF position.
NOTE:Always unplug the 3.5mm plug cable from the unit after use.
Caring for Compact Discs
Treat the disc carefully. Handle the disc only by its
edges. Never allow your fingers to come in contact
with the shiny, unprinted side of the disc.
Do not attach adhesive tape, stickers, etc. to the disc
label.
Clean the disc periodically with a soft, lint-free, dry
cloth. Never use detergents or abrasive cleaners to
clean the disc. If necessary, use a CD cleaning kit.
If a disc skips of gets stuck on a section of the disc, it
is probably dirty or damaged (scratched).
When cleaning the disc, wipe in straight lines from the
center of the disc to the outer edge of the disc. Never
wipe in circular motions.
This unit is designed to play only Compact Discs
bearing the identification logo as shown here.
CARE AND MAINTENANCE
*
*
*
*
*
*

Other discs may not conform to the CD standard and may not play properly.
Compact Discs should be stored in their cases after each use to avoid damage.
Do not expose Compact Discs to direct sunlight, high humidity, high temperatures,
or dust, etc. Prolonged exposure or extreme temperatures can wrap the disc.
Do not stick or write anything on either side of the disc. Sharp writing instruments,
or the ink may damage the surface.
Power Consumption : AC ~ 230V 50Hz, 6W
6 x C Size Batteries (batteries not included)
Power Output : 0.8W RMS per channel
Frequency Range : FM 87.5-108 MHz
AM 522-1620 kHz
Frequency Response : CD - 125 Hz - 15000 Hz
Dimensions : 223(L) x 201(D) x 126(H) MM
Weight : 1.2 kg
*Weight and dimensions are appr
oximate
*Specifications may change without prior notice.
SPECIFICATIONS
*
*
*
*


TEAC CUSTOMER SUPPORT HOTLINE (TCS)
1300 553 315
Between Monday to Friday – AEST 8:30AM to 6PM
 Loading...