

Page 1

1
] button in the
Installation Guide
NAS Microserver
Thank you for purchasing the TEAC NAS Microserver kit.
The TEAC NAS Microserver is a Networked Attached Storage device that connects
to an existing LAN for extended storage. It also can be used as a file server, web
server, print server, DHCP server, DNS server, Internet router and as a wireless
LAN Access Point.
Floppy disk drive
10/100 Mbps Ethernet interface card
Client operating system: Windows 98SE/Me/2000/NT 4.0 SP 4 or newer/
XP
Web browser: Internet Explorer 4.0 or later, or Netscape Navigator 4.7 or
later
Straight (non-crossover) Cat5 LAN cable (10 BaseT or 100BaseT)
Network hub/switch with an available port
Host computer with the following installed:
❑
❑
❑
❑
IEEE 802.11b-compliant wireless LAN card adapter (required only for wire-
less LAN communication)
Ethernet environment using the TCP/IP protocol
❑
❑
Recommended System Requirements
❑
❑
❑
NAS Microserver Package Contents
TEAC NAS Microserver
External wireless antenna
System reset key
The TEAC NAS Microserver kit includes the following items (see Figure 3):
❑
❑
❑
(this booklet)
is a more detailed document (approximately
(electronic version)
Vendotto Operation Manual
Vertical product stand
Vendotto Manager Windows-based software floppy disk
Vendotto Sync Windows-based software floppy disk
Vendotto markers (18) - not shown
AC adapter and power cable
TEAC NAS Microserver Installation Guide
Vendotto Operation Manual
The
131 pages) available on the Microserver’s hard disk in Adobe Acrobat PDF
❑
❑
❑
❑
❑
❑
❑
(electronic version) since this
Operation Manual
Vendotto Operation Manual
format. You can access it by clicking the [
Vendotto WebTool (see Figure 6). Please disregard the reference to iOffice
(page 109) in the
software is not available for this package.
Page 2
3
Connects to LAN hub or ADSL modem via a LAN
Permit cooling air flow around unit and enable the stand to be
Press this button to start or shut down the system.
Flashes when data is read or written to hard disk.
Flashes when data is sent to or received from the local area network
Lights to indicate the following states: (a) at power on, before the
Flashes to indicate system start up and shutdown; stays lit during
Flashes when data is sent to or received over the network and an
You can reset the system power by inserting a small, thin rod
Connects to a power supply adapter.
Connects to LAN hub.
Connects to printer (25-pin, female connector).
Connects to (a) an external analog modem (9-pin, female
The system reset key restores all factory default settings. Using the
This port is reserved for factory use only.
Connects to ground (earth).
To hold the enclosed Vendotto markers.
Caution:
system reset key will delete all configuration settings, user definitions, and user
HDD LED:
LAN LED:
(LAN). Status LED:
NAS Microserver receives an IP address; (b) an error has been detected;
(c) the NAS Microserver is waiting for DHCP to correct an error; (d) system
recovery with the system reset key is complete; (e) flashes to indicate system
recovery with the system reset key is in progress.
EXP LED:
expansion board is installed.
Power LED:
normal operation.
Power button:
Reset button:
(such as a straightened paper clip) into the reset hole and pressing firmly. The
Power LED will start flashing and the system will take approximately 15
minutes to complete the power reset cycle. The Microserver will be ready when
the Power LED stops flashing and stays solidly lit. If necessary, launch the
Vendotto Manager software again to re-detect the NAS Microserver.
holes:
NAS-80 NAS-120 NAS-160 NAS-240
80GB 120GB 160GB 240GB
300MHz
LAN/LAN (dual NIC cards)
Wireless LAN (IEEE 802.11b) with external antenna
TCP/IP, IPX and AppleTalk
Microsoft Networks, UNIX, Internet (HTTP) and Apple
Supports Microsoft NT Domain Controller; User-level, Share-level and
File-level
Windows 98/Me/XP/2000/NT 4.0, Macintosh OS 8/9/X,
Red Hat Linux 6.2/7.0/7.1, Sun Solaris 7/8, SCO UnixWare 7.1.1, AIX
4.3.3 and HP-UX 11
Windows NT 4.0 and Appleshare 6.0
Ethernet 10/100 Base-T (RJ-45), Parallel printer port (IEEE-1284), and
Serial port
DSL modem access and wireless antenna connection
Supports automatic assignment through DHCP
Vendotto Manager, a web-based server management utility; Vendotto
Sync backup software
64MB RAM
100–240V. 50/60Hz
External power supply (19V, DC3.15A)
50W max. (typical 5W)
5° to 40° C, 10% to 90% humidity (non-condensing)
-10° to 60°, 20% to 80% humidity (non- condensing)
LAN connector:
printer port:
serial port:
connector) or (b) the system reset key, which enables you to restore default
settings.
FCC Class A
10.12" (h) x 7.64" (d) x 2.76" (w)
5.95 lbs.
Black
profile information.
USB port:
power input socket:
GND terminal:
air vents:
installed. EXP LAN connector:
cable.
Vendotto Specifications
Model
Capacity
Specifications
CPU Speed
Interface
Remote Access
Network Transport Protocols
Network File Protocols
Network Security
Network Client OS Support:
Server OS Emulation:
Standard I/O Ports
Optional I/O Ports
IP Address Assignment
System Software
Memory
Power Requirement
Power Source
Power Consumption
Operating Environment
Non-Operating Environment
Agency Approvals
Dimensions
Weight
Color
10
Page 3

]
[Pro-
Vendotto Manager
Host setup computer
Search button
and IP address
Search]
Yes button
5
] button, then select
Start
].
Starting Vendotto Manager Software
Vendotto Manager
]->[
shortcut created on your desktop or click the [
Vendotto Manager will scan the network and detect the setup computer and any
TEAC NAS Microserver that has already been assigned a dynamic IP address
by a DHCP server. (Figure 3 lists only the setup computer, because an IP
grams
address has not yet been assigned to the Microserver.)
1. To launch the Vendotto Manager software, double-click the [
Figure 3. Vendotto Manager After Scanning Network
button (Figure 3). (You may need to repeat the search a few times if the NAS
Microserver is not found.)
Vendotto Manager will detect the TEAC NAS Microserver and display the
following message, indicating that a unit without an IP address has been
detected:
2. If an IP address has not yet been assigned to the Microserver, click the [
and
Network and
] button.
] –> [
button (Figure 5).
] button (Figure 4).
Figure 4. Vendotto Message: Unit Without IP Address Detected
Yes
]
OK
menu in Vendotto Manager’s WebTool (Figure 8).
The temporary IP address will be deleted automatically in about two
Basic Setup
Note:
Vendotto Manager will assign a temporary IP address to the TEAC NAS
Microserver, configuring the unit as a DHCP client using default settings, and
then display a message (Figure 5) informing you of the temporary IP address.
3. Click the [
hours. Before time expires, you must establish a static IP address using the
4. Click the [
and
] you selected.
Properties
.
]
[Specify an IP address]
] and set up an IP address.
Network
], then click the [
] –> [
Network
[
TCP/IP Properties
Control Panel
] from
] tab in [
] –> [
IP address
TCP/IP -> xxxxxxx
My Computer
For wireless LAN setup, set the values of ESS ID to “WLANESSID” and
Note:
Channel to “1” in your setup computer using the setup tool that came with your
wireless LAN adapter. These values are the default settings of the TEAC
Troubleshooting - TCP/IP Setup
If you have trouble detecting the TEAC Microserver using the Vendotto Manager
software, you will need to configure the TCP/IP protocol to enable communication
between your setup computer and the Microserver. If there is no DHCP server on
your network, assign a static IP address to your setup computer.
Microserver.
Depending on your Windows version, please refer to one of the following
procedures to configure your TCP/IP setting:
TCP/IP Setup for Windows 98/Me
1. Go to [
2. Select [
3. Select the [
if there is a DHCP server on your network.
] button when you complete the setup.
OK
[Obtain an IP address automatically]
Select
If there is no DHCP server on your network, select
enter an IP address and subnet mask (i.e., IP address: 192.168.11.100, Subnet
mask: 255.255.255.0).
4. Click the [
Control Panel
] button.
[Specify an IP address]
] from the menu that pops up
] –> [
My Computer
Properties
].
Properties
Internet Protocol (TCP/IP)
if there is a DHCP server on your network.
] for the [
], select [
] and click the [
Local Area Connection
Properties
].
] button when you complete the setup.
OK
Internet Protocol (TCP/IP)
Network and Dial-up Connections
when you right-click on [
Dial-up Connections
TCP/IP Setup for Windows 2000/XP
1. Login as Administrator and go to [
2. In [
3. Select [
4. Specify an IP address in [
[Obtain an IP address automatically]
Select
If there is no DHCP server on your network, select
5. Click the [
enter an IP address and subnet mask (i.e., IP address: 192.168.11.100, Subnet
mask: 255.255.255.0).
8
Page 4

11
- This warranty is valid only in the United States, and enforceable only by the original
– This warranty will be effective for both labor and parts, and this warranty will be effective for one (1) year
– Please contact TEAC service department for Return Authorization number before
www.teac.com
- We will pay all labor and material expenses for items covered by the warranty. Payment of shipping
This product is warranted by TEAC America, Inc. against defects in materials and workmanship.
TEAC America, Inc. (USA)
Technical Support
Telephone: (323) 727-4860 • Fax: (323) 869-8751
Monday - Friday 8:00 a.m. - 5:00 pm PST
http://www.teac.com/DSPD/techsupport.htm
For technical support, please contact the TEAC Service and Support Center:
Technical Support
(this document)
Installation Guide
E-mail: dspdtsg@teac.com
TEAC NAS Microserver
LENGTH OF WARRANTY
from the date of original purchase.
WHO MAY ENFORCE THE WARRANTY
purchaser. This warranty is not valid outside the United States.
Warranty
WHAT IS NOT COVERED BY THIS WARRANTY
Ver tical product stand
1. Damage to or deterioration of the external cabinet.
2. Damage resulting from accident, misuse, abuse, or neglect.
3. Damage resulting from failure to follow instructions contained in your user’s manual.
4. Damage occurring during shipment of the product (claims must be presented to the carrier).
5. Damage resulting from repair or attempted repair by anyone other than TEAC Service Department.
6. Damage resulting from modification or attempted modification of product not authorized by TEAC.
7. Damage resulting from causes other than product defects, including lack of technical skill, competence, or experience of the user.
8. Damage to any unit which has been altered or on which the serial number has been defaced, modified or removed.
9. Damage or malfunction resulting from installation and cabling.
10. For wireless configurations, TEAC cannot be responsible for interference or operation in locations that restrict range.
11. Damage to or from interconnected network equipment.
Power cable
floppy disks (2)
AC adapter
System reset key
12. Data integrity or loss of data.
HOW YOU CAN GET WARRANTY SERVICE
shipping unit(s) to TEAC. Information required for R/A request should include your name and/or company name, telephone number, TEAC
model, version and serial number(s). Return Authorization (R/A) number must be clearly marked on the outside of each carton shipped to
TEAC. Return merchandise must be packed in original shipping containers or otherwise packed adequately to prevent damage in shipment.
You are responsible for all risk of damage to or loss of merchandise in transit to TEAC. TEAC reserves the right to reject any merchandise
that is not packaged and/or marked as instructed hereon. You must pay any shipping charges if it is necessary to ship the product for service.
However, if the necessary repairs are covered by the warranty, we will pay the return shipping charges to any destination within the United
States. Whenever warranty service is required, you must present a copy of the original dated sales receipt as proof of warranty coverage.
Please contact us at the addresses listed at the end of this warranty statement.
WHAT TEAC WILL PAY FOR
charges is discussed in the next section of this warranty.
LIMITATION OF IMPLIED WARRANTIES
Any implied warranties, INCLUDING WARRANTIES OF MERCHANTABILITY AND FITNESS FOR A PARTICULAR PURPOSE,
are limited in duration to the length of this warranty.
EXCLUSION OF DAMAGES
LAN
PRINTER
LAN
COM
USB
DC IN 19V
TEAC’S LIABILITY FOR ANY DEFECTIVE PRODUCT IS LIMITED TO REPAIR OR REPLACEMENT OF THE PRODUCT, AT
TEAC’S OPTION. TEAC SHALL NOT BE LIABLE FOR DAMAGES BASED UPON INCONVENIENCE, LOSS OF USE OF THE
PRODUCT, LOSS OF TIME, INTERRUPTED OPERATION OR COMMERCIAL LOSS, LOST PROFITS OR ANY OTHER
DAMAGES, WHETHER INCIDENTAL, CONSEQUENTIAL, PUNITIVE OR OTHERWISE.
Some states do not allow limitations on how long an implied warranty lasts and/or do not allow the exclusion or limitation of incidental or
consequential damages, so the above limitations and exclusions may not apply to you.
TEAC
ONLY
AD-8019(V)
This warranty gives you specific rights, and may vary from some of the rights provided by law. These rights may vary from State to State.
GND
© Copyright 2002 TEAC America, Inc. All rights reserved. TEAC America, Inc. reserves the
right to modify product offerings or specifications without advance notice.
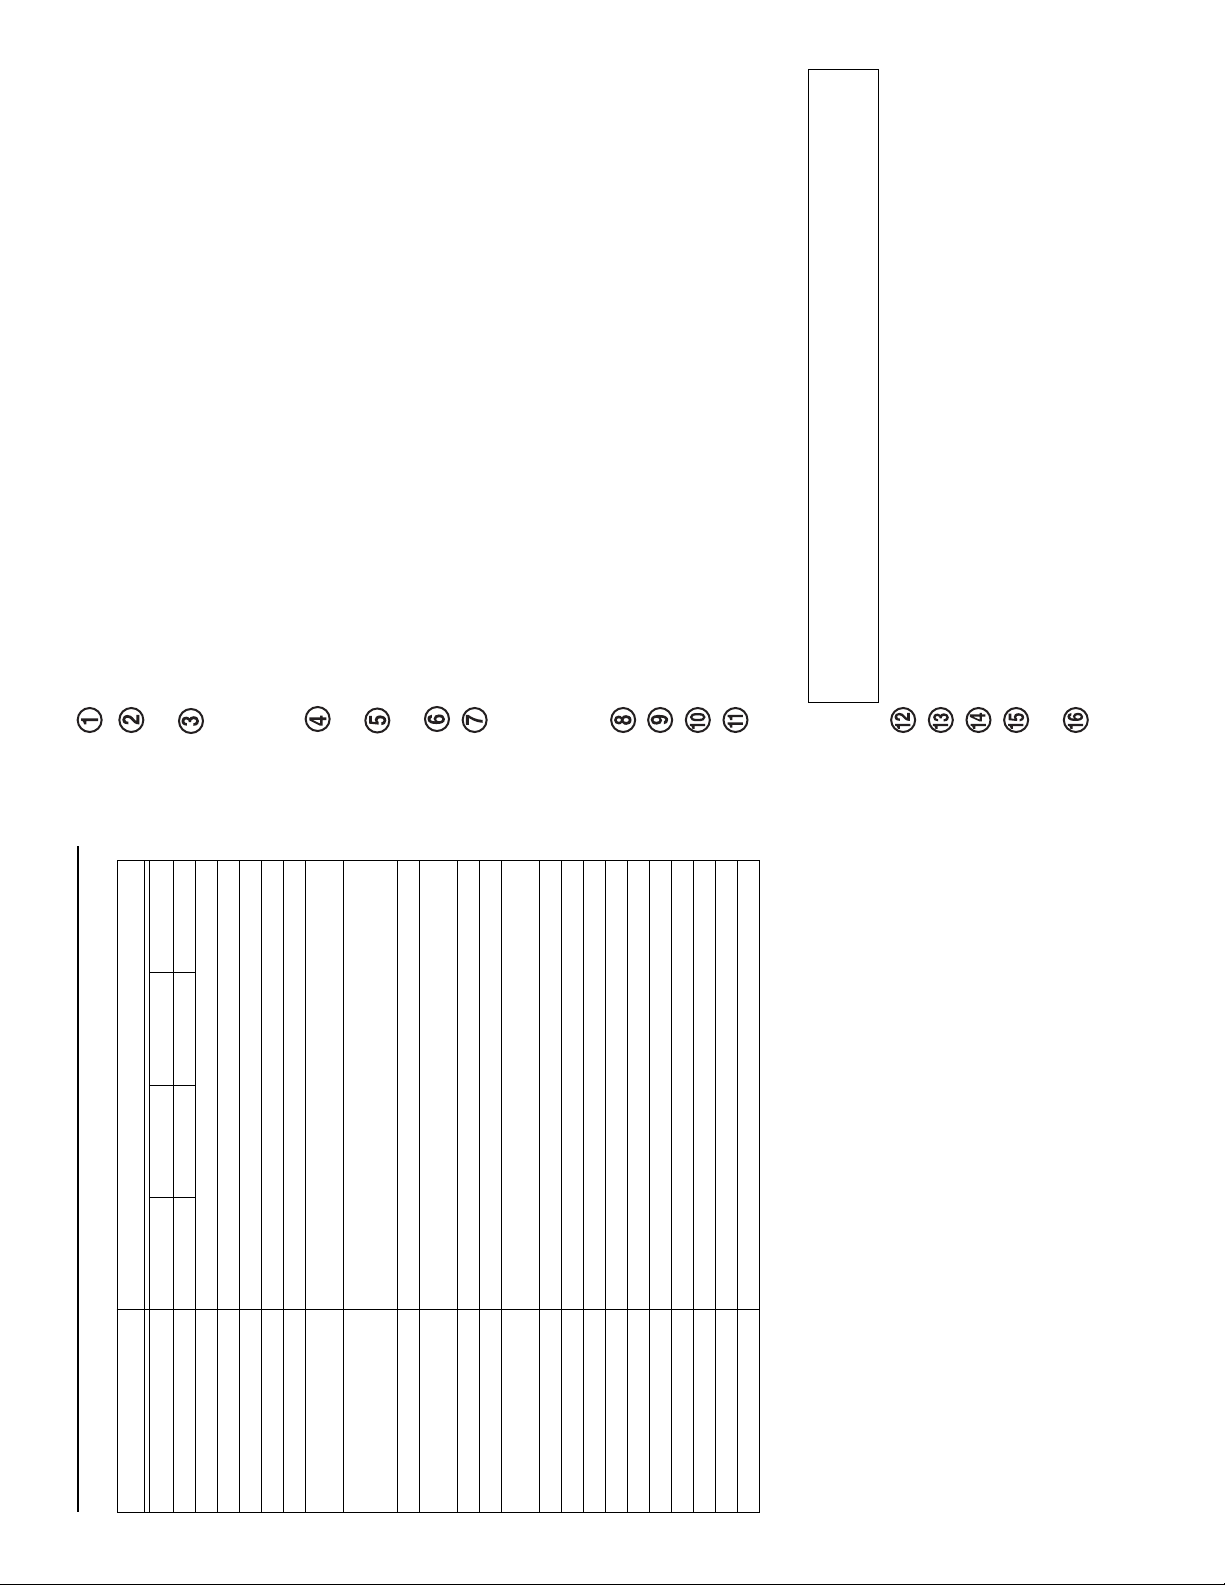
Figure 2. Front and Rear Panels
Figure 1. NAS Microserver Package Contents
If any of the items above is missing from your kit upon purchase, please
TEAC NAS Microserver
Note:
contact your vendor immediately for a replacement kit.
Front and Rear Panels
Figure 4 illustrates the front and rear panels of the TEAC NAS Microserver.
2
Page 5

].
and
Network
] –> [
Control Panel
] –> [
] button.
].
[Specify an IP address]
Vendotto
file from the
Setup.exe
9
Properties
My Computer
] and click the [
TCP/IP Protocol
TCP/IP Setup for Windows NT 4.0
1. Login as Administrator and go to [
2. Select [
if there is a DHCP server on your network.
TCP/IP Properties
] tab in [
IP Address
[Obtain an IP address automatically]
Select
If there is no DHCP server on your network, select
enter an IP address and subnet mask (i.e., IP address: 192.168.11.100, Subnet
mask: 255.255.255.0).
3. Select the [
. To install this software, run the
Do not turn off the power during this recovery cycle. This procedure will
Vendotto Sync
floppy disk and follow the menu-driven installation steps.
Caution:
Backing Up Data Using Vendotto Sync
Sync
The TEAC NAS Microserver also includes a Windows backup software application
called
Restoring Default Settings
You can restore the factory default settings to the TEAC NAS Microserver. This
may be useful after a software crash. First, turn off the Microserver, then plug the
system reset key (Figure 1) into a serial port on the Microserver (Figure 2). Press the
Microserver Power button. The Status, HDD, and Power LEDs will flash. When the
system recovery is complete, the Status LED will stop flashing and remain lit. Turn
off the power to the Microserver, then unplug the key.
take approximately six minutes to complete.
Do not connect the Ethernet cable to the EXP LAN connector on the
Note:
connector near the top of the rear panel of the Microserver (Figure 2, item 9).
Connecting the Microserver Hardware
1. Connect one end of a straight (non-crossover) Cat5 Ethernet cable to the LAN
expansion LAN board, or else the Microserver will not function properly.
of the NAS Microserver (Figure 2, item 13).
insert the large plug of the power cable into an AC outlet.
2. Connect the other end of the Ethernet cable to an Ethernet hub or switch.
3. Insert the plug on the power supply adapter cable into the power input socket
4. Insert the small plug of the power cable into the power supply adapter, then
5. Turn on the power to the NAS Microserver, then wait for the Microserver to
.
enter and complete the “Ready for Setup” mode described below:
At start up, the Power LED on the front panel will start to flash green, and
continue to flash until the end of the power-on cycle and an IP address has been
assigned. It will remain lit during normal operation.
The NAS Microserver is configured by default to obtain an IP address
automatically from an existing DHCP server. If no DHCP is available, the
Status LED (Figure 2, item 3) will remain lit in red indicating that no IP address
has been assigned to the NAS Microserver.
Once the wireless feature has been properly configured, the TEAC NAS
Microserver will function as an Access Point to your wired network, enabling the
Microserver to communicate with any system equipped with an IEEE 802.11b
Wireless Connection
wireless LAN adapter. (Note: A wireless LAN card is built into the TEAC NAS
TEAC Vendotto Operation Manual
Microserver. If a wireless LAN card is not already installed in your PC, you will
need to install one to enable wireless communication.) For more information, refer
to the
Installing the Vendotto Manager Software
Insert the floppy disk that contains the Vendotto Manager software into a floppy disk
icon, and follow the instructions on screen to complete the
Setup.exe
drive on the host setup computer, which must be connected to the network.
Double-click the
installation.
4
Page 6

field
7
User Name field
Password
OK button
(Figure 8).
.
Admin
Figure 7. Enter Network Password Panel
Vendotto Main Menu
field, key in
button (Figure 7).
OK
User Name
This field is case-sensitive, so be sure to capitalize “A.” Leave the
blank. (You can assign a password later).
6. In the
The browser will display the
7. Click the
button
Basic-Setup
Vendotto WebTool
] button in
Network-Setup, Server-Setup, User-
panel. Enter data into this panel as
Basic Setup
Operation Manual
button (Figure 8).
Figure 8. Vendotto Main Menu (Partial Screen)
Basic-Setup]
, etc., as illustrated in Figure 8) completing the corresponding panels as
The browser will display the
required. Then continue across the menu bar (
required
Refer to the online Vendotto Operation Manual for more information. You can
access this document by clicking the [
Setup
(Figure 6).
8. Click the [
OK button
button
button in Figure 5.)
on the Internet. (If your
] (Figure 5).
NAS
Figure 5. Vendotto Manager Displaying New IP Address
WebTool button
NAS Microserver entry
4. Double-click on the NAS Microserver name [
WebTool
Vendotto WebTool
Vendotto Manager will launch your system’s web browser (Internet Explorer is
used in these examples) and access the
browser fails to launch automatically, click the
Start the Configuration
Operation Manual
button
screen (Figure 6).
panel (Figure 7).
Vendotto Welcome
button on the
Enter Network Password
]
Figure 6. Vendotto Welcome Screen
Start the Configuration
The software will display the
5. Click the [
6
 Loading...