

Page 1
Help Desk / Support Details
Swann Technical Support
All Countries E-mail: tech@swann.com.au
Telephone Helpdesk
UNITED STATES toll free
1-800-627-2799
1-877-274-3695
(Sun-Thurs, 2pm-10pm US PT)
USA Exchange & Repairs
562-777-2551
(Mon-Fri, 9am-5pm US PT)
AUSTRALIA toll free
1300 13 8324
(Mon-Fri, 9am-5pm Aus ET)
New Zealand toll free
0800 479 266
+61 3 8412 4610
(Mon-Fri, 9am-5pm Aus ET)
See http://www.worldtimeserver.com for information on different time zones
and the time in Melbourne Australia compare to your local time.
Warranty Information
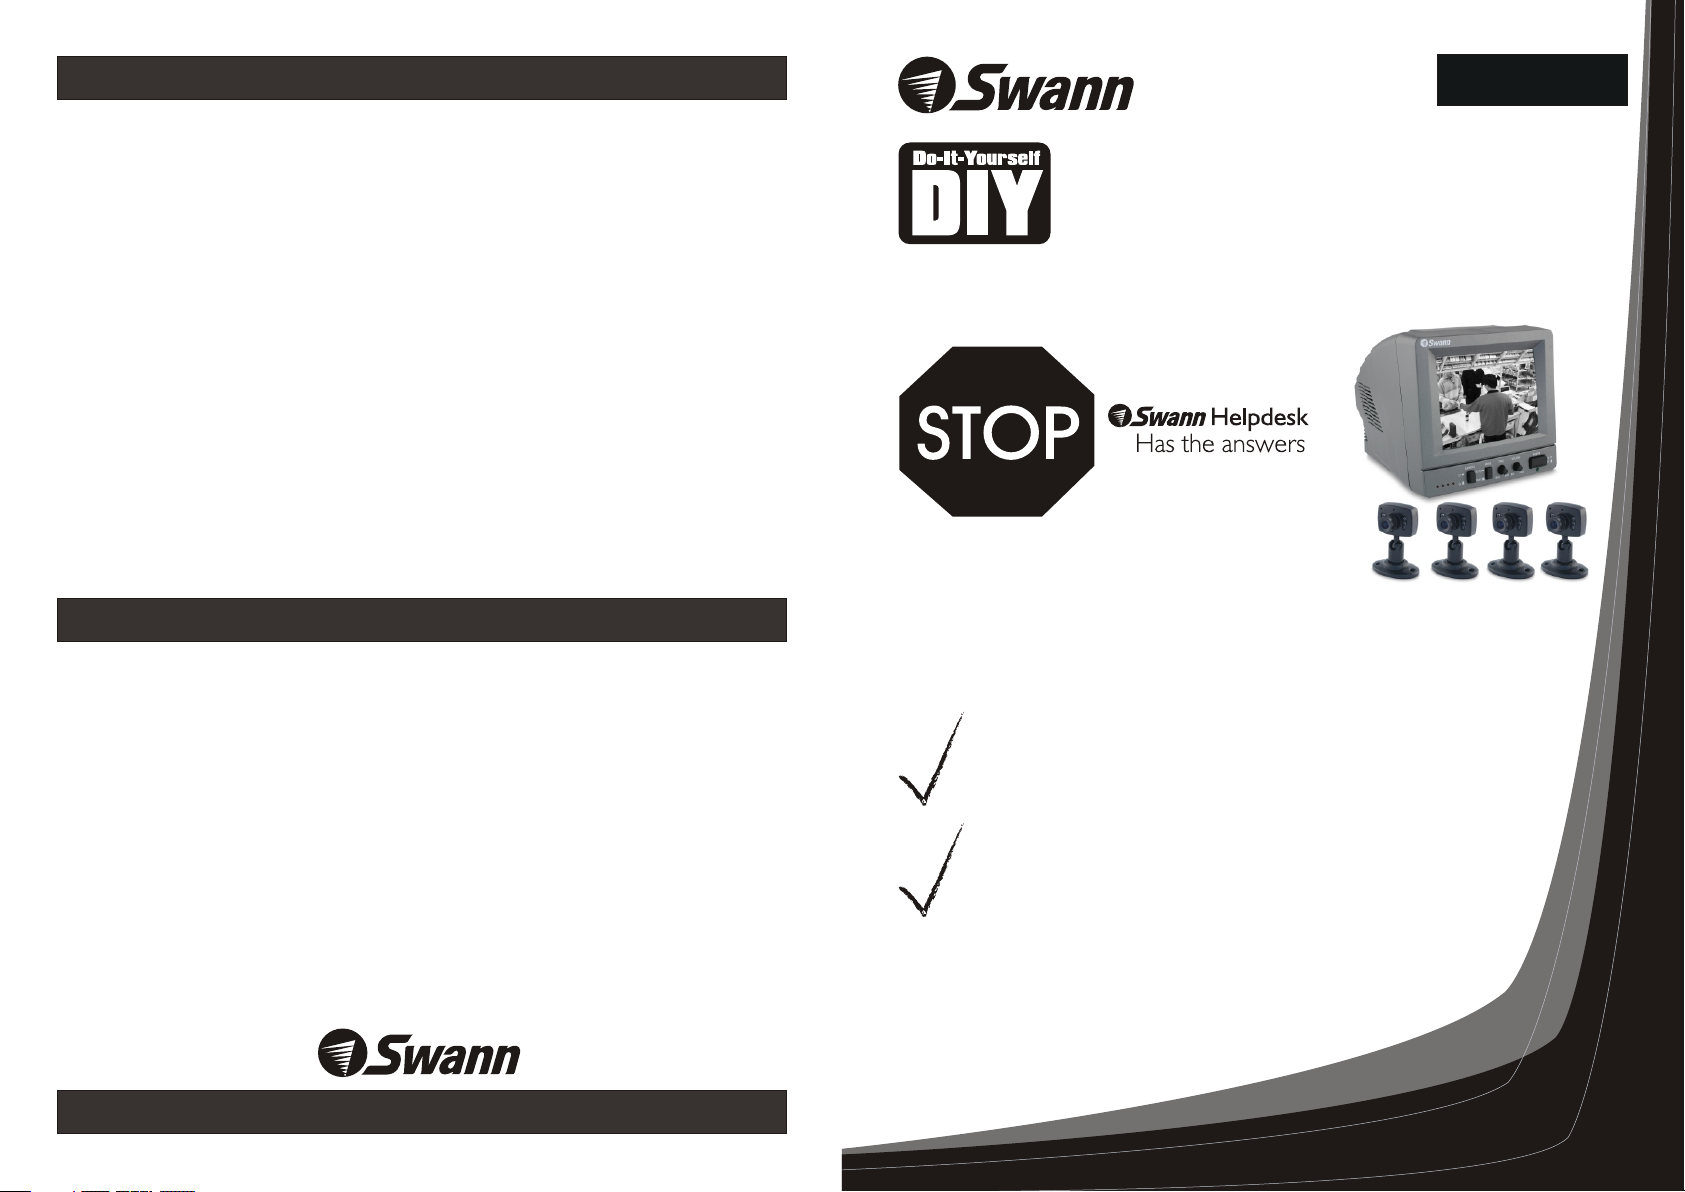
English
Security Kit
4 CCTV Cameras Security
Monitoring System
International
Swann Communications warrants this product against defects in workmanship
and material for a period of one (1) year from it’s original purchase date. You must
present your receipt as proof of date of purchase for warranty validation. Any unit
which proves defective during the stated period will be repaired without charge for
parts or labour or replaced at the sole discretion of Swann. The repair or
replacement will be warranted for either ninety days or the remainder of the
original one year warranty period, whichever is longer. The end user is responsible
for all freight charges incurred to send the to Swann’s repair centres.
end user is responsible for all shipping costs incurred when
any country other than the country of origin. The warranty does not cover any
incidental, accidental or consequential damages arising from the use of or the
inability to use this . Any costs associated with the fitting or removal of this
product by a tradesman or other person or any other costs associated with its use
are the responsibility of the end user. This warranty applies to the original
purchaser of the only and is not transferrable to any third party.
Unauthorised end user or third party modifications to any component or evidence
of misuse or abuse of the device will render all warranties void.
product
product
product The
shipping from and to
www.swannsecurity.com
If this device does not work when you first plug it
in, do not take it back to the store.
Contact the Swann Helpdesk using our fast e-mail service
tech@swann.com.au or call us on one of the Toll-Free
numbers shown on the back cover of this booklet.
Most problems can be quickly and easily fixed with a simple
e-mail or a quick chat with one of our friendly technical staff.
(Toll-Free available in the US and Australia only)
Installation Guide
Page 2

Tips for locating your camera
You should position your cameras to cover the areas most exposed to risk.
See our suggestions below for some ideas:
DVR4NE T - PLUS
4 Came ra D ig it al V id eo Rec or de r
DIY Se curit y Kit
2 Real & 2 Imitation Camer as
Secu ri ty M on it or in g Sy st em
CCTV Pro fessi onal 4 Ca me ra Pac k
Professional Secur it y Ca me ra
Nigh t Hawk
Wi re le ss O ut do or C amera
Micr ocam II
Wi re le ss S ec ur it y Camera
Imit ation D ome Cam
Imit at io n Se cu ri ty C am er a
AV Powe r Ca ble - 18m /60ft
Came ra A cc es so ry
1. Doorways
5. Reception
areas
2. Windows 3. Car Parks
6. Cash
register
7. Mix
dummies
& real
cameras
** Avoid this unit from moist, damp environment or other wet weather conditions.
Please visit www.swann.com.au for our full camera range.
Where to Place The Security Stickers:
1. On your front window
2. On side windows
3. Near entrance points - doors, gates
4. Next to a dummy camera mounted outside
5. On the front counter
6. On the cash register
7. Next to an obvious camera
4. Verandahs
Page 3

Trouble Shooting
Package Contents
No Image On Screen: Ensure power is correctly turned on. Check that
video cable is correctly connected and the connector has been plugged in
properly.
Blurry Image: Ensure lens is correctly fitted and if necessary re adjust
focus by rotating the lens until image is clear.
Image is too Bright or too Dark: Adjust the Brightness or Contrast
knobs on the back of the monitor until the image is clear.
Flicking Image: Adjust the V-Hold knob on the back of the monitor until
the image is stable.
Image not Switching: Ensure the Switching Mode button is set to
AUTO, you can also rotate the Dwell Time knob to the shorter time
setting.
How do I use the Audio/Video outputs on the monitor?
You will need to purchase an A/V cable with RCA male connections,
plug one and into the Audio/Video output sockets on the back of the
monitor, and the other end into your TV or monitor’s Audio/Video input
sockets.
If you have an A/V TV with RCA sockets you will need to switch the TV
to the AV channel to view the image. To view the image connected to
your VCR, you will need to select the AV input you have connected this
security monitor to on the VCR, turn your TV onto the channel you would
normally use to view a tape or movie on your VCR. This channel may be
activated by a button on your remote that is marked with this symbol ,
or L1 or L2 or possibly AV1 or AV2 . Please read the instructions for
your VCR or TV for more information on using their A/V inputs.
1. 4ch Security Kit Monitor
2. Monitor DC Power Adaptor (design may vary depending on country)
3. 4 x Security Cameras
4. 4 x RCA - DIN Signal Cable
1
1
3
2
WARNING: IMPORTANT
NOTICE ABOUT CORRECT
USE OF POWER ADAPTER
The correct orientation
for the enclosed power
adapter is in a vertical
or floor mount position.
L’orientation correcte pour
L’adapteur secteur fourni
est dans une position
verticale ou plancher-
monte.
La orientacion correcta para
el adaptador electrico incluido
es en posicion vertical o instalado
en el suelo.
FCC NO TI CE WAR NING STATE MENT
This d ev ice com pl ies wit h Pa rt 15 of FC C Ru les.
Oper at ion is su bj ect to th e fo llowi ng t wo cond it ions:
(1) This d ev ice may n ot c ause ha rm ful inter ference , and
(2) th is d evice m us t accep t an y inter fe rence r ec eived ,
incl ud ing int er feren ce t hat may c au se unde si red ope ra tion
4
Page 4

Connect the Cameras to Your Monitor
Monitor Feature
4
Power Adaptor
3
DC plug
RCA & DC
Sockets
Rear View
Monitor
2
5
1
e
l
DIN Plug
N
bSi
IR
a
- D
C
l
a
A
18m
n
C
g
RCA & DC
6
D
T
E
R
H E
W I
7
Mini
Plugs
OW
LL
E
Camera
Y
These step by step instructions are provided for you to enable a quick and
simple installation of your camera. Please refer to the diagram above for
details.
Step 1: Plug the Mini DIN plug (1) on the RCA-DIN Signal Cable into the Mini DIN
socket (2) on the back of the monitor.
Step 2: Plug the colored RCA & DC Plugs (6) on the other end of RCA-DIN Signal
Cable into the respective colored RCA & DC Sockets (7) on the camera cable.
Channel
Indicators
DC Power
Socket
Channel
Selector
Channel
Input
Front View
Switching
Mode
Dwell
Time
Rear View
Brightness
Video
Hold
Volume
Contrast
Power
Switch
Audio/Video
Output
Channel Selector: Push this button to
select the camera you like to view.
Switching Mode: Push this button to
select the switching mode between
cameras, Automatic(AUTO) or
Manual(MANU).
Dwell Time: Rotate this knob to
change the delay time switching
between cameras.(only available in
AUTO mode)
Volume: Rotate this knob to adjust the
volume.
Video Hold: Rotate this knob to
adjust the stability of the video
appeared on the monitor.
Brightness: Rotate this knob to
adjust the brightness of the video
on the monitor.
Contrast: Rotate this knob to adjust
the contrast of the video on the
monitor.
Step 2: Connect the DC Plug (3) on the Power Adaptor (4) into the DC Socket (5)
on the back of the monitor.
Repeat the steps 1 & 2 for each cameras.
Step 3: Plug the Power Adaptor (4) in the main power point on your wall and
switch on. Push the power switch on the monitor to (ON) position.
Please Note: Please ensure that you only use the DC power supply that is
supplied with your Monitoring Kit. Use of any unauthorised power supplies may
void your warranty.
NOTE:
All jurisdictions have specific laws and regulations relating to the use of cameras.
Before using any camera for any purpose, it is the buyer’s responsibility to be
aware of all applicable laws and regulations that prohibit or limit the use of
cameras and to comply with the applicable laws and regulations.
The legality of watching people other than yourself changes from country to
country and even state to state. Contact your local government's privacy
information body or your local Police for more information on what if any
restrictions you may face.
 Loading...