

Page 1
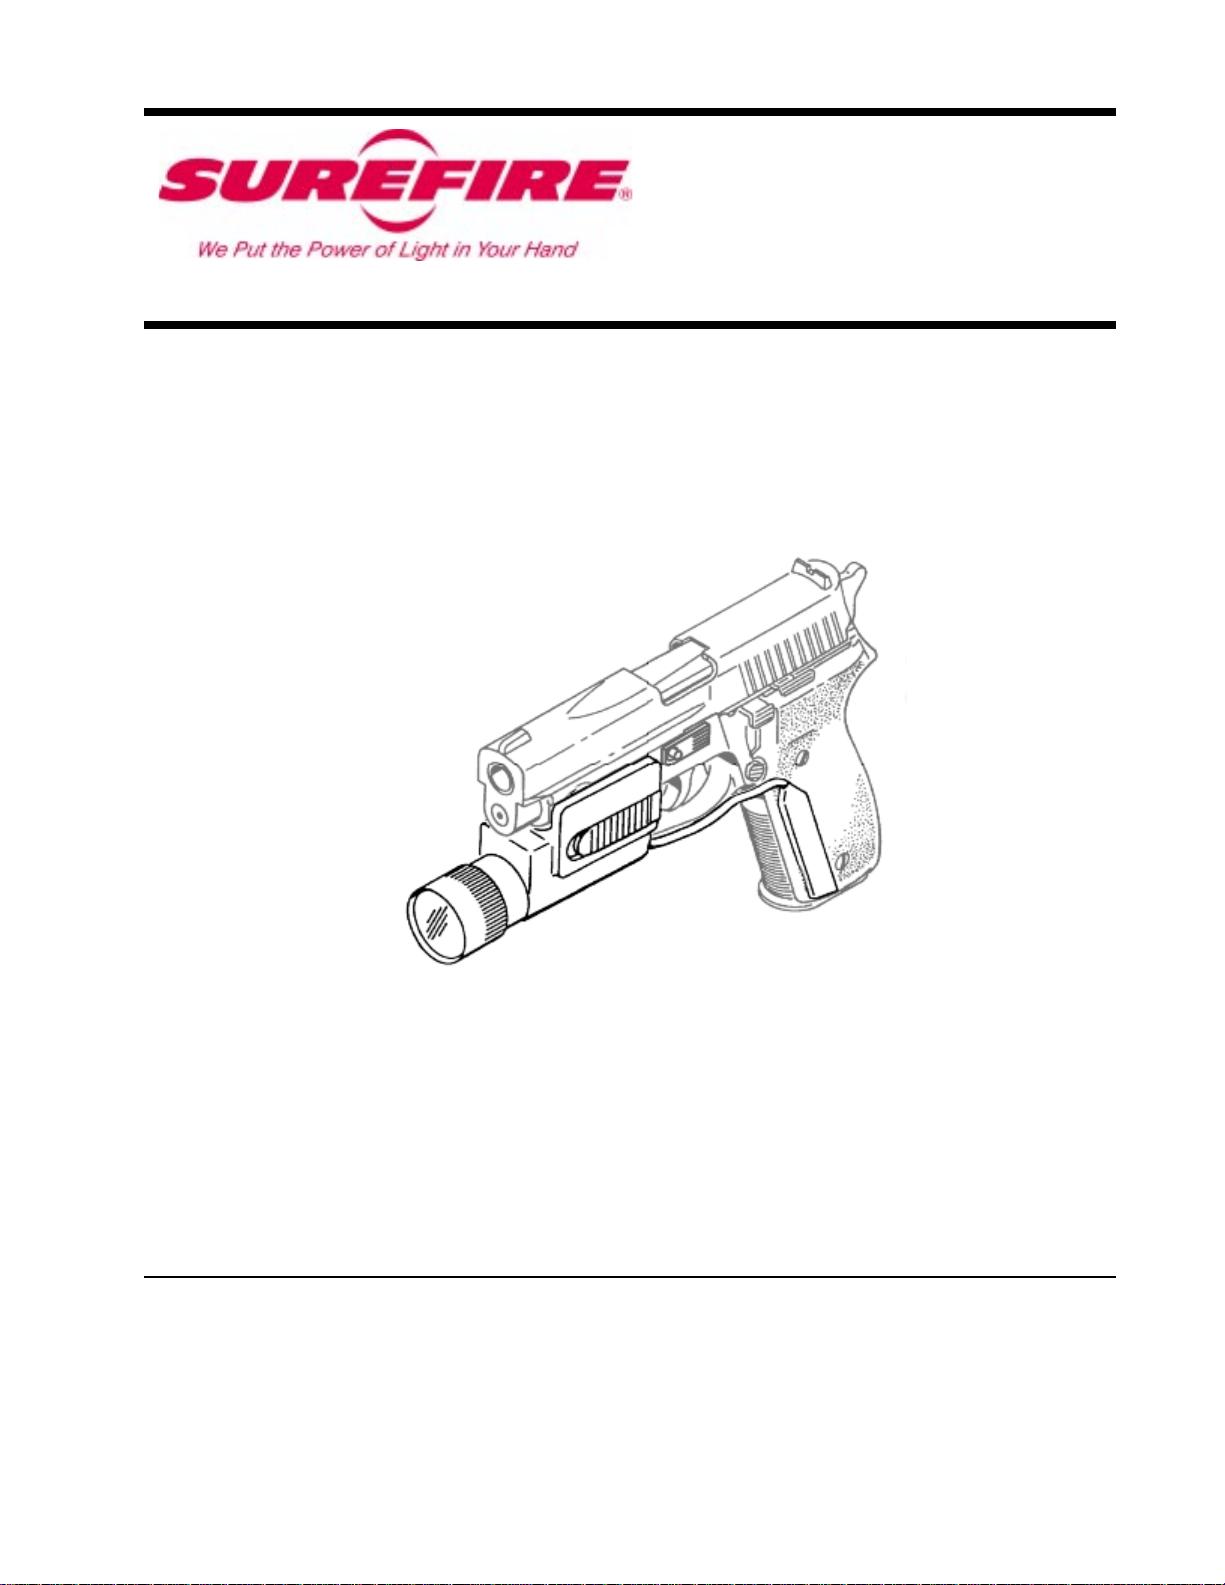
Model 340A04
Waterproof T actical Light for Sig Sauer
P228 & 229 9mm
Revision N/C 4-1-96
Page 2

Model 340A04 Waterproof Tactical Light
Introduction
The Model 340A04 Waterproof Tactical Light provides a rugged and reliable source of high
intensity light mounted below the barrel of the weapon. The Tactical Light is waterproof for deep
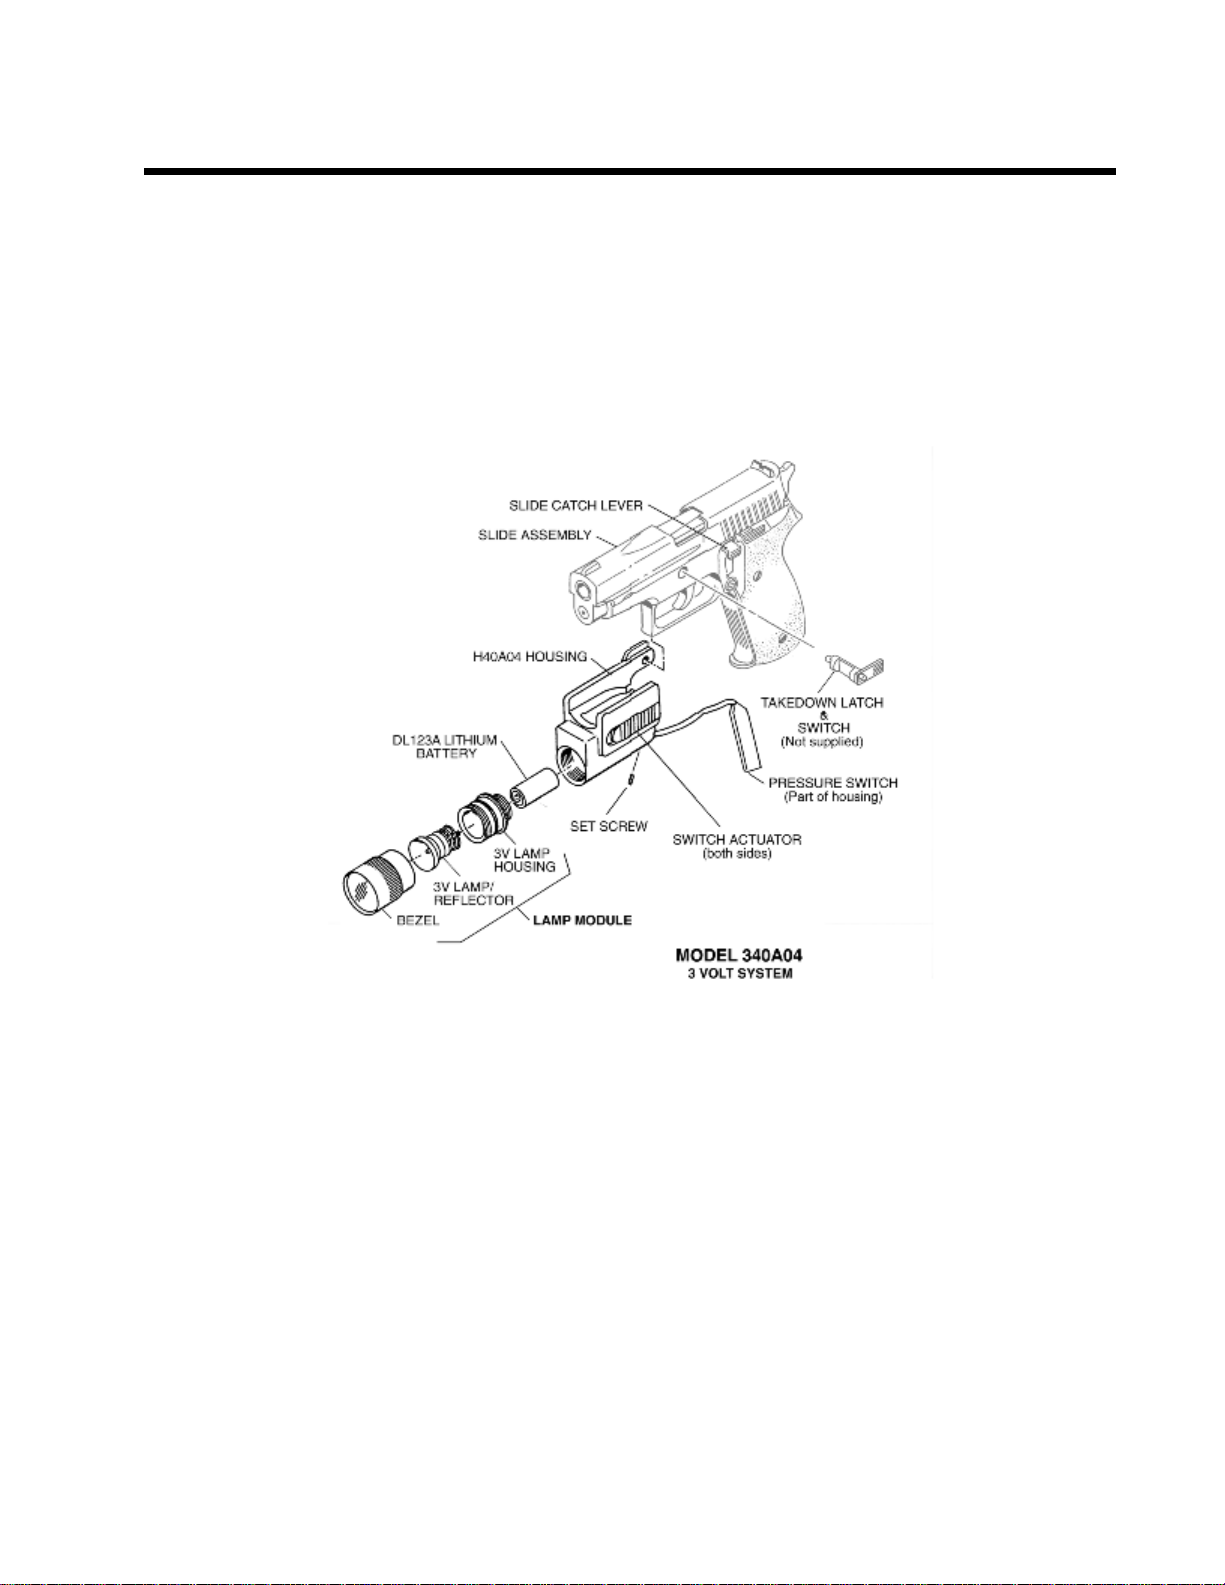
submersion. The light can be activated by pressing on the Pressure Switch attached to the handgrip or
by pushing forward on the Switch Actuator Plates on the sides of the Housing.
Installation
1. Remove the magazine from the weapon and inspect the weapon to be certain it is not loaded.
2. Retract the Slide and latch it back using the Slide Catch Lever.
3. Rotate the Take Down Latch 90 degrees clockwise.
4. Depress the Slide Catch Lever and remove the Slide Assembly from the weapon frame.
5. Remove the Take Down Latch from the frame.
6. Position the H40A04 Housing on the frame so that the attachment pin hole is aligned with
the Take Down Latch hole.
7. Install new Take Down Latch (not suplied).
8. Position the Take Down Latch so that the arm faces downward. Install the slide assembly
and latch it back.
9. Rotate the Take Down Latch 90 degrees counter clockwise to its normal position and close
Slide.
10. Using the Hex Wrench provided in the Kit, tighten the Set Screw in the base of the Housing
until it contacts the trigger guard then turn the set screw out 1/8 turn so as not to put tension
on the Slide Stop. After firing 500 rounds the Set Screw may loosen, remove it and install
the extra Set Screw provided in the Kit.*
11. Select the location desired on the weapon for mounting the Pressure Switch. Clean the
surface of the position selected with alcohol to remove oil & dirt.
12. Using the Velcro provided in the Kit, remove the paper backing from the “loop” section of
Velcro and press in place on clean area.
13. Wipe the flat side of the Pressure Switch with alcohol to remove oil & dirt.
14. Remove the paper backing from the Velcro “hook” and press it in place on the rear side of
the Pressure Switch.
15. Using Velcro, position the Pressure Switch on the weapon. Route the cable so that it does
not interfere with the weapon operation.
16. Install the battery with the + terminal facing out.
17. Install the Lamp Module. Unit is now ready for use.
Page 3

Model 340A04 Waterproof Tactical Light
Kit Contents
! H40A04 Housing
! L30 Lamp Module
! DL123A Battery
! Velcro Hook & Loop
! Extra Set Screw
! Hex Wrench
! Alcohol Wipe
! Users Manual
* Additional set screws are available in a Ten Pack, order P/N 12010-1.
Lamp Replacement
1. Unscrew Bezel from Lamp Module. Lift Lamp assembly out of Bezel.
2. Install replacement Lamp Assembly inBezel and reassemble by screwing onto Lamp Housing
until it is fully seated.
Battery Replacement
1. Unscrew Lamp Module from Housing and shake out old battery.
2. Install new battery with the + terminal facing out.
3. Reinstall Lamp Module.
WARNING
Lithium batteries can explode or cause burns if disassembled,
shorted, recharged or exposed to fire or high temperatures. Please
handle with care.
Page 4
Sure-Fire LLC
Page 5

Model 340A01 Waterproof Tactical Light
Caution
The battery used in the light is very powerful. Be sure that the switch is not touching anything
when the light is stored. If the lamp is turned on while in a case or other container, the lamp can
overheat and damage the light or surrounding materials. Remove the battery or unscrew the
bezel far enough to prevent the lamp from turning on when stored.
Do not use a 3 Volt Lamp Assembly in a 6 Volt system. The lamp will burn out Immediately!!!
T o identify a lamp assembly: the 3 volt lamp has a Red label and is marked R30, the 6 volt has a
Blue or Green label and is marked R60 or P60.
If it is necessary to dispose of any batteries, do not do so by fire, mutilation or by disassembly ,
as this may cause toxic chemicals to be released.
Repairs & Replacements
To obtain repair or replacement call Customer Service at 800-828-8809 (toll free) or 714-5459444 and obtain a Return Authorization number (RA). Then pack the unit carefully and return (no
COD’s please) to:
SureFire LLC
Repairs Department, RA# ___
18300 Mt. Baldy Circle
Fountain Valley, CA 92708
Surefire will pay any reasonable shipping costs to return the unit to you.
Warranty
SureFire LLC warrants that its products will be fr ee fr om defects in materials and workmanship. SureFire LLC will repair or replace (at its option), without charge, any product or
part which is found to be defective under normal use and service. Such repair or replacement
shall be the purchaser’s sole and exclusive remedy under this warranty. This warranty does not
include normal maintenance and services and does not apply to any products or parts which
have been subject to modification, misuse, negligence, accident, improper maintenance or
repair by anyone other than SureFir e.
“Fine Print” Warranty Limitation
There is no other express warranty. SureFire LLC hereby disclaims any and all implied
warranties, including, but not limited to fitness for a particular purpose. SureFire LLC shall not
be liable for incidental, consequential, or special damages arising out of, or in connection with
product use or performance.
um_H40A_6.401
WARNING
Lithium batteries can explode or cause burns if disassembled,
shorted, recharged or exposed to fire or high temperatures. Please
handle with care.
18300 Mt. Baldy Circle, Fountain Valley, CA 92708 (714) 545-9444
 Loading...