surefire 313, 613 User Guide

Model 313
613
Beretta Tactical Light
Users Manual
BERETTA PISTOLS
92F, 92SB & 96F Series
Protected by US. Patents 4,777,754, & 4,856,218
Revision B 11_1_95

Model 313 & 613 Tactical Light
Introduction
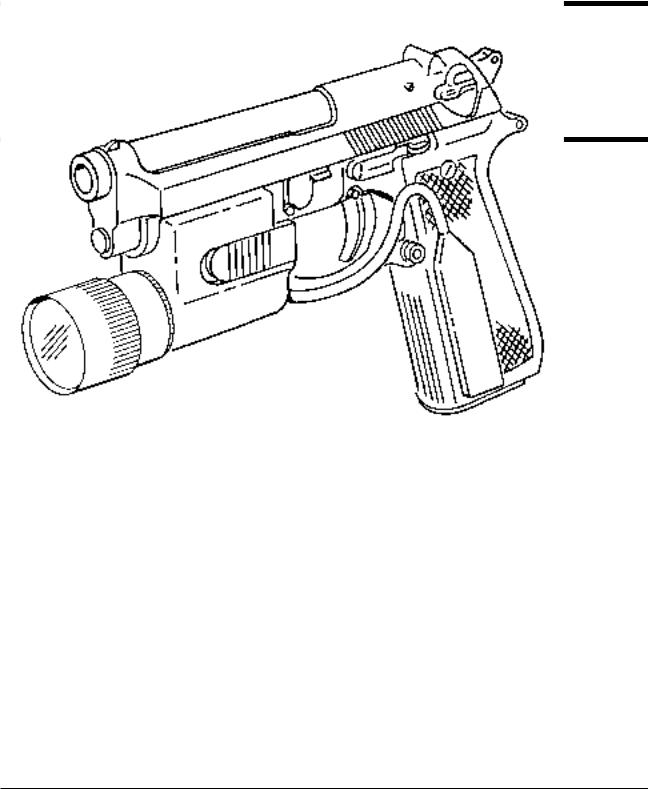
The Model 313 & 613 Tactical Lights provide a rugged and reliable source of high intensity light that is integrated into the weapon. The lamp is shock isolated. The Housing holds the lamp and battery and is attached to the pistol frame with a Disassembly Latch. The light can be activated by pressing on the Pressure Switch attached to the handgrip or by pushing forward on the Switch Actuator Plates on the sides of the Housing.
Kit Contents
!H13 Housing
!L30 or L60 Lamp Module
!DL123A or DL223AC Battery
!Velcro Hook & Loop
!Disassembly Latch
!Extra Set Screw
!Hex Wrench
!Alcohol Wipe
!Users Manual
* Additional set screws are available in a Ten Pack, order P/N 12010-1.
Installation
1.Remove the Magazine from the weapon and inspect the weapon to be certain it is not loaded.
2.Retract the Slide and latch it back using the Slide Catch Lever.
3.Rotate the Disassembly Latch 90 degrees clockwise.
4.Depress the Slide Catch Lever and remove the Slide Assembly from frame.
5.Remove the Disassembly Latch from the frame.
6.Position the H13 Housing on the frame so that the attachment pin hole is aligned with the Disassembly Latch hole.
7.Install the Disassembly Latch provided in the kit into the frame so that the pin on the end of the latch seats fully into the Housing.
8.Position the Disassembly Latch so that the arm faces downward. Install the slide assembly and latch it back.
9.Rotate the Disassembly Latch 90 degrees counterclockwise to its normal position
and close Slide.
10.Using the Hex Wrench provided in the Kit, tighten the Set Screw in the base of the Housing until it contacts the trigger guard then turn the set screw out 1/8 turn so as not to put tension on the Disassembly Latch. After firing 500 rounds the Set Screw may loosen. Retighten Set Screw as required. If the Set Screw becomes worn and will not stay in place, remove it and install the extra Set Screw provided in the Kit.*
 Loading...