

Page 1
SX288C 1 Rev. 03/23/04
Operating Instructions • Warning Information • Parts Breakdown
SPECIFICATIONS
Pad Size ......................16" x 2-1/2
Stroke Length ..............................1"
Strokes Per Min ......................2500
Avg. Air Cons. ....................8 CFM
Rec. Air Pressure ..................90 PSI
Sound Level ........................93 dBA
Height................................6-3/16"
Length ......................................16"
Shipping Wt. ..........................7 lbs.
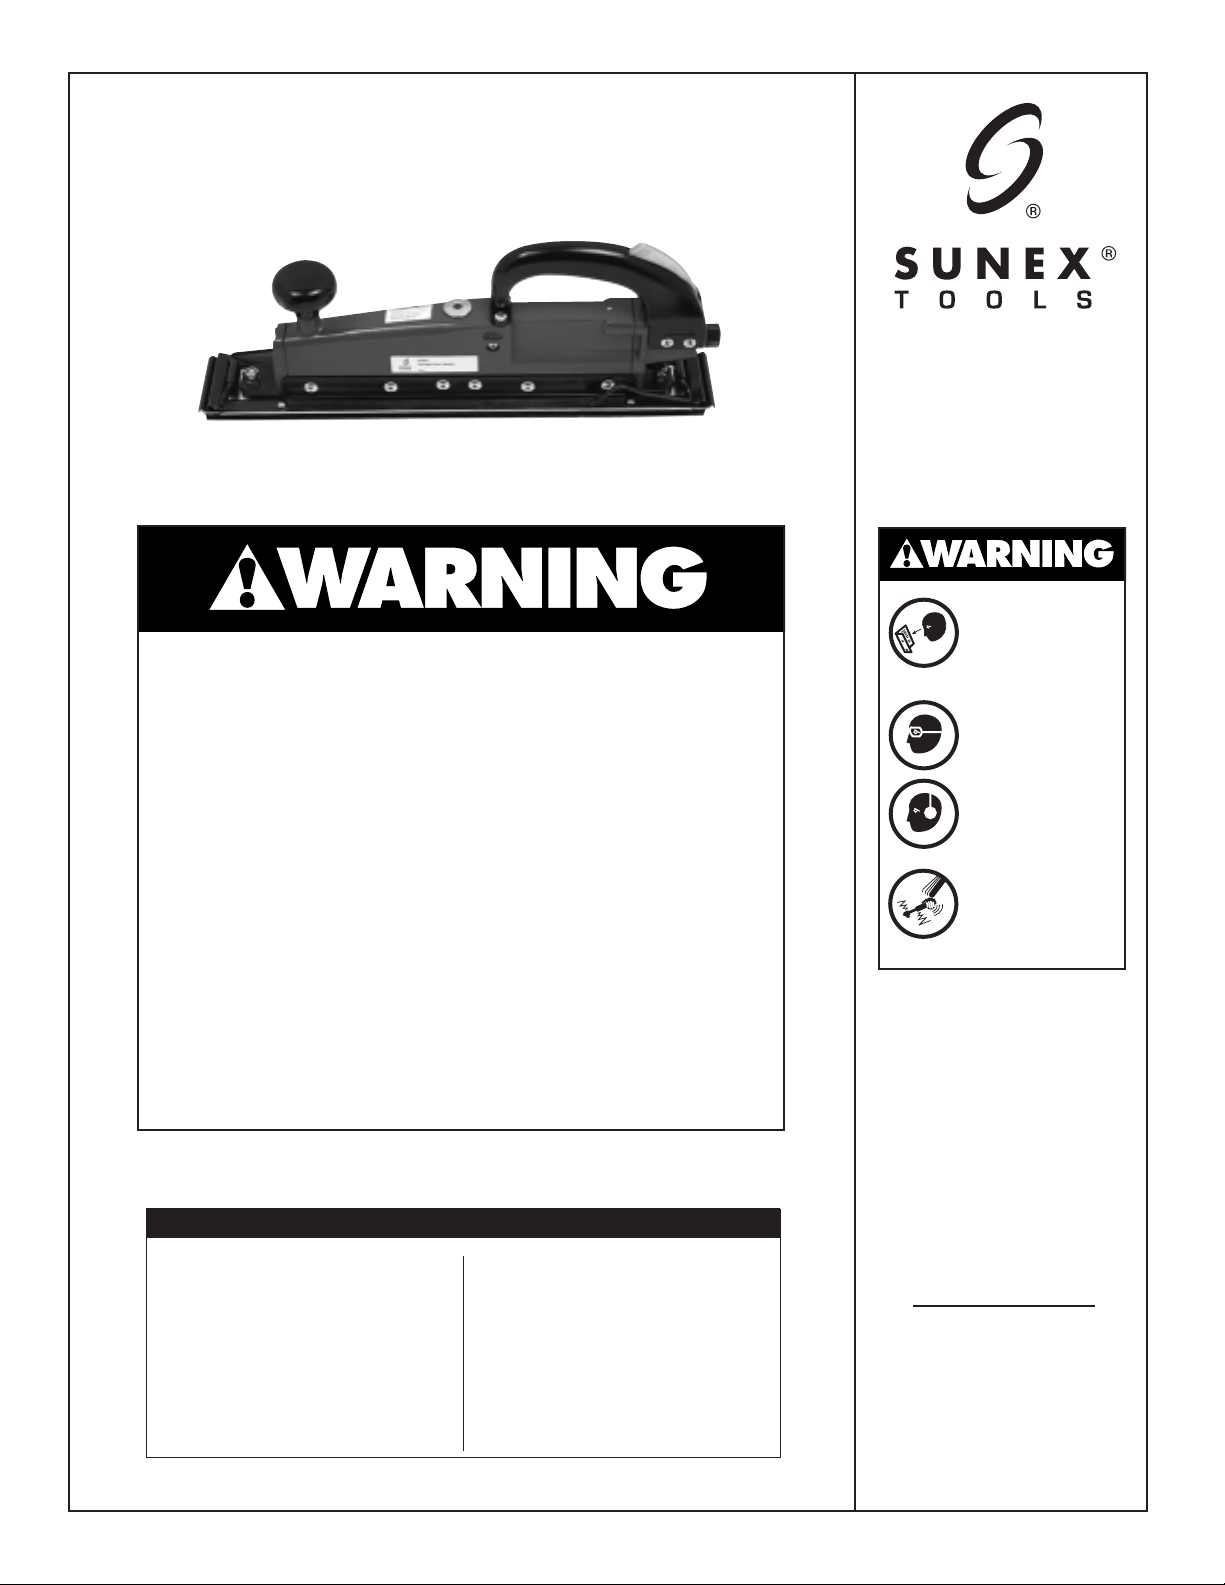
SX288C
DUAL PISTON
STRAIGHT
LINE SANDER
ALWAYS READ
INSTRUCTIONS
BEFORE USING
POWER TOOLS
ALWAYS WEAR
SAFETY GOGGLES
WEAR HEARING
PROTECTION
AVOID
PROLONGED
EXPOSURE TO
VIBRATION
Some dust created by power sanding, sawing, grinding, drilling,
and other construction activities contains chemicals known to
cause cancer, birth defects or other reproductive harm. Some
examples of these chemicals are:
• lead from lead-based paints,
• crystalline silica from bricks and cement
and other masonry products, and
• arsenic and chromium from
chemically-treated lumber.
Your risk from these exposures varies, depending on how often
you do this type of work. To reduce your exposure to these
chemicals: work in a well ventilated area, and work with
approved safety equipment, such as those dust masks that are
specially designed to filter out microscopic particles.
Page 2
SX288C 2 Rev. 03/23/04
THIS INSTRUCTION MANUAL CONTAINS
IMPORTANT SAFETY INFORMATION.
READ THIS INSTRUCTION MANUAL
CAREFULLY AND UNDERSTAND ALL
INFORMATION BEFORE OPERATING
THIS TOOL.
• Always operate, inspect and maintain this
tool in accordance with American National
Standards Institute Safety Code of Portable
Air Tools (ANSI B186.1) and any other
applicable safety codes and regulations.
• For safety, top performance and maximum
durability of parts, operate this tool at 90
psig/6.2 bar max air pressure with 3/8"
diameter air supply hose.
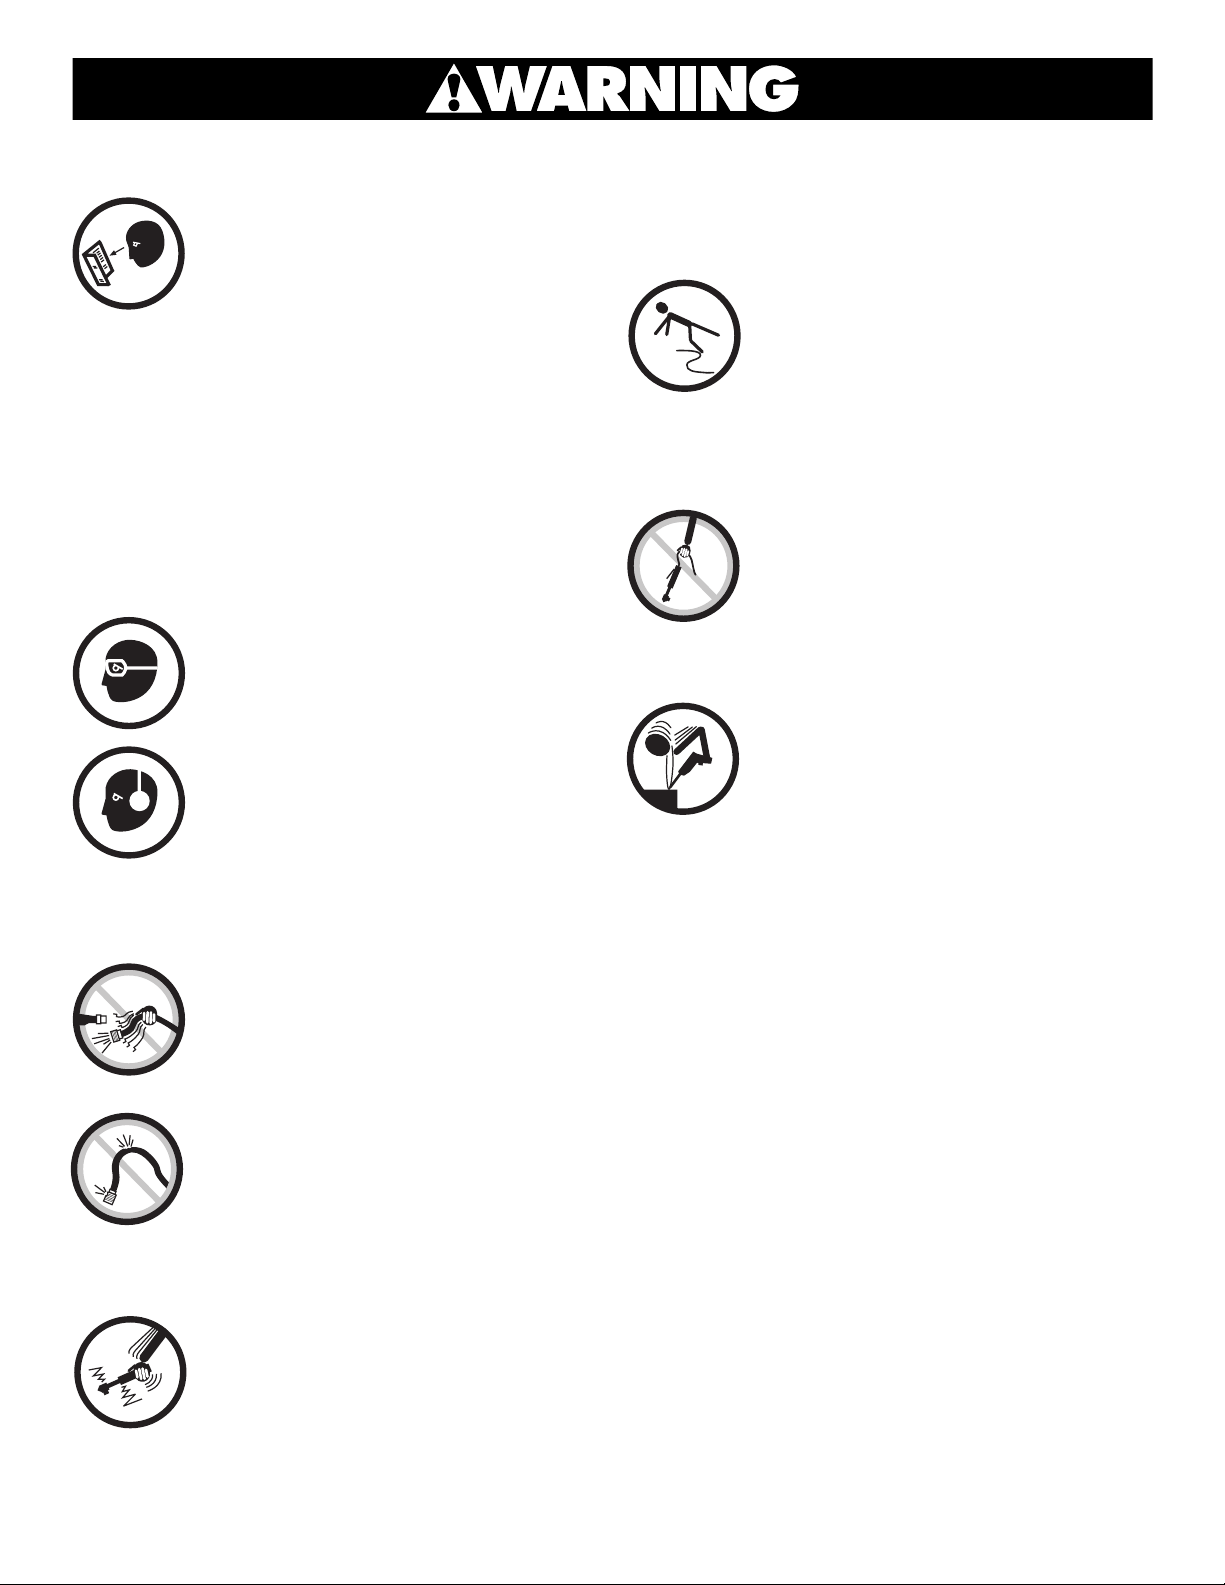
• Always wear impact-resistant eye and face
protection when operating or performing
maintenance on this tool. Always wear
hearing protection when using this tool.
• High sound levels can cause permanent
hearing loss. Use hearing protection as
recommended by your employer or OSHA
regulation.
• Keep the tool in efficient operating condition.
• Operators and maintenance personnel must
be physically able to handle the bulk,
weight and power of this tool.
• Air under pressure can cause severe injury.
Never direct air at yourself or others.
Always turn off the air supply, drain hose of
air pressure and detach tool from air supply
before installing, removing or adjusting any
accessory on this tool, or before performing any
maintenance on this tool. Failure to do so
could result in injury. Whip hoses can cause
serious injury. Always check for damaged,
frayed or loose hoses and fittings, and
replace immediately. Do not use quick
detach couplings at tool. See instructions for
correct set-up.
• Air powered tools can vibrate in use.
Vibration, repetitive motions or
uncomfortable positions over extended
periods of time may be harmful to your
hands and arms. Discontinue use of tool if
discomfort, tingling feeling or pain occurs.
Seek medical advice before resuming use.
FAILURE TO OBSERVE THESE WARNINGS COULD RESULT IN INJURY.
• Place the tool on the work before starting
the tool.
• Slipping, tripping and/or falling while
operating air tools can be a major cause of
serious injury or death. Be aware of excess
hose left on the walking or work surface.
• Keep body working stance balanced and
firm. Do not overreach when operating the tool.
• Anticipate and be alert for sudden changes
in motion during start up and operation of
any power tool.
• Do not carry tool by the hose. Protect the
hose from sharp objects and heat.
• Tool shaft may continue to rotate briefly
after throttle is released. Avoid direct
contact with accessories during and after
use. Gloves will reduce the risk of cuts or burns.
• Keep away from rotating end of tool. Do
not wear jewelry or loose clothing. Secure
long hair. Scalping can occur if hair is not
kept away from tool and accessories.
Choking can occur if neckwear is not kept
away from tool and accessories.
• Never mount a grinding wheel on a sander.
A grinding wheel that bursts can cause very
serious injury or death when not properly
guarded. Inspect backing pad before each
use. Do not use if cracked of damaged.
• Avoid direct contact with moving sanding
pad to prevent pinching or cutting of hands
or other body parts.
• Do not lubricate tools with flammable or
volatile liquids such as kerosene, diesel or
jet fuel.
• Do not force tool beyond its rated capacity.
• Do not remove any labels. Replace any
damaged labels.
Page 3

Ref. # Item # DESCRIPTION QTY.
1 RS28601 Hose Adaptor 1
2 RS28602 Cap Screw 6
3 RS28603 Rear Cap 1
4 RS28604 Valve Spring 1
5 RS28605 O-Ring 1
6 RS28606 Throttle Valve 1
7 RS28607 Valve Plug 1
8 RS28608 Valve Bushing 1
9 RS28609 Oil Cotton 4
10 Oil Cotton (Included in #27) 1
11 RS28611 Gasket 1
12 Flat Gear (Included in #14 & 38) 4
13 Rivet (Included in #14 & 38) 8
14 RS28614A Piston Assembly (Incl. #12, 13) 2
15 RS18615 Piston Ring 4
16 Cylinder (Included in #27) 2
17 RS28617 Screw 4
18 RS28618 Spring Pin 1
19 RS28619 Trigger 1
20 RS28620 Handle 1
21 RS28621 Screw 2
22 RS28622 Plug 1
23 RS28623 O-Ring 1
24 Pin (Included in #27) 1
25 RS28625 Switch 1
26 RS28626 Palm Handle 1
27 RS28627 Housing (Incl. #10, 16, 24, 46, 50 & 51)) 1
28 RS28626 Front Cover 1
29 * Wire Clip 2
Ref. # Item # DESCRIPTION QTY.
30 * Rivet 8
31 * Compression Spacer 2
32 * Fixed Plate 2
33 RS28633 Screw 2
34 * Foam Pad 1
35 * Pad Plate 1
36 Rivet (Included in #38) 2
37 RS28637 Cap Screw 2
38 RS28638A Carrier Assembly (Incl. #12, 13, 36, 40) 1
39 RS28639 Locking Nut 2
40 Slide Gear (Included in #38) 1
41 RS28641 Brass Plate 4
42 RS28642 Screw 8
43 RS28643 Gear 2
44 RS28644 Gear Shaft 2
45 RS28645 Switch Gear 1
46 Switch Sleeve (Included in #27) 1
47 RS28647 Boat Guide 2
48 RS28648 Screw 12
49 RS28649 Screw 1
50 Rivet (Included in #27) 1
51 Plug (Included in #27) 1
53 RS28653 Needle Bearing 4
54 RS28654 Front Gasket 1
55 RS28655 Washer 1
56 RS28656 Washer 2
57 * Plastic Plug 2
58 RS28658 Screw 2
SX288C 3 Rev. 03/23/04
SX288C
Dual Piston
Straight Line Sander
* Only available as Ref. # 59 - RS28635A Pad Assembly (incl. #29, 32 - 35, 57)
Page 4

SX288C 4 Rev. 03/23/04
Air Supply...
Tools of this class operate on a wide range of air pressures. It is
recommended that air pressure of these tools measures 90 PSI at
the tool while running free. Higher pressure and unclean air will
shorten tool life because of faster wear and may create a
hazardous condition.
Water in the air line will cause damage to the tool. Drain the air
tank daily. Clean the air inlet filter screen on at least a weekly
schedule. The recommended hookup procedure can be viewed in
Figure 1.
The air inlet (B) Figure 2, used for connecting air supply, has
standard 1/4" NPT American Thread.
Line pressure should be increased to compensate for unusually long
air hoses (over 25 feet). Minimum hose diameter should be 3/8"
I.D. and fittings should have the same inside dimensions.
Lubrication...
Lubricate the tool daily with a good grade of air tool oil. If no air
line oiler is used, run a teaspoon of oil through the tool. The oil can
be squirted into the tool air inlet (B) Figure 2, or into the hose at the
nearest connection to the air supply, then run the tool. A rust
inhibitive oil is acceptable for air tools.
WARNING: After an air tool has been lubricated, oil will discharge
through the exhaust port during the first few seconds of operation.
The exhaust port must be covered with a towel before applying air
pressure to prevent serious injury.
Troubleshooting...
Other factors outside the tool may cause loss of power or erratic
action. Reduced compressor output, excessive drain on the air line,
moisture or restrictions in air pipes or the use of hose connections of
improper size or poor condition may reduce air supply. Grit or gum
deposits in the tool may cut power and may be corrected by
cleaning the air strainer and flushing out the tool with gum solvent
oil or an equal mixture of SAE #10 oil and kerosene. If outside
conditions are in order, and the tool continues erratic action or low
power, disconnect tool from hose, and take tool to your nearest
authorized service center.
Operation...
Start the sander off the work, set it down on the work evenly and
move it slowly back and forth in wide, overlapping areas. When
finished sanding, lift sander off the work before stopping the motor.
To install sandpaper, flip up levers on paper clips. Insert pre-cut 19"
x 2-1/2" sandpaper under paper clips. Push levers back down to
secure paper.
Nipple
Figure 1
Limited Warranty...
SUNEX INTERNATIONAL, INC. WARRANTS TO ITS CUSTOMERS THAT THE COMPANY’S SUNEX TOOLS®BRANDED
PRODUCTS ARE FREE FROM DEFECTS IN WORKMANSHIP AND MATERIALS.
Sunex International, Inc. will repair or replace its Sunex Tools
®
branded products which fail to give satisfactory service due to defective workmanship
or materials, based upon the terms and conditions of the following described warranty plans attributed to that specific product. This product carries
a ONE-YEAR warranty. During this warranty period, Sunex Tools will repair or replace at our option any part or unit which proves to be defective
in material or workmanship.
Other important warranty information...
This warranty does not cover damage to equipment or tools arising from alteration, abuse, misuse, damage and does not cover any repairs or
replacement made by anyone other than Sunex Tools or its authorized warranty service centers.The foregoing obligation is Sunex Tools’ sole liability
under this or any implied warranty and under no circumstances shall we be liable for any incidental or consequential damages.
Note: Some states do not allow the exclusion or limitation of incidental or consequential damages, so the above limitation or exclusion may not
apply to you. Return equipment or parts to Sunex Tools, or an authorized warranty service center, transportation prepaid. Be
certain to include your name and address, evidence of the purchase date, and description of the suspected defect.
If you have any questions about warranty service, please write to Sunex Tools. This warranty gives you specific legal rights and you may also have
other rights which vary from state to state. Repair kits and replacement parts are available for many of Sunex Tools products regardless of whether
or not the product is still covered by a warranty plan.
Shipping Address: Sunex Tools • 315 Hawkins Rd. • Travelers Rest, SC 29690
Mailing Address: Sunex Tools • P.O. Box 4215 • Greenville, SC 29608
 Loading...