

Page 1
OPERATION AND INSTALLATION
3
60
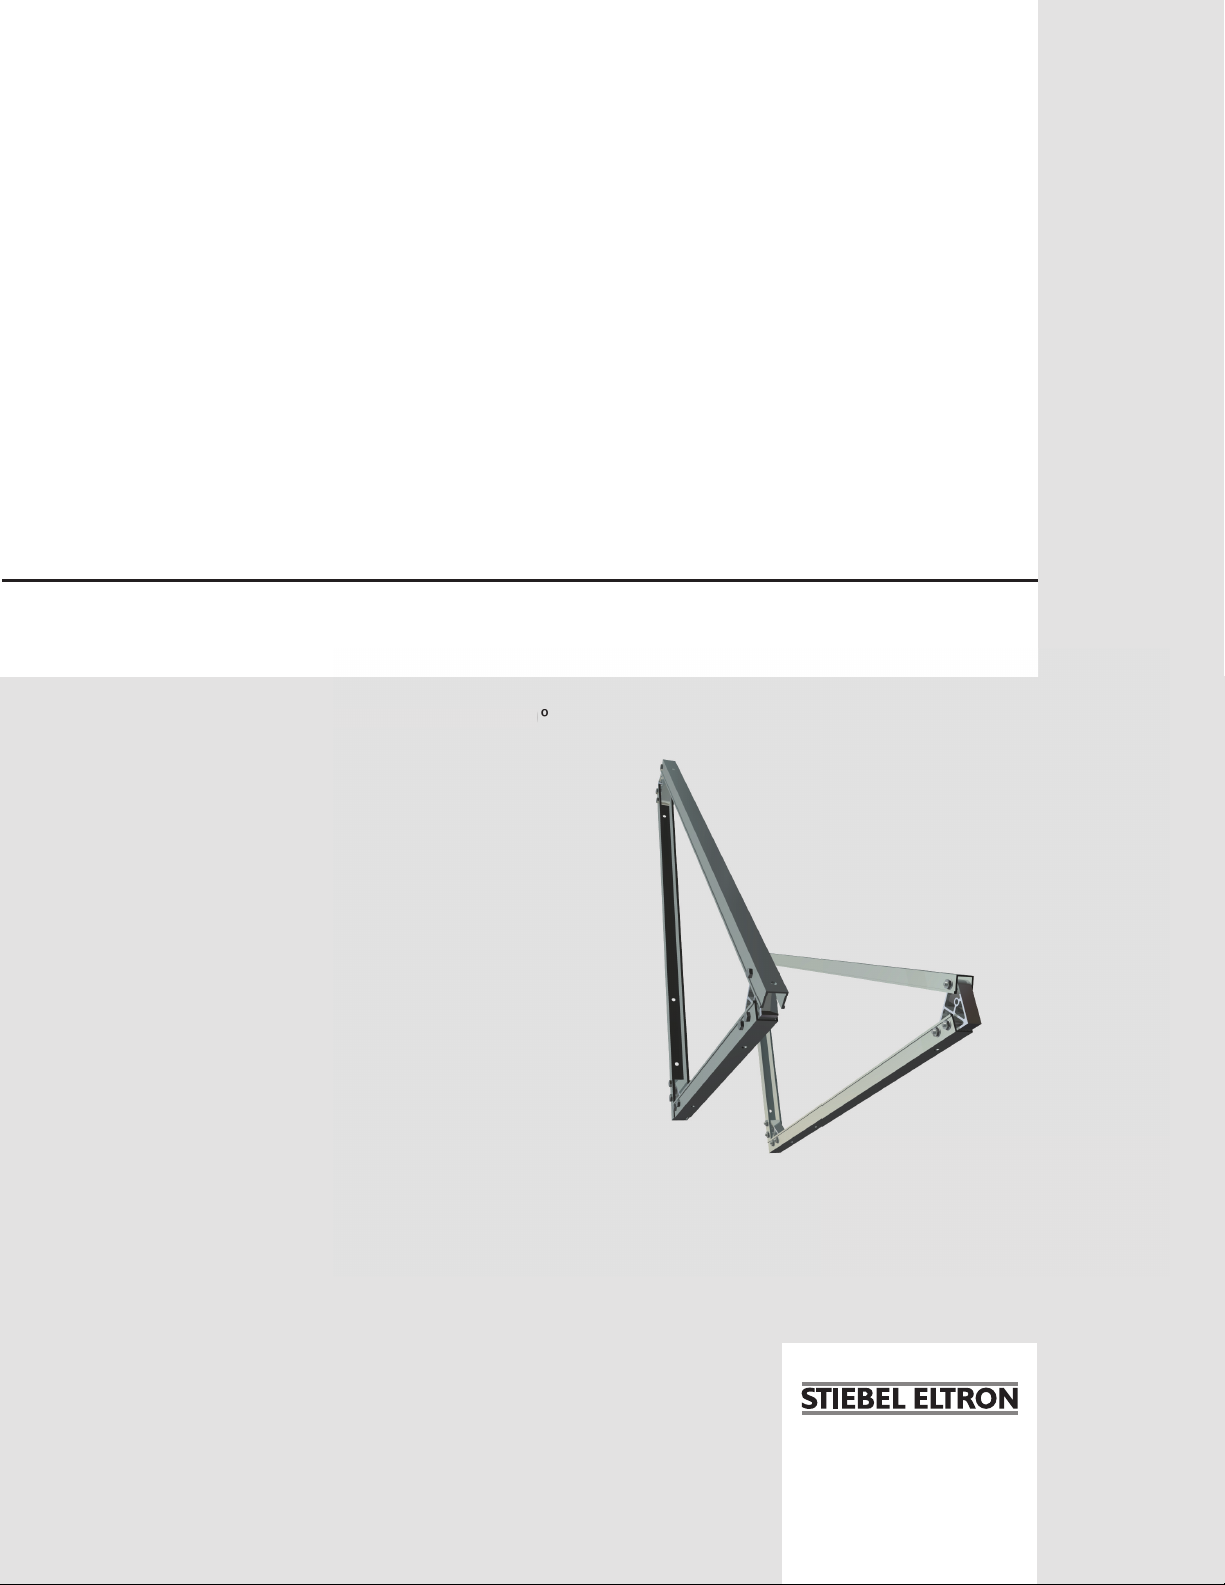
ROOF MOUNTING HARDWARE
» HORIZONTAL ADJUSTABLE RACK 30-60°
Page 2
Simply the Best
INSTALLATION INSTRUCTIONS
HORIZONTAL TILT RACKS - 30 & 60 SIDE-BY-SIDE ORIENTATION
Table of Contents
1 Assembling the horizontal tilt rack
2 Mounting
2.1 Mounting on an asphalt roof
2.2 Mounting on a raised-seam roof
CAUTION: READ ALL INSTRUCTIONS BEFORE
!
INSTALLING THIS KIT. ADDITIONAL ITEMS WILL
BE NEEDED TO MOUNT THIS ASSEMBLY.
This manual is intended to aid in the installation of 1-4
Stiebel Eltron SOL 27 Premium collectors tilted off of an
asphalt roof in a side-by-side landscape orientation. This
kit allows for quick and easy roof mounting of collectors.
Please contact Stiebel Eltron, or visit our website for more
information.
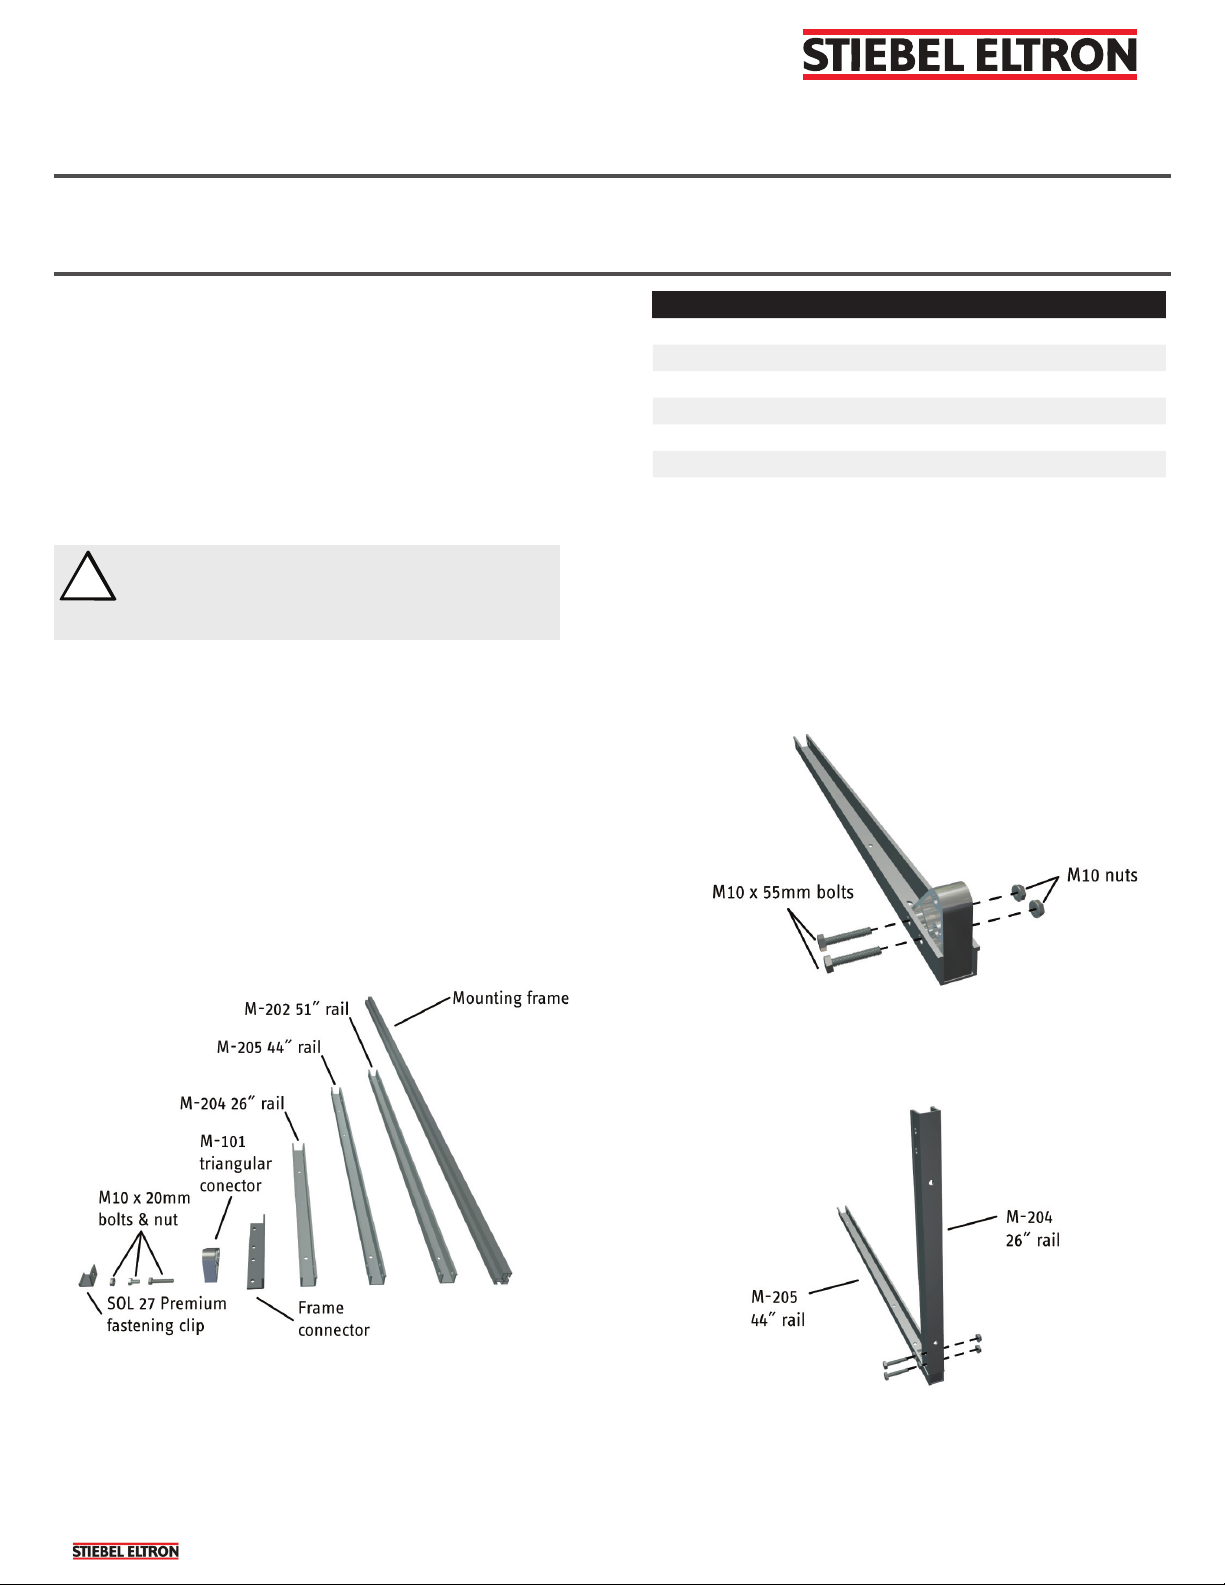
1. Familiarize yourself with the parts necessary to install
this solar kit. The parts are pictured below:
Part: # of Collectors in Array:
12 3 4
# of Parts Required:
30 - 60 Horizontal tilt rack 24 6 8
Horizontal X-Brace 12 3 4
Double mounting frame kit 12 3 4
Frame connector kit 01 2 3
Mounting kit 481216
3. Begin the assembly by removing the racking
components from their boxes. Insert the M-101 triangular
connector into the inside of the M-205 44˝ rail as shown
below. Using the M10 nuts & bolts, fasten the two parts
together.
2. Consult the table below to make sure you have the
right number of components for the appropriate number of
collectors.
17 West St., W. Hatfi eld, MA 01088
| 800.582.8423 | 413.247.3380 | fax 413.247.3369 | info@stiebel-eltron-usa.com | www.stiebel-eltron-usa.com
4. Repeat the process with the M-204 26˝ rail using two
more M10 nuts & bolts.
5. Again repeat the process with two more M-101
triangular connectors on the ends of each rail.
Page 3

Simply the Best
INSTALLATION INSTRUCTIONS
HORIZONTAL TILT RACKS - 30 & 60 SIDE-BY-SIDE ORIENTATION
Note: For information regarding the installation of SQbracket fl ashing kits consult the Stiebel Eltron Flashing Kit
Installation Guide.
6. Complete the rack assembly by attaching t he remaining,
M-202 51˝ rail and fastening it with two M10 nuts & bolts.
7. Repeat this process for all remaining racks.
2 Mounting
2.1 Mounting on an asphalt roof
1. The assembly is ready to be attached to the mounting
hardware. Identify the location on the roof that the
mounting kit will be installed. A proper site assessment
should have been performed to determine the ideal location
of the solar collectors. The following image shows the space
neccessary for the varying numbers of collectors & racks to
be installed. Pictured are are the SQ-bracket fl ashing kits
that will fasten to the horizontal tilt racks. The distances
listed refer to the distance between the vertical mounting
peg on the fl ashing kit. Depending on which angle the
collectors will be mounted, the distances will vary.
17 West St., W. Hatfi eld, MA 01088
| 800.582.8423 | 413.247.3380 | fax 413.247.3369 | info@stiebel-eltron-usa.com | www.stiebel-eltron-usa.com
2. Fasten the racks to the fl ashing kits as shown below.
Page 4

Simply the Best
INSTALLATION INSTRUCTIONS
HORIZONTAL TILT RACKS - 30 & 60 SIDE-BY-SIDE ORIENTATION
3. Remove X-Braces from its box (560206). Fasten the
X-Braces to the racks using and M10 x 20mm bolts & nuts.
4. Use the M6 bolt and nut to secure the two X-Brace
pieces together.
5. Remove the mounting frames (230170) from the box.
Slide 2 M10 x 20mm bolts into the groove in the long side of
the mounting frame. Do this for each mounting frame.
17 West St., W. Hatfi eld, MA 01088
| 800.582.8423 | 413.247.3380 | fax 413.247.3369 | info@stiebel-eltron-usa.com | www.stiebel-eltron-usa.com
6. Position the mounting frames over the hypotenuse rail
on the triangular racks. Insert the bolt through the hole in
the hypotenuse rail. Loosely thread the nut onto the bolt on
the inside of the U-Channel. Make sure the notches in the
frames face inward.
7. If multiple collectors are being installed, use the frame
connector kit to fasten two frame pieces together. Slide the
bolts into the groove on the short side of the frame piece.
Abut the two frames together, and tighten the bolts over the
frame connector.
Page 5

Simply the Best
INSTALLATION INSTRUCTIONS
HORIZONTAL TILT RACKS - 30 & 60 SIDE-BY-SIDE ORIENTATION
8. Before the assembly is bolted to the roof mount, the
bolts for the collector fastening clips must be slid into the
short side slot of all mounting frames. Slide four M10 x
20mm bolts in the short side of the mounting frame.Loosely
attach the fastening clips to the bolts and lift them over the
lip as shown for easy collector mounting.
10. Insert the inter-panel connector into the collector port
in preparation for the mounting of the second panel. Make
sure to have the metal space attached
9. The collectors are ready to be mounted in the rack
assembly. Lift the fi rst collector into the assembly as shown,
resting the bottom of it down fi rst.
17 West St., W. Hatfi eld, MA 01088
| 800.582.8423 | 413.247.3380 | fax 413.247.3369 | info@stiebel-eltron-usa.com | www.stiebel-eltron-usa.com
11. Mount the next collector in the same manner as step 16.
12. Remove the metal spacer and discard it.
13. Attach metal clamps that are provided with the
connector to ensure a tight seal. This process is described in
more detail in the SOL 27 Premium Connector manual.
14. Slip the fastening clips over the lip of the collectors and
tighten down the nuts. A clamp may need to be used in
order to keep the clips from rotating due to the torque of a
ratchet or wrench.
Page 6

Simply the Best
INSTALLATION INSTRUCTIONS
HORIZONTAL TILT RACKS - 30 & 60 SIDE-BY-SIDE ORIENTATION
2.2 Mounting on a raised-seam roof
This section is to aid in the mounting of the rail assembly
onto a raised-seam roof using an S5U clip and L-102
L-Br ac ke t.
Part: # of Collectors in Array:
12 3 4
# of Parts Required:
S5U clip 481216
L-102 L- B r acket 481216
1. Assemble the S5U clip and triangular racks using the
included fasteners.
2. Clip the S5U assembly to the roof ridges.
Note: For information regarding the installation of S5U clips
and L-Brackets, consult the Stiebel Eltron Raised-seam
Roof Installation Guide.
3. Follow the same procedures for the remaining assembly
as shown in steps 3-14 in Section 2.1.
17 West St., W. Hatfi eld, MA 01088
| 800.582.8423 | 413.247.3380 | fax 413.247.3369 | info@stiebel-eltron-usa.com | www.stiebel-eltron-usa.com
For any service or warranty related issue, contact
Stiebel Eltron at:
17 West Street
West Hatfi eld, MA 01088
TOLL FREE 800.582.8423
PHONE 413.247.3380
FAX 413.247.3369
info
www.stiebel-eltron-usa.com
Printed on recycled chlorine-free paper with soy-based inks.
Due to our continuous process of engineering and technological
advancement, specifi cations may change without notice.
800.582.8423
@
stiebel-eltron-usa.com
 Loading...