

Steelcase ?no, Eno User Manual

©2014 Steelcase, Inc.
All rights reserved
ēno® interactive whiteboard user guide
2003173001 Rev G

Information in this document is subject to change without notice. Reproduction in any manner without written
permission of Steelcase, Inc. is forbidden. ēno is a registered trademark of Steelcase, Inc.
This product is covered by one or more of the following patents: Canada 2,100,624; EPO 600,576; EPO
871,935; Germany 69,321,445; WO 98/14888; US 4,777,329; US 5,248,856; US 5,327,161; US 5,434,370; US
5,583,323; US 5,585,605; US 5,623,129; US 5,665,942; US 5,790,114; US 5,838,309; US 6,353,193; US
6,355,895; US 6,445,384; US 6,667,739; Other patents pending.
Steelcase, Inc. reserves the right to make changes in product design, or detail, and to discontinue any product
or material without notice.
Flash™ Player, Shockwave® Player, and Authorware® Player are owned by Adobe Systems.

Contents
6 Welcome
6 What are ēno interactive whiteboards?
6 About this manual
7 Preparing to use ēno
7 Preparation checklist
7 Install the ēno App
7 System requirements
8 ēno App installation
9 Install the ēno stylus battery
10 Power on and off the stylus
10 Pair the ēno stylus with the ēno receiver
12 ēno receiver LED status summary and troubleshooting
13 ēno stylus LED status summary
13 Getting started with a projector
13 Calibrate the computer with the whiteboard
15 Using ēno with a different host computer
15 Removing a stylus paired to the ēno receiver
16 If you use the older PolyVision Bluetooth adapter...
17 Multiple ēno users
17 Multiple ēno styli
17 Multiple ēno interactive whiteboards and icon strips
19 Using ēno
19 Using the ēno stylus
20 Correct stylus orientation
20 The stylus Bluetooth connection
21 Icon strip options
22 The ēno App icon strip
23 Mouse control using the ēno stylus
24 Writing and erasing with the ēno stylus
24 Erase All
25 Using whiteboard pages
25 Opening a whiteboard page for writing
25 Viewing whiteboard pages
26 Sorting through whiteboard pages using the Slide Sorter
Steelcase 3

Contents
27 Using the on-screen keyboard
28 Saving a snapshot on the host computer
29 Saving a snapshot to a Cloud server
30 Printing a snapshot
30 Spotlight and reveal presentation tools
30 Spotlighting your work
31 Revealing your work
32 User-defined icons
33 If you have the older ēno icon strip
34 Control icon options
34 Cursor control using the ēno stylus
35 Using the on-screen keyboard
35 Writing and erasing with the ēno stylus
36 Erase All
36 Changing the pen style
37 Saving a snapshot
37 Printing a snapshot
38 Spotlight and reveal options
38 Spotlighting your work
39 Revealing your work
40 Opening a blank whiteboard page for writing
41 The ēno App
41 Configuring ēno App options
42 Status
43 Alerts
44 Save
44 Cloud Save
46 Print
46 Icon Strip
48 Pen/Draw
48 User Settings
49 Using the on-screen icon strip
49 Viewing and hiding the on-screen ēno icon strip
50 On-screen icon strip view options
50 Getting help
51 Checking for updates
51 Exiting the ēno App
51 To uninstall the ēno App in Windows
52 To uninstall the ēno App on a Macintosh
Steelcase 4

Contents
53 Care and maintenance
53 ēno maintenance
53 Replacing the ēno stylus batteries
53 Replacing the ēno stylus tip
53 How to obtain replacement parts
53 Summer maintenance
55 Technical support
55 Compliance
55 FCC statement
55 Déclaration de conformité Industrie Canada (IC)
56 Cofetel statement for Mexico
56 CE compliance
56 WEEE compliance
57 STEELCASE WARRANTY for Global Products
59 Appendix 1: ēno Bluetooth pairing options
60 Pairing ēno using the ēno App
60 Pairing ēno using built-in Windows or Apple Bluetooth
61 Pairing ēno using third-party Bluetooth
62 Appendix 2: ēno one Projector Control Application
62 Configuring PolyVision projectors
63 Projector status
63 Projector control icons (for ēno one models)
64 Multiple PolyVision projectors
65 Appendix 3: ēno App notifications
Steelcase 5
Welcome
Note
Small Eraser
Dashed Pen
Solid Pen
Narrow Pen
Black Pen
Green Pen
Blue Pen
Red Pen
Pen Style
Pen / Cursor
Medium Pen
Wide Pen
Erase All
Print
Save
Large Eraser
Keyboard
Next
Previous
Projection
Welcome
Congratulations on your purchase of a Steelcase ēno® interactive whiteboard.
What are ēno interactive whiteboards?
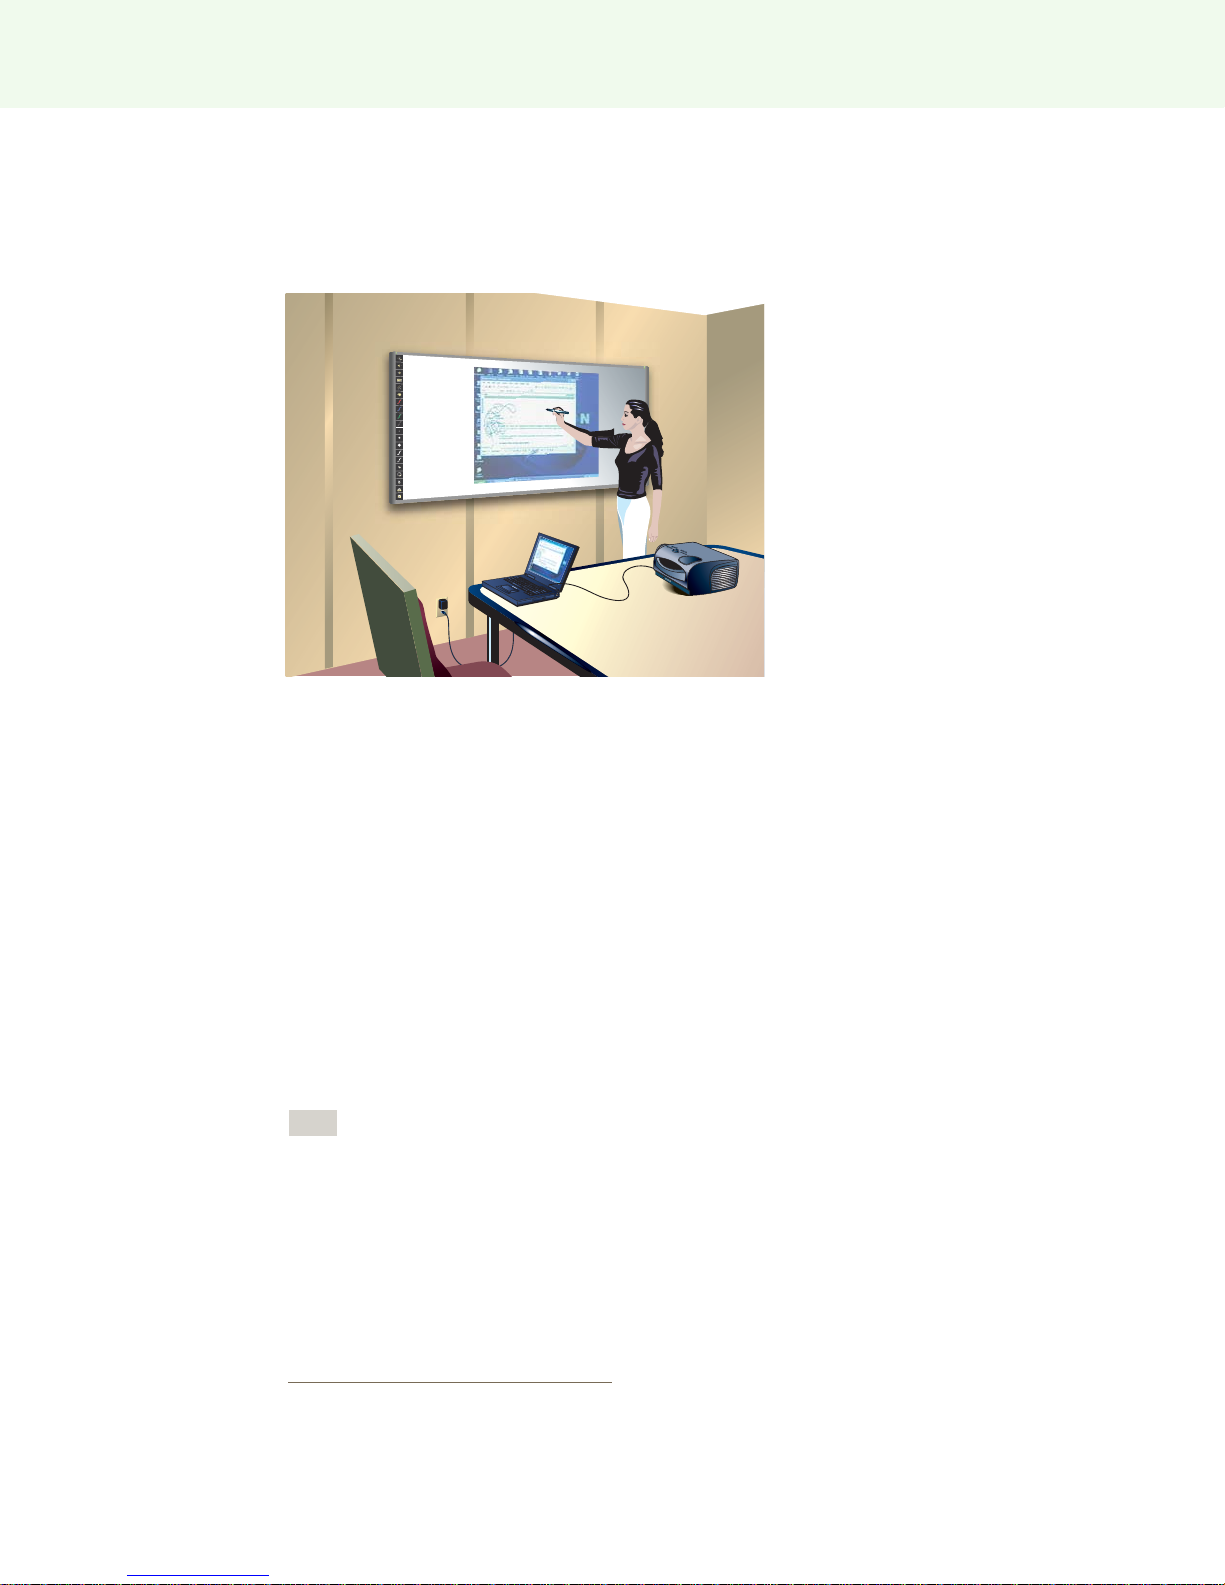
ēno interactive whiteboards provide cordless interactivity with a computer using the
Bluetooth-enabled ēno stylus. While the computer is projected onto the ēno
interactive whiteboard, use the stylus to:
o enhance presentations by enabling interaction and collaboration
o navigate through documents, presentations, or websites from the whiteboard
o write, highlight, and erase notes
o print and save your work
ēno interactive whiteboards are made from ceramicsteel so you can also use them
with dry-erase markers and magnets as well as the stylus.
The ēno interactive whiteboard promotes collaboration by enabling multiple users, each
with their own stylus. Refer to “Multiple ēno users” on page 17.
About this manual
This manual provides user instructions for the ēno interactive whiteboards and the
ēno Application. Steelcase provides all product documentation at:
www.TechSupport.Steelcase.com
.
Steelcase 6

Preparing to use ēno
Preparing to use ēno
Related topics:
“Preparation checklist”
“Install the ēno App”
“Install the ēno stylus battery”
“Power on and off the stylus”
“Pair the ēno stylus with the ēno receiver”
“Getting started with a projector”
“Calibrate the computer with the whiteboard”
Preparation checklist
ēno interactive whiteboards provide cordless interactivity with a host computer using
the Bluetooth-enabled ēno stylus after you:
o install the ēno App on the host computer
o connect the ēno receiver to a USB port on the host computer
o add batteries to the ēno stylus
o pair the ēno stylus Bluetooth signal with the ēno receiver
o project the computer desktop on the ēno whiteboard
o calibrate the computer and whiteboard
Install the ēno App
Related topics:
“System requirements”
“ēno App installation”
System requirements
Your Windows-based computer must have:
o Intel Core 2 Duo CPU or better.
o Windows 8 or Windows 7 (64- or 32-bit).
o Available USB 2.0 port for ēno receiver or PolyVision Bluetooth module (internal
Bluetooth radio may also be used.)
Steelcase 7
Preparing to use ēno
Note
Note
Your Macintosh computer must have:
o OS X 10.6.8 or higher
o Available USB 2.0 port for ēno receiver or PolyVision Bluetooth module (internal
Bluetooth radio may also be used.)
ēno App installation
To install the ēno App on the host computer:
1 Locate the ēno receiver and connect it to a USB port of the host computer.
For the best signal reception, make sure that no obstacles are present between the stylus
and ēno receiver during normal use. Optionally, you can connect the USB extender cable
(provided) to the computer and ēno receiver to help you assure optimum exposure of the
ēno receiver.
If you see a prompt from the operating system to reboot, wait until after the ēno App is
installed to avoid a second reboot.
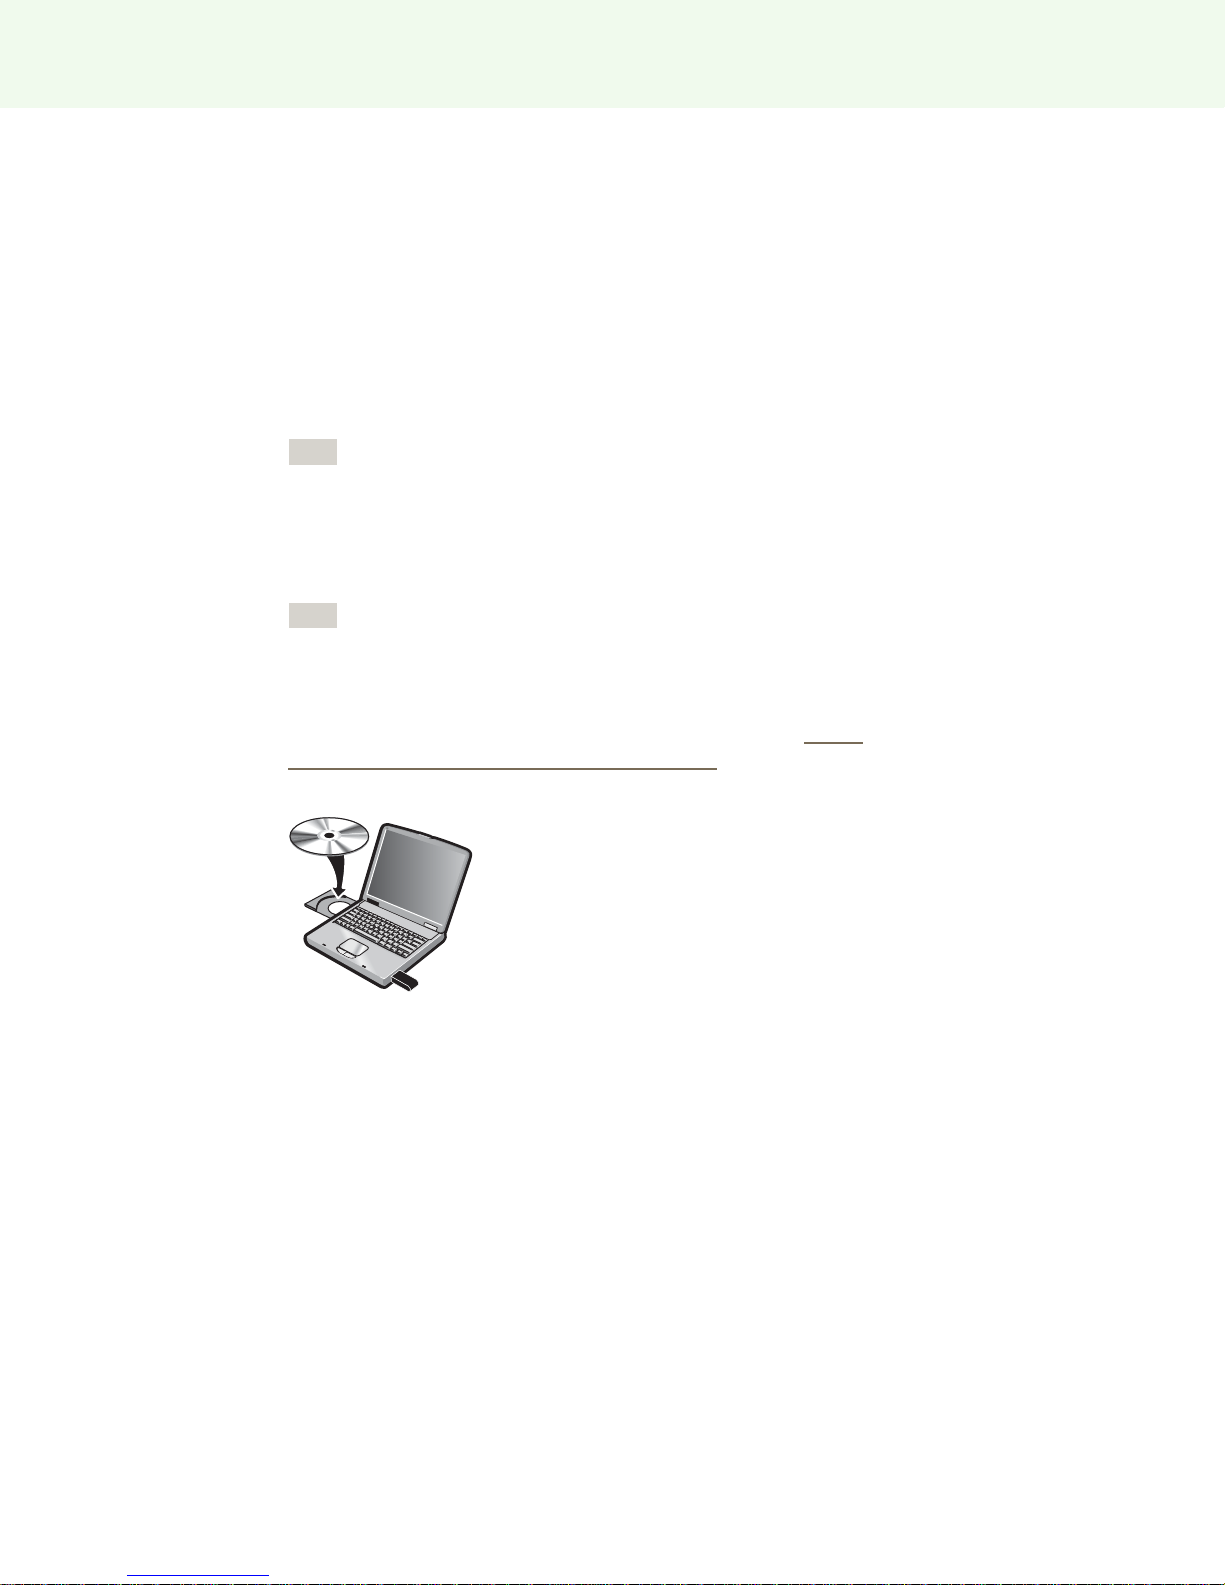
2
Locate the installation DVD for ēno App version 3.0 or higher and insert it into your
computer disk drive, or download the application from http://
techsupport.steelcase.com/home/downloads.
Installation should begin automatically. If it does not:
• Windows: double-click “My Computer” on your desktop, double-click the disk
named “ēno App.” To install the ēno App in English, double-click
“PVAutoRun.exe.” To install the ēno App in another language, navigate to the
appropriate folder and double-click “Setup.”
• Macintosh: double-click the ēno App icon on your desktop, double-click the
“Mac” folder, and double-click the ēno App 3.0.dmg file.
3 Follow the prompts you see on the screen to complete the installation.
4 You must reboot your system at the end of the installation.
Steelcase 8
Preparing to use ēno
Note
Note
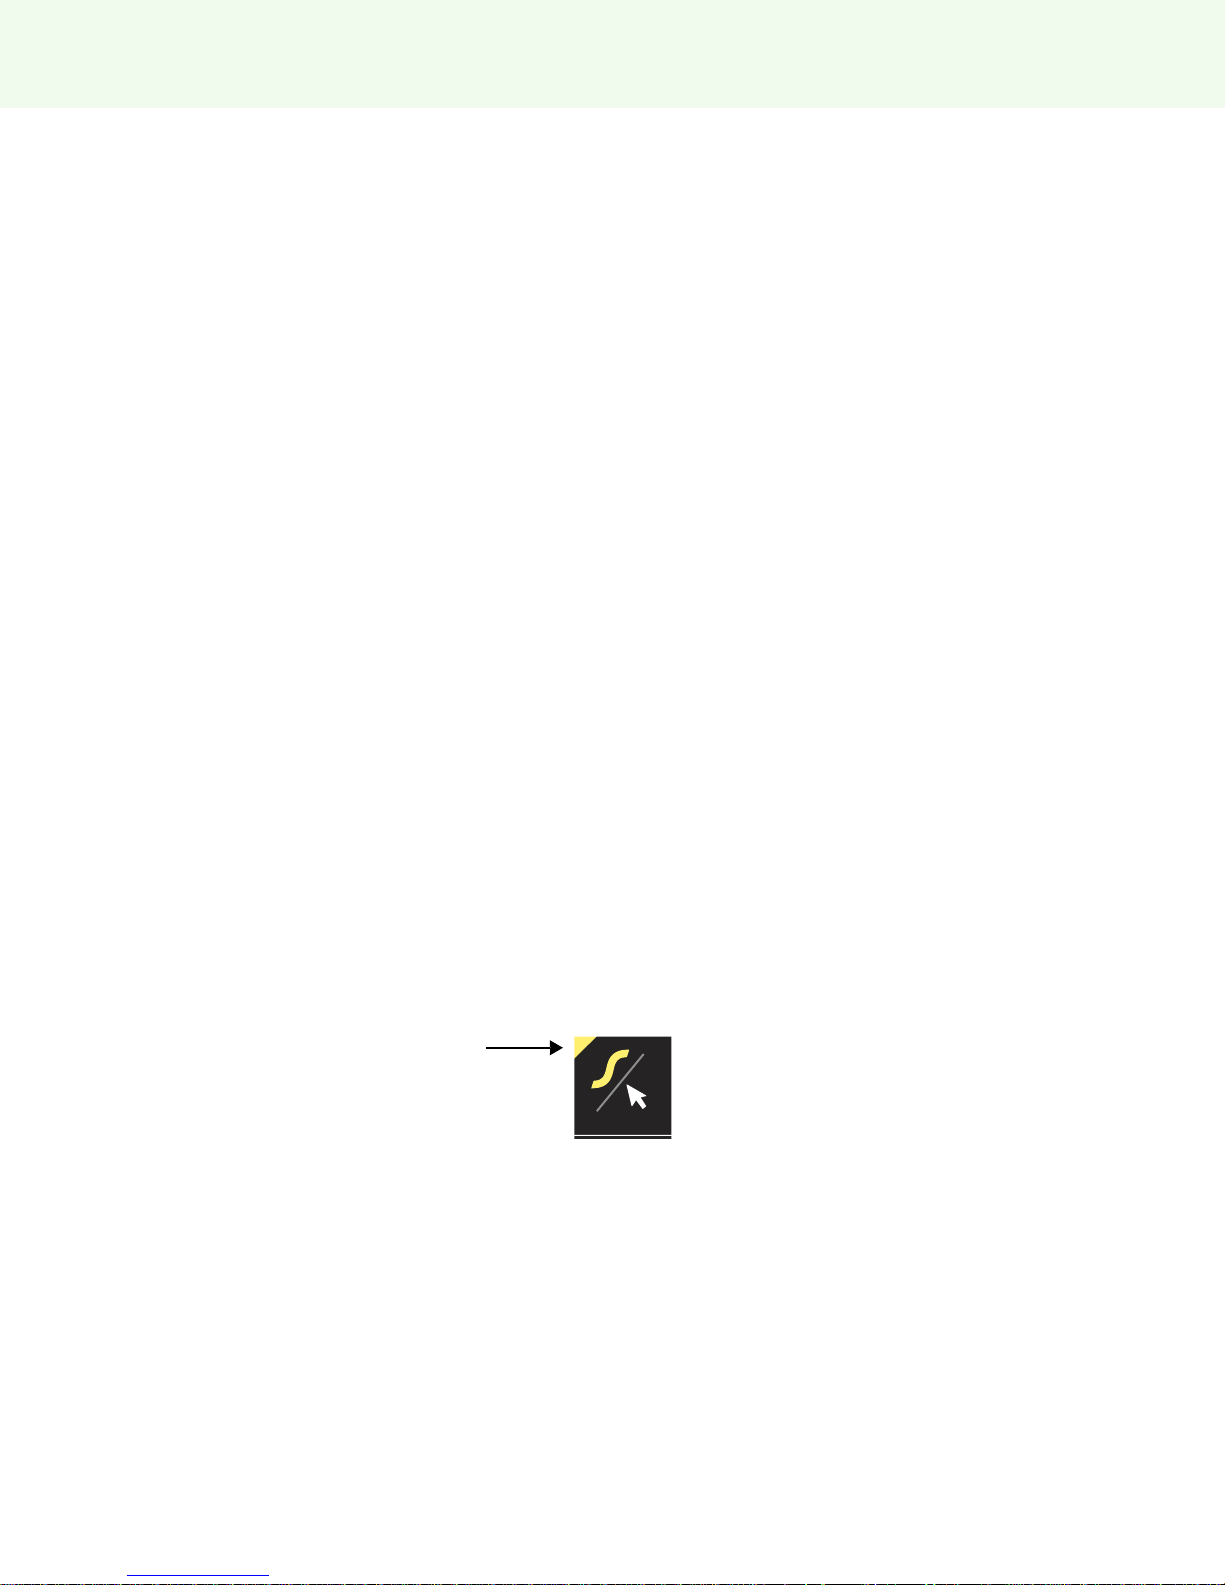
ēno App icon
You have the opportunity to pair the Bluetooth signal at the end of the ēno App
installation process. Refer to “Pair the ēno stylus with the ēno receiver” on page 10.
When installation is complete, a message appears on your computer screen and the
ēno App icon appears in your system tray (Windows or menu extras (Macintosh).
The ēno App runs unobtrusively in the background whenever your computer is on.
For information about configuring ēno App options, refer to “Configuring ēno App
options” on page 41.
Install the ēno stylus battery
Related topics:
“Power on and off the stylus”
“Using the ēno stylus”
“Replacing the ēno stylus batteries”
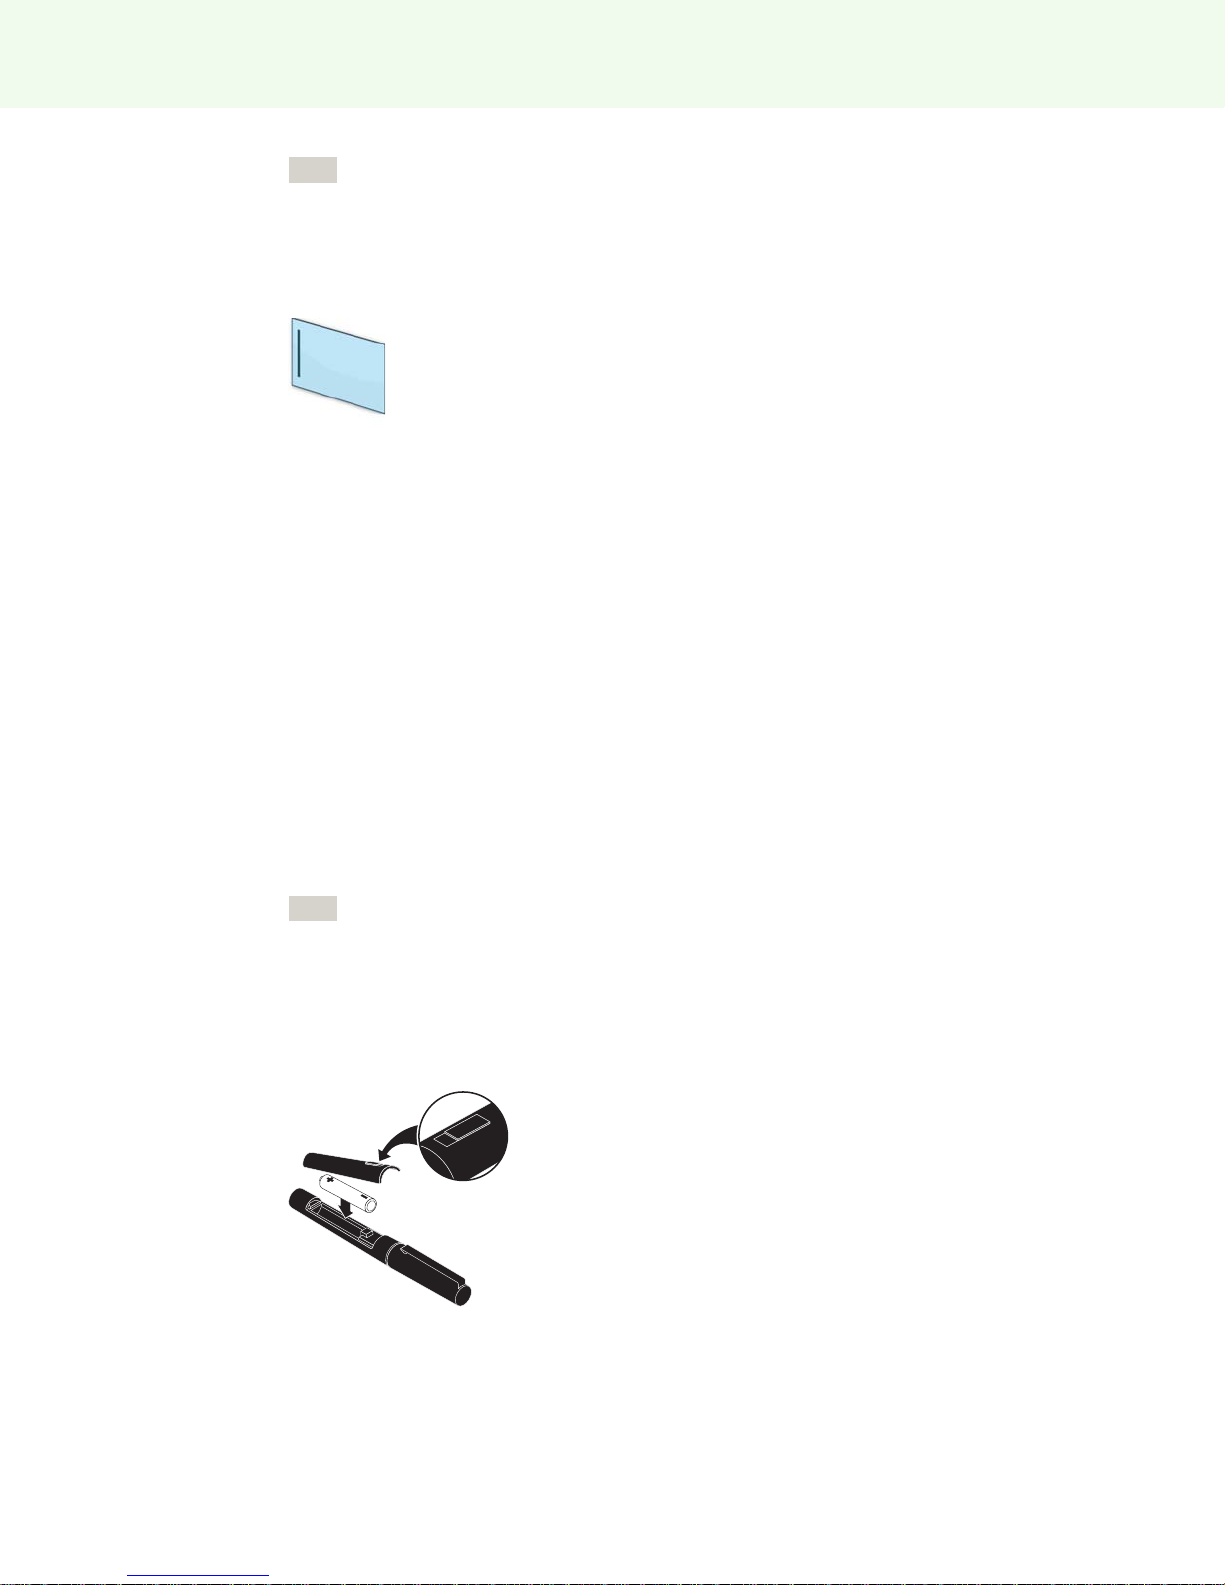
The ēno stylus requires one AAA Lithium ion battery (provided).
When replacing the stylus battery, use a AAA Lithium ion battery for optimum
performance. Refer to “Replacing the ēno stylus batteries” on page 53.
To install the battery:
1 Open the battery compartment.
2 Insert the battery.
3 Replace the battery compartment lid.
Steelcase 9

Preparing to use ēno
Note
Note
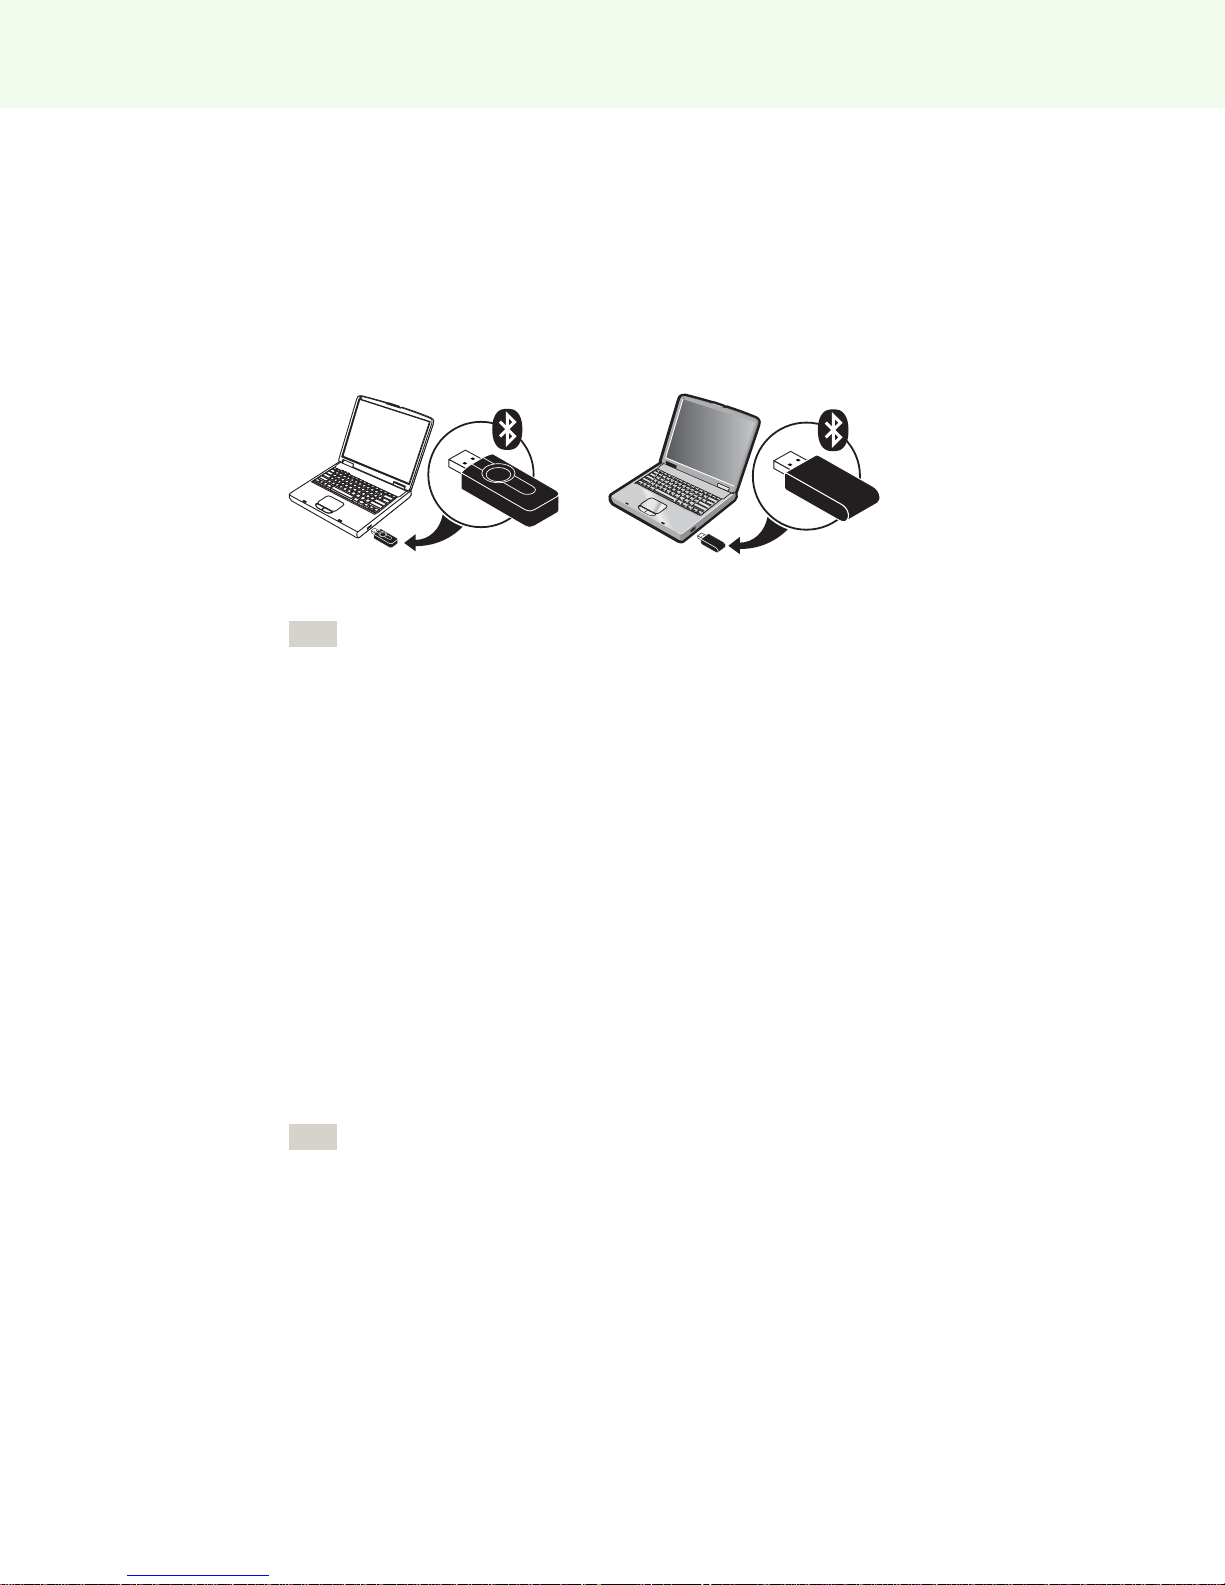
newer ēno receiver older PolyVision Bluetooth adapter
Power on and off the stylus
Communication between the stylus and host computer takes place when you remove
the stylus cap. To turn the ēno stylus on and off:
o Remove and replace the stylus cap.
When the stylus is not in use, replace the cap to extend battery life.
Pair the ēno stylus with the ēno receiver
Related topics:
“ēno receiver LED status summary and troubleshooting”
“Multiple ēno styli”
“Using ēno with a different host computer”
The ēno receiver connects to the host computer’s USB port and pairs the Bluetooth
signal with the ēno stylus. You can pair up to three ēno styli to one ēno receiver. Refer
to “Multiple ēno users” on page 17.
If you updated to ēno App version 3.0 or higher and you have an older PolyVision
Bluetooth adapter, refer to “If you use the older PolyVision Bluetooth adapter...” on
page 16.
To install the ēno receiver and pair it with the ēno stylus:
1 Turn on the host computer and assure that the ēno App version 3.0 or higher has
already been installed. Refer to “Install the ēno App” on page 7.
2 Assure that the ēno receiver is connected to a USB port on the host computer.
Steelcase 10
Preparing to use ēno
Note
For the best signal reception, make sure that no obstacles are present between the stylus
and ēno receiver during normal use. Optionally, connect the USB extender cable
(provided) to the computer and ēno receiver to help you assure optimum exposure of the
ēno receiver.
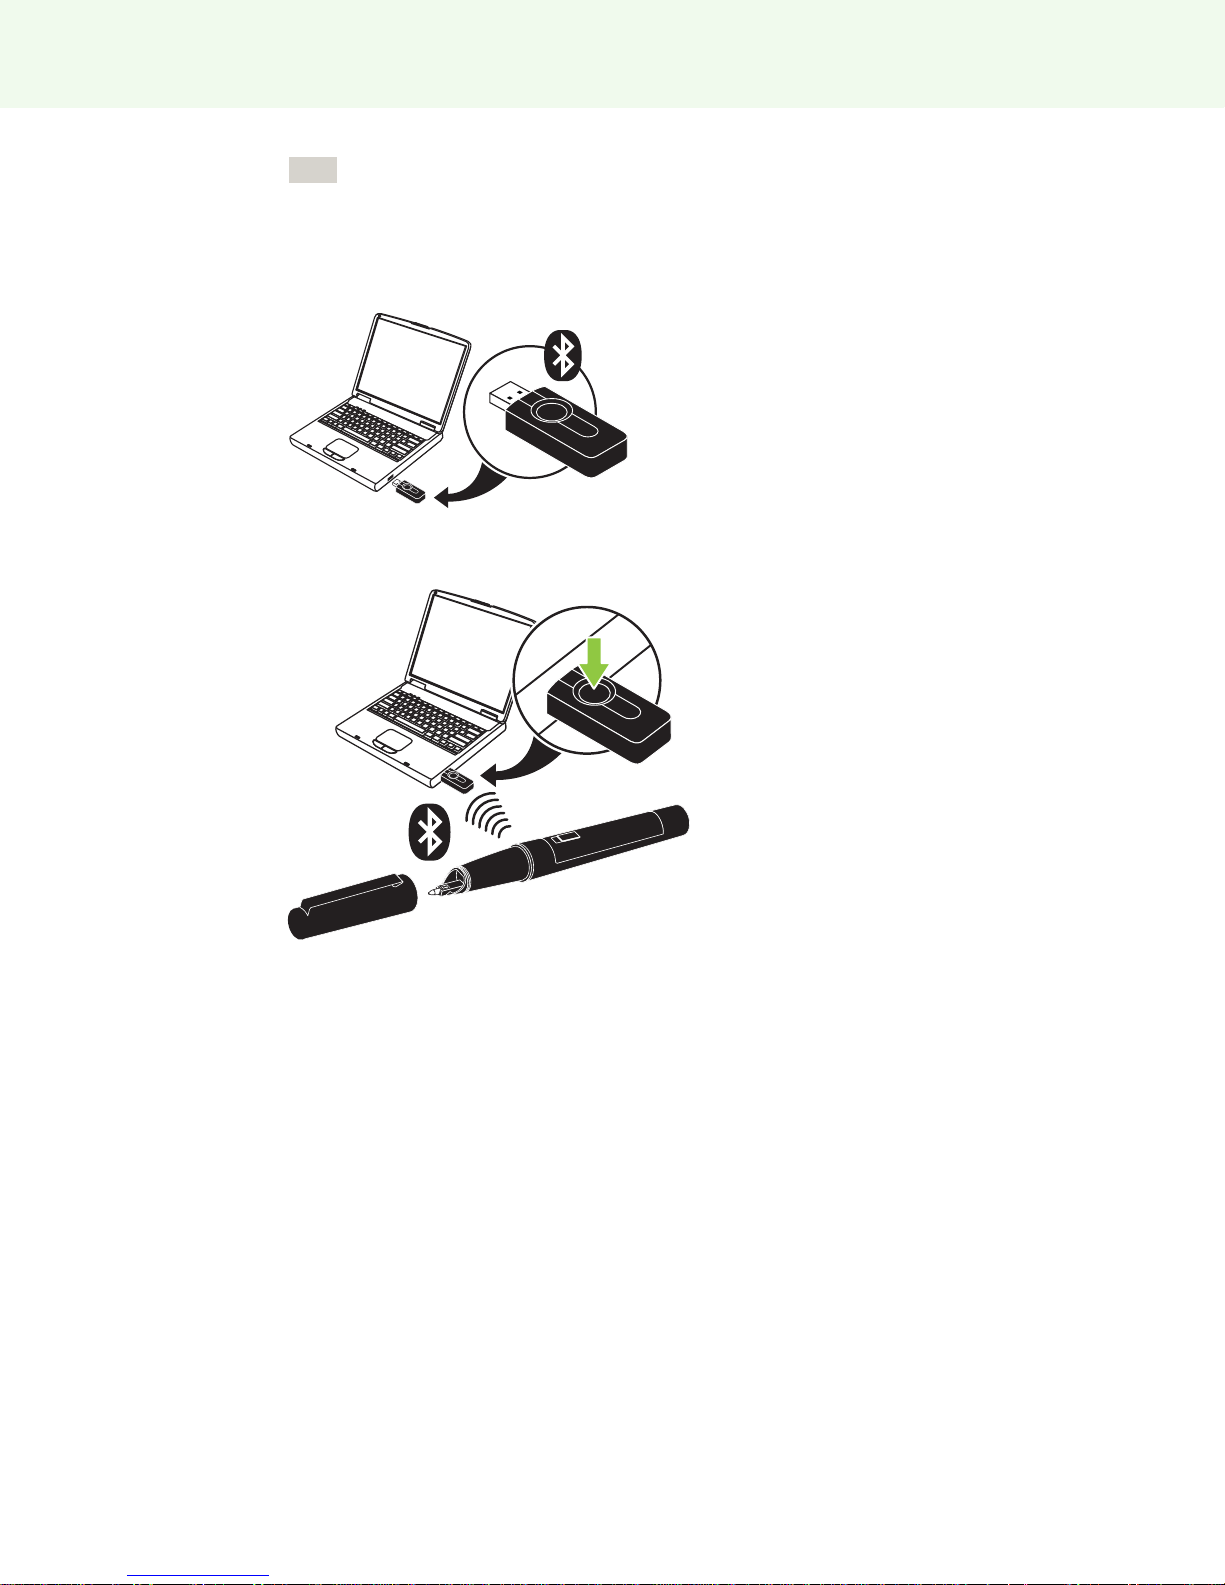
3
Turn on the ēno stylus by removing the cap.
Steelcase 11
4 Wait for the stylus LED to blink green once every three seconds. Refer to “ēno stylus
LED status summary” on page 13 for additional stylus LED signals.
5 Press and release the button on the ēno receiver to pair the Bluetooth signal with the
stylus.
While the ēno receiver searches for the ēno stylus Bluetooth signal, a status
message appears on the computer screen and the LED on the ēno receiver flashes
green.
After pairing is successful (within 30 seconds), the status message on the
computer screen indicates that ēno is ready to use and the ēno receiver LED
changes to a solid blue color.
If pairing is not successful, a status message appears on the computer screen.
Troubleshooting: If pairing was not successful, you can try to resolve the problem
by removing the ēno receiver from the USB port, waiting five seconds, and
reinserting it before attempting the pairing process again.

Preparing to use ēno
Note
Although it is not recommended, it is possible to use the host computer’s built-in
Bluetooth capability or a third-party Bluetooth product to pair with the ēno stylus. Refer to
“Appendix 1: ēno Bluetooth pairing options” on page 59. The stylus is identified as device
ADP-301.
ēno receiver LED status summary and troubleshooting
If the ēno receiver LED is green and…
o Flashes five times after you attempted pairing, the stylus and the ēno receiver have
been successfully paired.
o Flashes three times when you removed the stylus cap (after the stylus has been
paired and the ēno App 3.0 or higher is running), the ēno stylus has successfully reconnected to your computer.
If the ēno receiver LED is blue and…
o Is solid blue, the ēno App is communicating with the ēno receiver.
o Is flashing as you use the stylus, data is streaming from the ēno stylus to your
computer successfully.
If the ēno receiver LED is red and…
o Quickly flashes five times after you attempted pairing, the stylus and the ēno receiver
have not been successfully paired. You need to start the pairing process over again.
o Flashes three times when you removed the stylus cap (after the ēno stylus has been
paired and the ēno App 3.0 or higher is running), the ēno stylus has not been
successfully connected to your computer. You need to cap and uncap the stylus
again.
o Is solid red, the ēno App is not updated to version 3.0 or higher, or the driver is not
running. Launch the ēno App version 3.0 or higher on the host computer and start
the pairing process over again.
Steelcase 12

Preparing to use ēno
ēno stylus
LED status summary
The LED indicator on the ēno stylus provides additional status information about
Bluetooth communication with the computer.
LED Condition
Blinks every three seconds Pairing mode
Two second solid green Connected and ready to use
Blinks quickly six times Low battery
Getting started with a projector
To set up the projector and get started using your computer from the whiteboard:
1 Locate your projector’s video cable and connect it to the video port of your
computer.
2 Connect the other end of the video cable to your projector.
3 Connect the projector’s power cord to an outlet.
4 Turn on the projector and focus your computer screen squarely onto your
whiteboard. The projected image does not need to fill the white area.
5 Calibrate the computer and whiteboard, as described below.
Calibrate the computer with the whiteboard
It may be necessary to calibrate the whiteboard with the computer desktop. This
assures that the location the stylus tip touches the whiteboard exactly corresponds
to the projected computer cursor and pen.
To calibrate the ēno whiteboard with the projected host computer:
1 When the computer desktop is projected onto the whiteboard, make sure it fits
within the whiteboard frame.
2 Use the ēno stylus to tap the Calibrate icon on the ēno App icon strip one time.
Steelcase 13
Preparing to use ēno
Note
Note
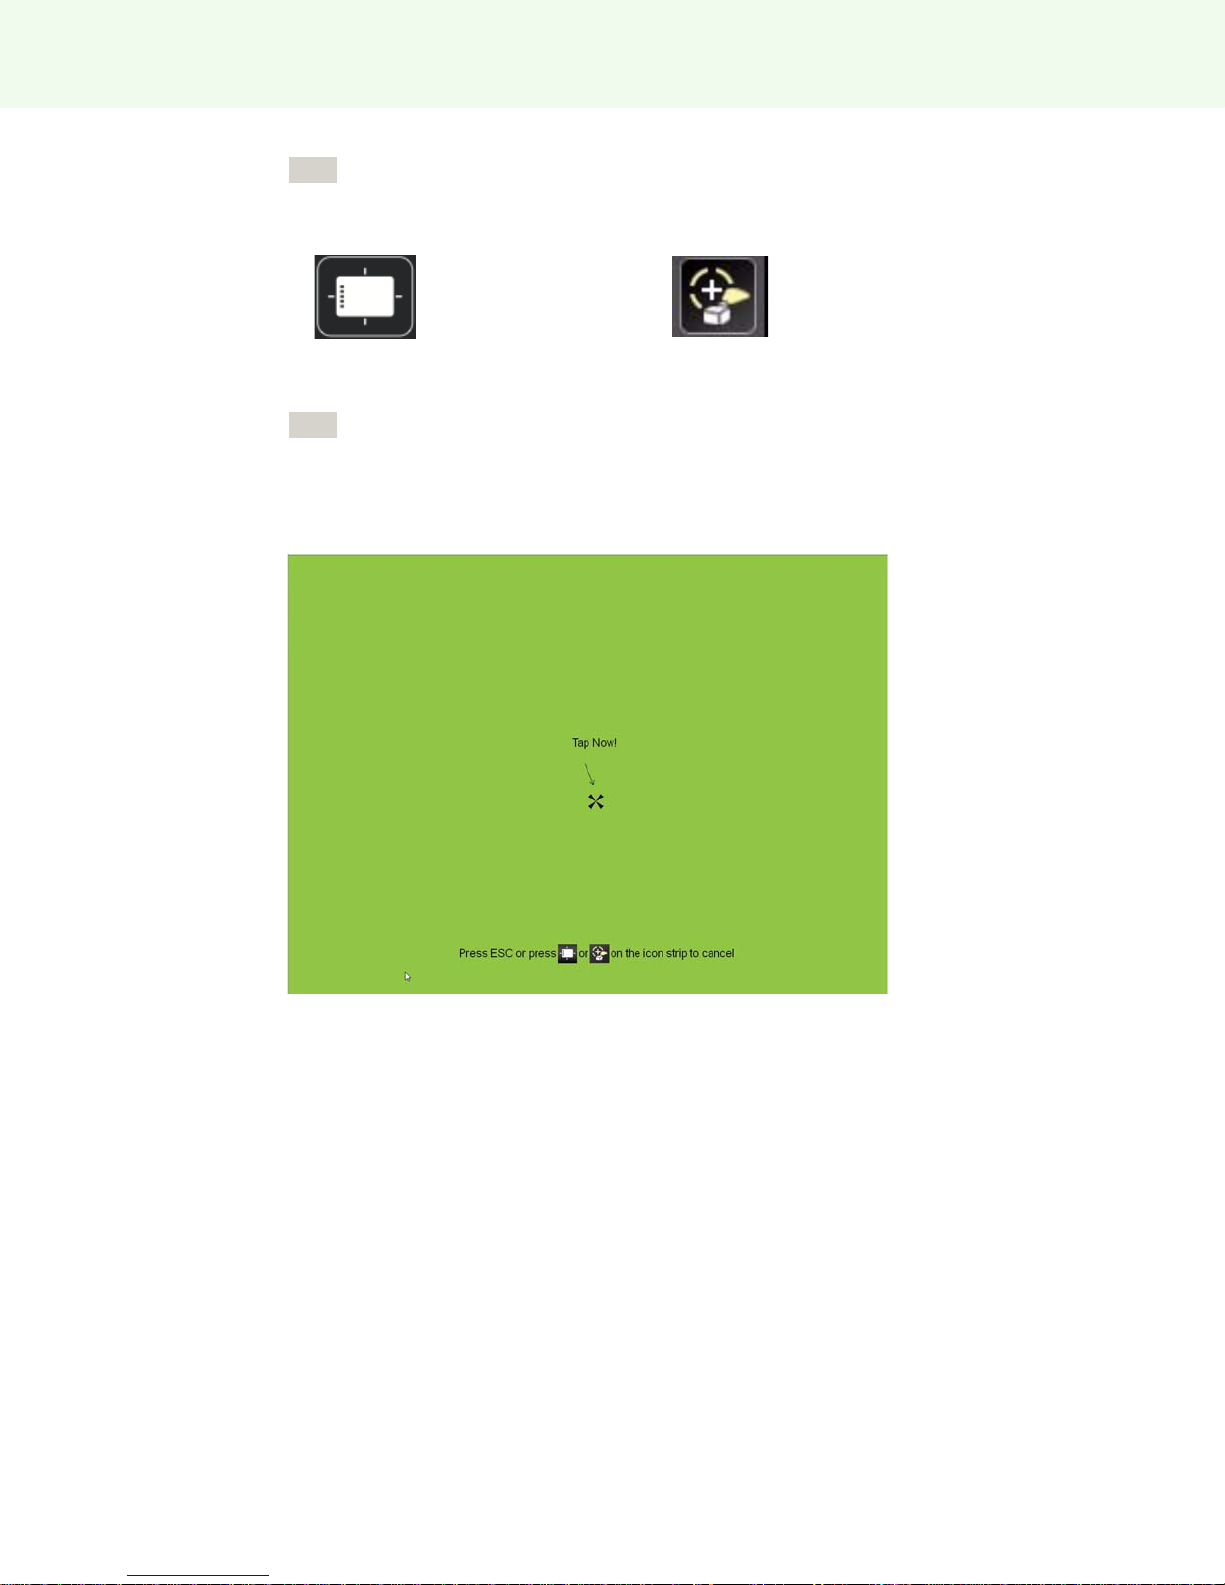
older Align iconnewer Calibrate icon
If you updated to ēno App version 3.0 or higher and you have an older icon strip, tap the
Align icon, shown below.
If this is the first use of the ēno whiteboard, if the computer has just rebooted, or if the
ēno App has just been launched, then tap the whiteboard instead of the Calibrate icon.
The calibration window shown below projects from the computer to the whiteboard.
3 Use the ēno stylus to tap each target projected on the whiteboard, following
instructions you see on the whiteboard.
To cancel the calibration:
o Press ESC on the computer keyboard.
o ēno App version 3.2 or higher: tap the Calibrate or Align icon.
When calibration is complete, you are ready to begin using the stylus to interact with
the computer.
Steelcase 14

Preparing to use ēno
Using ēno with a different host computer
The newer ēno receiver makes cordless communication with a different host
computer easy.
To use ēno with a different host computer:
1 Make sure the ēno App 2.4 or higher is installed on the computer.
2 Move the ēno receiver to the USB port on the computer.
There is no need to pair the stylus again.
Removing a stylus paired to the ēno receiver
Related topics:
“Multiple ēno users”
You can pair up to eight ēno styli to one ēno receiver.
To remove every ēno stylus that is paired to one ēno receiver:
o Press and hold the button on the ēno receiver for no less than ten seconds. A status
message appears on the computer screen to indicate that all pairing was removed
from the ēno receiver.
To remove any one stylus paired to the ēno receiver:
1 Click the ēno App icon on the host computer.
2 Choose “Settings for ēno App” from the menu.
3 Click the “Status” tab.
4 Turn on the ēno stylus by removing the cap.
5 Select the ēno stylus in the list of Products in the “Status” tab.
6 Click “Remove Stylus.”
Steelcase 15
Preparing to use ēno
Note
Note
newer ēno receiver older PolyVision Bluetooth adapter
If you use the older PolyVision Bluetooth adapter...
Related topics:
“ēno stylus LED status summary”
If you upgraded to the ēno App version 3.0 or higher, you may be using the original
PolyVision Bluetooth adapter rather than the newer ēno receiver.
You can obtain a new ēno receiver (service part number ENOREC01) by contacting your
local sales representative or Steelcase dealer.
When you use the original PolyVision Bluetooth adapter, the ēno stylus establishes a
Bluetooth connection to the host computer rather than to the Bluetooth adapter. As
a result, when you want to use ēno with a different host computer in the same room,
you need to unpair the ēno stylus from the host computer before you can pair it to a
different host computer.
To unpair the stylus from the host computer:
1 Click the ēno App icon on the host computer.
2 Choose “Settings for ēno App” from the menu.
3 Click the “Status” tab.
4 Turn on the ēno stylus by removing its cap.
5 Select the ēno stylus in the list of Products in the “Status” tab.
6 Click “Remove Stylus.”
For Windows or Macintosh users, if you chose to use the operating system’s Bluetooth
capability to pair the ēno stylus rather than the PolyVision Bluetooth adapter, you can
unpair the stylus as you would remove any Bluetooth device. Refer to “Appendix 1: ēno
Bluetooth pairing options” on page 59 for information about all pairing options.
Be sure that host computer has the ēno App installed.
Steelcase 16
Preparing to use ēno
B
“B” magnetic icon strip
Multiple ēno users
The ēno App enables multiple users to collaborate in a variety of scenarios.
Multiple ēno styli
The ēno whiteboard provides a cordless experience for presentations and
collaboration for up to four users at the same time. Four users, with their own stylus,
can write, erase, and interact with the computer simultaneously.
To pair each ēno stylus with the same ēno receiver, refer to “Pair the ēno stylus with
the ēno receiver” on page 10.
Each user can write at the same time using a unique pen style. When one participant
taps the Mouse or Markup icon, all users enter the same mode. Only one user at a
time can control the mouse.
Multiple ēno interactive whiteboards and icon strips
ēno also supports up to three whiteboards showing separate parts of the host
computer desktop, as if you were using multiple monitors with the computer. You
may need to add an additional video card(s) to use multiple projectors.
Since each whiteboard communicates via the same host computer’s ēno App, you
have the option to use four styli on any of the whiteboards. Each stylus must have be
paired to the same ēno receiver. Refer to “Pair the ēno stylus with the ēno receiver”
on page 10.
In a room with multiple whiteboards that respond to the same host computer, each
whiteboard must have a unique “A,” “B,” or “C” magnetic icon strip and a unique
product identification number (located on the lower left corner of the whiteboard). This
enables users at each board to independently write, erase, and operate the
computer. For example, the user at board “A” can write in red ink while the user at
board “B” writes in black ink.
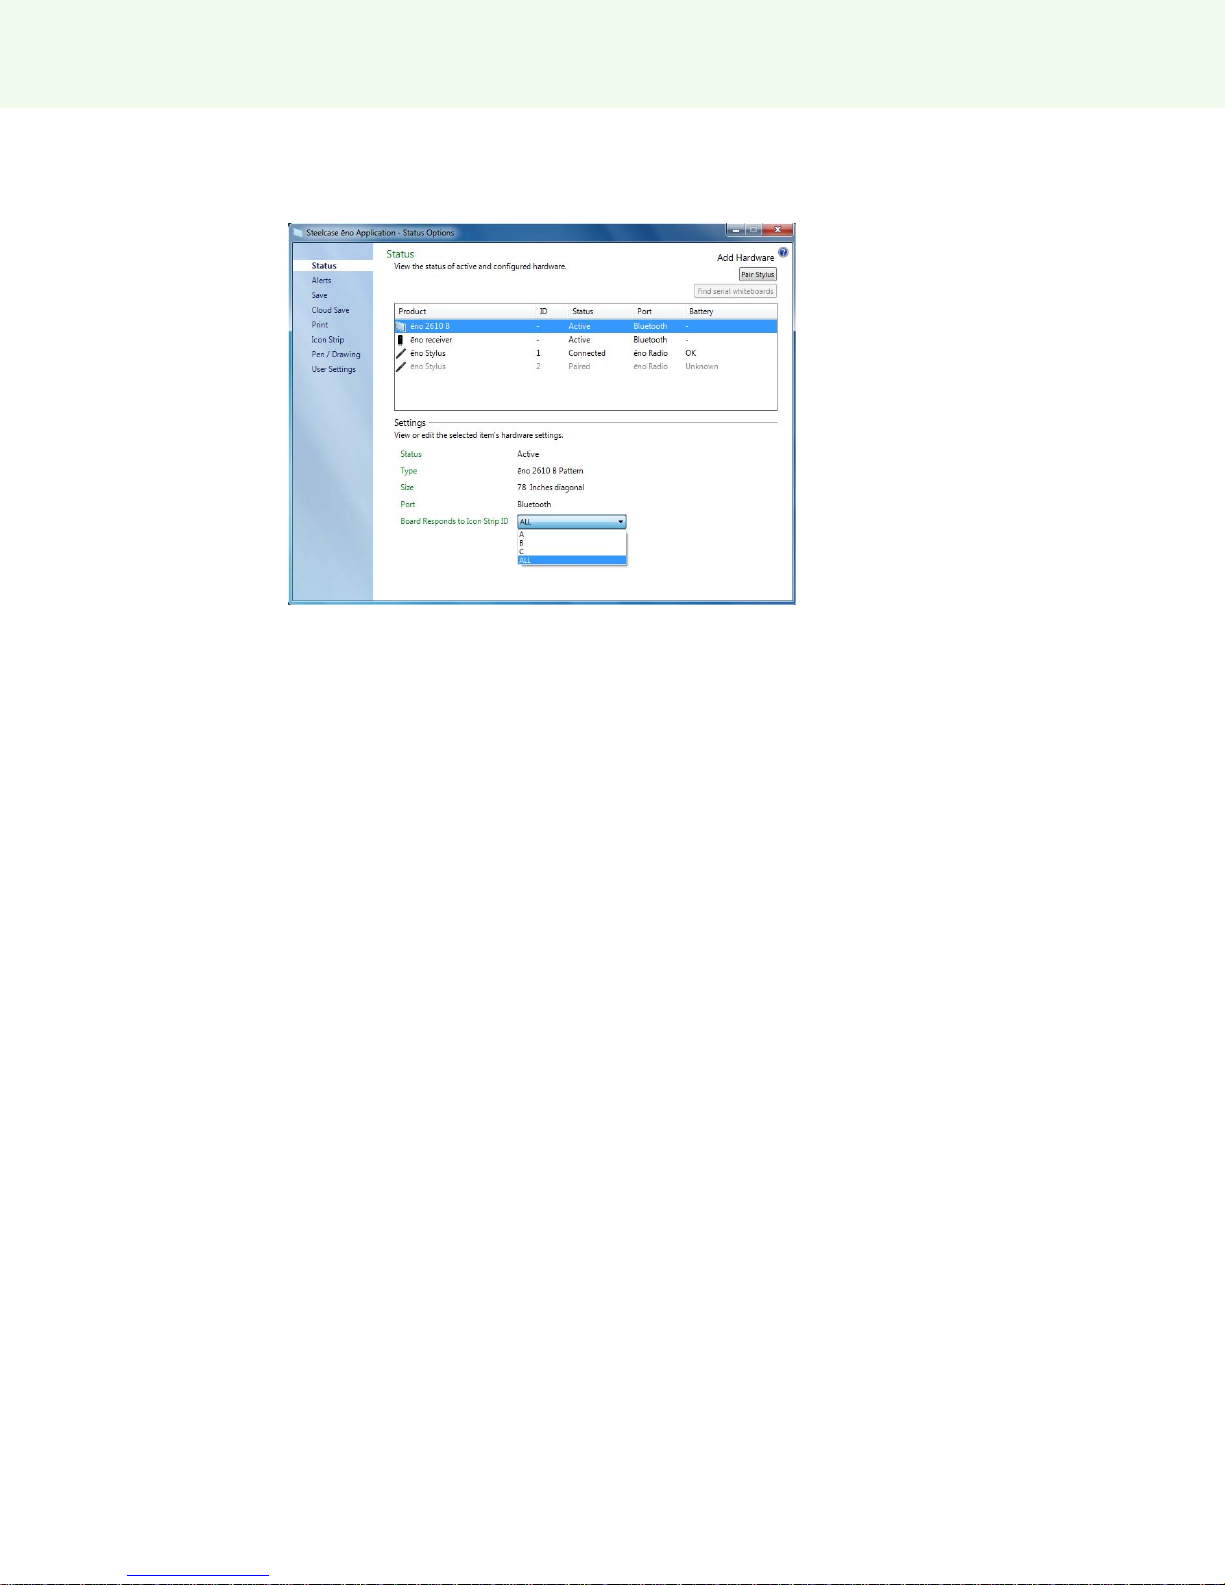
To configure the ēno App to respond to the “A,” “B,” or “C” magnetic icon strip (or
“All”):
1 Connect the projectors to your computer.
2 Click the ēno App icon in the system tray (Windows) or menu extras (Macintosh).
3 Choose “Settings for ēno App” from the menu.
4 Click “Status.”
Steelcase 17
Preparing to use ēno
Click the ēno interactive whiteboard that you want to configure. The settings for that
5
product appear in the lower part of the window.
6 Click the drop down menu beside “Board responds to Icon Strip ID” and choose the
option that corresponds to the magnetic icon strip labeled “A,” “B,” or “C” on that
board. Choose “All” when you want all whiteboards to respond to all icon strips or
when only one whiteboard is used.
7 Repeat for up to two additional ēno interactive whiteboards with projectors
connected to the computer.
The calibration between the whiteboard and the projected computer desktop is
important and may require adjustment on each whiteboard separately. To calibrate
multiple whiteboards:
1 Click the ēno App icon in the system tray (Windows) or menu extras (Macintosh).
2 Choose “Align (Calibrate) the Display” from the menu.
3 Choose the display option that corresponds to the magnetic icon strip labeled “A,”
“B,” or “C” on that whiteboard.
4 Follow instructions you see projected from the computer to the whiteboard. Refer to
“Calibrate the computer with the whiteboard” on page 13.
Steelcase 18

Using ēno
Using ēno
Related topics:
“Preparing to use ēno”
“Using the ēno stylus”
“Icon strip options”
“The ēno App icon strip”
“If you have the older ēno icon strip”
Using the ēno stylus
Related topics:
“Pair the ēno stylus with the ēno receiver”
“Correct stylus orientation”
“The stylus Bluetooth connection”
“Mouse control using the ēno stylus”
“Writing and erasing with the ēno stylus”
“Replacing the ēno stylus batteries”
Use the ēno stylus to:
o perform mouse actions from the whiteboard.
o write, highlight, and erase on the whiteboard. When you write with the stylus, the
“ink” is a projected image from the computer, not real ink.
o tap the ēno control icons on the whiteboard to perform functions that are described
later in this section.
Steelcase 19
Using ēno
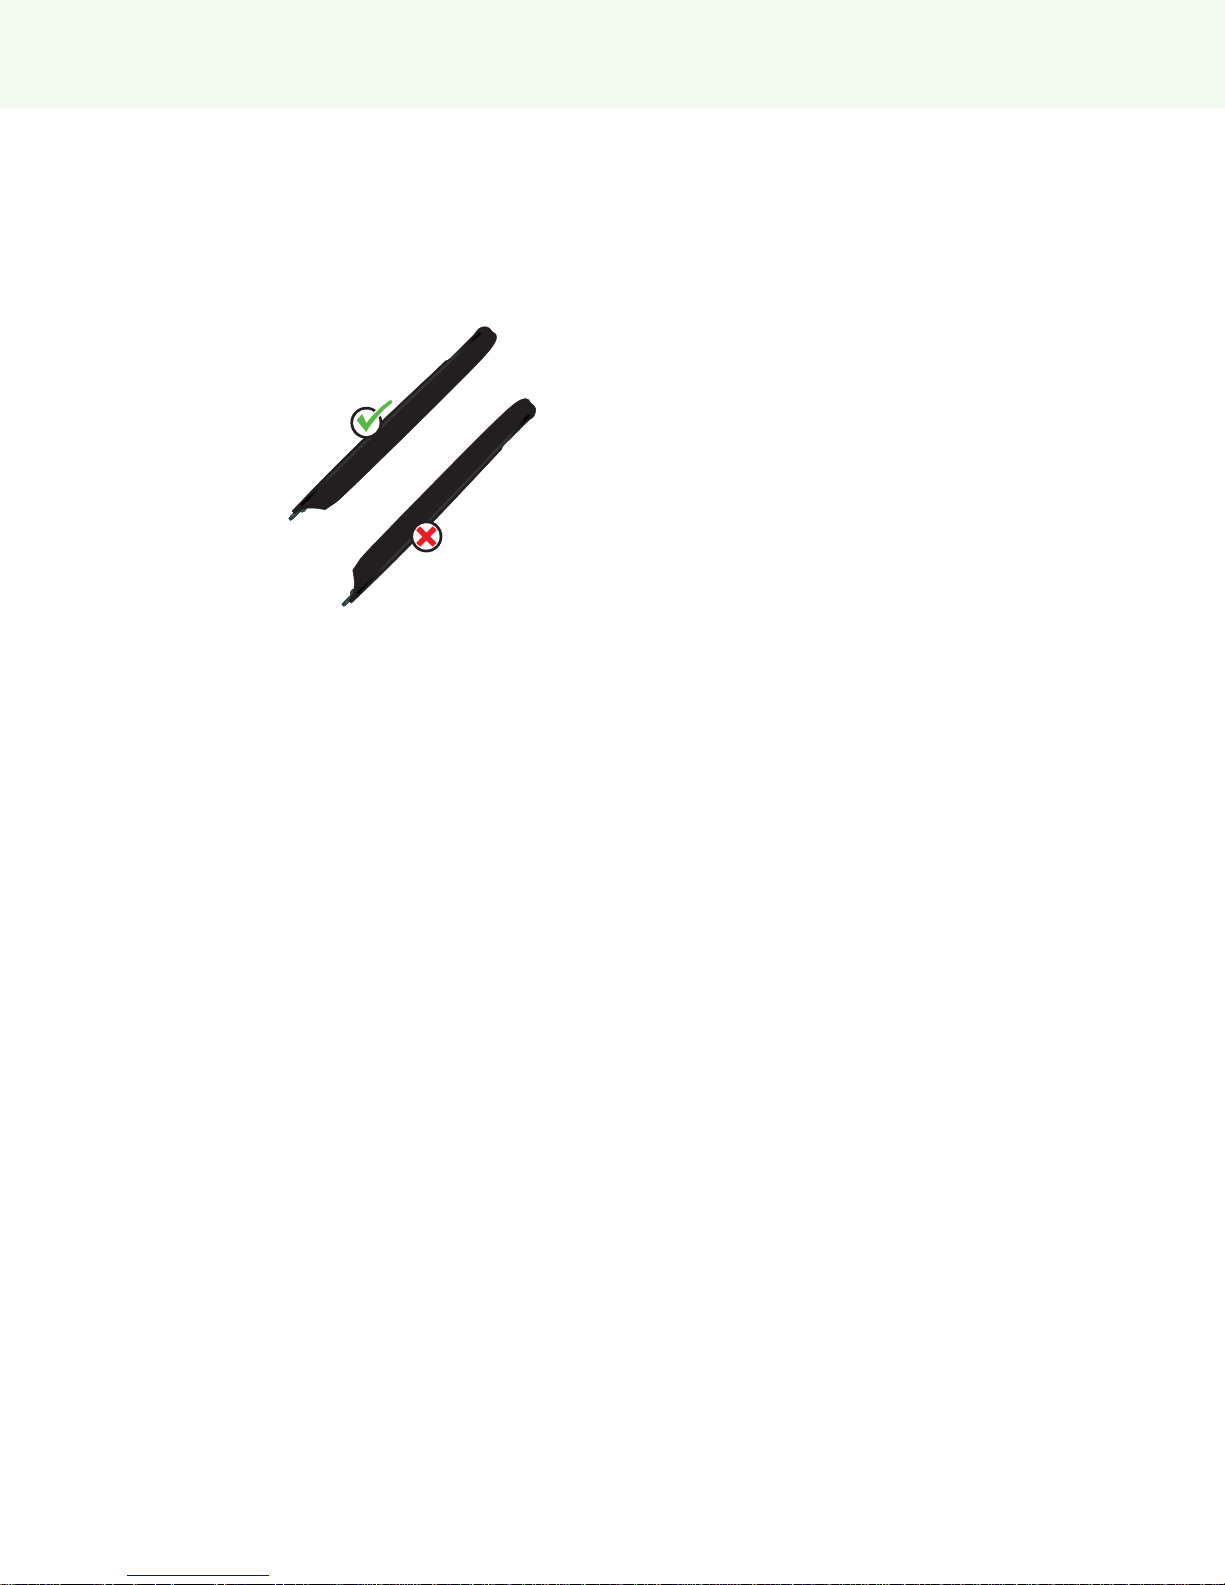
Correct stylus orientation
For optimum performance:
o hold the stylus at a slight angle (not 90 degrees from the whiteboard).
o hold the stylus with LED facing up toward the ceiling as shown below.
The stylus Bluetooth connection
If a notification appears briefly in the lower left corner of the whiteboard telling you that
“Your stylus is disconnected”, the stylus has become temporarily disconnected from
communication with the host computer.
This commonly occurs if:
o the stylus is turned off by replacing the stylus cap. To resume communication, simply
remove the stylus cap.
o the stylus has automatically entered sleep mode to save battery life after a period of
inactivity. To resume communication, simply replace the stylus cap and then remove
it again.
o the stylus moves further than approximately 32 feet (10 m) from the host computer.
To resume communication, move closer to the host computer, replace the stylus
cap, and then remove it again.
o the stylus battery needs to be replaced. Refer to “Install the ēno stylus battery” on
page 9.
Steelcase 20

Using ēno
Note
Icon strip options
Related topics:
“The ēno App icon strip”
“Using the on-screen icon strip”
“Viewing and hiding the on-screen ēno icon strip”
“On-screen icon strip view options”
You can access the functions of the control icons in two ways:
o by tapping the magnetic icon strip with the stylus. Refer to “The ēno App icon strip”
on page 22.
o by tapping the on-screen icon strip with the stylus. To view the on-screen icon strip,
refer to “Using the on-screen icon strip” on page 49.
If you upgraded to ēno App version 3 but still use the older magnetic icon strip, refer to “If
you have the older ēno icon strip” on page 33.
You can obtain a new ēno App icon strip (service part number ENOAPPSTRIPA) by
contacting your local sales representative or Steelcase dealer.
Steelcase 21
 Loading...