

Star Micronics USB, TSP613, TSP643, TSP743, TSP847 Owner's Manual

www.starmicronics.com
USB Installation Guide
Windows 2000 and XP
Copyright 2003 - Star Micronics A merica, Inc
1150 King Georges Post Rd.
Edison, NJ 08837-3729
System Sales Team
USB2.0 Installation Procedure
Before beginning installation:
• Must have a TSP600 (TSP613/643), TSP700 (TSP743) or TSP800 (TSP847) with
USB2.0 ready firmware.
Printer Firmware Version
TSP613 / TSP643 Ver3.2 –b1.1
TSP743 Ver3.2 –b1.1
TSP847 Ver4.3 –b2.1
*** Note: If you have a firmware version that was releases prior to the above-mentioned versions, please
contact a Star Micronics Customer Support Specialist today to get your printer updated ***
• Printer being used must have USB2.0 chip on printer USB interface card
*** Note: Interface version can be determined by removing interface card from the back of the printer ***
• If the printer being used has the appropriate firmware version, change the dip
switches as follows:
Dip Switch 1- 5 / 1- 6 Functionality Application
1-5 Off 1-6 On
1-6 On 1-5 Off
• If Using the printer with OPOS, the Star Micronics OPOS drivers (Version 1.4.11 or
higher) and the Vender Class Drivers will be required
*** Note: If you do not have Version 1.4.11 of the OPOS driver or the Vender Class Driver,
please call a Star Micronics Customer Support Specialist today ***
Once all steps above are completed, installation of the USB port can occur.
To begin installation of the ‘Printer Class’ USB port, go to the next page
To begin installation of the ‘Vender Class’ USB port, go to page 7
To begin installation of the ‘OPOS Drivers’, go to page 14
To start the ‘Add Hardware Wizard’, click on ‘My Computer | Control Panel | Add/Remove
Hardware.
The ‘Add / Remove Hardware Wizard’ will open (see next page…)
Vender Class
Printer Class
OPOS
Normal Windows Operation
Page 2
1150 King Georges Post Rd.
Edison, NJ 08837-3729
System Sales Team
Installing USB Printer – ‘Printer Class’ Functionality
Prior to beginning the installation o f the USB ‘Printer Class’ drivers, it will be necessary for
you to obtain:
• The newest Windows Raster drivers (for drivers – www.starmicronics.com
• Save the driver to your hard drive and extract the driver files that were downloaded
*** Note: Write down the location the driver was extracted to.
This information will be important to know for later reference ***
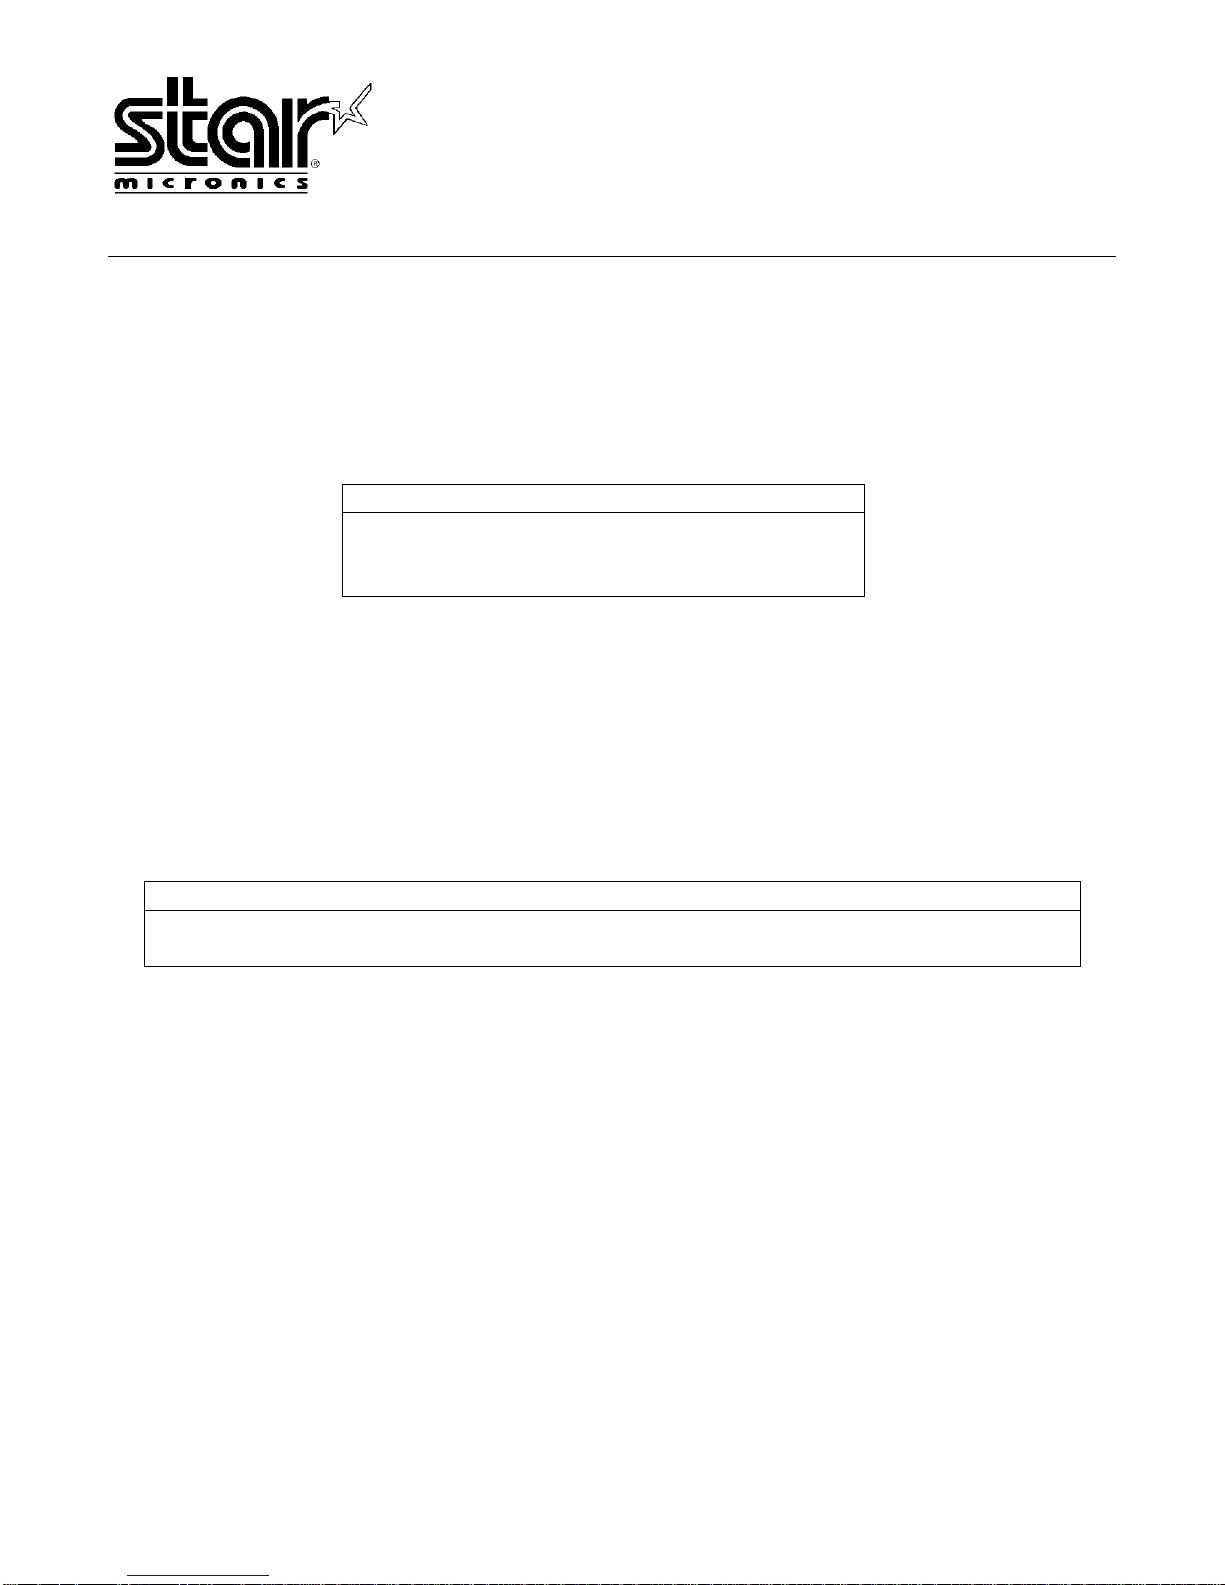
Connect the
printer to the PC
and power the
printer ‘On’
The PC will
automatically
detect the
hardware and the
‘Add New
Hardware Wizard’
will appear
Click ‘Next’
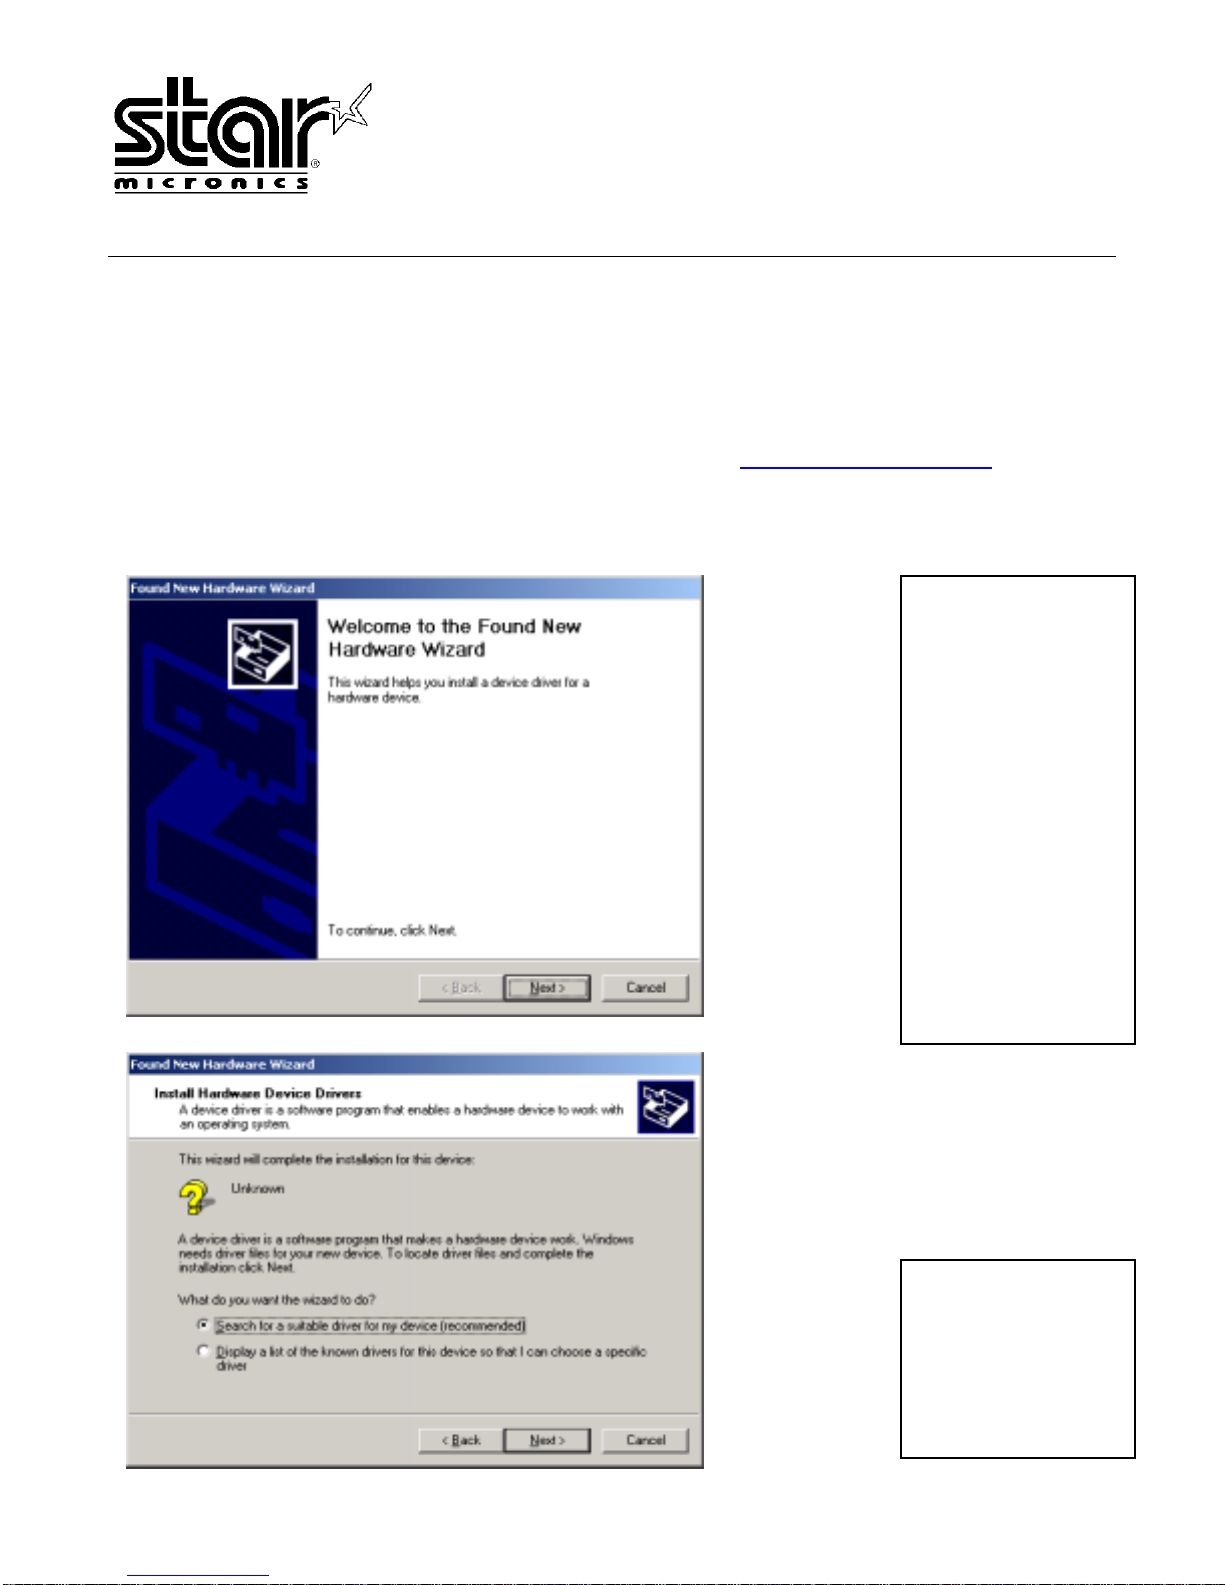
Select ‘Search for
a suitable driver
for my device’
Click ‘Next’
)
Page 3
1150 King Georges Post Rd.
Edison, NJ 08837-3729
System Sales Team
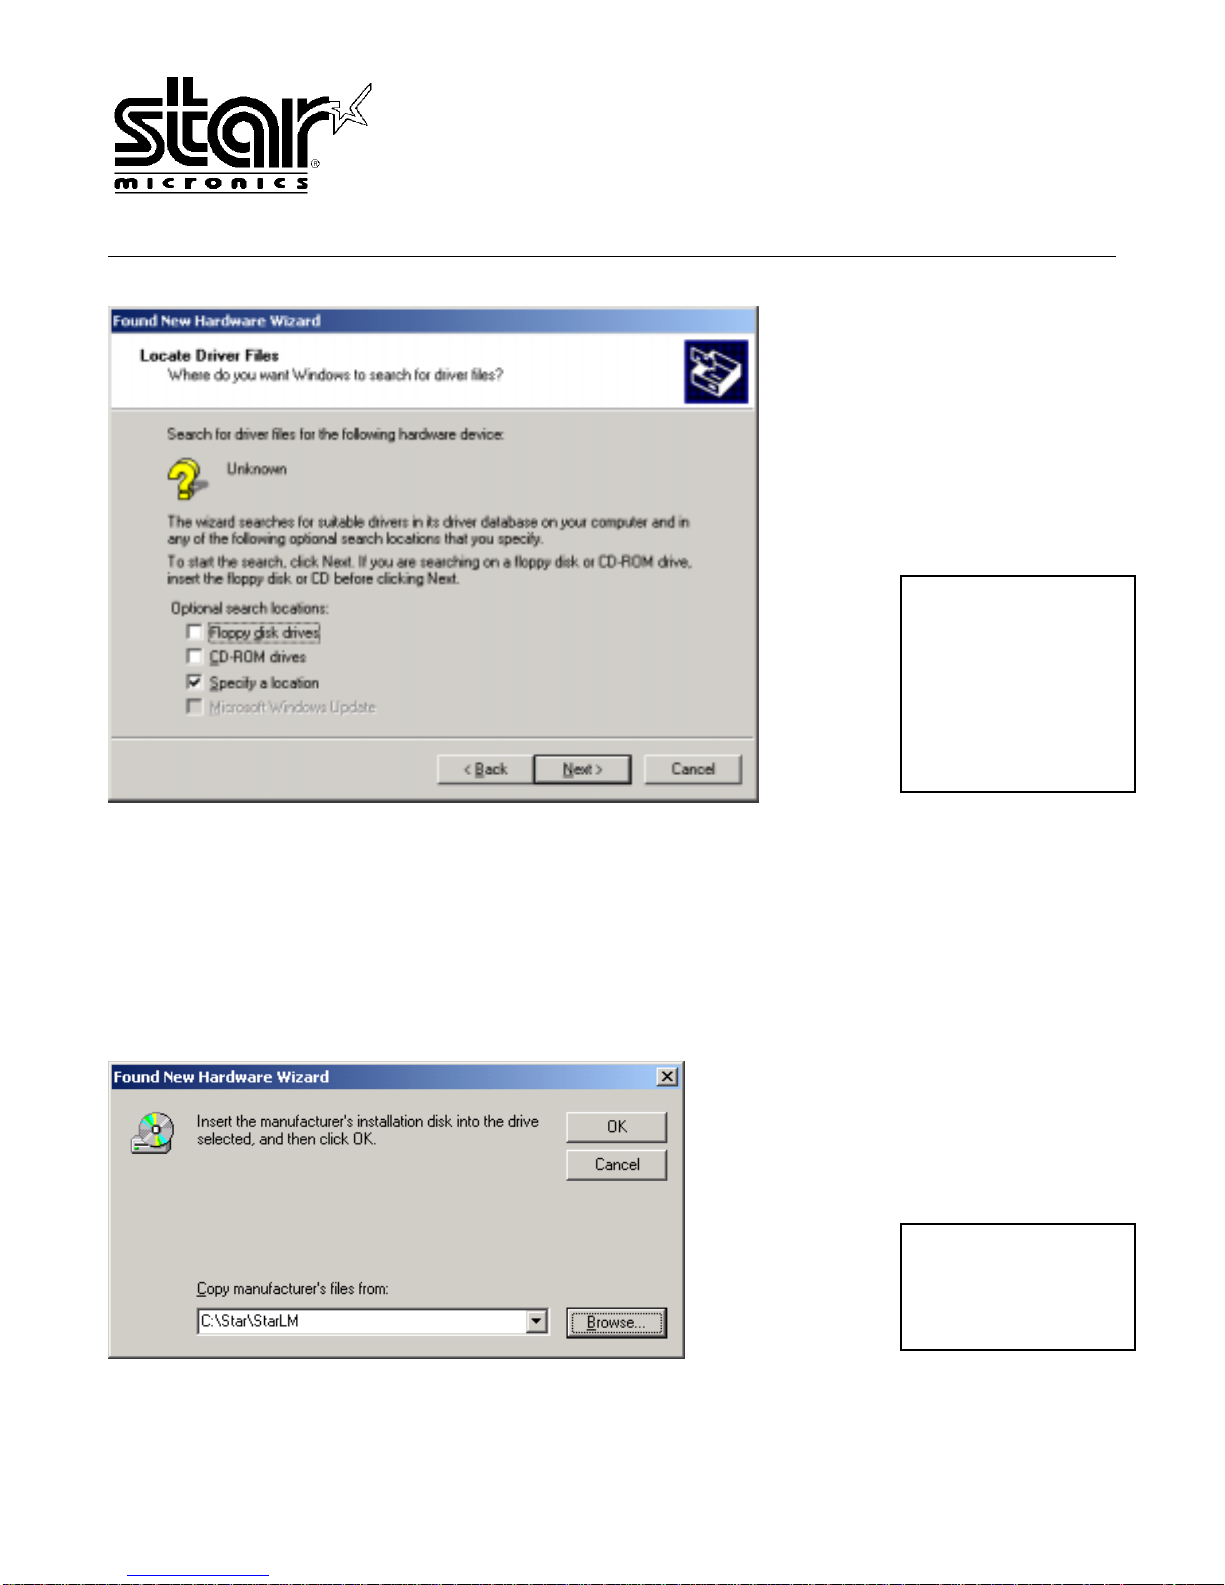
Check ‘Specify a
location’ and
uncheck the rest of
the options
Click ‘Next’
Click ‘Browse’ and
than locate the
extracted driver
files
Page 4
1150 King Georges Post Rd.
r
Edison, NJ 08837-3729
System Sales Team
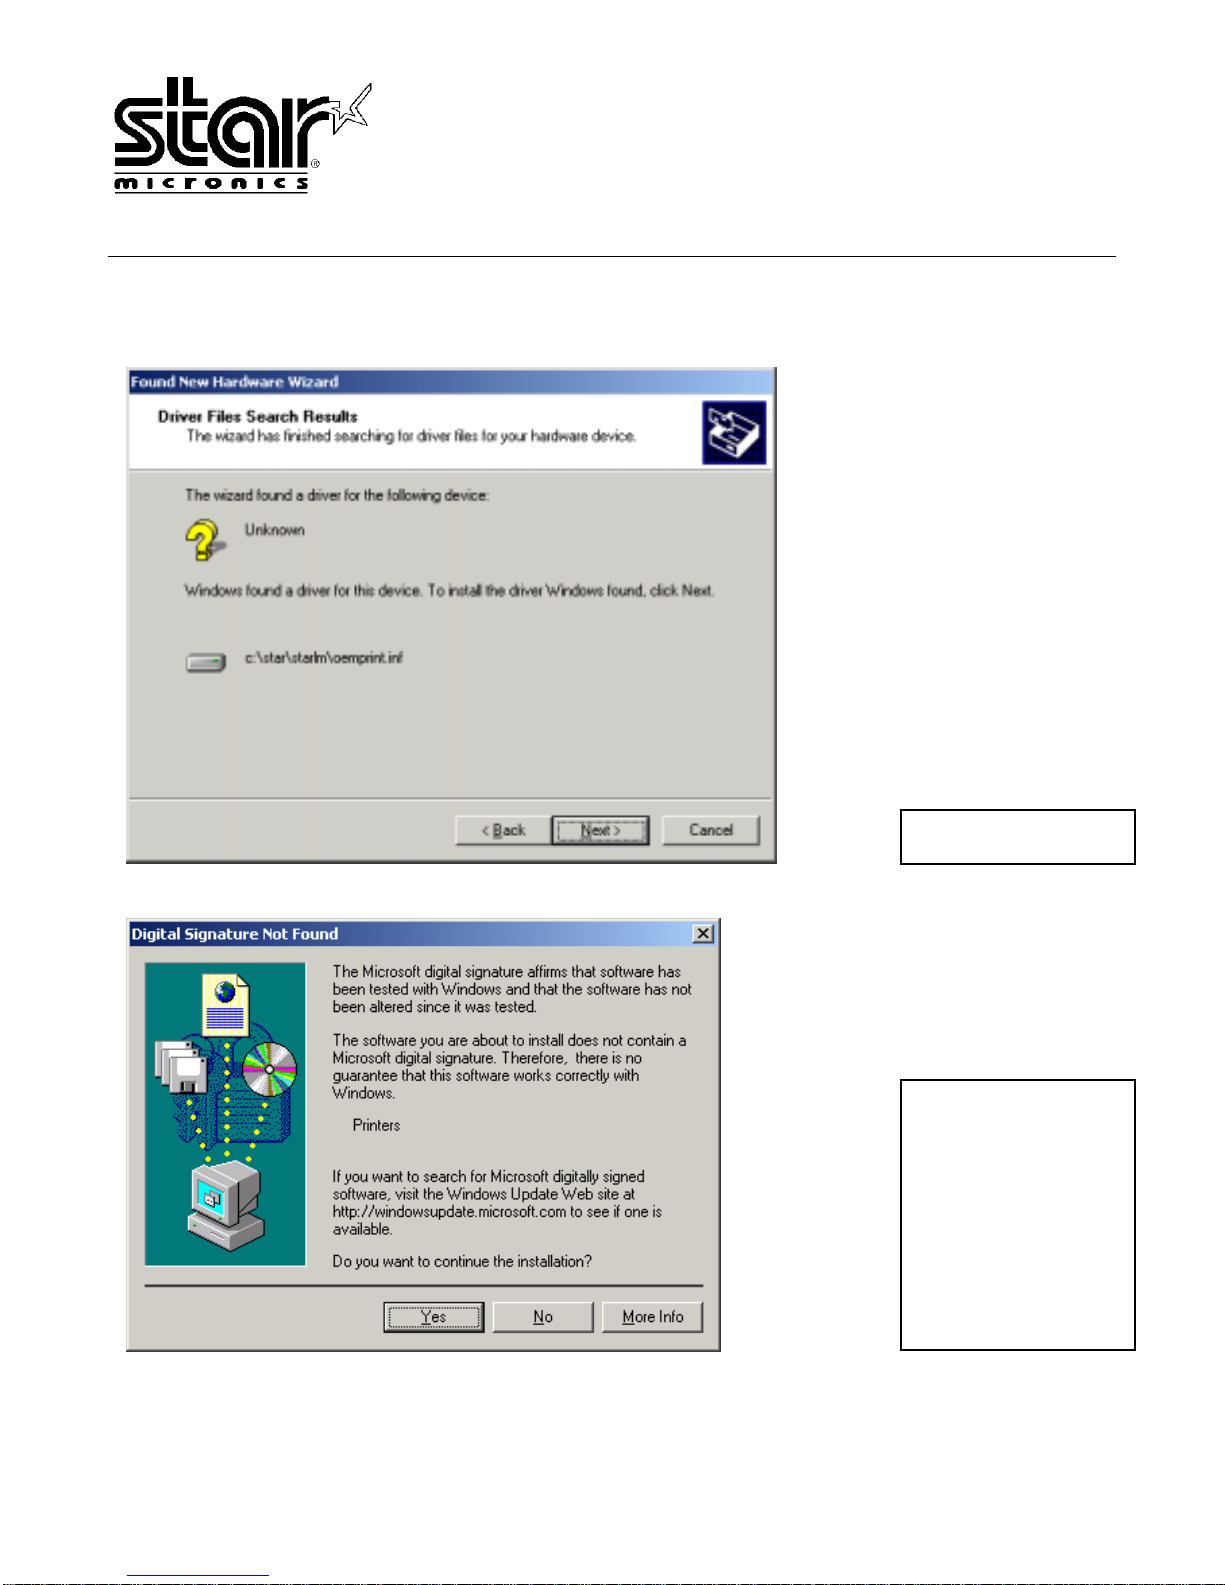
Click ‘Next’
The ‘Digital
Signature Not
Found’ message
will appea
Click ‘Next’
Page 5
1150 King Georges Post Rd.
Edison, NJ 08837-3729
System Sales Team
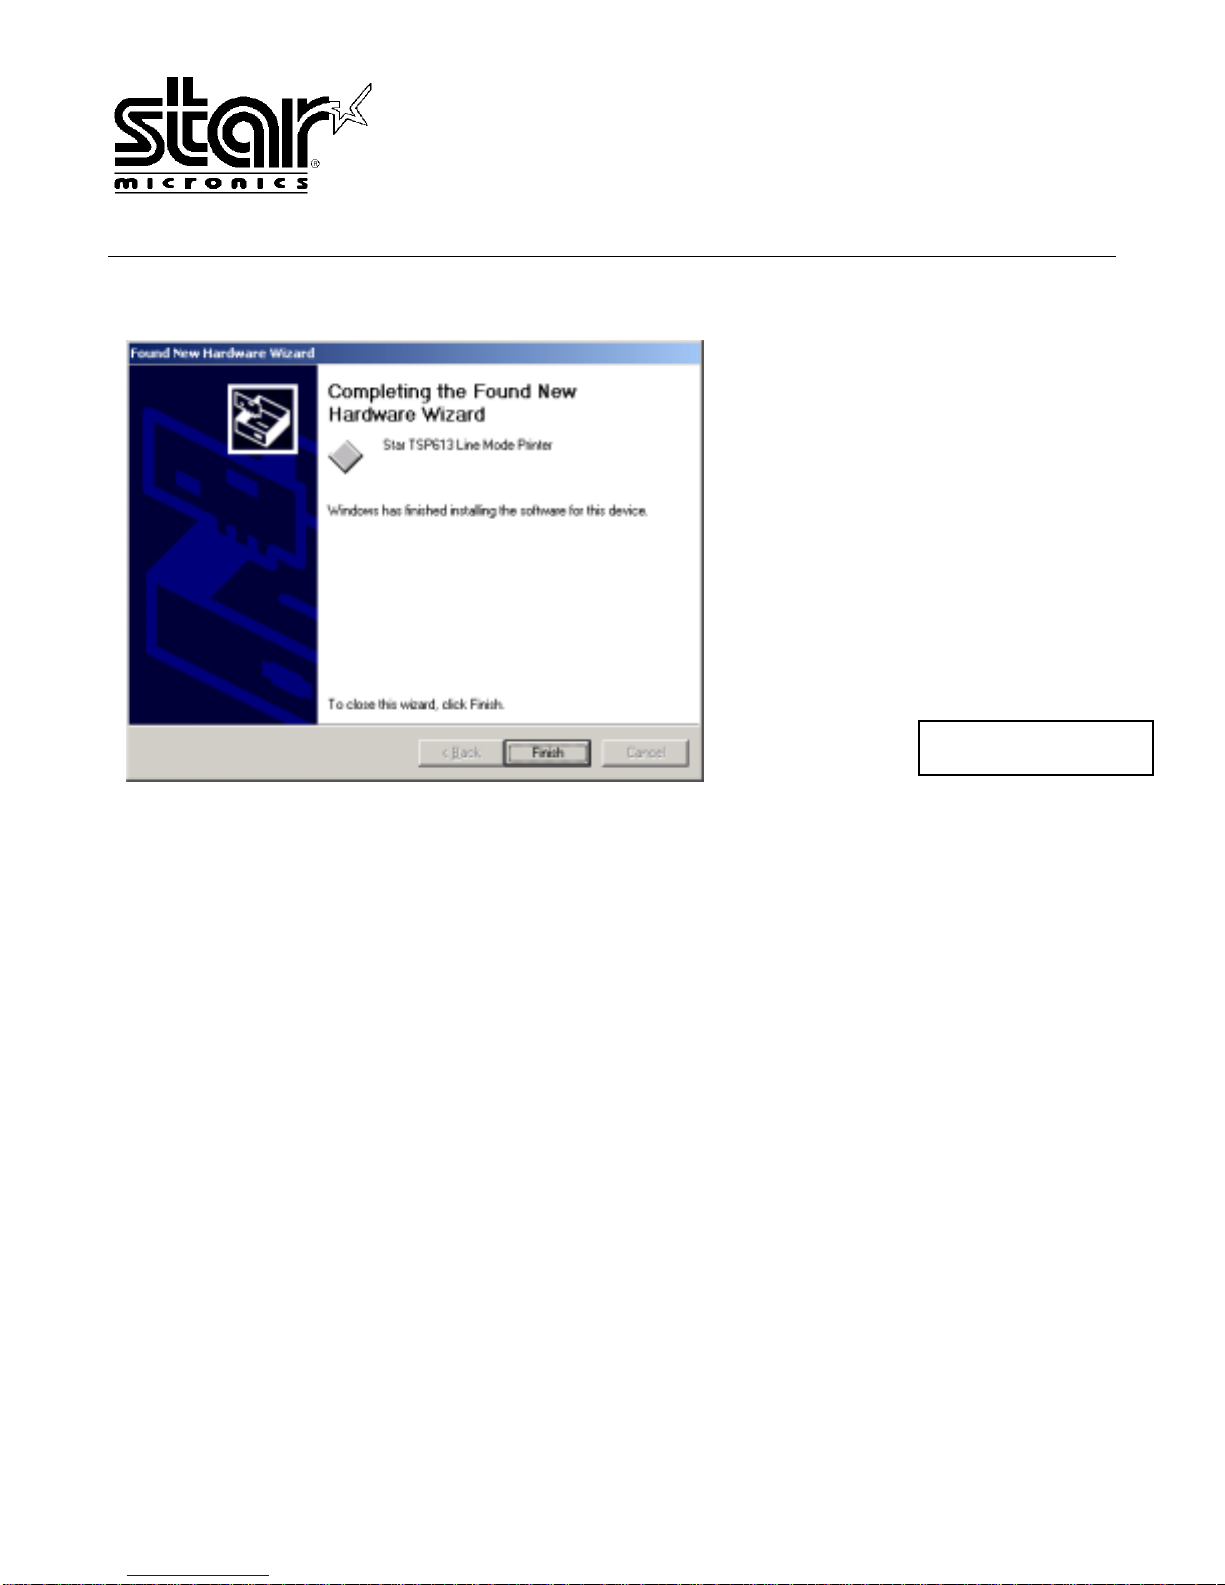
Click ‘Finish’
Once the ‘Finish’ button is selected, the driver installation will be complete. At this point, the
printer will be ready for use.
Page 6
 Loading...