

STA-RITE Sunsaver, Subrite Owner's Manual
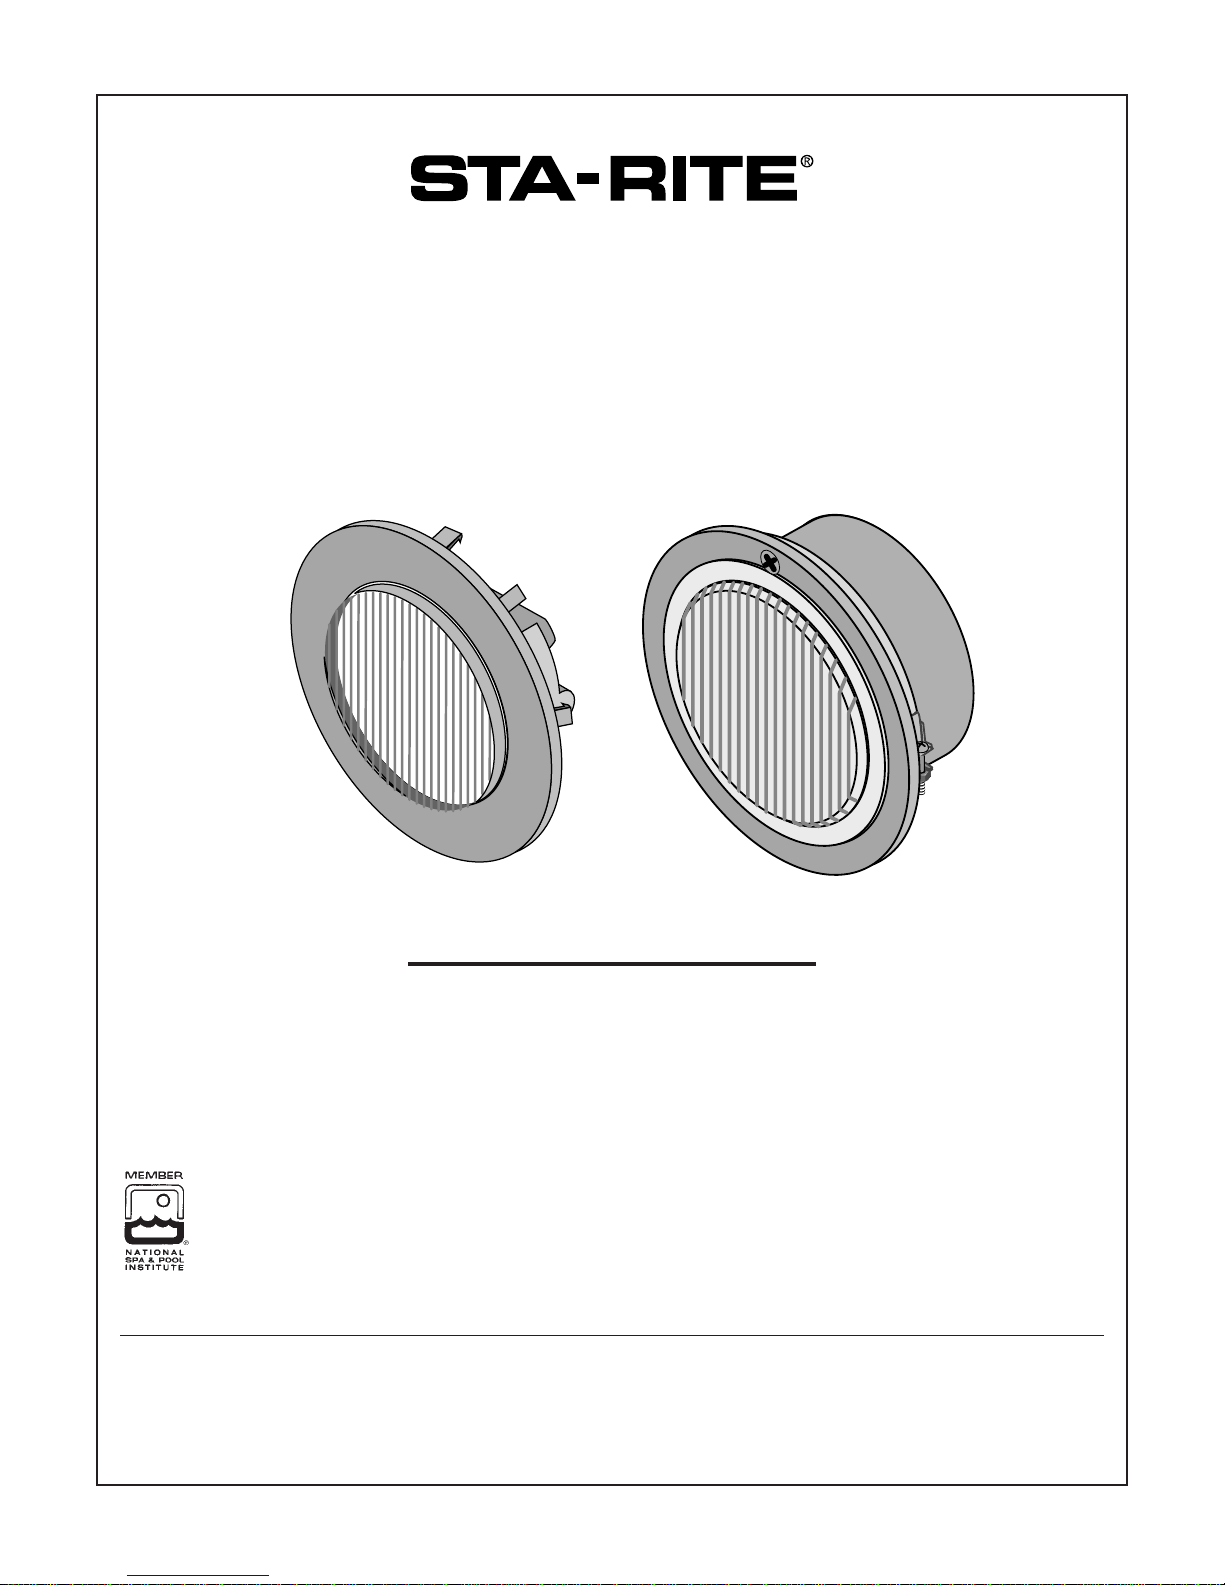
Sunsaver™ and Sunbrite™
Large Underwater Pool Lights
O W N E R’ S M A N U A L
INSTALLATION, OPERATION & PARTS
Sta-Rite Pool/Spa Group
293 Wright Street, Delavan, WI 53115
North America: 800-752-0183, FAX 800-582-2217
International: 414-728-5551, FAX: 414-728-4461, TELEX: ITT 4970245
Union City, TN • Delavan, WI • Mississauga, Ont. • Murrieta, CA
© 1999, Sta-Rite Industries, Inc. Printed in U.S.A. S473 (1/12/99)
This manual should be furnished to
the end user of this light; its use will
reduce service calls and chance of
injury and will lengthen light life.
2
READ AND
FOLLOW SAFETY
INSTRUCTIONS!
This is the safety alert symbol. When you see this
symbol in this manual, look for one of the following signal words and be alert to the potential for personal
injury.
warns about hazards that will cause serious
personal injury, death or major property damage if
ignored.
warns about hazards that can cause serious
personal injury, death or major property damage if
ignored.
warns about hazards that will or can cause
minor personal injury or property damage if ignored.
The label NOTICE indicates special instructions which
are important but not related to hazards.
Carefully read and follow all safety instructions in this
manual and on equipment.
End user should save these instructions.
GENERAL SAFETY!
Hazardous voltage. Incorrectly installed or
tested equipment may fail, causing severe injury or property damage. Read and follow instructions in owner's
manual when installing and operating equipment. Have
a trained pool professional perform all tests.
Risk of electrical shock. Before removing
fixture from pool wall, ALWAYS TURN OFF THE POWER
at the breaker.
Install this light and light niche in accordance with
Article 680 of the National Electrical Code (NEC), in the
United States, or Section 68 of the Canadian Electrical
Code (CEC), as applicable, and all local code requirements.
Install an approved Ground Fault Circuit Interrupter in
the electrical circuit for this light.
All devices in the system must be directly grounded to a
positive electrical ground. All devices in the system must
meet all applicable code requirements for bonding.
Installation and maintenance of this circuit, and the light,
light niche, and any other accessories attached to the circuit, must be performed by a qualified, licensed electrician.
The complete electrical system must be installed, tested,
and approved by a qualified, licensed electrician before
it is placed in operation.
Burn hazard. Never operate this light fixture for more than 10 seconds unless it is completely
submerged in water. This fixture requires total submersion for cooling.
Breakage hazard. Install fixture in a vertical
pool or spa wall – not in floor. Failure to install the fixture properly could result in personal injury and/or property damage. Do not push off from the poolside against
the light.
Except when the fixture is installed in an area of the
swimming pool that is not used for swimming and the
lens is adequately guarded to keep any person from contacting it, the fixture shall be installed in or on a wall of
the pool, with the top of the lens opening not less than
18” below the normal level of the pool.
The junction box must be located:
• at least 4 feet from the perimeter of the pool (unless
separated from the pool by a solid fence, wall or other
permanent structure,
• at least 8” above maximum water level,
• at least 4” above the deck or ground level.
Junction boxes should be located off the walkway
around the pool and given additional protection by
installing them next to a fence, building, or other permanent structure. Make sure that the installation is in compliance with local codes and the NEC or the CEC, as
applicable.
The improper use of Ozone generators, Chlorine generators, Copper/Silver Ion generators or certain chemicals
for water purification may cause damage to the fixture.
When such water purification methods are used, be sure
to monitor the water conditions. Subjecting the fixture to
extreme conditions or harsh environments may cause
corrosion and premature failure of the fixture or its
components.

INSTALLATION
Sunsaver™ Lamp Housing Installation
(Refer to Figure 2 and the Exploded View on Page 6).
1. Be sure the power is off.
2. Place lamp housing on the deck above the niche.
Feed the cord through the back of the housing to the
conduit box. Make sure that there is enough cord to
allow the fixture to be placed on the deck for re-lamping.
3. Make connections in the conduit box (be sure to follow code requirements). Connect the supply circuit
grounding wire (green, green and yellow, or bare copper) to the green ground conductor from the light fixture. Connect the line supply wire (the black or ’hot’
wire) to the black wire from the light fixture. Connect
the neutral (white) supply wire to the neutral (white)
wire from the light fixture.
4. With the face ring and lens face down on the deck,
the retaining screw at the top, and the O-Ring in position, press the fixture housing straight down into the
snap fit arms. Repeat for all eight snap fits.
NOTICE: All eight snap fits must be fully engaged. Grasp
the fixture housing flange and face ring in your hands on
both sides of the snap fit arm and squeeze until a loud
“snap” is heard.
Sunbrite™ Lamp Housing Installation
(Refer to Figure 3 and the Exploded View on Page 7).
1. Be sure the power is off.
2. Place lamp housing on the deck above the niche.
Feed the cord into the niche and through the conduit
until the cord reaches the junction box. Make sure
that there is enough cord to allow the fixture to be
placed on the deck for re-lamping.
3. Make connections in the junction box (be sure to follow code requirements). Connect the supply circuit
grounding wire (green, green and yellow, or bare copper) to the green ground conductor from the light fixture. Connect the line supply wire (the black or ’hot’
wire) to the black wire from the light fixture. Connect
the neutral (white) supply wire to the neutral (white)
wire from the light fixture.
4. Wrap the cord around the lamp housing and place the
lamp housing in the niche. Be sure the locator tab on
the bottom of the lamp housing is in the notch at the
bottom of the niche.
5. Fasten the lamp housing into the niche with the captive leader screw at the top of the fixture (use a No. 2
Phillips screwdriver).
NOTICE: The screw in the face ring may be recessed.
3
Fixture
Fixture removed
for relamping
4 FT. Min.
Max. water
level
8" Min.
18" Min.
8" Min.
Pool wall
To
service
To service
To fixture
Junction box
Low level
probe
Brass conduit
Sufficient cord to allow fixture to
be put on the deck for relamping
Figure 1 – Lamp Housing Installation
Allowance of Watts/Sq. Foot
Type of Pool of Pool Area
Small Residential Pools
(Less than 800 sq. ft.) 1/2 to 1*
Large Public Pools 1 to 1
1
⁄2
Diving Pools
(Less than 12 ft. deep) 1
1
⁄2 to 2
Diving Pools
(12 to 20 ft. deep) 2 to 3
Competition Pools 2 to 3**
* One 500 watt light at deep end of pool is recommended.
** For competition pools:
1. Make sure that the start/finish ends of lanes are well
lighted.
2. Never install lights in end walls at end of swimming
lanes. However, if short course racing is provided across
width of a 50 meter course, light fixtures may be
installed between lanes (under racing lines) on a seperate
switch.
Table I
 Loading...