


SPORT EDITION
360° ROLL BAR MOUNT
90° & STRAIGHT EXTENDERS
CURVED & FLAT ADHESIVE MOUNTS
QUICK START GUIDE
XCELTM ACTION CAMERAS
XCEL HD
Xcelcam.com
For complete instructions
Pour les instructions complètes
Für weitere Informationen
Per maggiori informazioni
Para más información
v1.8
XCEL HD2
HUNTING EDITION
BOW MOUNT
SCOPE MOUNT
HEAD STRAP MOUNT
Visit Xcelcam.com
Complete instructions under Support section
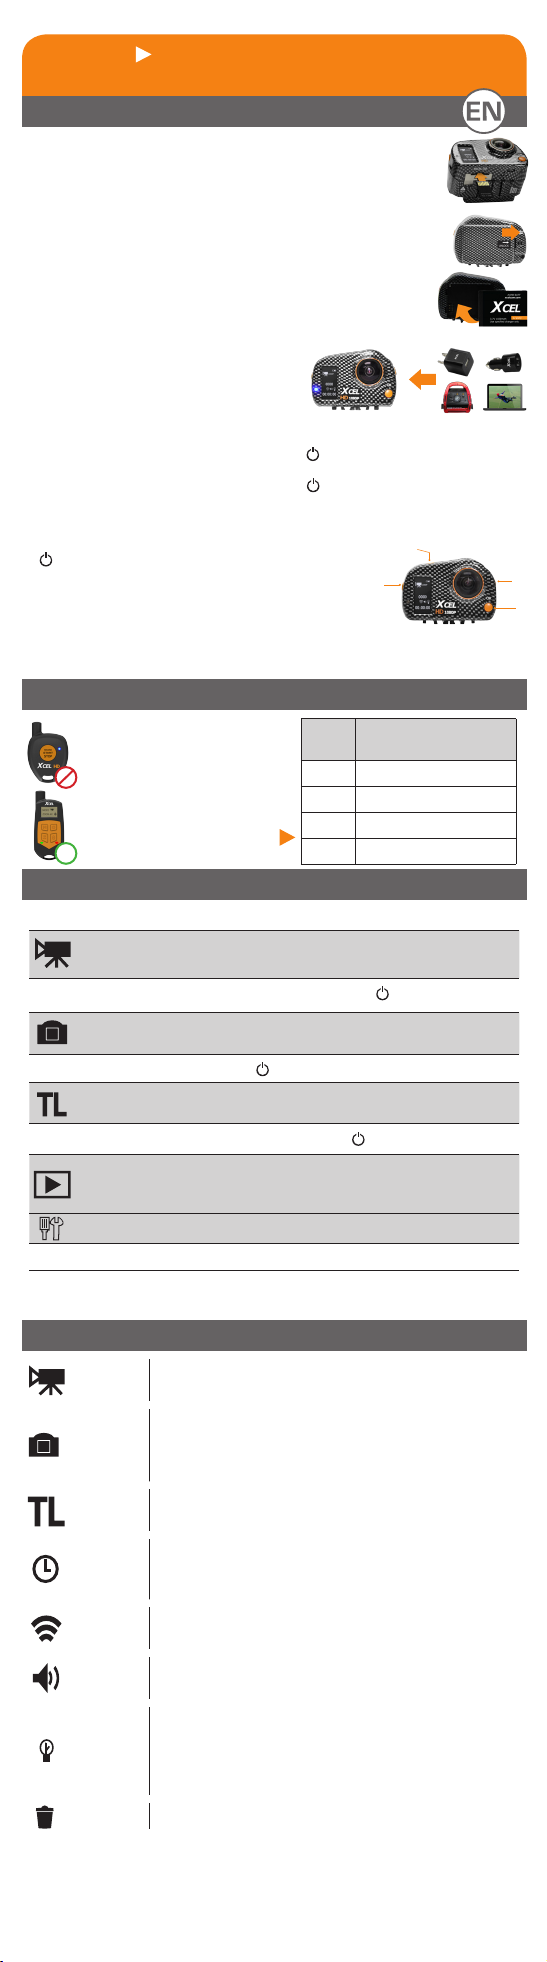
1. Getting started
INSERTING THE MICROSD CARD
Insert a microSD memory card (up to 32 GB capacity, not
included) in the card slot, gold contacts facing up. The card is
inserted correctly when a click is heard.
BATTERY INSTALLATION
Unlock the battery compartment cover by moving the lock
button to the right and remove the cover.
Insert the lithium-ion polymer battery (included) into the battery compartment.
CHARGING THE BATTERY
Using the included USB cable, connect
the camera to a USB power source and
select "CHARGE ONLY".
TURNING ON THE CAMERA
• To turn on the camera, press and hold the button a few seconds until the
welcome screen appears.
• To turn off the camera, press and hold the button a few seconds until the
shutdown screen appears.
BUTTON FUNCTION
1. : ON-OFF/START-STOP
2. M: Change mode/Next
3. OK: Conrm entries/Zoom (+)*
4. BACK: Exit the menu/Previous / Zoom (-)*
*XCEL-HD2 only
4
2. Remote control
XCEL-HD: Start/stop the
photo/video recording.
XCEL-HD2: Select the recording mode to take photos/
videos. Enlarge the image up
to 4X. (720p/480p)
Zoom Subject distance
(approx.)
1X Up to 50ft
2X Up to 100ft
3X Up to 150ft
4X Up to 200ft
3. Modes
Press M button to switch mode.
VIDEO
• To start and stop recording a video, press the button.
PHOTO
• To take a photo, press the button.
TIME LAPSE
• To start and stop taking photos, press the button.
VIEW
SETTINGS To congure the settings of the camera.
• To access to the settings menu, press OK.
HD video recording
(480p, 720p ou 1080p)
Photo recording
XCEL-HD: 1,3,5MP XCEL-HD2: 5,8,12MP
Photo recording at predened regular intervals
(0.5, 2, 5, 10, 30 or 60 sec.)
To see the number of recorded les and view
photos/videos when the camera is connected
to a TV.
1
2
3
4.Settings
Video
mode
Photo
mode
TIMELAPSE
Mode
Date/
Time
Remote
control
Sound
signal
LED
Lights
Erase Erases the last le or all les.
Changes video resolution: 480p, 720p and 1080p.
• Changes photo resolution:
XCEL-HD: 1, 3, 5MP XCEL-HD2: 5, 8, 12MP
• Takes 1 to 6 consecutive photos with a delay of
approximately 0.5 second between each photo.
Takes photos at predened regular intervals:
0.5, 2, 5, 10, 30, 60 sec.
To set date (Year/Month/Day) and time (Hour/Minute).
Use the OK button to conrm the entries and use the M
and BACK buttons to adjust the digits.
Enables or disables the remote control (wireless).
Enables or disables the sound of the camera when using
the buttons.
Enables or disables the LEDs lights. When the Remote
control and LED lights options are activated, the 4 LEDs
ash slowly to indicate that the camera is waiting for the
signal from the remote control and ash rapidly during
the recording of the videos/photos.
 Loading...