

Sony XR-M100 User Manual
COMP ACT DISC STEREO SYSTEM
XR-M100
OPERATING INSTRUCTIONS
En
En (English)
MANUAL DE INSTRUCCIONES
MODE D’EMPLOI
BEDIENUNGSANLEITUNG
ISTRUZIONI PER L’USO
GEBRUIKSAANWIJZING
NÁVOD K OBSLUZE
HASZNÁLATI UTASæTÁS
INSTRUKCJA OBS¸UGI
E (Español)
F (Français)
D (Deutsch)
I (Italiano)
NL
(Nederlands)
˘
˘
C (C
esky)
M (Magyar)
Po (Polski)
8A-CLK-913-01
000314AWY-X2
EZ
ENGLISH
WARNING
TO REDUCE THE RISK OF FIRE OR ELECTRIC
SHOCK, DO NOT EXPOSE THIS APPLIANCE TO
RAIN OR MOISTURE.
CAUTION
CAUTION
TO REDUCE THE RISK OF ELECTRIC SHOCK,
DO NOT REMOVE COVER (OR BACK).
NO USER-SERVICEABLE PARTS INSIDE.
REFER SERVICING TO QUALIFIED SERVICE
PERSONNEL.
CAUTION
Use or controls or adjustments or performance of procedures
other than those specified herein may result in hazardous
radiation exposure.
This compact disc player is classified as a CLASS 1 LASER
product.
The CLASS 1 LASER PRODUCT label is located on the
exterior.
CLASS 1
KLASSE 1
LUOKAN 1
KLASS 1
LASER PRODUCT
LASER PRODUKT
LASER LAITE
LASER APPARAT
CAUTION!
Invisible laser radiation when open and inter
locks defeated. Avoid exposure to beam.
PRECAUTIONS
Read the Operating Instructions carefully and completely before
operating the unit. Be sure to keep the Operating Instructions for
future reference. All warnings and cautions in the Operating Instructions and on the unit should be strictly followed, as well as
the safety suggestions below.
Installation
1 Water and moisture — Do not use this unit near water , such
as near a bathtub, washbowl, swimming pool, or the like.
2 Heat — Do not use this unit near sources of heat, including
heating vents, stoves, or other appliances that generate heat.
It also should not be placed in temperatures less than 5°C
(41°F) or greater than 35°C (95°F).
3 Mounting surface — Place the unit on a flat, even surface.
4 Ventilation — The unit should be situated with adequate
space around it so that proper heat ventilation is assured.
Allow 10 cm (4 in.) clearance from the rear and the top of the
unit, and 5 cm (2 in.) from the each side.
- Do not place the unit on a bed, rug, or similar surface that
may block the ventilation openings.
- Do not install the unit in a bookcase, cabinet, or airtight rack
where ventilation may be impeded.
5 Objects and liquid entry — Take care that objects or liquids
do not get inside the unit through the ventilation openings.
6 Carts and stands — When placed or mounted on a stand or
cart, the unit should be moved with care.
Quick stops, excessive force, and uneven surfaces may cause
the unit or cart to overturn or fall.
7 Condensation — Moisture may form on the CD pickup lens
when:
- The unit is moved from a cold spot to a warm spot
- The heating system has just been turned on
- The unit is used in a very humid room
- The unit is cooled by an air conditioner
When this unit has condensation inside, it may not function
normally. Should this occur , leave the unit for a few hours, then
try to operate again.
8 Wall or ceiling mounting — The unit should not be mounted
on a wall or ceiling, unless specified in the Operating Instructions.
ADVARSEL!
Usynlig laserstå ved åbning, når sikkerhedsafbrydereer ude
af funktion. Undgå udsættelse for stråling.
VAROITUS!
Laitteen käyttäminen muulla kuin tässä käyttöohjeessaa
mainitulla tavalla saattaa altistaa käyttäjän
turvallisuusluokan 1 ylittävälle näkymättömälle lasersäteiylle.
VARNING!
Om apparaten används på annat sätt än i denna
bruksanvisning specificerats, kan användaren utsätta för
osnylig laser-strålning, som överskrider gränsen för
laserklass 1.
NOTA
AIWA CO. LTD. - JAPAN - DECLARES UNDER ITS OWN
RESPONSIBILITY THAT THE PRODUCT DESCRIBED IN
THIS MANUAL IS IN COMPLIANCE WITH THE
DIRECTIVES OF D.M. 28.8.95 NO. 548, ACCORDING TO
THE STIPULATIONS OF P ARAGRAPH 3 OF A TT ACHMENT
A OF D.M. 25.6.85 AND PARAGRAPH 3 OF ATT ACHMENT
1 OF D.M. 27.8.87 (REGULATIONS REGARDING
FREQUENCIES).
The above information is only for Italy.
1
ENGLISH
Electric Power
1 Power sources — Connect this unit only to power sources
specified in the Operating Instructions, and as marked on the
unit.
2 AC power cord
- When disconnecting the AC power cord, pull out by the AC
power plug. Do not pull the cord itself.
- Never handle the AC power plug with wet hands, as this
could result in fire or shock.
- Power cord should be routed to avoid being severely bent,
pinched, or walked upon. Pay particular attention to the cord
from the unit to the power socket.
- Avoid overloading AC power plugs and extension cords
beyond their capacity, as this could result in fire or shock.
3 When not in use — Unplug the AC power plug from the power
socket if the unit will not be used for several months or more.
When the cord is plugged in, a small amount of current continues
to flow to the unit,even when the power is turned off.
Maintenance
Clean the unit only as recommended in the Operating Instructions.
TABLE OF CONTENTS
Damage Requiring Service
Have the units serviced by a qualified service technician if:
- The AC power cord or plug has been damaged
- Foreign objects or liquid have gotten inside the unit
- The unit has been exposed to rain or water
- The unit does not seem to operate normally
- The unit exhibits a marked change in performance
- The unit has been dropped, or the cabinet has been damaged
DO NOT ATTEMPT TO SERVICE THE UNIT YOURSELF.
PRECAUTIONS...................................................................1
PREPARATIONS
CONNECTIONS ................................................................. 3
REMOTE CONTROL........................................................... 4
BEFORE OPERATION ........................................................5
SOUND
AUDIO ADJUSTMENTS .................................................... 6
GRAPHIC EQUALIZER ......................................................6
RADIO RECEPTION
MANUAL TUNING...............................................................7
PRESETTING STATIONS ...................................................7
CD PLAYING
BASIC OPERATIONS ........................................................ 8
PROGRAMMED PLAY ........................................................9
TAPE PLAYBACK
BASIC OPERATIONS ...................................................... 1 0
RECORDING
BASIC RECORDING.........................................................11
AI EDIT RECORDING ...................................................... 12
PROGRAMMED EDIT RECORDING............................... 13
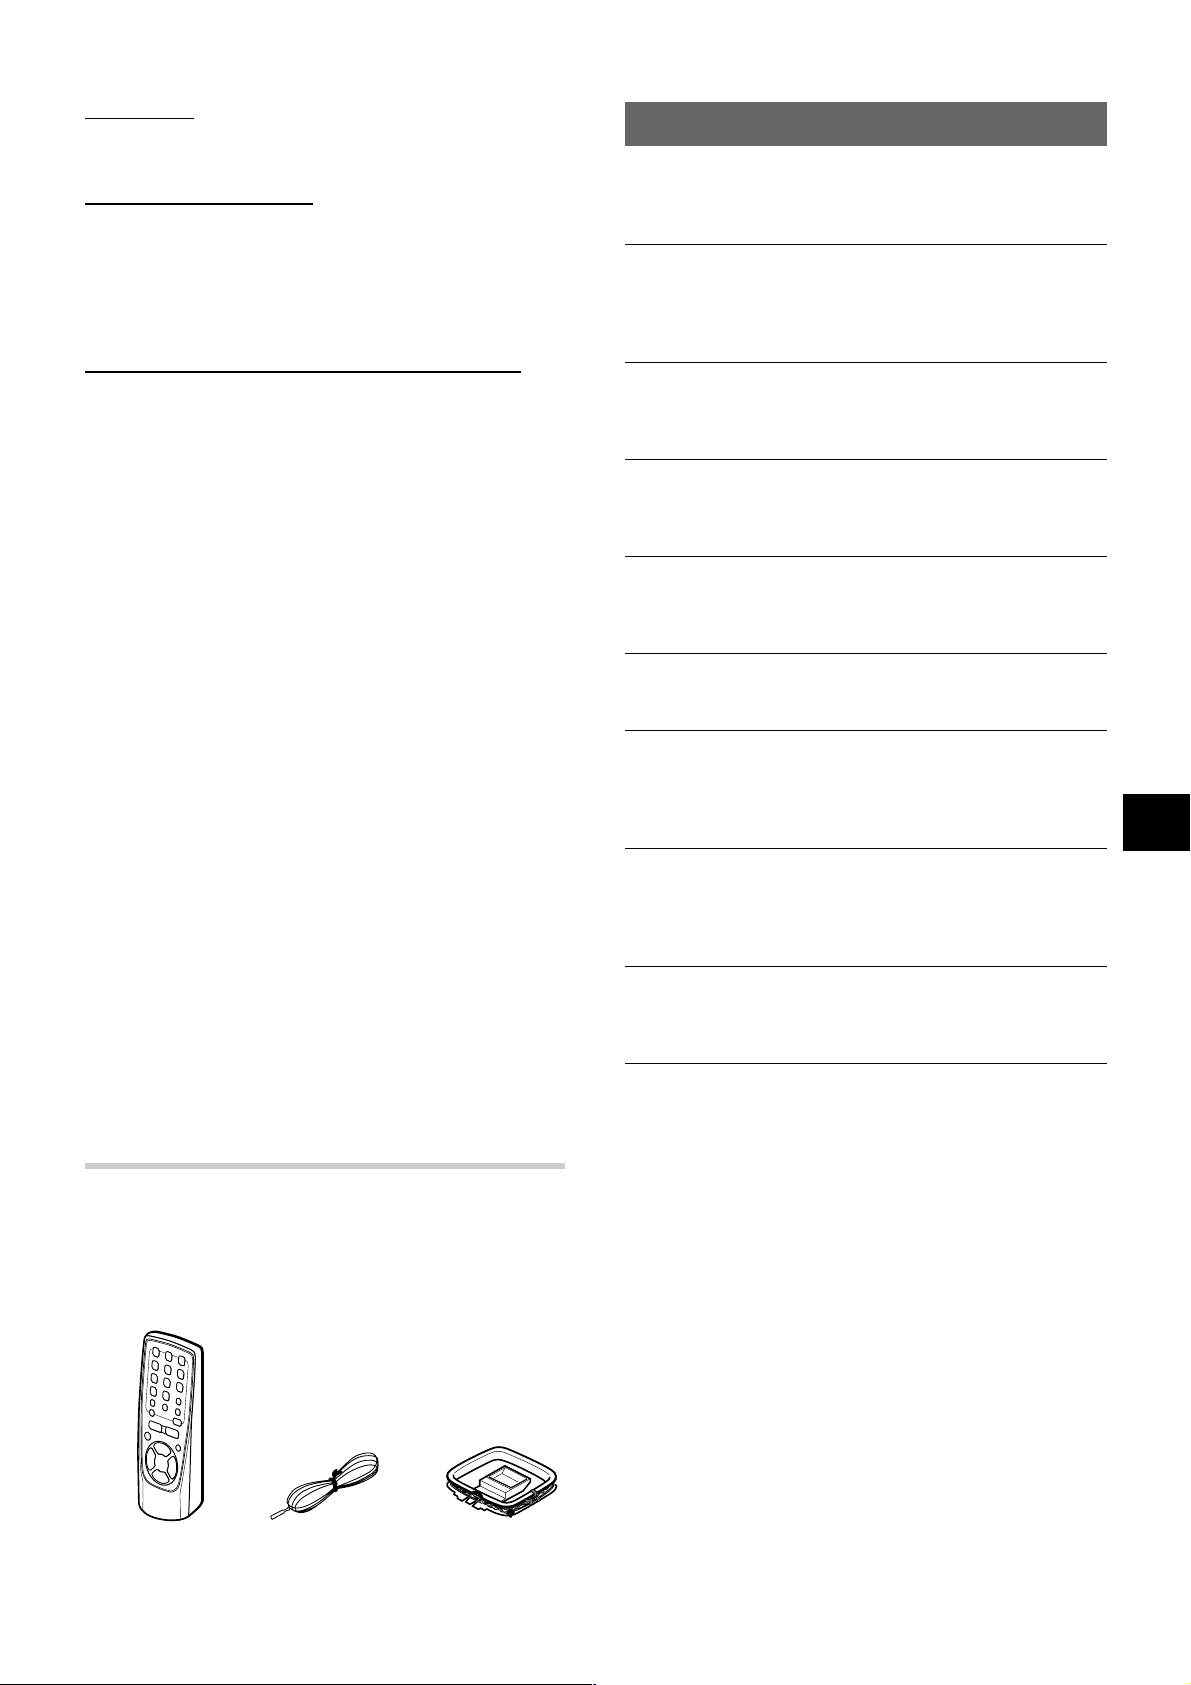
Check your system and accessories
XR-M100 Compact disc stereo cassette receiver
Front speakers
CLOCK AND TIMER
SETTING THE CLOCK .................................................... 14
SETTING THE SLEEP TIMER......................................... 14
SETTING THE TIMER...................................................... 15
OTHER CONNECTIONS
CONNECTING OPTIONAL EQUIPMENT ....................... 16
LISTENING TO EXTERNAL SOURCES ......................... 16
GENERAL
CARE AND MAINTENANCE ........................................... 17
TROUBLESHOOTING GUIDE......................................... 17
SPECIFICATIONS............................................................ 18
PARTS INDEX...................................................
Back cover
En
Remote control FM antenna MW/LW antenna
Operating Instructions, etc.
ENGLISH
2

PREPARATIONS
CONNECTIONS
Before connecting the AC cord
The rated voltage of your unit shown on the rear panel is 230 V
AC. Check that the rated voltage matches your local voltage.
2
Connect the supplied antennas.
Connect the FM antenna to FM 75 Ω terminals and the MW/
LW antenna to MW/LW LOOP terminals.
FM antenna
IMPORTANT
• Connect the speakers, antennas, and all optional equipment
first. Then connect the AC cord.
• Both speakers can be connected as L (Left) or R (Right).
1
Connect the speaker cord to the main unit.
The speaker cord with the white stripe should be connected
to 0 terminal and the black cord to the 9 terminal.
MW/LW antenna
ANTENNA
FM
75Ω
(COAXIAL)
3
Connect the AC cord to an AC outlet.
• The Demo will begin when the AC cord is plugged into an
AC outlet. See page 5 “DEMO” for details.
MW/LW LOOP
Right speaker
XR-M100
Speaker cord
2 MW/LW antenna
Left speaker
2 FM antenna
AC cord
3
3
ENGLISH

To stand the MW/LW loop antenna on a surface
Fix the claw to the slot.
To position the antennas
FM unipolar antenna:
Extend fully and position for the best possible reception.
This antenna is of an instant type, so the use of an outdoor
antenna is recommended.
MW/LW loop antenna:
Position for the best reception.
• Be sure to connect the speaker cords correctly. Improper
connections can cause short circuits in SPEAKERS terminals.
REMOTE CONTROL
Inserting batteries
Detach the battery cover on the rear of the remote control and
insert two R6 (size AA) batteries.
PREPARATIONS
R6 (AA)
When to replace the batteries
The maximum operational distance between the remote control
and the sensor on the main unit should be approximately 5 meters
(16 feet). When this distance decreases, replace the batteries
with new ones.
Using the remote control
The instructions in this manual refer mainly to the buttons on the
main unit. Buttons on the remote control with the same names
as those on the main unit can be used as well.
• Do not leave objects generating magnetism, such as credit
cards, near the speakers, as these objects may be damaged.
• Do not bring the FM antenna near metal objects or curtain rails.
• Do not bring the MW/LW antenna near other optional
equipment, the stereo system itself, the AC cord or speaker
cords, since noise will be picked up.
• Do not unwind the MW/LW antenna wire.
CONNECTING AN OUTDOOR ANTENNA
For better FM reception, use of an outdoor antenna is
recommended.
Connect the outdoor antenna to FM 75 Ω terminals.
ANTENNA
FM
Ω
75
L)
IA
AX
O
(C
W
M
/LW
LO
P
O
To use FUNCTION on the remote control
The FUNCTION substitutes for the function buttons (TAPE,
TUNER, AUX/VIDEO, CD) on the main unit.
Each time FUNCTION is pressed while power is on, the next
function is selected cyclically.
cc
c PLAY on the remote control
cc
The function is the same as that of d on the main unit.
FUNCTION
c PLA Y
• If the remote control is not going to be used for an extended
period of time, remove the batteries to prevent possible
electrolyte leakage.
• The remote control may not operate correctly when:
- The line of sight between the remote control and the remote
sensor beside the DEMO/ECO is exposed to intense light,
such as direct sunlight
- Other remote controls are used nearby (those of a television,
etc.)
En
To connect other optional equipment ➞ page 16
ENGLISH
4

BEFORE OPERATION
Function
POWER
Remote
sensor
PHONES
To turn the unit on
Press one of the function buttons (T APE, TUNER, AUX/VIDEO,
CD). Playback of the inserted disc or tape begins, or the
previously tuned station is received (Direct Play Function).
POWER is also available.
To turn the power off
Press POWER. When the clock is set, the unit will return to the
ECO (Power Economizing) mode or clock display depending on
the setting before you turn on the unit.
If the previous setting is DEMO, the unit will also return to the
clock display.
• If the clock is not set, the unit will always return to the DEMO
mode.
buttons
DEMO/ECO
SETTING ECO (POWER ECONOMIZING)
MODE
Setting this unit to power economizing mode reduces power
consumption.
Press DEMO/ECO repeatedly (during power off) until “ECO
MODE” is displayed.
The display disappears and the POWER indicator lights up.
DEMO (Demonstration) mode
When the AC cord is connected, the display window
demonstrates the functions of the unit. When the power is turned
on, the DEMO display is overridden by the operation display.
To cancel DEMO mode
Press DEMO/ECO.
To re-activate the DEMO mode, press DEMO/ECO
repeatedly until the display window demonstrates the functions
of the unit.
DIMMER mode
Press DEMO/ECO twice during power on.
The display is dimmer than usual, press DEMO/ECO again to
restore normal display.
Using the headphones
Connect the headphones to PHONES jack with a stereo mini
plug (ø3.5 mm,
No sound is output from the speakers while the headphones are
plugged in.
1
/8 inch).
5
ENGLISH
 Loading...