

Page 1

SON^
Remote
Commander
Operating Instructions
3-800-649-11 (1)
DIGITAL SATELLITE SYSTEM
RM-Y130
■ ® 1995 by Sony Corporation
Page 2
WARNING
FCC Statement
Any changes or modifications not expressly approved in
writing hy Sony Corporation may void the user's authoritv to
operate this equipment.
Trademark
DSS" is a registered trademark ot DIRECTV, Inc., a unit of
Hughes Electronics C'orporation,
Specifications
Operable distance Approximately 7 m (23 ft), (varies depending on the
Power requirements Two size AA batteries (not supplied)
Battery life Approximately six months (varies depending on
Dimensions
Mass
component of each manufacturer)
Effective range of RF transmission is approximately 30 m
(100 ft).
frequency of use)
68 X 210 X 28 mm (w/h/d)
(2 V4 X 8 % X 1 Vs in.)
Approximately 180 g (7 oz) (not including batteries)
Note;
■ The operating range of this Remote Commander may
decrease due to ambient radio wave conditions, your room's
wall, etc.
■ This Remote Commander has both IR and Rl transmission
-capability.
Design and specifications subject to change without notice.
Page 3

Contents
Setting Up the Remote Commander
installing the Batteries........................................................................5
Setting the Code...................................................................................6
Step 1: Entering the Remote Commander's ID Code ....6
Step 2: Entering the Code Number for Your
Component
Step 3; Checking If the Code Number Works
Setting Up a Non-preprogrammed Component,
.....................................................................
Using the Remote Commander
Before Operating a Component......................................................11
Operating a Component...................................................................11
Remote Commander Button Descriptions....................................12
Notes on Using the Remote Commander...............................15
Component Code Numbers...................................................16
TV and VCR Codes
Cable Box Codes
MDP Codes.........................................................................................18
...........................................................................
................................................................................
Troubleshooting....................................................................................19
Customer Support Information.......................................................19
Limited Warranty...............................................................Back cover
.....................................
.........................
...........................
............................................
11
16
18
4
6
8
9
Page 4

Setting Up the Remote Commander
Before you can start using the Remote Commander, you must
first set it up. This booklet describes everything you need to
know to set up the Remote Commander, including:
■ Installing the batteries (instructions are on page 5)
■ Presetting the Remote Commander with the codes for your
TV, VCR, MDP and cable box (instructions begin on page 6)
About Presetting the Remote Commander
To set up this Remote Commander to use with other (nonSony) manufacturer's TVs, VCRs, MDPs and cable boxes,
you'll need to follow the instructions in this booklet to preset
the Remote Commander with the correct code number.
Note:
The Remote Commander can be set up to operate up to two
components (DSS*, TV, cable box) at a time — unless their
code numbers happen to be the same. For example, you can set
up the Remote Commander to operate two TVs by setting their
codes into the FUNCTION buttons—CABLE and TV. For VCR
and MDP operation, the Remote Commander can be set up to
operate up to four components (VCR, MDP) by switching the
slide switch inside the Remote Commander’s lid.
Page 5
Installing the Batteries
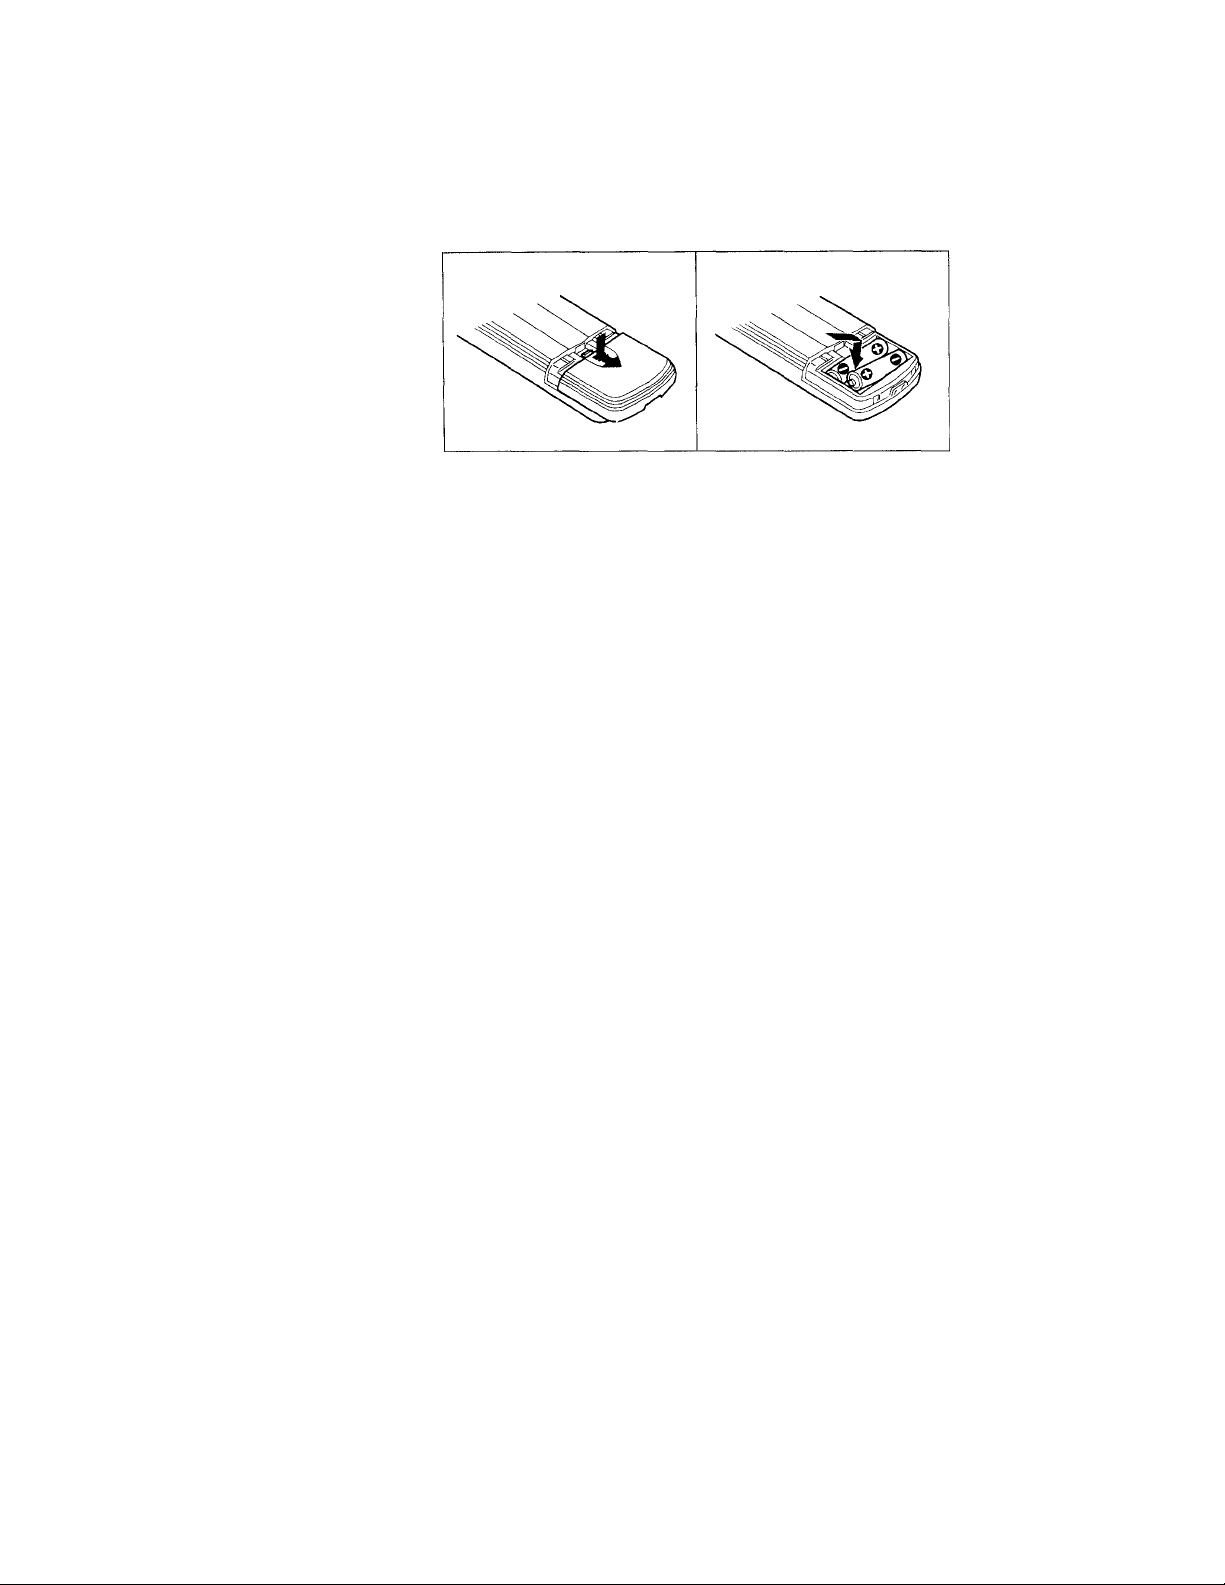
■ Slide open the battery compartment and insert two size AA
batteries (not supplied). Be sure to line up the + and - on
the batteries with the + and - on the battery compartment.
Notes on Batteries
■ Under normal conditions, batteries will last up to six
months. If the Remote Commander does not operate
properly or the indicators of the buttons on the Remote
Commander do not light up, the batteries may be worn out.
When replacing batteries, replace both of them with new
ones.
■ Do not mix old batteries with new ones or mix different
types of batteries together.
■ Whenever you remove the batteries — to replace them, for
example — the code numbers revert to the factory settings
and must be reset.
■ If the electrolyte inside the battery should leak, wipe the
contaminated area of the battery compartment with a cloth
and replace the old batteries with new ones. To prevent the
electrolyte from leaking, remove the batteries when you
don't plan to use the Remote Commander for a long period
of time.
Page 6

Setting the Code
step 1; Entering the Remote Commander's ID
Code
In addition to having infrared transmission, this Remote
Commander includes RF transmission, which allows you to
control your Sony brand DSS receiver from another room if
your component supports RF remote control. However, your
Remote Commander may be interfered with by the same type
of Remote Commander that is used nearby. To prevent this,
set the Commander's ID code. For the procedure of setting
your ID code, see the instruction manual of your DSS receiver.
Step 2: Entering the Code Number for Your
Component
1 Turn off fhe component you want to set up.
2 Turn to "Component Code Numbers" on page 16, and find
fhe three-digif code number for your component.
If more than one code number is listed, use the number
that's listed first to complete the steps that follow.
Brand Component
Philips
VCR
Code No.
310, 308, 309
For example, if you're
setting up a Philips VCR,
you would use code
number 310.
If your component is not listed, see "Setting Up a Nonpreprogrammed Component" on page 9.
Page 7

I’ress the CODE SET button.
The TV and CABLE indicators on
the Remote commander flash,
indicating that the Remote
Commander is in preset mode.
Press the FUNCTION button (TV function-cable
or CABLE) for the component you're
setting up.
To set up your VCR or MDP, set the
slide switch
Commander to any position.
inside the Remote
CODE SET
VTR1 2 3MDP
5 Enter the component's code number.
For example, if you're entering the
code for a Philips VCR, you would
press 3,1 and 0.
6 Press the ENTER button to store the
code number in the Remote
Commander's memory.
©O®
7 Go to "Step 2: Checking if the Code
Number Works" on page 8 to finish
setting up.
Note
■ If more than 10 seconds elapse after you press a button,
preset mode is cancelled automatically.
CD
ENTER
o
Page 8

step 3: Checking If the Code Number Works
Aim the Remote Commander at the
component and press the POWER
button that corresponds to your
component. The component should
turn on.
---------
CABLE TV
CDCD
POWER-
POWER
CD
2 When the component turns on.
check that the Remote Commander
is operating the other functions of
your component. Press the CH +/-
buttons.
CH
'Wj
PAGE^
if the Remote Commander Doesn't Seem to Be
Working ...
■ First, try repeating these setup procedures using the other
codes listed for your component (see page 16).
■ If — after trying all the codes listed for your component —
you still cannot get the Remote Commander to work
properly, try the learning function described under "Setting
Up a Non-preprogrammed Component" on page 9.
If the Remote Commander is Working Properly ...
■ You're finished setting up the Remote Commander for this
component.
■ You'll need to complete these procedures for each
component you plan to use with the Remote Commander.
8
Page 9
Setting Up a Non-preprogrammed
Component
You can program this Remote Commander to learn the
functions of another remote control. Use this function to
operate a component that is not listed in "Component Code
Numbers” with this Remote Commander.
<■ ... . , VTR123MDP
1 Set the slide switch inside the lid to
VTR3 or MDP.
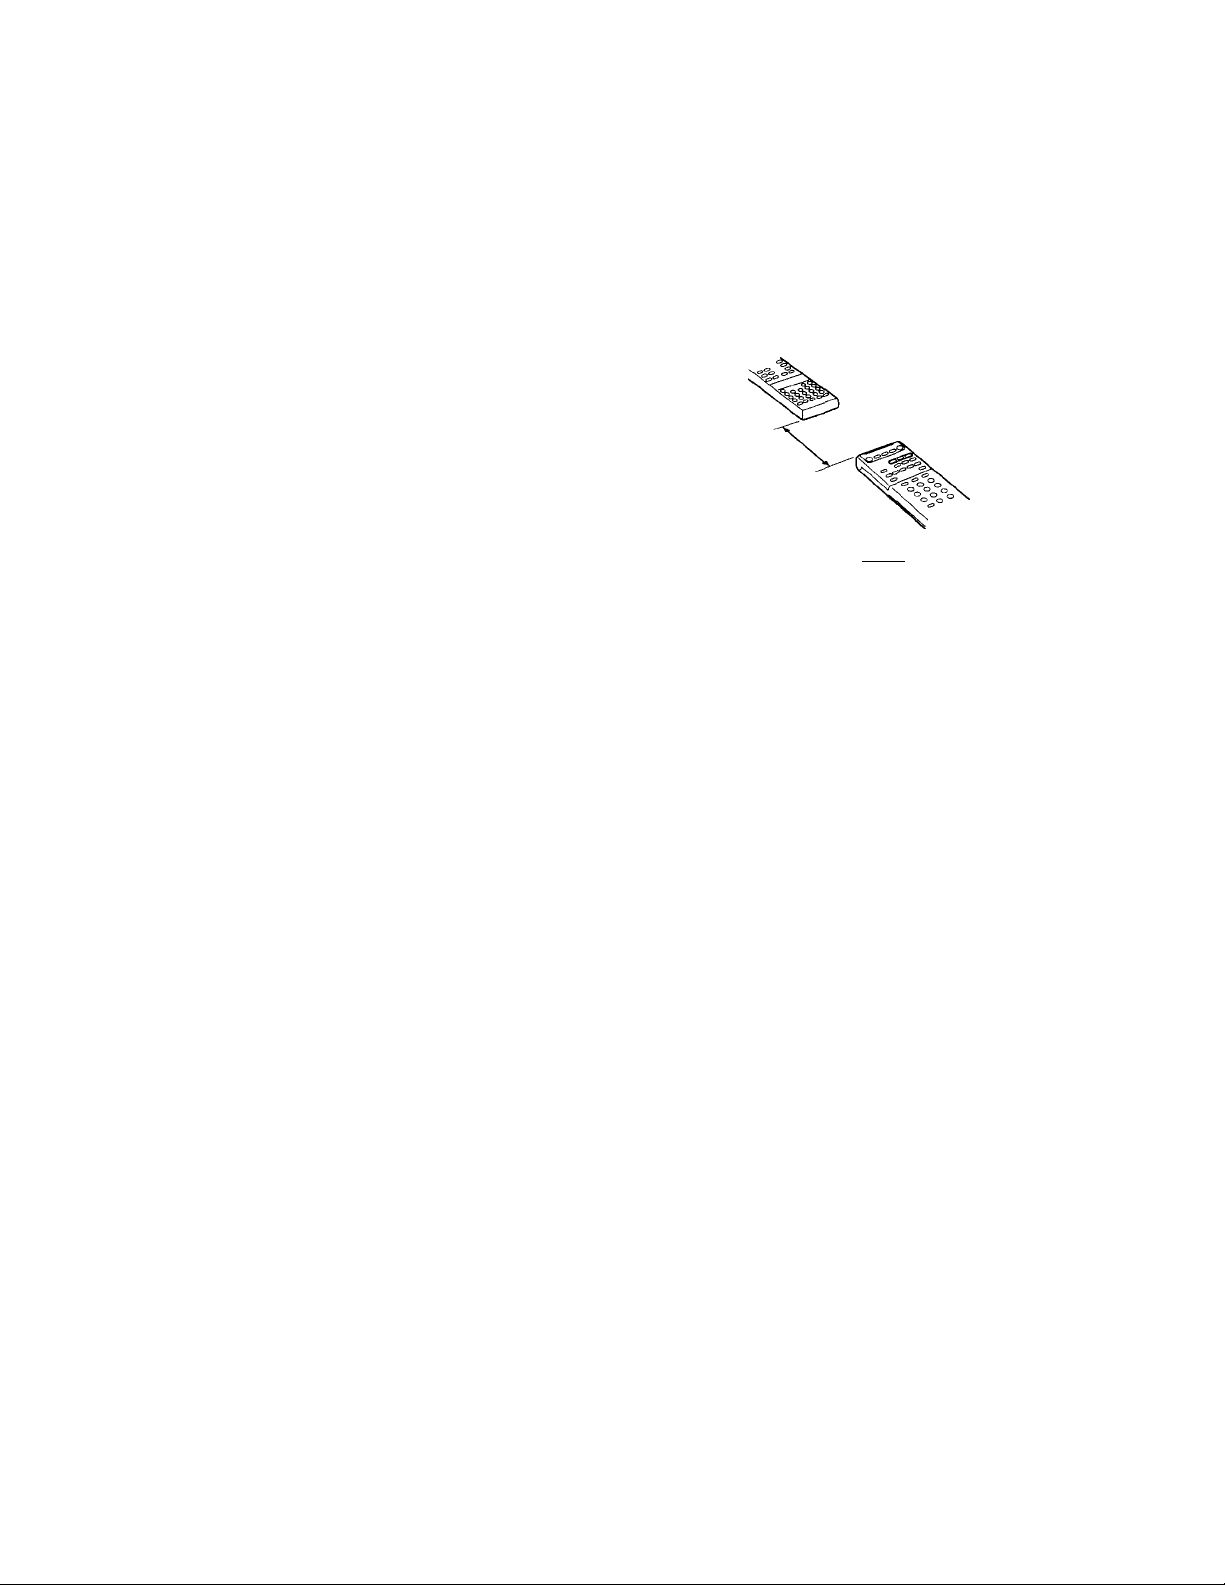
Place this Remote Commander
and the other component's
remote control directly facing
each other, approximately
5 cm (2 inches) apart. Approx. 5 cm
{2 inches)
3 Press and release the LEARN button.
The LEARN indicator on this Remote
Commander lights up.
Other component's
remote control
RM-Y130
LEARN
CD-O
4 Press and release the button on this Remote Commander
that will learn the function. The LEARN indicator flashes
off, then on, indicating that the Remote Commander is
ready to learn.
5 Hold down the corresponding button on the other remote
control, and release the button when the LEARN indicator
flashes off, then on. If the indicator does not flash, repeat
steps 4 and 5.
If you still cannot get the Remote Commander to work
properly, see "Troubleshooting" on page 19.
6 Repeat steps 4 and 5 to learn other functions.
Page 10

Notes on Learning Function
■ The LEARNING function does not work in VTRl or VTIL2
setting.
■ Do not move the remote commanders during learning.
■ If you press a button of this Remote Commander that cannot
be used for learning in learning mode, the LEARN indicator
flashes four times.
■ If the other remote control's signal cannot be learned, the
LEARN indicator flashes four times.
■ To clear all learned signals from memory, set the slide switch
inside the lid of this Remote Commander to MDP, press the
LEARN button, press the DSS POWER button while holding
down the VOL - button, then press the LEARN button
again.
■ Whenever you remove the batteries — to replace them, for
example — the code numbers revert to the factory settings
and must be reset.
10
Page 11

Using the Remote Commander
Before Operating a Component
Press the FUNCTION button that
corresponds to the component you function-cable
want to operate (DSS to operate a
DSS receiver, TV to operate a TV,
CABLE to operate a cable box). For
VCR or MDP operation, open the lid
of the Remote Commander and set
the
slide switch
set for your component when setting
the code number.
to the position you
Operating a Component
1 Press the POWER button that corresponds to the
component you want to operate (DSS to turn on a DSS
receiver, TV to turn on a TV, CABLE to turn on a cable box,
POWER inside the lid to operate a VCR or MDP).
2 Point the Remote Commander directly at the component.
3 Press the button for the function you want to use.
See "Remote Commander Button Descriptions" on page 12
for complete descriptions of the buttons on the Remote
Commander’^.
* Some buttons on the Remote Commander work exclusively
with specific components. Several buttons also function in
any component operation mode. For example, you can use
the TV/ VTR button to control the VCR even if any
FUNCTION button is pressed. For a complete list of the
buttons that work independently, see the highlighted
"buttons in the tables on the following pages.
VTR1 2 3MDP
11
Page 12
Remote Commander Button Descriptions
Note;
Buttons that are highlighted in the following table operate in
any component operation mode.
Button Operates
---------
POWER
------------
DSS
SLEEP
DSS
TV
Cable box
TV Shuts off automatically after the time you
CABLE TV ^=5.
aczD O
CD
MUTING
TV
o
-------
FUNCTION
CABLE TV DSS
CD CD CD
GUIDE
CD
FAVORITE
CD
ALTERNATE
AUDIO
CD
JUMP
CD
TV/DSS
CD
TVA/IDEO
CD
----------
DSS
TV
Cable box
DSS
DSS
DSS
DSS
TV
Cable box
DSS
TV
J
____________
Function
Turns the component on and off.
specify.
Mutes the sound
Press again to restore the sound.
Switches to the component's operation mode.
Displays the Master Guide.
Each press cycles through all the available
time slots in the guide.
Displays your favorite stations guide on the
screen if you've preset it.
Selects an alternate audio track for the
current program if one is available.
Switches to the last channel that you selected
with the 0-9 buttons
Changes the VHF/UHF output of DSS.
Changes the VIDEO input mode of the TV.
12
Continued
Page 13
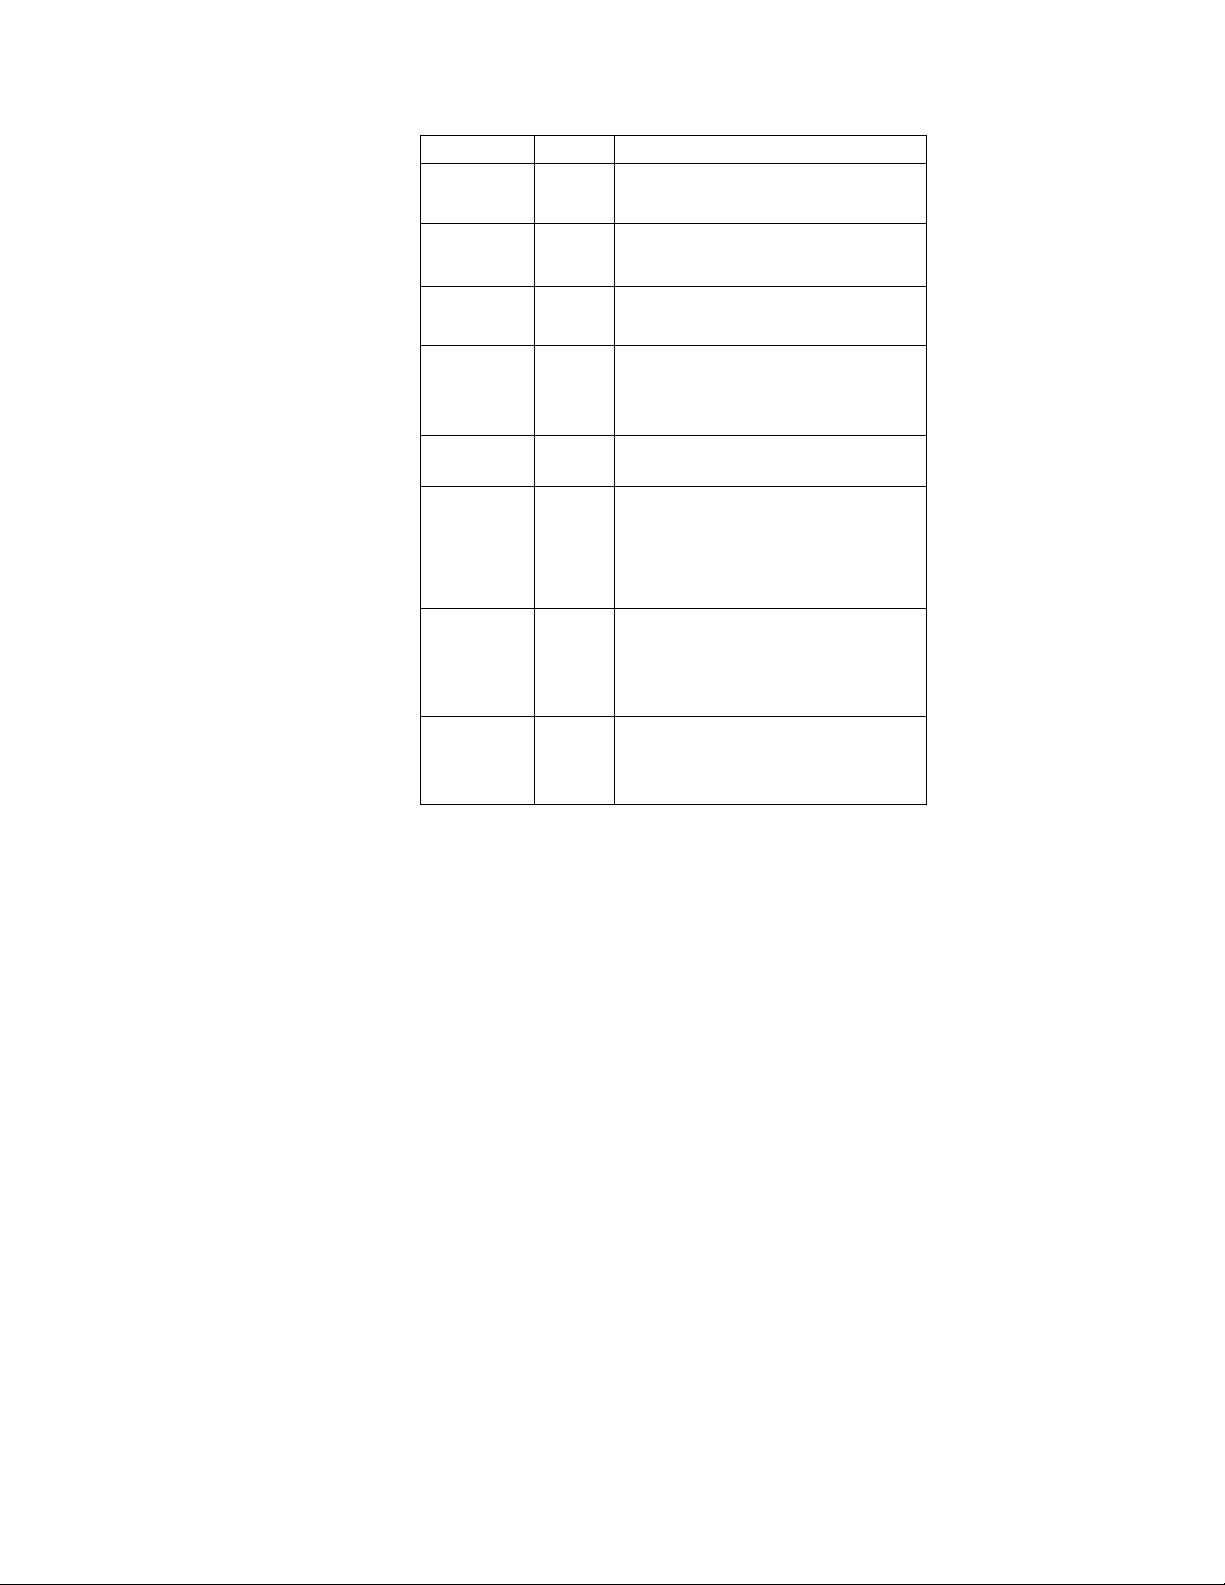
Button Operates
DSS
(^lhrough(^
ENTER
O
DISPLAY
CD
TV
Cable box
DSS
TV
Cable box
DSS
TV
DSS
TV
Cable box
Function
Changes the channel.
For example, to go to channel 5, press 0 and
5.
Used for setting up the Remote Commander
to operate your component.
Displays the Program Banner on DSS.
Displays the on-screen information (e.g.
current channel) on TV,
Changes to the next or previous channel
For DSS operation, used to page through t.he
guide while the program guide is displayed.
MENU
CD
©
EXIT
Q
DSS
TV
DSS
TV
DSS
TV
TV
Displays the Main Menu,
Used only with Sony brand components.
Moving the joystick highlights items in the
menus, program guides, etc.
Pressing the joystick selects or stores the
highlighted items During normal DSS
viewing, pressing the joystick displays the
Station index.
Used only with Sony brand components.
Turns off the on-screen displays including
menus, program guides, etc.
If you press this button before you complete
your selection, the previous selections are
restored.
Used only with Sony brand components.
Raises and lowers the volume.
Continued
Page 14
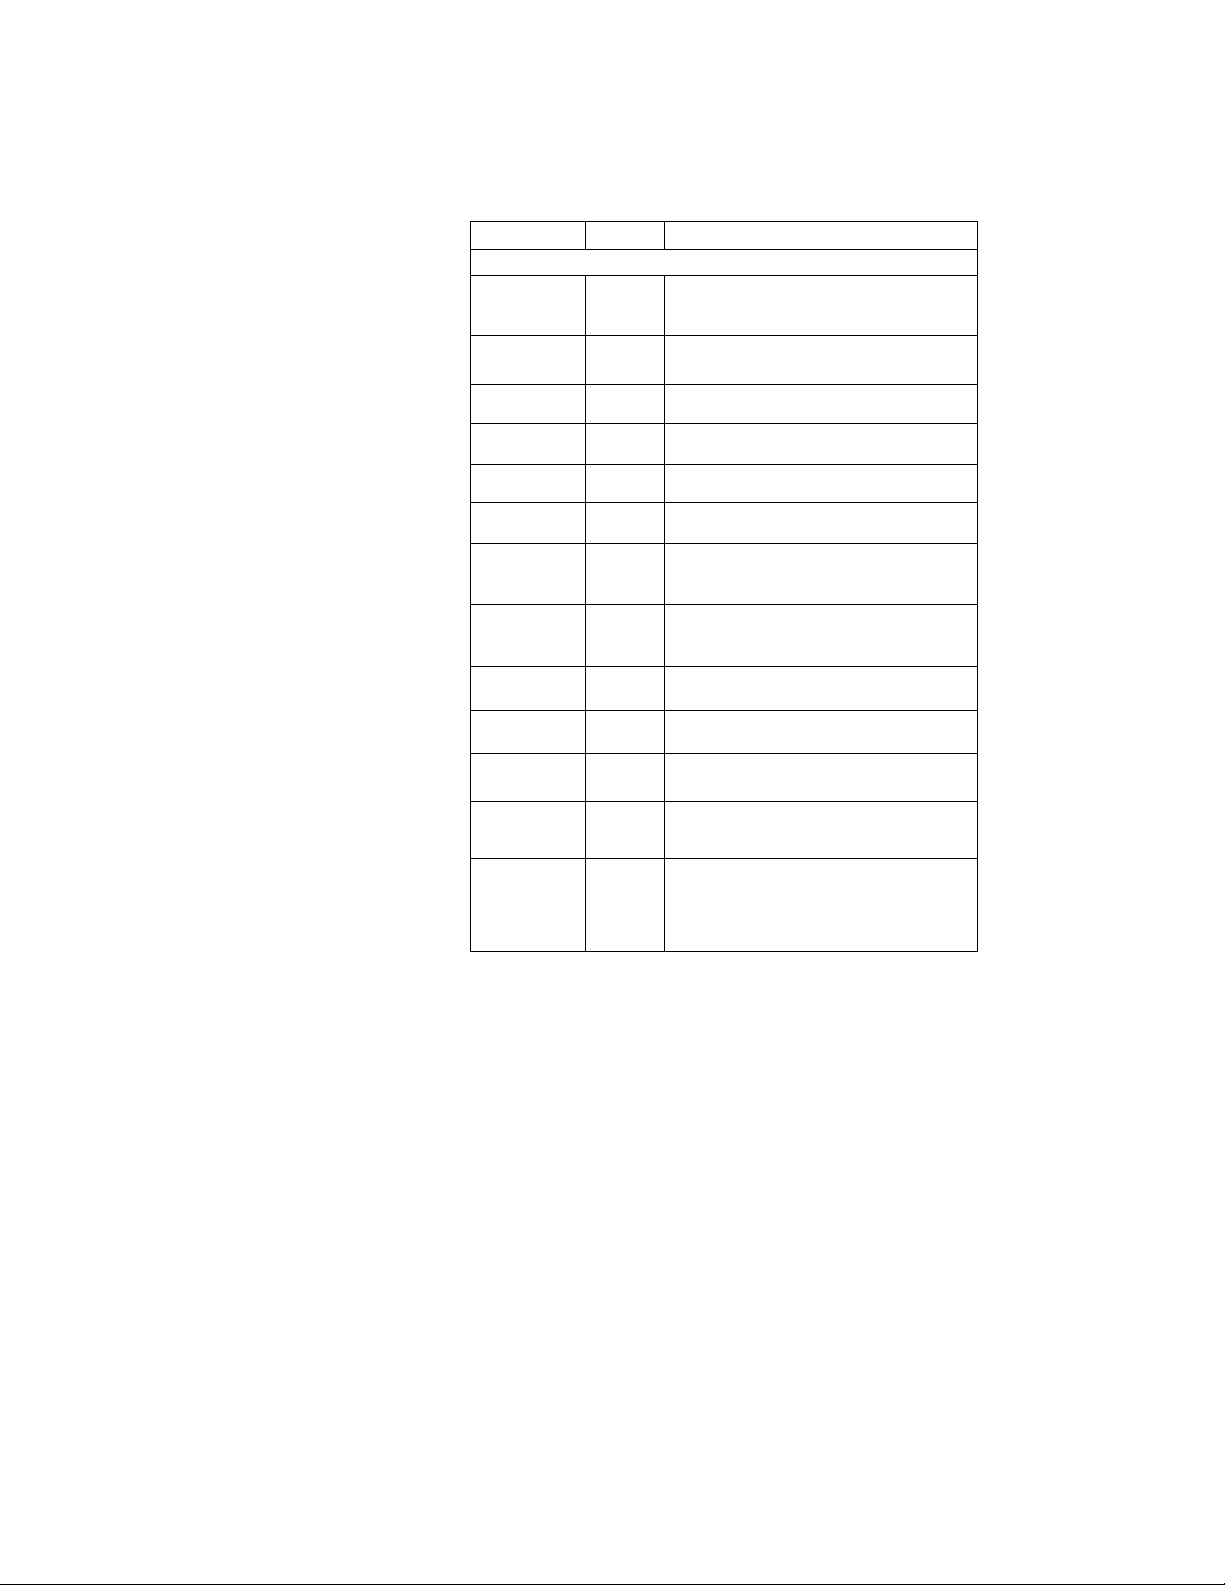
Button Operates Function I
(Inside the lid of the Commander)
VTR1 23MDP
0 0 0 0
VCR
MDP
Switches to various VCR or MDP mode
14
POWER
CD
&
(S
(S)
a:»
CH
CE5
QD
(X5
TV/VTR
CD
LEARN
CO-0
CODE SET
(O
VCR
MDP
VCR
MDP
VCR
MDP
VCR
MDP
VCR
MDP
VCR
MDP
VCR
VCR
MDP
VCR
MDP
VCR Changes the VHF/UHF output of the VCR
DSS
TV
Cable box
VCR
MDP
Turns the VCR or MDP on or off
Rewind
Play
Fast-forward
Eject
Used only with Sony brand components.
Changes the channel or chapter
Record
Pause
Stop
Used for setting up the Remote Commander
to operate a component that is not listed m
the "Component Code Numbers,"
Used for setting up the Remote Commander
to operate your component (listed m the
"Component Code Numbers")
Also used for setting the Remote
Commander's ID code
Page 15

* If your cable box is a Scientific Atlanta model that does not
have a power-on button, you can turn on the cable box by
pressing the CH+ or CH- button on the Remote
Commander,
Notes on Using the Remote Commander
■ Using this Remote Commander will not increase the
functions of your DSS, TV, VCR, MDP or cable box. The
functions of the Remote Commander are limited to the
functions of the DSS, TV, VCR, MDP or cable box itself. For
example, if your TV does not have a JUMP function, the
JUMP button on this Remote Commander will not function
with your TV.
■ If your cable box can control volume, be sure to set its
volume switch to a medium position. If the volume on the
cable box is turned down completely, you will not be able to
adjust your TV's volume with this Remote Commander.
15
Page 16
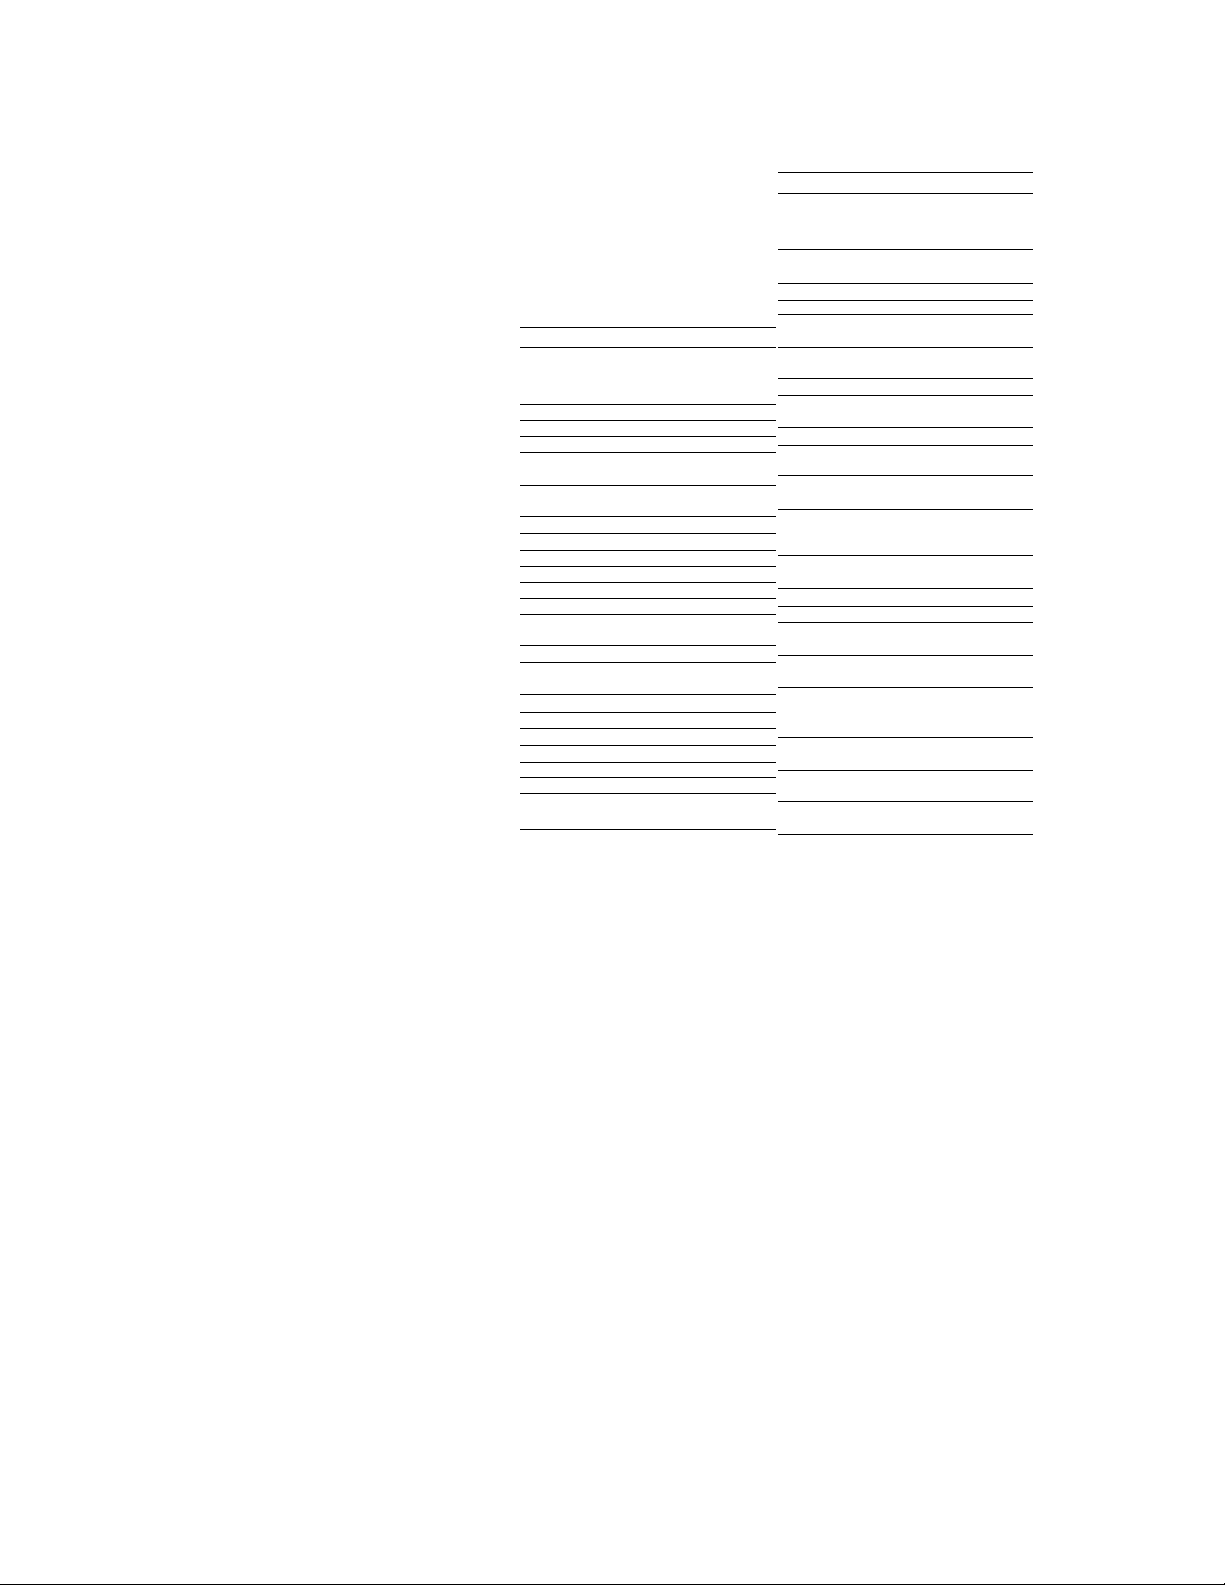
Component Code Numbers
This Remote Commander is preset at
the factory to operate the following
components;
TV: Sony
VTRl; Sony Beta VCRs
VTR2: Sony 8 mm VCRs
VTR3; Sony VUS VCRs
MDP: Sony multi-disc players
TV and VCR Codes
Brand Component
Sony VCR 301 (VTR3: VHS)
Sony TV
Admiral TV
Aiwa VCR
Audio Dynamic
VCR
Bell & Howell (Montgomery Wards)
VCR
TV 114, 109, 138
Brocsonic VCR
Canon VCR
Citizen VCR
Craiq VCR 315, 302, 332
Croslex TV
Curtis Mathis
Daewoo VCR
TV
TV 122, 123, 120,
VCR
TV 103, 119, 123
TV 135, 136, 103
Daytron TV 113
DBX VCR 314, 336, 337
Dimensia VCR
Emerson VCR 319, 320, 316,
Code No,
302 (VTR2: 8 mm)
303 (VIRI, Beta)
101
102, 114, 109
338
314, 337
330, 343
319
103, 112
309, 308
332
121
111
304, 338, 309
341, 312, 309
304
317, 318
Brand Component
Emerson TV 122, 113, 120,
Fisher VCR 330, 334, 335,
TV
Funai VCR 338
General Electric
VCR
TV 102, 118, 103,
Goldstar VCR 332
TV
Hitachi VCR 306, 304, 305
TV 131, 113, 103,
Instant Replay
VCR
)C Penny VCR
TV 103, 102, 130,
JVC VCR
TV 128, 129
Kenwood VCR 314, 335, 332,
KTV TV 133, 1 13, 103,
LXI (Sears)
VCR 332, 305, 333,
TV
Magnavox
VCR
TV
Code No,
121 123, 103,
115
333
125
329, 304, 309
107
103, 113, 112,
130
132
309, 308
309, 305, 304,
330, 314, 336,
337
107
314, 336, 337
337
123, 134
334, 330, 335
102, 103, 111,
125, 119, 112
310, 308, 309
111, 112, 113,
103
16
Continued
Page 17
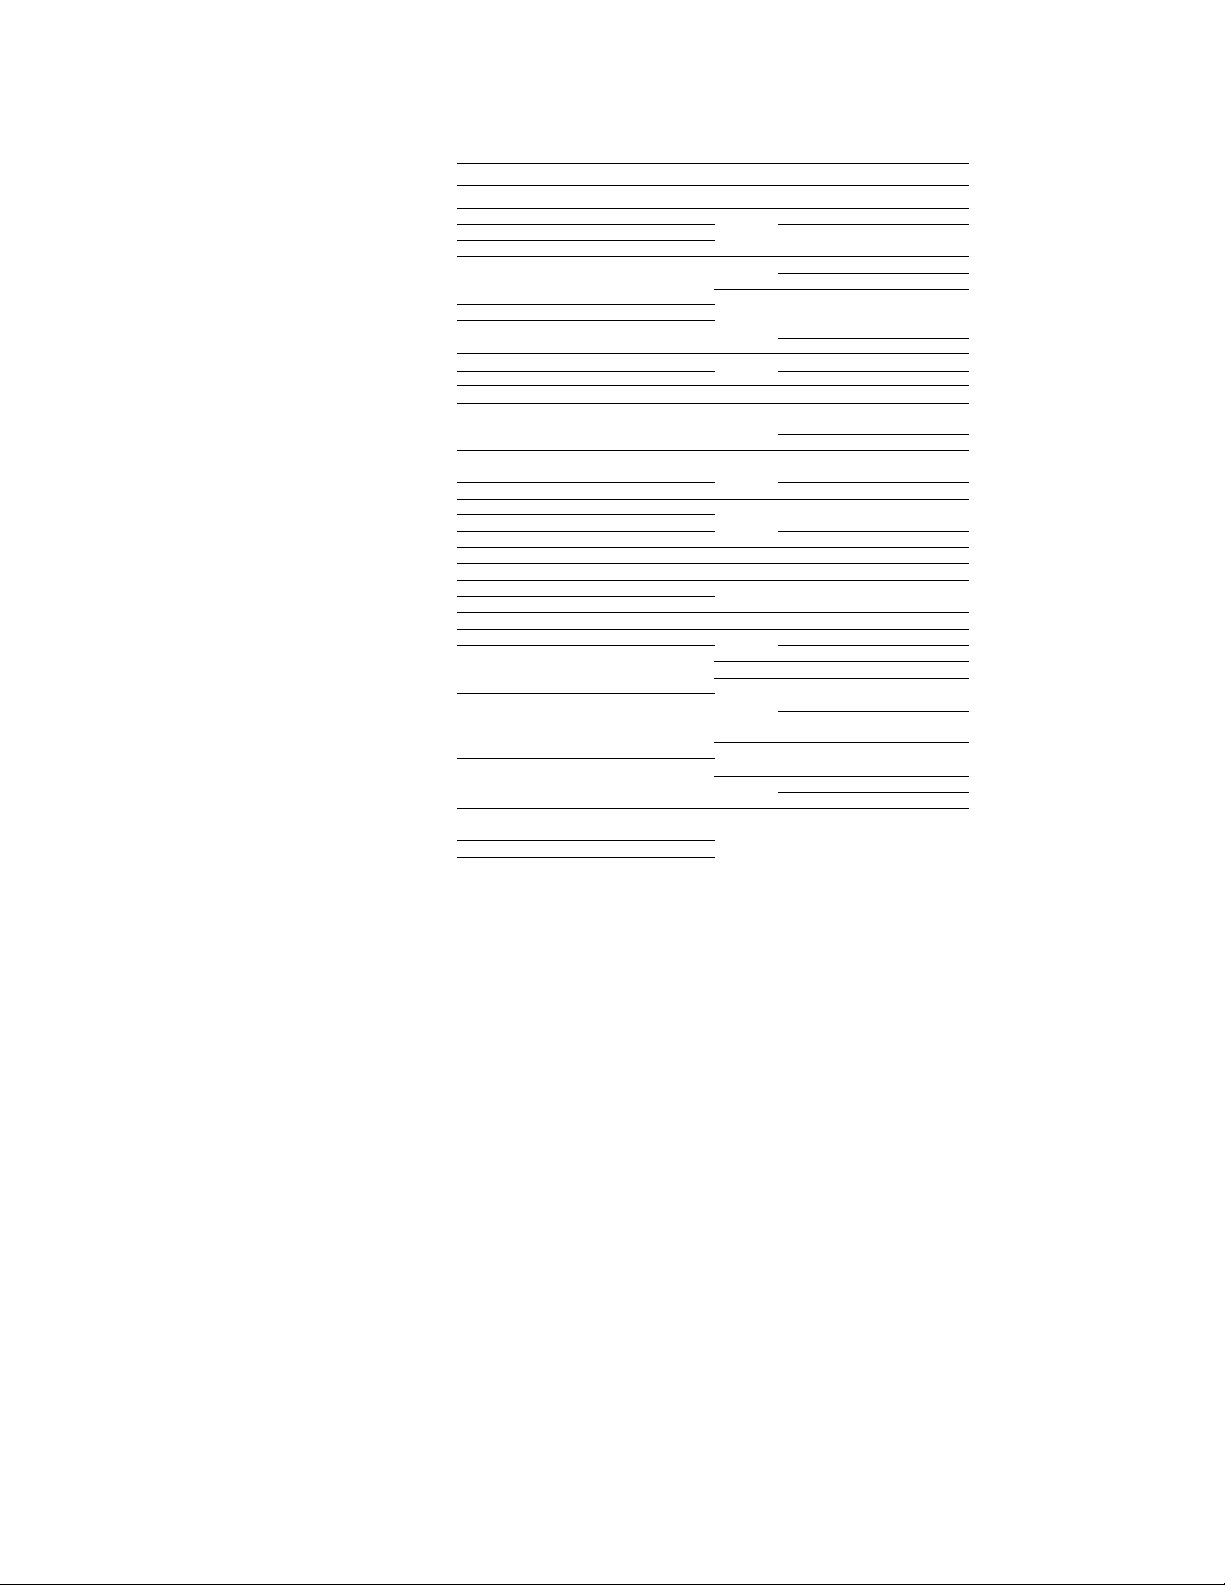
Component Code Numbers (continued)
Brand Component
Marantz VCR
Marta VCR 332 Samsung VCR
Memorex VCR
Minolta VCR
Mitsubishi
VCR
TV
Multitech
VCR
NEC VCR 314, 336, 337 Sharp
TV
Olympic VCR
Panasonic
VCR
TV
Pentax VCR
Philco VCR 308, 309
TV
Philips VCR
TV 111
Pioneer VCR 308
TV
Portland TV
Quasar VCR 308, 309
TV
Radio Shack
TV 102, 112, 124,
RCA/PROSCAN
VCR 304, 305, 308, TV
TV
Realistic VCR
Sansu) VCR 314
Code No. Brand
314, 336, 337 Singer VCR
309, 335
305, 304
323, 324, 325,
326
124, 103, 1 12
325, 338, 321 TV
103, 112
309, 308
308, 309, 306,
307
118, 116, 117,
107
305, 304
111, 113, 103
310, 308, 309
137, 118, 119 Teac
103, 108
118, 107
123
309, 310, 311,
312, 313
102, 103, 104,
105, 106, 107,
108
309, 330, 328,
335, 324, 338
Sanyo VCR 330, 335
Scott VCR
Shintom
Signature 2000 (Montgomery Wards)
Sylvania VCR
Symphonic
Tashiro
Tatung
Technics VCR 309, 308
Toshiba VCR 312, 311
Videch TV
Wards VCR
Yamaha VCR 330, 314, 336,
Zenith
Component
TV
TV 125
VCR
TV
VCR 315
VCR 338, 327
TV 114,109
TV
VCR 338
TV
VCR 332
VCR
VCR
TV
VCR
TV
Code No.
315
322, 313, 321
126, 112, 113,
103
312, 313, 321,
335, 323, 324,
325, 326
123, 112
327, 328
114, 113, 115
310, 308, 309,
338
111, 112, 103
123, 139
314, 336, 337
314, 335, 338,
337
119, 114
131, 103, 112
327, 328, 335,
331, 332
113, 103, 115,
112
337
331
109, no
17
Page 18
Component Code Numbers (continued)
Cable Box Codes
Brand
Hamlin/Regal 222, 223, 224, Sony 701
Jerrold/G.l.
Oak
Panasonic 219, 220, 221 Philips 703
Pioneer 214, 215 Pioneer
Sientific Atlanta
Tocom
Zenith
Code No Brand Code No
225, 226 Kenwood
201, 202, 203, Magnavox
204, 205, 206, Maranz 702
207, 208, 218 Mitsubishi 702
227, 228, 229
209, 210, 2l 1 RCA
216, 217 Sanyo 706
212, 213
MDP Codes
Panasonic
Sharp
Yamaha -703
707
703
704
702
702
705
18
Page 19

Troubleshooting
If you're having problems setting up or using the Remote Commander;
■ When setting up the Remote Commander, carefully go through the
procedures described under "Setting the Code" on page 6. If the
code that's listed first for your component doesn't work, try all the
codes for your component — in the order in which they're listed. If
all the codes fail to work (or if your component is not listed in this
manual), try using the procedures under "Setting up a Non-preprogrammed component" on page 9. If, after trying all this, you still
cannot get the Remote Commander to operate properly, see
"Customer Support Information" below.
■ For non-RF components, check that you're aiming the Remote
Commander directly at the component, and that there are no
obstructions between the Remote Commander and the component.
■ Make sure the batteries you're using are not worn out, and that
they're inserted correctly. Note that whenever you remove the
batteries — to replace them, for example — if too much lime is
taken, the code numbers revert to the factory settings and must be
reset.
■ When using the Remote Commander, note that some buttons work
exclusively with specific components. These buttons also function
independent of any component operation mode. For example, you
can use the TV/VTR to control the VCR even if any FUNCTION
button is pressed. For a complete list of the buttons that work
independently, see the highlighted buttons in the table on pages 12
through 15.
■ Make sure you've set your Remote Commander's ID code if you are
using RF transmission. Note that your Remote Commander may be
interfered with by the same type of Remote Commander that is used
nearby. See the instruction manual of your Sony DSS receiver with
RF control capability.
Customer Support Information
If — after you have read through this manual — you still cannot get
the Remote Commander to work properly, call the SONY DIGITAL
SATELLITE SYSTEM INFORMATION CENTER at 1-800-838-7669,
19
Page 20

Limited Warranty
If this product should prove defective in workmanship or material
during the period of one (1) year from the date of original purchase at
retail, the same will be replaced by either the Seiler, or Sony Electronics
Inc.
SUCH REPLACEMENT SHALL BE THE SOLE REMEDY OF THE
CONSUMER, AND THERE SHALL BE NO LIABILITY ON THE PART
OF THE MANUFACTURER, DISTRIBUTOR OR SELLER FOR ANY
LOSS OR DAMAGE, DIRECT OR CONSEQUENTIAL, ARISING OUT
OF THE USE OF, OR INABILITY TO USE, THIS PRODUCT. Some
states of the United States do not allow the exclusion of incidental or
consequential damages, so the above exclusion may not apply to you.
This warranty gives you specific rights and you may also have other
rights which vary from state to state.
To locate the servicer or dealer nearest you, for service assistance or
resolution of a service problem, or for product information or
operation, call:
SONY DIGITAL SATELLITE SYSTEM INFORMATION CENTER
1-800-838-7669.
For an accessory or part not available from your authorized dealer,
call: 1-800-488-SONY (7669).
Sony Corporation Printed in Japan
 Loading...