

Page 1
Rac k Mount Kit
3-205-022-02(1)
取り付けかた
Installation Instructions
Mode d’installation
Installationsanleitung
電気製品は、安全のための注意事項を守らないと、
火災や人身事故になることがあります。
この取扱説明書には、事故を防ぐための重要な注意事項と製品の取り扱
いかたを示しています。この取扱説明書をよくお読みのうえ、製品を安
全にお使いください。お読みになったあとは、いつでも見られるところ
に必ず保管してください。
RMM-131
2000 Sony Corporation
Page 2
安全のために
このラ ッ ク マウ ントキッ トを 組み立てて電気製品を設置する際に、安全のための注意事項を守らないと、火災や感電などによ
り 死亡や大けがなど人身事故につながること があり、危険です。
事故を防ぐために安全のため の注意事項を必ずお守りください。
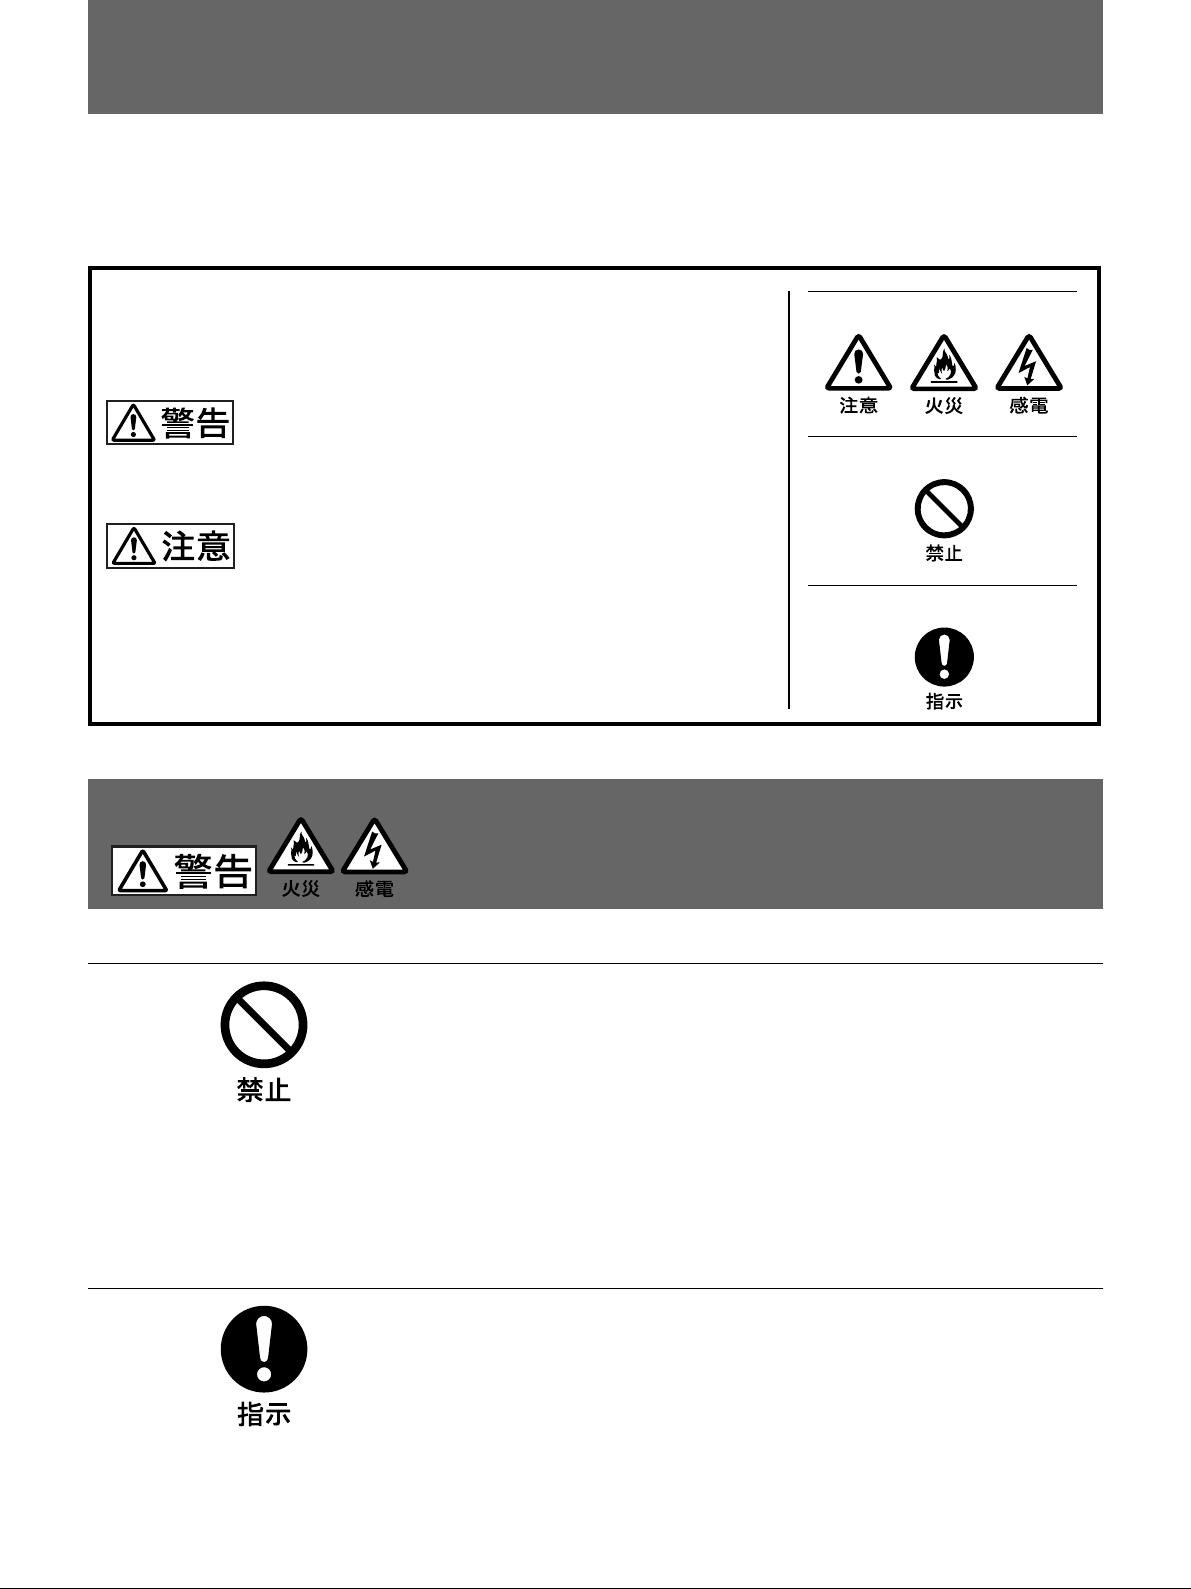
警告表示の意味
取り付けかた(本書)および製品では、次のような表示をしています。
表示の内容をよく理解してから本文をお読みください。
この表示の注意事項を守らないと、火災や感電などにより死亡や大けが
など人身事故につながることがあります。
この表示の注意事項を守らないと、感電やその他の事故によりけがをし
たり周辺の物品に損害
を与えたりすることがあります。
下記の注意を守らないと、火災や感電により
注意を促す記号
行為を禁止する記号
行為を指示する記号
死亡や大けがにつながることがあります。
電源コードを傷つけない
電源コードを傷つけると、火災や感電の原因となることがあります。
• 設置時に、製品と壁やラック(棚)などの間にはさみ込んだり しない。
• 電源コードを加工したり、傷つけ たりしない。
• 重いものをのせたり 、引っ張ったりしない。
• 熱器具に近づけた り、加熱 したりしない。
• 電源コードを抜く とき は、必ずプラ グ を持っ て抜 く。
万一、電源コードが傷んだら、 お買上げ店または ソ ニーのサービス窓口に交換を
ご依頼ください。
機器をラックに確実に組み込む
機器をラックに組み込む際には、カチッと音がするまで押し込み、機器を確実に
ロックしてください。完全にロックされてい ない場合、機器が飛び出してけがの原
因となることがあります。
Page 3
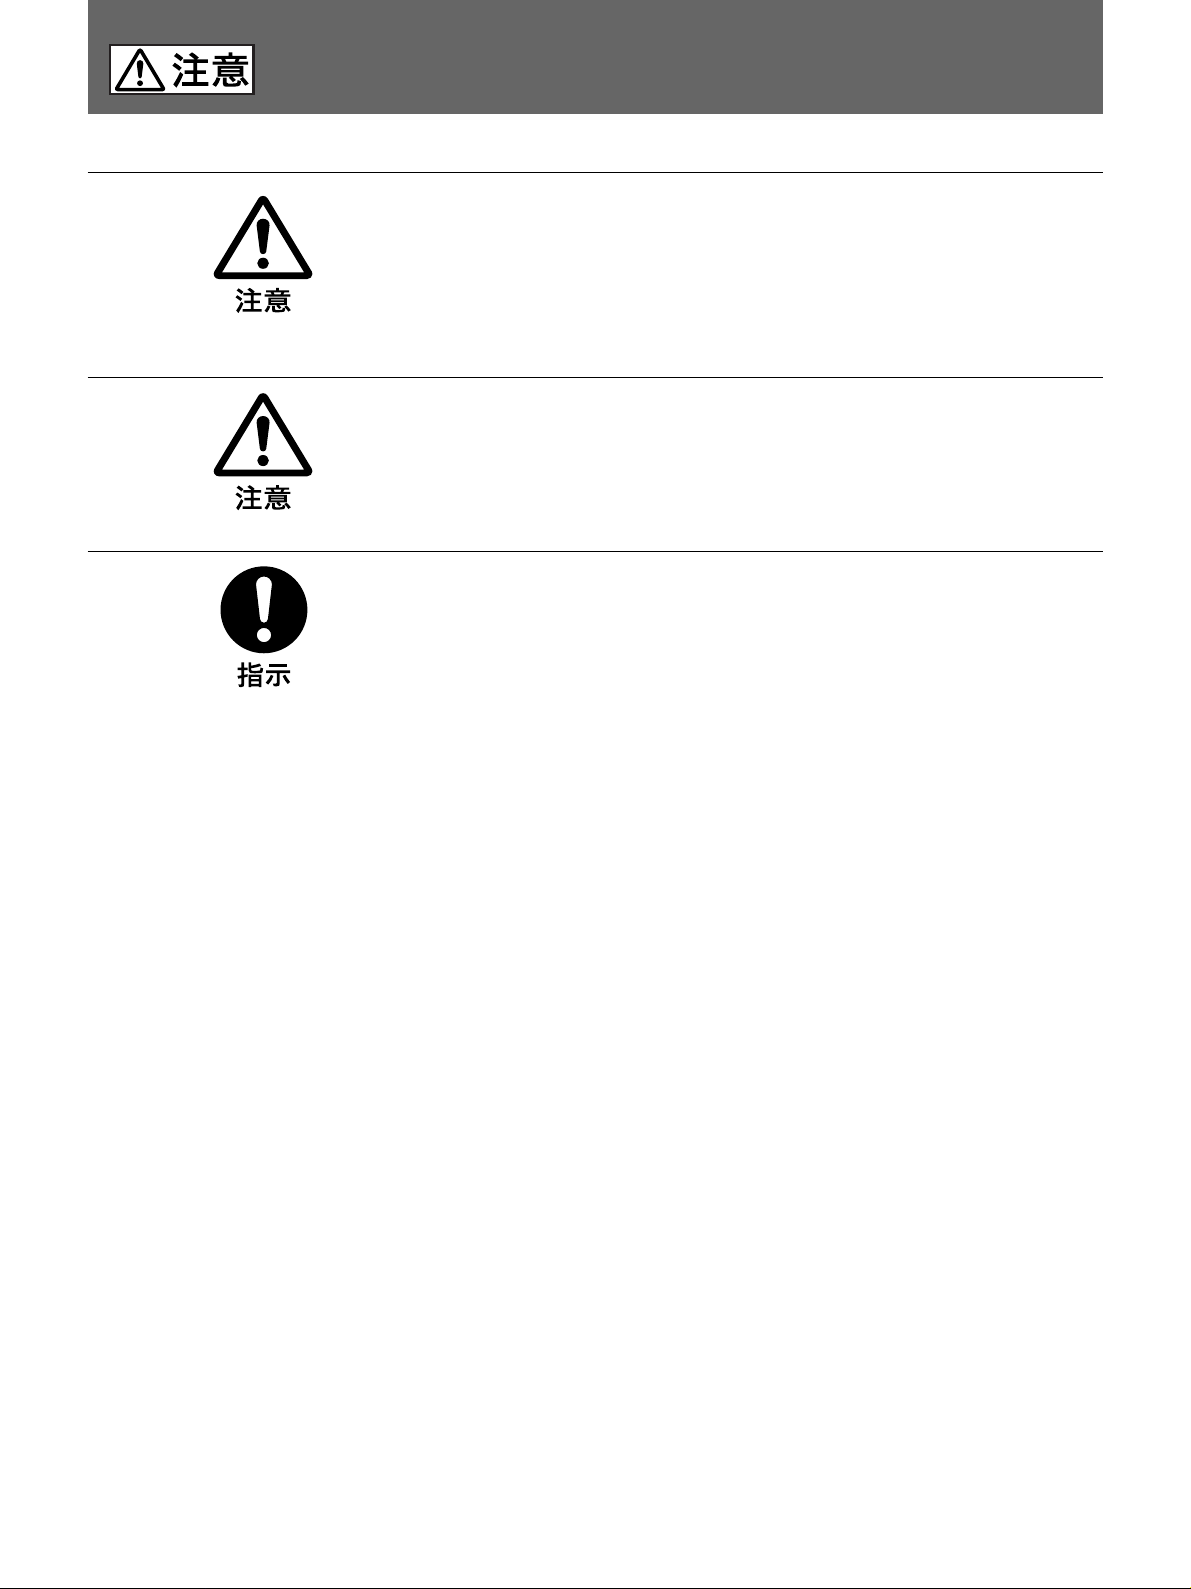
下記の注意を守らないと、
けがをしたり周辺の物品に損害を与えることがあります。
転倒、移動防止の処置をする
機器をラッ クに取り 付け、取り外しすると きに、 転倒、移動防止の処置をしないと、
倒れたり、動いたりし て、け が の 原 因となることがあります 。
安定した姿勢で注意深く作業してください。
また、ラックの設置状況や強度を充分にお確かめください。
運搬・設置時は慎重に
機 器を 運 搬・設 置 するときは 、 確実に底面全体を保持し、安定した姿勢で行って
ください。運搬・設置中にバランスを崩すと、落下によりけがの原因となることが
あ り ます。 また、 機器と設置面との間に指を挟まないようにご注意く ださい。
車載、不安定な場所、振動の多い場所での使用時には、機器を
ネジ止めする
機器を車載 、不安定な場所、振動の多い場所で使用するときは、取っ 手上部ま
たは下部を付属のネジで止め、ラッ クに確実に固定してく ださい。 固定が不充分
な場合、機器が飛び出してけがの原因となることがあります。
3
Page 4

概要
/Introduction/Introduction/Einleitung
概要
/Introduction/Introduction/Einleitung
お買 上げ い ただきありがとう ございます。
RMM-131は、ベータカムSPビデオカセットレ コーダ ー / プ レ ー
ヤー、DVCAMデジタルビデオカセットレコーダー /プレーヤー、
MSW-2000シリーズ/HDW-2000シリーズデジタルビデオカセ ットレ
コ ー ダー/プ レ ー ヤーを、EIA規格の19インチ標準ラッ クに取り付け
るためのラッ クマウントキッ トです。
適用できる機器
• 重量が40kg以下のもの
• 幅が427mm以下のもの
1)
• 高さが 4U
適用できるラック
奥行きが660〜830mm(22インチレール)のもの
(約176mm)のもの
The RMM-131 Rack Mount Kit is for mounting a
Betacam SP videocassette recorder/player, DVCAM
digital videocassette recorder/player, MSW-2000
series or HDW-2000 series Digital Videocassette
Recorder/Player in a standard EIA 19-inch rack.
Size limits on applicable equipment
Maximum weight: 40 kg (88 lb 3 oz)
Maximum width: 427 mm (16
Height: 4U
1)
(approximately 176 mm (7 inches))
7
/8 inches)
Le kit de montage en rack RMM-131 est conçu pour
monter un magnétoscope lecteur/enregistreur Betacam
SP, un magnétoscope lecteur/enregistreur numérique
DVCAM ou un magnétoscope lecteur/enregistreur
numérique de série MSW-2000 ou HDW-2000 dans un
rack standard EIA de 19 pouces.
Limites pour les appareils applicables
Poids max.: 40 kg (88 livres 3 onces)
Largeur max.: 424 mm (16
Hauteur: 4 U
1)
(env. 176 mm (7 pouces))
7
/8 pouces)
Rack applicable
Les racks d’une profondeur de 660 à 830 mm (26 à 32
3
/4 pouces) (rails de 22 pouces).
Der Rack-Montagesatz RMM-131 dient zum Einbau
eines Videocassettenrecorders der Betacam SP Serie,
eines digitalen DVCAM-Videocassettenrecorders,
oder eines digitalen Videocassettenrecorders der
MSW-2000 Serie oder HDW-2000 Serie in ein 19Zoll-EIA-Standard-Rack.
Maximaldaten für das einzubauende Gerät
Maximalgewicht: 40 kg
Maximalbreite: 427 mm
Höhe: 4 U
1)
(ca. 176 mm)
Applicable rack
Racks with a depth of 660 to 830 mm (26 to 32
3
/4
inches) (22-inch rails).
..............................................................................................................................................................................................................................................................
1) U(ユニット)は、ソニーの機器の高さの単位です。1Uは約44mm
です。
1) The height of Sony equipment is indicated in units of
“U” (units). One U is approximately 44 mm (1 3/4
inches).
Rack-Abmessungen
Racks mit einer Einbautiefe von 660 bis 830 mm (22Zoll-Schienen).
1) La hauteur des équipements Sony est indiquée en U
(unité), qui correspond à environ 44 mm (1 3/4 pouces).
1) Die Höhe von Sony-Geräten wird in Einheiten von „U“
angegeben. Ein „U“ entspricht ca. 44 mm.
4
Page 5

部品構成
/List of Components/Liste des
composants/Teileliste
RMM-131は、以下の部品で構成されています。組み立てを始める前に、部品が全てそろっているかどうかお確かめください。
The RMM-131 Rack Mount Kit contains the following components. Before you assemble the rack mount, make
sure that you have all the components.
Le kit de montage en rack RMM-131 comprend les composants suivants. Avant d’assembler le kit de montage,
vérifier la présence de tous les composants.
Der Rack-Montagesatz RMM-131 umfaßt die folgenden Teile. Vergewissern Sie sich vor dem Einbau, daß alle
Teile vorhanden sind.
Aレール×
Rail × 2
Rail × 2
Schiene × 2
B取っ手×
Handle × 2
Poignée × 2
Griff × 2
2
2
Cレール取り付け金具×
Rail bracket × 4
Support de rail × 4
Schienenhalterung × 4
D板ナット(大)×
Plate nut (large) × 4
Ecrou plat (grand) × 4
Plattenmutter (groß) × 4
4
G六角穴付きネジ×
Hexagon socket head cap screw × 8
Vis à tête cylindrique à six pans creux × 8
Innensechskantschraube × 8
H平ワッシャー×
Flat washer × 8
Rondelle plate × 8
Unterlegscheibe × 8
I
4
型レンチ×
L
L-shaped hexagonal wrench × 1
Clé hexagonale en L × 1
L-Sechskantschlüssel × 1
Jネジ(
RK5×14)×2
Screw (RK5 ×14) × 2
Vis (RK5 ×14) × 2
Schraube (RK5 ×14) × 2
8
8
1
Eネジ(
F板ナット(小)×
仕様および外観は、改良のため予告なく変更することがあります
が、ご了承ください。
B4×8)×8
Screw (B4 ×8) × 8
Vis (B4 ×8) × 8
Schraube (B4 ×8) × 8
4
Plate nut (small) × 4
Ecrou pour plaque (petit) × 4
Plattenmutter (klein) × 4
Design and specifications are subject to change
without notice.
K飾りワッシャー×
Decorative washer × 2
Rondelle décorative × 2
Zier-Ring × 2
Lキャップ×
Cap × 4
Chapeau × 4
Aufsetzer × 4
2
4
Conception et spécifications sont sujettes à
modification sans préavis.
Änderungen, die dem technischen Fortschritt dienen,
bleiben vorbehalten.
5
Page 6

取り付けかた
/Installation/Installation/
取り付けかた
Installation
取り付けは必ず2人以上で行ってください。 取り付ける機器をレー
ルに差し込むときに機器をしっかり支えないと、けがや事故の原因
となり ます。特にストッパーとレールの間に指を挟まないようにご注
意く ださい。
Caution
/Installation/Installation/Installation
The equipment should be installed into the rack mount
by two or more persons. The equipment must be
firmly supported when it is placed onto the rails. If not,
an injury or accident could result. Take care not to
catch your fingers between a stopper and a rail.
1
底面
Bottom side
Dessous
Unterseite
Attention
L’appareil doit être installé dans le kit de montage par
deux personnes au moins. Il doit être fermement
soutenu à son positionnement sur les rails. Sinon, des
blessures ou un accident sont possibles. Prendre garde
de ne pas se coincer les doigts entre une butée et un
rail.
Achtung
Zur Installation sind mindestens zwei Personen
erforderlich. Das Gerät muß sicher auf den Schienen
sitzen, um die Gefahr von Verletzungen und
Sachschäden zu vermeiden. Achten Sie darauf, nicht
die Finger zwischen Anschlag und Schiene
einzuklemmen.
機器に内側レールを取り付ける
1
1 機器の底面の足を外す。
外した足とネジは、後日使用す る場合のために 保管してください。
2 レール A のストッパーを押しながら、内側レールを引き抜く。
3 機器側面中央のネジを外し、外したネジで内側レールを機器
に取り付ける。
内側レールの先端から、機器の前面までが約57mmになるよ
う に 取り付けます。
4 機器前側面のネジを外し、取っ手Bに付いているネジで機器
に取っ手を取り付ける。
2
外側レール
Outer rail
Rail externe
Außenschiene
ストッパー
Stopper
Butée
Anschlag
A
内側レール
Inner rail
Rail interne
Innenschiene
1 Attaching the inner rails to the
equipment
1 Remove the feet and screws from the bottom of the
equipment.
Retain them for possible future use.
2 While pressing down the stopper, pull out the inner rail from
A.
the rail
3 Remove the center screws from both sides of the equipment.
Then use the screws to attach the inner rails to the equipment.
Attach the inner rails so that the distance between the tip of
each rail and the front panel of the equipment is about 57 mm
1
/4 inches).
(2
4 Remove the screws on the front part of both sides of the
equipment and attach the handles B to the equipment with the
screws on the handles.
6
Page 7

3
4
上面
Top side
Dessous
Oberseite
約
Approx.57 mm (2 1/4 in.)
57mm
Env. 57 mm (2 1/4 po.)
Ca.57 mm
B
1 Fixation des rails internes à l’appareil
1 Retirer les pieds et vis du dessous de l’appareil.
Les conserver pour un usage ultérieur.
2 En appuyant sur la butée, retirer la partie interne du rail A.
3 Retirer les vis centrales des deux côtés de l’appareil et les
utiliser pour fixer les rails internes à l’appareil. Fixer les rails
internes de sorte que la distance entre l’extrémité de chaque
rail et le panneau avant de l’appareil soit d’environ 57 mm (2
1
/4 pouces).
4 Retirer les vis de la partie avant sur les deux côtés de
l’appareil et fixer les poignées B à l’appareil avec les vis sur
les poignées.
1 Anbringen der Innenschiene am
Videogerät
1 Die Gummifüsse und Befestigungsschrauben vom Videogerät
entfernen.
Die Füsse und Schrauben für spätere Wiederverwendung
aufbewahren.
2 Den Anschlag niederdrücken und die Innenschiene aus der
Schiene
3 Die mittleren Schrauben an beiden Seiten des Videogeräts
entfernen und mit diesen Schrauben die Innenschienen am
Gerät anbringen. Der Abstand zwischen den Spitzen der
Innenschienen und der Frontplatte des Geräts muß ca. 57 mm
betragen.
4 Die vorderen Schrauben an beiden Seiten des Videogeräts
entfernen und mit diesen Schrauben an den Griffen des
Griffen B am Gerät anbringen.
A ziehen.
B
7
Page 8

取り付けかた
1
E
2
B
/Installation/Installation/Installation
D
C
ラック
Rack
Rack
Rack
EDC
外側レールをラックに止める
2
1 外側レ ールに、レール取り付け金具Cを板ナ ット(大)Dとネ
ジ F で仮止めする。
2 外側レールをラ ックに取り 付けたと きに、レールの先端からラッ
クの取っ手を取り付ける面までの距離が50〜55cmになるよう
に調整 し、ネジ
3 取り付け 金具を、板ナッ ト(小)Fと六角穴付きネジG、平ワッ
シャーI を使ってラ ックに取り付ける。
Eを締めてレール取 り付け金具を固定する。
2Attaching the outer rails to the rack
1 Attach the rail brackets C to the outer rails with the large plate
nuts D and screws E, but do not tighten the screws at this
point.
2 Adjust the bracket position so that the end of each rail is 50 to
55 mm (2 to 2 1/4 inches) away from where the handles are to
be attached to the rack, and then tighten the screws E to
secure the rail brackets.
3 Attach the brackets to the rack using the small plate nuts F,
hexagon socket head cap screws G, and flat washers H.
50-55mm
(2 to 2 1/4 inches)
(2 à 2 1/4 pouces)
3
ユニバーサルタイプのラック
Universal-type rack/Rack de type universel/
Universalgestell
12.7
15.9
15.9
12.7
15.9
15.9
12.7
(mm)
ワイドタイプのラック
Wide-type rack/Rack de type large/
Breitgestell
12.7
31.75
12.7
31.75
12.7
(mm)
H
G
I
H
G
I
外側レール
Outer rail
Rail externe
Außenschiene
F
C
F
C
2Fixation des rails externe au rack
1 Fixer les supports de rail C aux rails externes avec les écrous
plats (grands) D et les vis E, mais ne pas serrer les vis à ce
moment-là.
2 Ajuster la position des supports de sorte que l’extrémité de
chaque rail soit à 50 - 55 mm (2 à 2 1/4 pouces) de l’endroit où
les poignées doivent être fixées, puis serrer les vis E pour
immobiliser les supports de rail.
3 Fixer les supports au rack avec les écrous plats (petits) F, les
vis à tête cylindrique à six pans creux G et les rondelles plates
H.
2Anbringen der Außenschienen am
Rack
1 Die Schienenhalterungen C mit den Plattenmuttern (groß) D
und Schrauben E an den Außenschienen anbringen, aber die
Schrauben noch nicht festziehen.
2 Die Halterungsposition so justieren, daß die Schiene 50 bis 55
mm vom Rack an der Griffposition entfernt ist. Dann die
Schrauben E der Halterungen anziehen.
3 Die Halterungen mit den Plattenmuttern (klein) F,
Innensechskantschrauben G und Unterlegscheiben H am
Rack anbringen.
8
Page 9

ご注意
ラックによって は、LレンチI が締めにくいことがあります。その場
合は、板ナ ット
り付けてく ださい。
Fを外側に、ワッシャー H とネジ G を内側に して取
F
H
G
Note
You may find it difficult to use the L-shaped hexagonal wrench I
on some racks. If you do, place the plate nuts F on the outside of
the rack, and the washers H and screws G on the inside of the
rack.
Remarque
Il peut être difficile d’utiliser la clé hexagonale en L I sur certains
rails. Dans ce cas, placer les écrous plats F à l’extérieur du rack,
et les rondelles H et vis G à l’intérieur du rack.
Hinweis
Bei manchen Racks ist die Verwendung des LSechskantschlüssels I schwierig. Bringen Sie in einem solchen
Fall die Plattenmuttern F an der Außenseite und die
Unterlegscheiben H und Schrauben G an der Innenseite des
Racks an.
9
Page 10

取り付けかた
1
2
取っ手のストッパー
Spring stopper on the handle
Butée élastique sur la poignée
Federanschlag am Griff
/Installation/Installation/Installation
ストッパー
Stopper
Butée
Anschlag
機器をラックに組み込む
3
1 内側レールのストッパーを押しながら外側レールに差し込み、
カチっというまで機器をラックに押し込む。
取っ手のバネ式ストッパーによって、機器は固定されます。
2 機器ががたつ く場合は、取っ手Bのストッパーを押して機器を
引き出し、取っ手のネジをゆ る めてストッパーの位置を微調整
する。
3 取っ手のネ ジ穴 をキ ャッ プL で塞ぐ。
3Mounting the equipment into the rack
1 While pressing the stoppers, insert the inner rails into the outer
rails and the slide the equipment onto the rack until it clicks
into place.
The spring stopper on the handles will keep the equipment in
place.
2 If the equipment is wobbly, press the spring stopper on the
handles B to pull out the equipment, then loosen the screws
on the handles and readjust the position of the stopper on the
handles.
3 Put the caps M on the screw holes of the handles.
3
L
B
3Montage de l’appareil dans le rack
1 En appuyant sur les butées, insérer les rails internes dans les
rails externes, puis glisser l’appareil sur le rack jusqu’au déclic
de mise en place.
La butée élastique sur les poignées maintiendra l’appareil en
place.
2 Si l’appareil oscille, appuyer sur la butée élastique des
poignées B pour le retirer, puis desserrer les vis C sur les
poignées et réajuster la position de la butée sur les poignées.
3 Placer les chapeaux L sur les trous à vis des poignées.
3Einsetzen des Videogeräts in das Rack
1 Den Anschlag niederdrücken und die Innenschienen in die
Außenschienen einsetzen. Dann das Gerät in das Rack
einschieben, bis es hörbar einrastet.
Die Federanschläge an den Griffen arretieren das Gerät im
Rack.
2 Wenn das Gerät nicht sicher sitzt, die Federanschläge an den
Griffen B drücken und das Gerät herausziehen. Die
Schrauben an den Griffen lockern und die Position des
Anschlags am Griff einstellen.
3 Die Aufsetzer L in die Schraubenlöcher der Griffe stecken.
10
Page 11

K
J
L
上ネジ穴
Upper screw holes
Trous à vis supérieurs
Schraubenlöcher (oben)
下ネジ穴
Lower screw holes
Trous à vis
inférieurs
Schraubenlöcher
(unten)
車載のラックなどに取り付けるときは
取っ手上部または下部のネジ穴を、ネジ
めてラ ッ クに固定します。
使わなかった ネジ穴をキャップ
L で塞ぎます。
Jと飾りワッシャーK で締
If the rack is subject to severe vibrations
Use the screws J and decorative washers K on upper or lower
screw holes to secure the handles.
Put the caps L on unused screw holes.
Si le rack est soumis à de fortes vibrations
Immobiliser les poignées en utilisant les vis J et les rondelles
décoratives K sur les trous à vis supérieurs ou inférieurs.
Placer les chapeaux L dans les trous à vis inutilisés
Wenn das Rack starken Erschütterungen
ausgesetzt ist
Die Griffe mit den Schrauben J und Zier-Ringen K an den
oberen oder unteren Schraubenlöchern befestigen.
Die Aufsetzer L in die nicht benutzten Schraubenlöcher stecken.
11
Page 12

Sony Corporation
Printed in Japan
 Loading...