

Sony PFM-42V1, PFM-42V1E, PFM-42V1P, PFM-42V1A Instruction Manual
PFM-42V1/42V1E/42V1P/42V1A
日本語
取扱説明書上に誤りがありました。お詫びするとともに、以下
のように訂正いたします。
・
26(JP
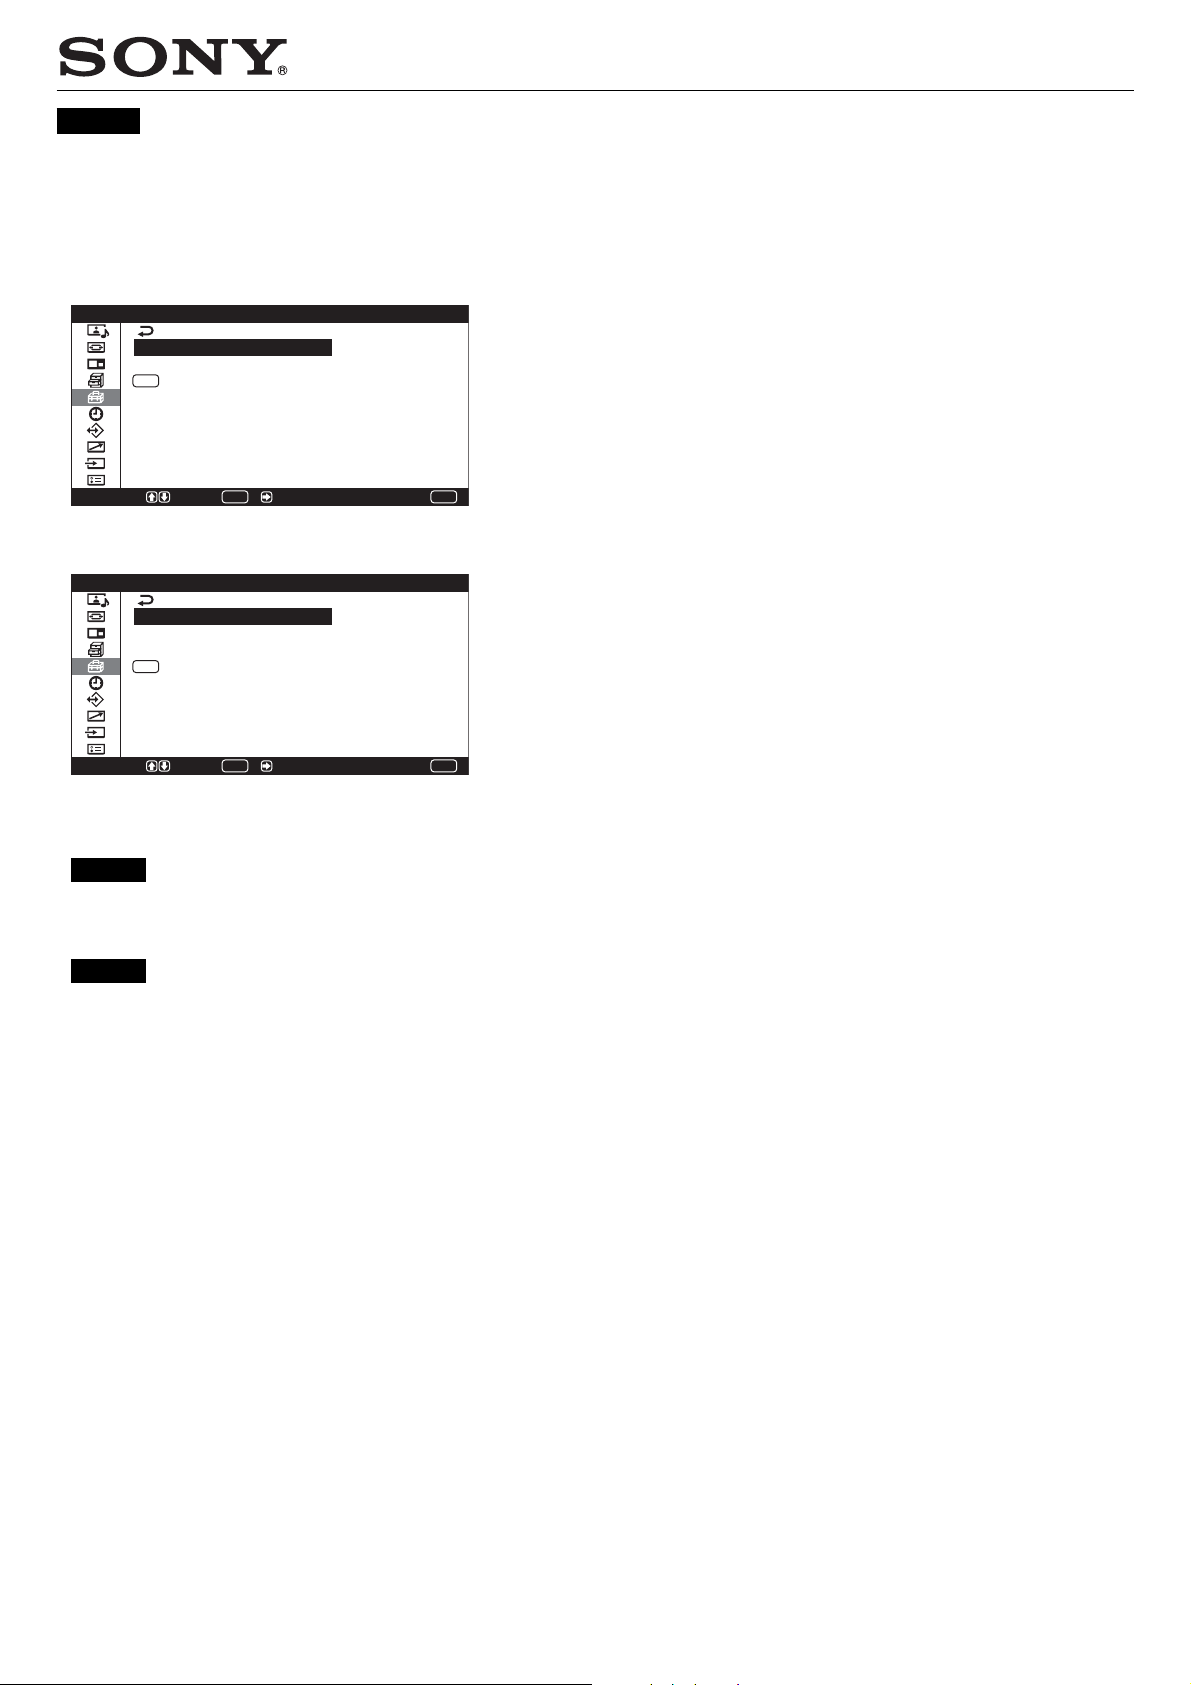
初期設定メニュー
(誤)
(正)
)ページ
初期設定
言語: 日本語
カラー方式:
MENU
キー動作: 入/切
選択 決定 / 終了
初期設定
言語: 日本語
カラー方式:
PAL 100Hz: 入
MENU
キー動作: 入/切
ENTER
MENU
・
39(JP
)ページ
画像のサイズを変える
(誤)
2 M/m/</, ボタンで水平方向/垂直方向のサイズを調整
する。
</,:水平方向のサイズを調整する
M/m:垂直方向のサイズを調整する
画像の水平方向のサイズは、画面上に最小(−128)〜最大(+
127)の調整値で表示されます。垂直方向のサイズは、画面上
に最小(−128)〜最大(+127)の調整値で表示されます。工
場出荷時は00(標準位置)に設定 されています。
(正)
2 M/m/</, ボタンで水平方向/垂直方向のサイズを調整
する。
</,:水平方向のサイズを調整する
M/m:垂直方向のサイズを調整する
画像の水平方向のサイズは、画面上に最小(−30)〜最大(+
30)の調整値で表示されます。垂直方向のサイズは、画面上に
最小(−30)〜最大(+30)の調整値で表示されます。工場出
荷時は00(標準位置)に設定 されています。
選択 決定 / 終了
ENTER
MENU
カラー方式
(誤)
ご注意
ビデオ受信時以外は設定できません。
(正)
ご注意
ビデオ受信時以外は設定できません。
•
PALまたは PAL-N 信号を入力しているときは、メニューの
•
「PAL100Hz」でリフレッシュレートを切り換えることがで
きます。
・
35(JP
)ページ
色温度
(誤)
(2) M/m/</,ボタンでゲインを調整し (0〜255)、ENTERボタン
を押す。
色温度メニュー画面に戻ります。
(正)
(2) M/m/</,ボタ ンでゲインを調 整し (−15〜+15)、ENTERボ
タンを 押 す 。
色温度メニュー画面に戻ります。
画像の位置を調整する
(誤)
2 M/m/</, ボタンで水平方向/垂直方向に動かす。
</,:画像が左/右に動く
M/m:画像が上/下に動く
画像の水平位置は、画面上に左(128)〜右(127)の調整値で
表示されます。画像の垂直位置は、画面上に下
(128)〜上(127)の調整値で表示されます。工場出荷時は00
(標準位置)に設定されていま す。
(正)
2 M/m/</, ボタンで水平方向/垂直方向に動かす。
</,:画像が左/右に動く
M/m:画像が上/下に動く
画像の水平位置は、画面上に左最大(30)〜右最大(30)の調
整値で表示されます。画像の垂直位置は、画面上に下
最大(30)〜上最大(30)の調整値で表示されます。工場出荷
時は00(標準位置)に設定されています。
© 2003 Sony Corporation Printed in Korea 4-101-023-01 (1)
・45(JP)ページ
メニュー表示の言語を選ぶ
(誤)
English
There were mistakes in the Instruction Manual. Please accept our
apologies, and make the following corrections.
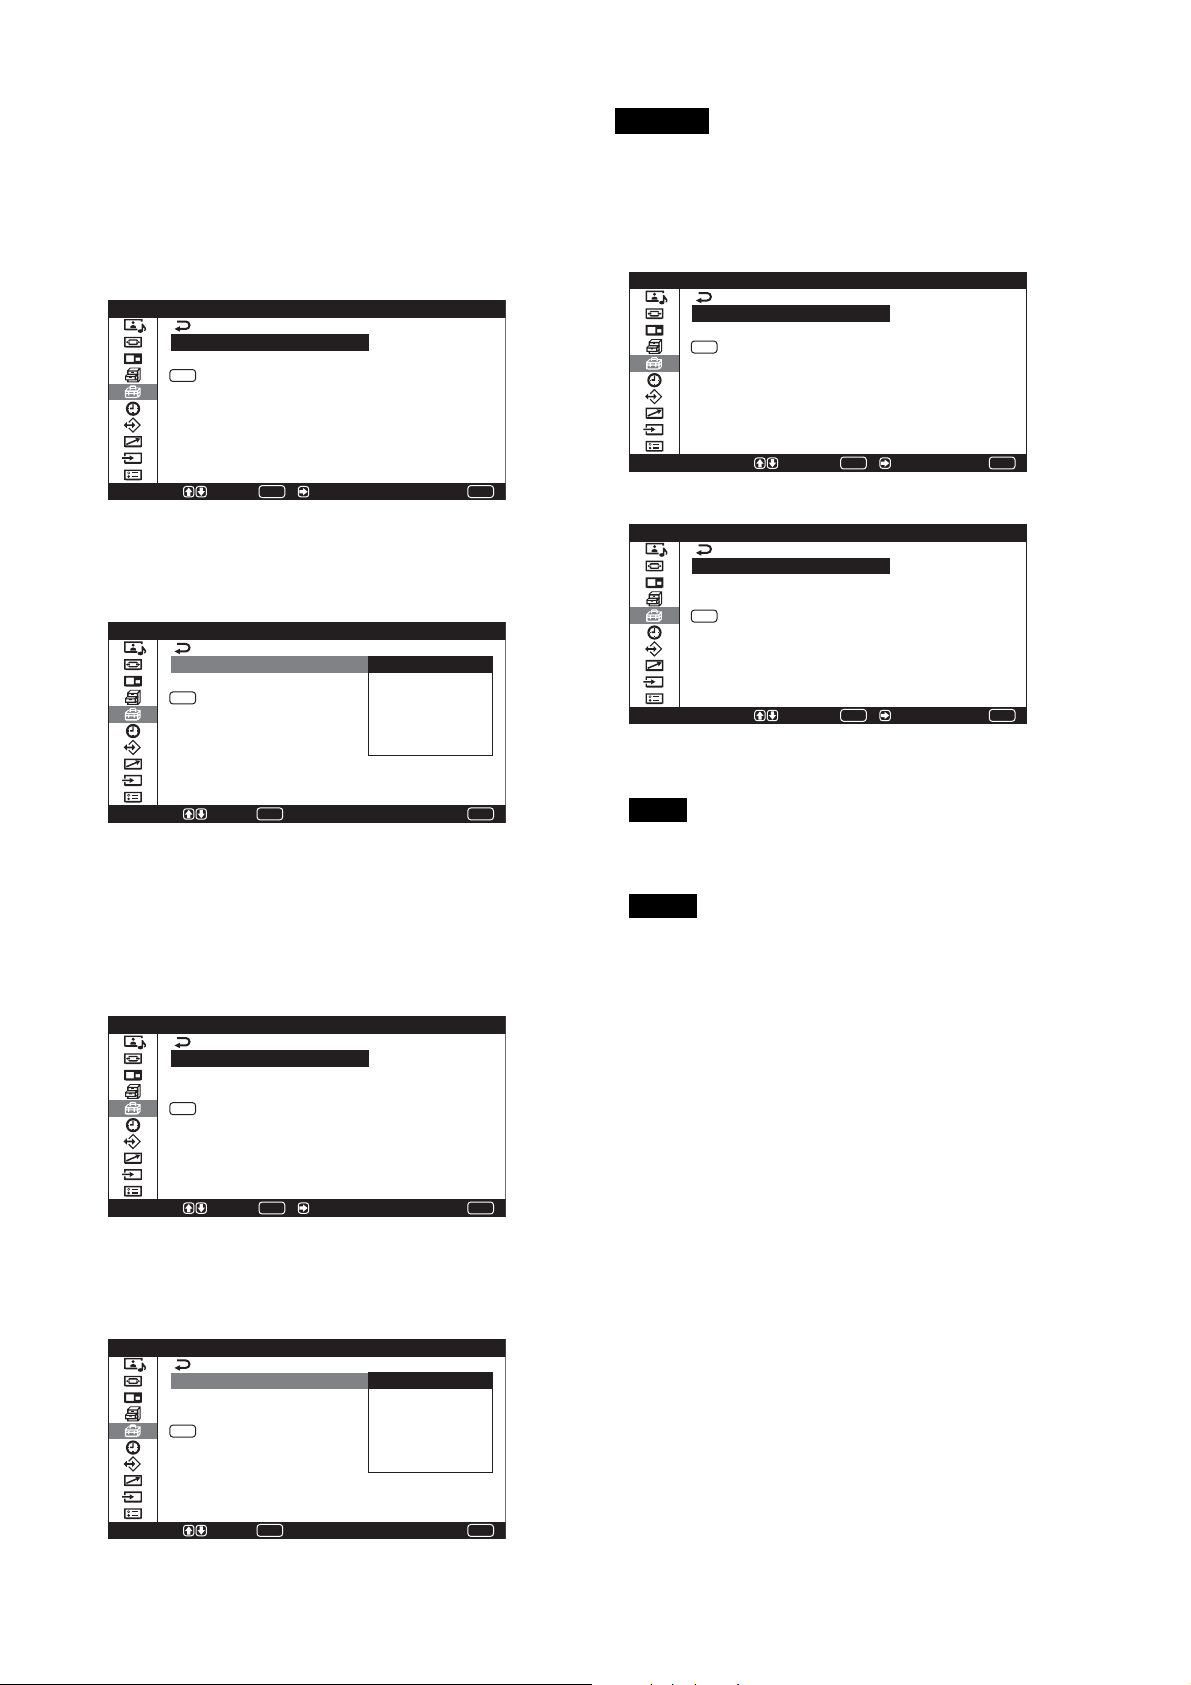
2 M/m ボタンで「初期設定」を選び、ENTER ボタンまたは
, ボタンを押す。
初期設定メニューが表示されます。
初期設定
言語: 日本語
カラー方式:
MENU
キー動作: 入/切
選択 決定 / 終了
ENTER
MENU
3 M/m ボタンで「言語」を選び、ENTER ボタンまたは ,
ボタンを押す。
以下の画面が表示されます。
初期設定
言語: 日本語
カラー方式: ENGLISH
MENU
キー動作: DEUTSCH
FRAN AIS
ESPA OL
ITALIANO
選択 決定 終了
ENTER
Ç
Ñ
MENU
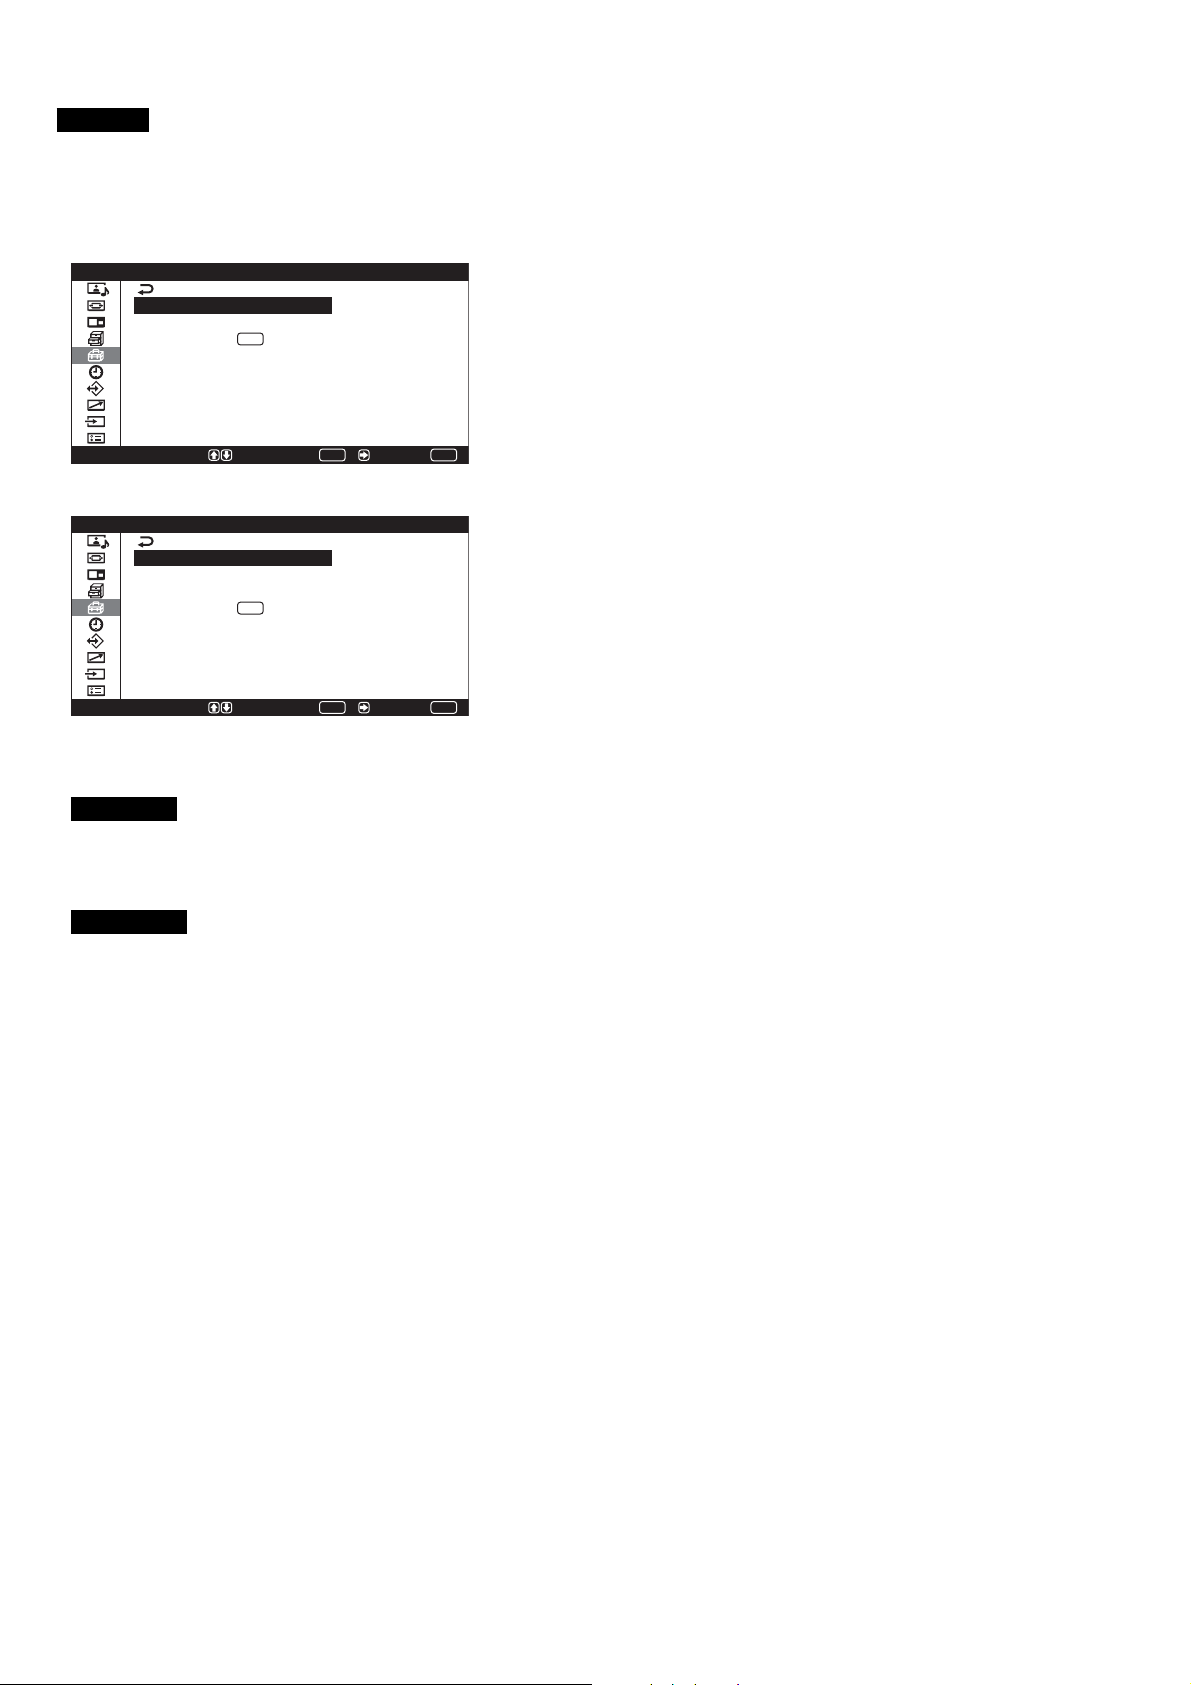
• Page 23 (GB)
Initial Setup menu
(Incorrect)
I n i t i a l S e t u p
L a n g u a g e :
C o l o r S y s t e m :
MENU
F u n c t i o n :
S e l e c t E n d
S e t /
E n g l i s h
O n / O f f
ENTER
MENU
(Correct)
I n i t i a l S e t u p
L a n g u a g e :
C o l o r S y s t e m :
P A L 1 0 0 H z :
MENU
F u n c t i o n :
S e l e c t E n d
S e t /
E n g l i s h
O n
O n / O f f
ENTER
MENU
Color System
(Incorrect)
Note
This can only be set when a video signal is being received.
(正)
2 M/m ボタンで「初期設定」を選び、ENTER ボタンまたは
, ボタンを押す。
初期設定メニューが表示されます。
初期設定
言語: 日本語
カラー方式:
PAL 100Hz: 入
MENU
キー動作: 入/切
選択 決定 / 終了
ENTER
MENU
3 M/m ボタンで「言語」を選び、ENTER ボタンまたは ,
ボタンを押す。
以下の画面が表示されます。
初期設定
言語: 日本語
カラー方式: ENGLISH
PAL 100Hz: DEUTSCH
MENU
キー動作: FRAN AIS
ESPA OL
ITALIANO
Ç
Ñ
(Correct)
Notes
• This can only be set when a video signal is being received.
•You can switch the refresh rate using the “PAL 100Hz” setting
when PAL or PAL-N signals are input.
• Page 32 (GB)
Color Temp.
(Incorrect)
(2) Adjust the gain (0 to 255) with M/m/</, and press ENTER.
The menu returns to the Color Temp. menu.
(Correct)
(2) Adjust the gain (–15 to +15) with M/m/</, and press
ENTER.
The menu returns to the Color Temp. menu.
選択 決定 終了
ENTER
MENU
• Page 36 (GB)
Resizing the Picture
(Incorrect)
• Page 42 (GB)
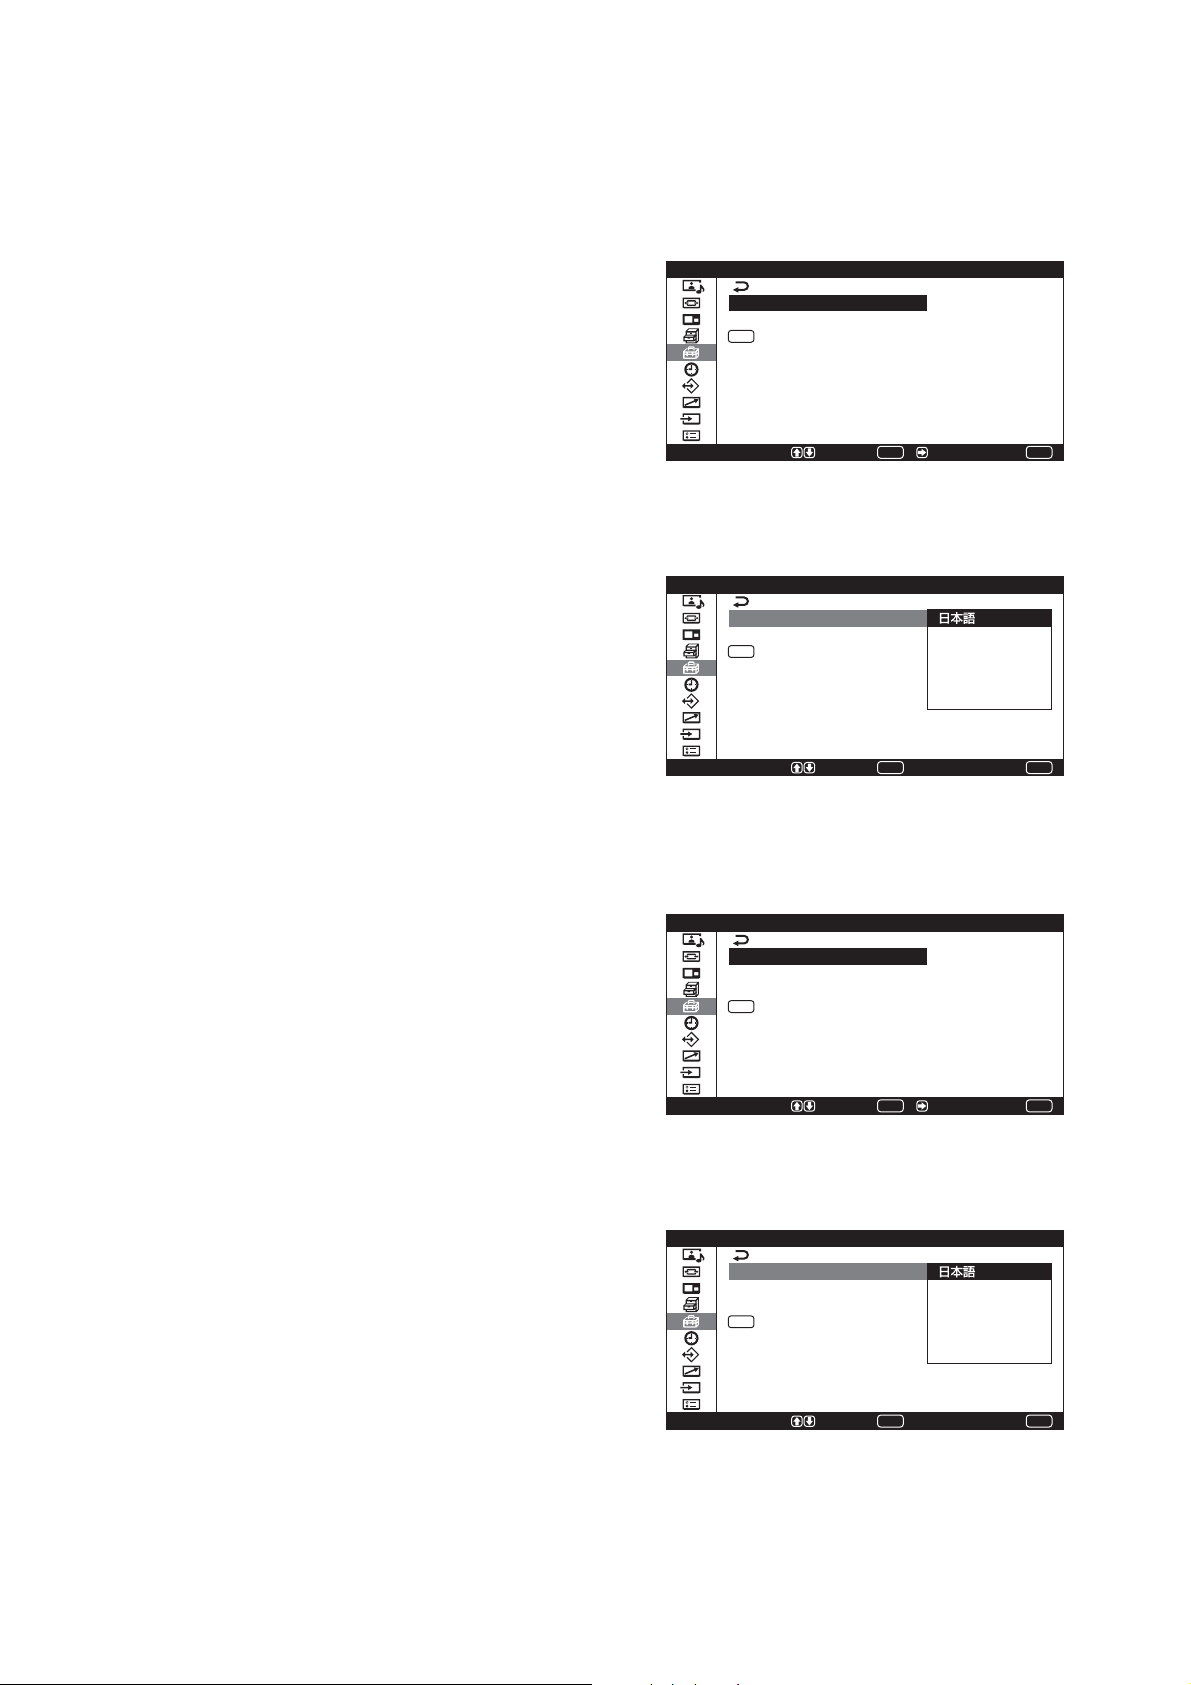
Selecting the On-screen Language
(Incorrect)
2 Resize the picture vertically or horizontally with M/m/</,.
</,: Resizes the picture horizontally.
M/m: Resizes the picture vertically.
Horizontal picture size is displayed on the screen within the
adjustable range of MIN (–128) to MAX (+127). Vertical
picture size is displayed on the screen within the adjustable
range of MIN (–128) to MAX (+127). The factory presetting
is 00.
(Correct)
2 Resize the picture vertically or horizontally with M/m/</,.
</,: Resizes the picture horizontally.
M/m: Resizes the picture vertically.
Horizontal picture size is displayed on the screen within the
adjustable range of Min (–30) to Max (+30). Vertical picture
size is displayed on the screen within the adjustable range of
Min (–30) to Max (+30). The factory presetting is 00.
Adjusting the Picture Position
(Incorrect)
2 Move the picture vertically and horizontally with M/m/</,.
</,: Moves the picture left and right.
M/m: Moves the picture up and down.
Horizontal picture position is displayed on the screen within the
adjustable range of LEFT (128) to RIGHT (127). Vertical
picture position is displayed on the screen within the adjustable
range of BOTTOM (128) to TOP (127). The factory presetting is
00.
(Correct)
2 Move the picture vertically and horizontally with M/m/</,.
</,: Moves the picture left and right.
M/m: Moves the picture up and down.
Horizontal picture position is displayed on the screen within the
adjustable range of LMax (30) to RMax (30). Vertical picture
position is displayed on the screen within the adjustable range of
BMax (30) to TMax (30). The factory presetting is 00.
2 Press M/m to move the cursor (yellow) to “Initial Setup” and
press ENTER or ,.
The Initial Setup menu appears on the screen.
I n i t i a l S e t u p
L a n g u a g e :
C o l o r S y s t e m :
MENU
F u n c t i o n :
S e l e c t E n d
S e t /
E n g l i s h
O n / O f f
ENTER
MENU
3 Press M/m to move the cursor (yellow) to “Language” and press
ENTER or ,.
The following menu appears on the screen.
I n i t i a l S e t u p
L a n g u a g e :
C o l o r S y s t e m :
MENU
F u n c t i o n :
S e l e c t E n d
S e t
E N G L I S H
D E U T S C H
F R A N Ç A I S
E S P A Ñ O L
I T A L I A N O
ENTER
MENU
(Correct)
2 Press M/m to move the cursor (yellow) to “Initial Setup” and
press ENTER or ,.
The Initial Setup menu appears on the screen.
I n i t i a l S e t u p
L a n g u a g e :
C o l o r S y s t e m :
P A L 1 0 0 H z :
MENU
F u n c t i o n :
S e l e c t E n d
S e t /
E n g l i s h
O n
O n / O f f
ENTER
MENU
3 Press M/m to move the cursor (yellow) to “Language” and press
ENTER or ,.
The following menu appears on the screen.
I n i t i a l S e t u p
L a n g u a g e :
C o l o r S y s t e m :
P A L 1 0 0 H z :
MENU
F u n c t i o n :
S e l e c t E n d
S e t
E N G L I S H
D E U T S C H
F R A N Ç A I S
E S P A Ñ O L
I T A L I A N O
ENTER
MENU
Français
Quelques erreurs se sont glissées dans le mode d’emploi. Veuillez nous
en excuser et procéder aux corrections suivantes.
• Page 24 (FR)
Menu Réglage initial
(Incorrect)
R é g l a g e i n i t i a l
L a n g u e :
S y s t . c o u l e u r :
F o n c t i o n :
S é l e c t . F i n
MENU
R é g l e r /
E n g l i s h
M a r / a r r .
ENTER
MENU
(Correct)
R é g l a g e i n i t i a l
L a n g u e :
S y s t . c o u l e u r :
P A L 1 0 0 H z :
F o n c t i o n :
S é l e c t . F i n
MENU
R é g l e r /
E n g l i s h
M a r c h e
M a r / a r r .
ENTER
MENU
Syst. couleur
(Incorrect)
Remarque
Le réglage de ce paramètre n’est possible que lorsqu’un signal vidéo
est en cours de réception.
(Correct)
Remarques
• Le réglage de ce paramètre n’est possible que lorsqu’un signal
vidéo est en cours de réception.
• Lors de l’entrée d’un signal PAL ou PAL-N, vous pouvez passer
d’une fréquence de rafraîchissement à une autre à l’aide du
paramètre « PAL 100Hz ».
• Page 32 (FR)
Temp. couleur
(Incorrect)
(2) Réglez le gain (0 à 255) à l’aide de M/m/</, puis appuyez
sur ENTER.
Le menu revient au menu Temp. couleur.
• Page 37 (FR)
Réglage de la taille de l’image
(Incorrect)
2 Réglez la taille de l’image verticalement et horizontalement à
l’aide des touches M/m/</,.
</, : règle la taille de l’image horizontalement.
M/m : règle la taille de l’image verticalement.
La taille horizontale de l’image à l’écran est réglable selon une
échelle allant de MIN (–128) à MAX (+127). La taille verticale
de l’image à l’écran est réglable selon une échelle allant de MIN
(–128) to MAX (+127). Le réglage par défaut est 00.
(Correct)
2 Réglez la taille de l’image verticalement et horizontalement à
l’aide des touches M/m/</,.
</, : règle la taille de l’image horizontalement.
M/m : règle la taille de l’image verticalement.
La taille horizontale de l’image à l’écran est réglable selon une
échelle allant de Min (–30) à Max (+30). La taille verticale de
l’image à l’écran est réglable selon une échelle allant de Min
(–30) to Max (+30). Le réglage par défaut est 00.
Réglage de la position de l’image
(Incorrect)
2 Déplacez l’image verticalement ou horizontalement à l’aide des
touches M/m/</,.
</, : déplace l’image vers la gauche et vers la droite.
M/m : déplace l’image vers le haut et vers le bas.
La position horizontale de l’image à l’écran est réglable selon
une échelle allant de LEFT (gauche) (128) à RIGHT (droite)
(127). La position verticale de l’image à l’écran est réglable
selon une échelle allant de BOTTOM (bas) (128) à TOP (haut)
(127). Le réglage par défaut est 00.
(Correct)
2 Déplacez l’image verticalement ou horizontalement à l’aide des
touches M/m/</,.
</, : déplace l’image vers la gauche et vers la droite.
M/m : déplace l’image vers le haut et vers le bas.
La position horizontale de l’image à l’écran est réglable selon
une échelle allant de GMax (maximum gauche) (30) à DMax
(maximum droite) (30). La position verticale de l’image à
l’écran est réglable selon une échelle allant de BMax (maximum
bas) (30) à HMax (maximum haut) (30). Le réglage par défaut
est 00.
(Correct)
(2) Réglez le gain (–15 à +15) à l’aide de M/m/</, puis appuyez
sur ENTER.
Le menu revient au menu Temp. couleur.
 Loading...