

Page 1
4-663-056-11(1)
Manuals
The Wireless LAN PC Card PCWA-C150S (hereafter referred to as “the Wireless LAN PC Card”) is supplied with
the manuals listed below.
• Read Me First
• Quick Start Guide (this document)
• Operating Instructions (PDF file)
2.4GHz
Wireless LAN PC Card
Quick Start Guide
This guide provides information about the following procedures:
• Unpacking
• Installing the software
Describes how to install the supplied utility software.
• Installing the driver software
Describes how to install the driver for the Wireless LAN PC Card.
• Inserting the Wireless LAN PC Card
Describes how to insert the Wireless LAN PC Card into the computer.
• Setting up the connection environment
Describes how to configure settings for connecting a network.
PCWA-C150S
Sony Corporation 2002 Printed in Japan
• Client Manager Help
• Troubleshooting Guide
Installing the software
• Configure and connect the Access Point.
• Quit all Windows programs.
In Windows 2000 and Windows XP, only users with administrator privileges can install the software. If you have
logged on to Windows 2000 with a user account not listed in “Administrator” or on to Windows XP with a user
account not defined as “computer administrator”, you will be asked to type a user account name and password for an
account with administrator privileges when you attempt to install the software. In this situation, enter the required
information before proceeding.
1 In Windows Explorer or My Computer, double-click the installer file for Client
Important precautions for use of the Wireless LAN PC Card. Read carefully.
Contains information on how to install the Wireless LAN PC Card, how to install the driver and utility software,
and how to configure basic settings.
Contains detailed information on all aspects of the Wireless LAN PC Card. This file is found in the “manual”
folder on the CD-ROM supplied with the Wireless LAN PC Card. To view the file, Adobe Acrobat Reader is
required.
This is the online help for the Client Manager software supplied with the Wireless LAN PC Card.
Contains FAQs about troubles that you may encounter when using the Wireless LAN PC Card.
Before installing the software:
Note
Manager.
• If your computer has an internal CD-ROM drive or you can use an external CD-ROM drive while the
Wireless LAN PC Card is inserted:
Click on “Setup.exe” on the CD-ROM.
• If you copied the “Wireless LAN” folder from the supplied CD-ROM to your hard disk as described in
Installing the driver software:
Click “Setup.exe” in the folder on the hard disk.
Note
Depending on your computer settings, “Setup.exe” may be displayed as just “Setup”. If several files with the
same name appear in the folder, double-click the one with the following icon.
Windows Me
1 Insert the supplied CD-ROM into the CD-ROM drive.
Note
If your computer has two PC card slots and your CD-ROM drive must be connected through one of them,
connect the CD-ROM drive to the bottom slot.
2 Insert the Wireless LAN PC Card into the PC card slot.
The Add New Hardware Wizard appears.
z Tip
See “Inserting the Wireless LAN PC Card” for information about inserting the Wireless LAN PC Card into
your computer.
3 Select “Specify the location of the driver”, and click “Next”.
Select this opiton
4 Select “Specify a location”, and click “Browse”.
5 Select the folder containing the driver, and click “OK”.
• When installing from the supplied CD-ROM in a CD-ROM drive connected to the computer:
Select the “1WinMe” folder on the CD-ROM.
• When installing after copying the contents of the supplied CD-ROM to a hard disk:
Select the “1WinMe” folder in the folder into which you copied the CD-ROM contents.
6 Click “Next” to begin the search.
7 Click “Next” to begin driver installation.
Wait for installation to complete. The Add/Edit Configuration Profile dialog box appears when installation is
complete.
8 Click “Cancel” on the Add/Edit Configuration Profile dialog box.
9 Click “Finish”.
10
Restart the computer.
Windows 2000
Note
In Windows 2000, only users with administrator privileges can install drivers. Log on to Windows 2000 with a user
account listed in “Administrator”.
Windows XP
Note
In Windows XP, only users with administrator privileges can install drivers. If you have logged on to Windows XP
with a user account not defined as “computer administrator”, you will be asked to type a user account name and
password for an account with administrator privileges when you attempt to install the driver. In this situation, enter
the required information before proceeding.
1 Insert the supplied CD-ROM into the CD-ROM drive.
Note
If your computer has two PC card slots, and your CD-ROM drive must be connected through one of them,
connect the CD-ROM drive to the bottom slot.
2 Insert the Wireless LAN PC Card.
The “Find New Hardware Wizard” appears.
z Tip
See “Inserting the Wireless LAN PC Card” for information about inserting the Wireless LAN PC Card into your
computer.
3 Select “Install from a list or specific location (Advanced)”, and click “Next”.
Select this opiton
4 Check “Include this location in the search”, and click “Browse”.
5 Select the folder that contains the driver, and click “OK”.
• When installing from the supplied CD-ROM in a CD-ROM drive connected to the computer:
Select the “3WinXP” folder on the CD-ROM.
• When installing after copying the contents of the supplied CD-ROM to a hard disk:
Select the “3WinXP” folder in the folder into which you copied the CD-ROM contents.
6 Click “Next” to begin the search.
7 Click “Finish”.
Inserting the Wireless LAN PC Card
This section explains how to insert the Wireless LAN PC Card into your computer and how to remove it.
You do not need to turn off your computer when inserting the Wireless LAN PC Card.
About the supplied software
THE SUPPLIED SOFTWARE IS SUPPLIED PURSUANT TO THE APPLICABLE END-USER LICENSE
AGREEMENT.
• Copyright laws prohibit reproducing the software or the software manual in whole or in part, or renting the
software without the permission of the copyright holder.
• In no event will SONY be liable for any financial damage or loss of profits, including claims made by third
parties, arising out of the use of the software supplied with this product.
• In the event a problem occurs with this software as a result of defective manufacturing, SONY will replace it at
SONY’s option or issue a refund; however, SONY bears no other responsibility.
• The software provided with this product cannot be used with equipment other than that which is designated for
use with.
• Please note that, due to continued efforts to improve quality, the software specifications may be changed without
notice.
Program © 2002 Sony Corporation
Documentation © 2002 Sony Corporation
Sony is trademark of Sony Corporation.
Microsoft and Windows are registered trademarks of Microsoft Corporation in the United States of America and
other countries.
Adobe and Adobe Acrobat are trademarks of Adobe Systems Incorporated.
All other trademarks are trademarks of their respective owners.
Notes
• The user interface of the Sony supplied software may differ slightly from that shown in this manual.
• This manual is assumes that you are familiar with basic operations of the Windows operating system. For
computer operations, refer to the manuals that come with your computer.
• In this manual, Microsoft® Windows® Millennium Edition is referred to as Windows Me.
• In this manual, Microsoft® Windows® 2000 Professional is referred to as Windows 2000.
• In this manual, Microsoft® Windows® XP Professional and Microsoft® Windows® XP Home Edition are referred
to as Windows XP.
2 Click “Next”.
The License Agreement dialog box appears.
3 Read the agreement and click “Yes” to accept.
The Choose Destination Location dialog box appears.
4 Check that the displayed folder is the one where you want to install the software,
and click “Next”.
The Select Program Folder dialog box appears.
z Tip
If you want to install the software into a different folder, click “Browse” and select the folder or directly enter
the folder name.
5 Click “Next”.
z Tip
If you want to change the program folder, select a folder from the Existing Folders list or directly enter the
folder name into the “Program Folder” field.
6 Without placing a check mark in the check box, click “Finish”.
Proceed to “Installing the driver software” .
Installing the driver software
Note
Before installing the driver software, install the supplied utility software. For details on installing the supplied utility
software, see “Installing the software”.
Installing the driver software
The installation procedure varies depending upon whether the CD-ROM drive is available when the Wireless LAN
PC Card is inserted.
1 Insert the supplied CD-ROM into the CD-ROM drive.
Note
If your computer has two PC card slots and your CD-ROM drive must be connected through one of them,
connect the CD-ROM drive to the bottom slot.
2 Insert the Wireless LAN PC Card into the PC card slot.
The Found New Hardware Wizard appears.
z Tip
See “Inserting the Wireless LAN PC Card” for information about inserting the Wireless LAN PC Card into
your computer.
3 Click “Next”.
4 Confirm that “Search for a suitable driver for my device” is selected, and click
“Next”.
5 Select “Specify a location”, and click “Next”.
6 Click “Browse”.
7 Select the folder containing the driver, and click “Open”.
• When installing from the supplied CD-ROM in a CD-ROM drive connected to the computer:
Select the “2Win2k” folder on the CD-ROM.
• When installing after copying the contents of the supplied CD-ROM to a hard disk:
Select the “2Win2k” folder in the folder into which you copied the CD-ROM contents.
8 Click “OK” to begin the search.
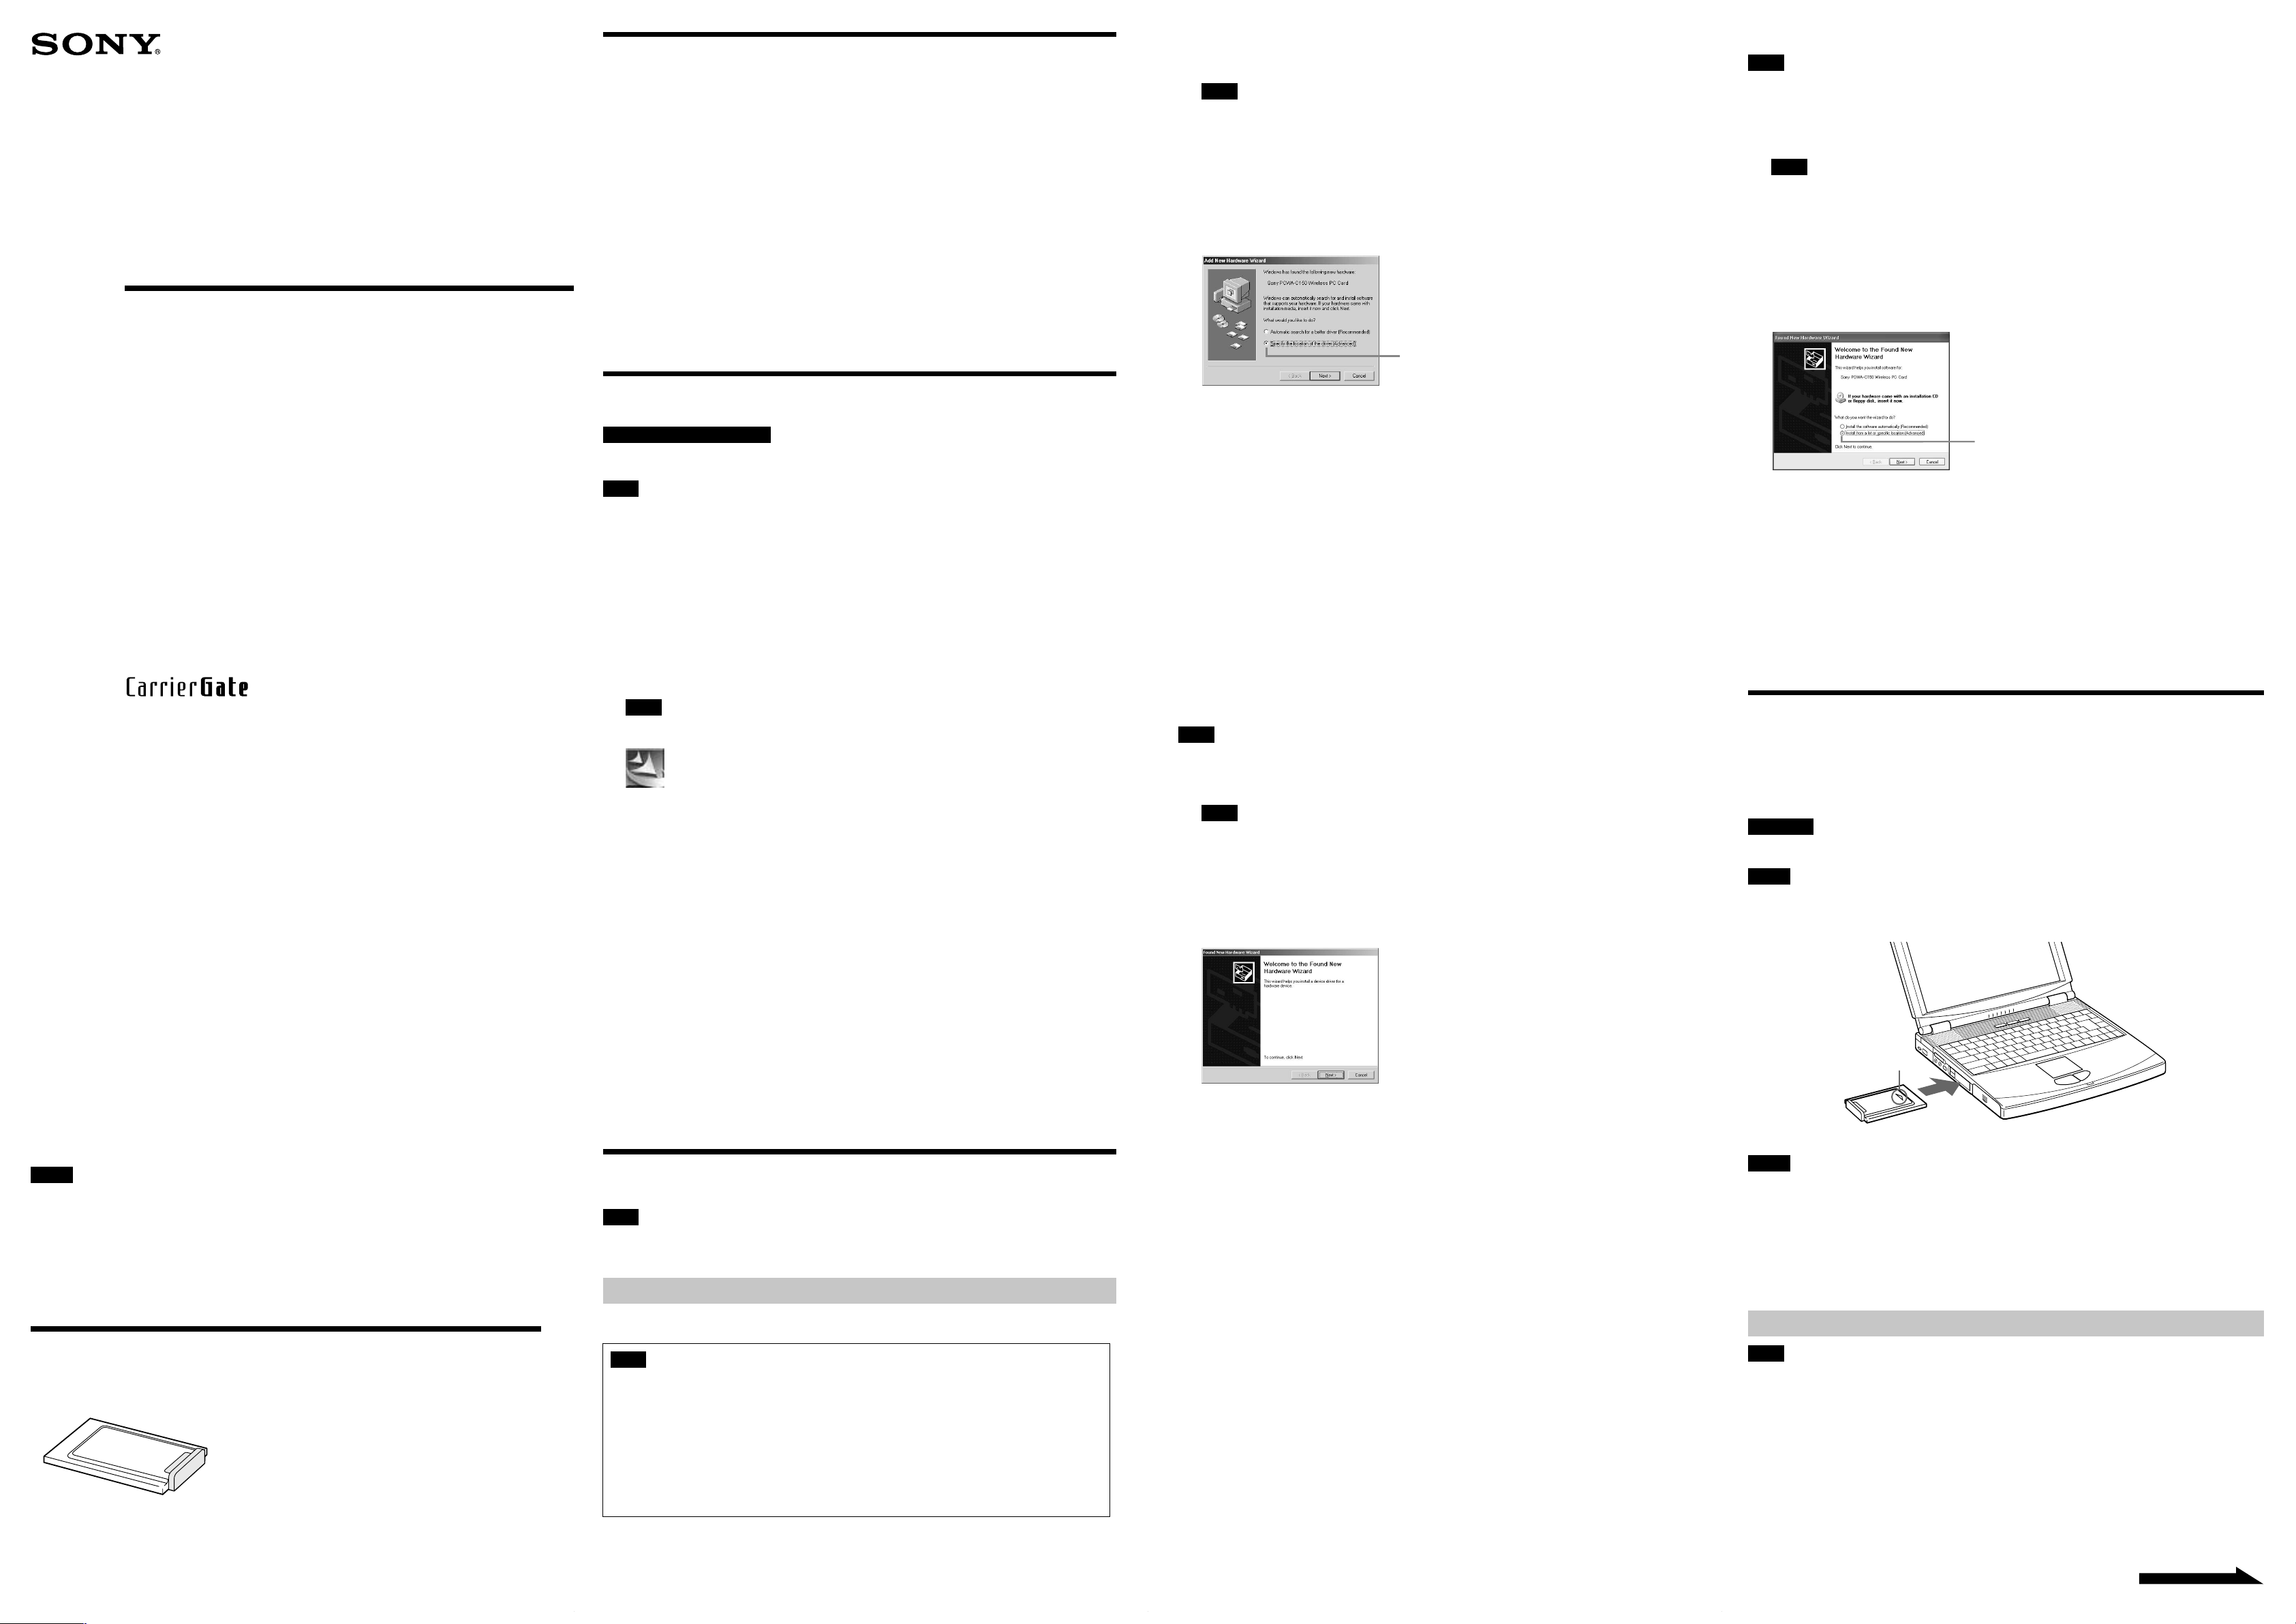
Insert the Wireless LAN PC Card into the PC card slot of the computer.
Push the Wireless LAN PC Card into the slot until it is firmly seated.
WARNING
When inserting the Wireless LAN PC Card, grasp it at the antenna base or both sides. If you hold the card by the
protruding part of the antenna, the card may be damaged.
Notes
• If the card does not fit easily, do not force it in. Take the card out and try reinserting it.
• You may not be able to insert the Wireless LAN PC Card into some computers, due to ins fficient depth or
irregular shape above the PC card slot.
Insert in the direction
of the arrow
To PC card slot
Notes
• If your computer has two PC card slots, insert the Wireless LAN PC Card into the top slot. If the card is inserted
into the bottom slot, the antenna of the Wireless LAN PC Card will block the top slot.
• In some computer models, the Memory Stick slot may be blocked while the Wireless LAN PC Card is inserted.
• Set up your computer so that it does not go into System Suspend mode or System Hibernation mode while the
Wireless LAN PC Card is in use.
• If the Wireless LAN PC Card is removed during System Suspend mode or System Hibernation mode, it may not be
recognized properly when reinserted. Do not remove or insert the Wireless LAN PC Card during System Suspend
mode, System Hibernation mode, or while the computer is in the idle state.
Starting Client Manager
Unpacking
Your Wireless LAN PC Card comes with the following items.
• Wireless LAN PC Card
• CD-ROM (Setup disc)
• Read This First
• Quick Start Guide (this document)
• Troubleshooting Guide
• Warranty card
• Other printed materials
Note
If your computer has only one PC card slot, and your CD-ROM drive must be connected through it, copy the
“Wireless LAN” folder from the supplied CD-ROM onto the hard disk before inserting the Wireless LAN PC
Card. The following steps use the “Temp” folder in the C drive as an example.
If you can use the CD-ROM drive while the Wireless LAN PC Card is inserted, the following steps are not
required. Begin installation starting from step 1 in “Windows Me”, “Windows 2000” or “Windows XP”.
1 Connect the CD-ROM drive to the computer, and insert the supplied CD-ROM into the drive.
2 Copy the “Wireless LAN” folder on the CD-ROM to the “Temp” folder on your hard disk using
Windows Explorer.
3 Remove the CD-ROM drive from the PC card slot.
9 Click “Next” to begin the driver installation.
The Add/Edit Configuration Profile dialog box appears.
10
Click “Cancel” on the Add/Edit Configuration Profile dialog box.
11
Click “Finish”.
12
Restart the computer.
Note
Do not start the Client Manager before installing the driver software.
From the “Start” menu, point to “Programs” (“All Programs” in Windows XP), “Wireless LAN”, “PCWAC150S”, and then click “Client Manager”.
z Tip
The Client Manager is also included in the “Startup” folder, so it will start automatically when Windows starts up.
Continued on next page
Page 2

Setting up the connection environment
Windows Me or Windows 2000
Establishing communication with the Access Point
This section describes how to configure settings for communication with an Access Point. When not using an
Access Point, see “Configuring communication settings for Peer-to-Peer Mode”.
Before configuring the settings, the following tasks must be
completed:
• The Wireless LAN PC Card must be inserted into the computer.
• The Access Point and the computer with the Wireless LAN PC Card must be located within the communication
limits of the Access Point (approx. 330 feet), and the Access Point must be turned on. For details, see the Access
Point documentation.
• Check the Network Name (also called SSID) and the Data Security (also called WEP or Encryption) settings of
the Access Point. For details about these settings, consult your network administrator. The factory-default
configuration settings for the Access Point are listed in the Access Point documentation.
1 Click the Client Manager icon on the taskbar.
The Client Manager window appears.
2 From the “Actions” menu, select “Add/Edit Configuration Profile”.
The Add/Edit Configuration Profile dialog box appears.
3 Click “Add”.
The Edit Configuration dialog box appears.
z Tip
To edit an existing profile, click “Edit”.
4 Enter an alphanumeric name for the profile in the “Profile Name” field (letters,
numbers, and symbols are allowed). Verify that Access Point is selected in the
“Network Type” list, and click “Next”.
The Identify Your Network window shown below appears.
7 Click “Next”.
The Set Security window shown below appears.
8 If Data Security (also called WEP or Encryption) is enabled at the Access Point,
enter matching setting values for the Wireless LAN PC Card, as described
below.
Notes
• Input is case sensitive. Be sure to use the same uppercase/lowercase spelling as at the Access Point.
• The Data Security function serves to prevent unauthorized access to your network. It is strongly
recommended that you enable it after having checked that communication can be established. For details
about changing the settings of the Access Point, see the documentation of the Access Point. After changing
the settings of the Access Point, use Client Manager to change the settings for the Wireless LAN PC Card
accordingly.
1. Select the “Enable Data Security” check box.
2. Select the input method for the key (the key is a password for connecting to an Access Point with
Data Security enabled): “Use Alphanumeric Characters (0 - 9, a - z, A - Z)” or “Use Hexadecimal (0
- 9, a - f, A - F)”. Symbols are also available when you select “Alphanumeric Characters (0-9, a-z,
A-Z)”.
Note
If the Access Point still uses the factory default key, it is strongly recommended that you change it after
having checked that communication can be established. After changing the settings of the Access Point, use
Client Manager to change the settings for the Wireless LAN PC Card accordingly. For details about changing
the settings of the Access Point, see the documentation of your Access Point.
3. In the field “Key 1”, “Key 2”, “Key 3”, or “Key 4”, type the encryption key set at the Access Point.
Notes
• Type the number of characters or digits indicated below.
Alphanumeric Characters Hexadecimal
Access Point is encrypted 13 characters 26 digits
with a 128-bit WEP
Access Point is encrypted 5 characters 10 digits
with a 64-bit WEP
• Alphanumeric characters are case sensitive.
• Alphanumeric characters may include symbols.
9 Click “Next”.
The Power Management window shown below appears.
10
Set Power Management to “Off (default power consumption and high
performance)” or “On (lower power consumption and performance)”, and click
“Next”.
The TCP/IP Behavior window shown below appears.
Configuring communication settings for Peer-to-Peer Mode
1 Click the Client Manager icon on the taskbar.
The Client Manager window appears.
2 From the “Actions” menu, select “Add/Edit Configuration Profile”.
The Add/Edit Configuration Profile dialog box appears.
3 Click “Add”.
The Edit Configuration dialog box appears.
z Tip
To edit an existing profile, click “Edit”.
4 Enter a desired alphanumeric name into the “Profile Name” field (letters,
numbers, and symbols are allowed).
5 In the “Network Type” drop-down list, select “Peer-to-Peer Group”, and click
“Next”.
The Indentify Your Network window shown below appears.
6 To create a new network, enter a desired alphanumeric name into the “Network
Name” field (letters, numbers, and symbols are allowed). To connect to an
existing network, enter the name of that network.
Note
The Network Name is case sensitive. Be sure to use the correct uppercase/lowercase spelling.
7 Select the channel number from the “Channel Number” drop-down list.
Note
When creating a new network, you can select any channel number.
z Tip
When connecting to an existing network, the channel number is selected automatically.
8 Click “Next”.
The Set Security window shown below appears.
Notes
• Type the number of characters or digits indicated below.
Alphanumeric Characters Hexadecimal
With a 128-bit WEP 13 characters 26 digits
With a 64-bit -WEP 5 characters 10 digits
• Alphanumeric characters are case sensitive.
• Alphanumeric characters may include symbols.
10
Click “Next”.
The TCP/IP Behavior window shown below appears.
11
When using one Wireless LAN PC Card for multiple networks, select the “Renew
IP Address when selecting this profile” check box, and click “Finish”.
The Add/Edit Configuration Profile dialog box reappears.
12
Click “OK” to close the Add/Edit Configuration Profile dialog box.
13
Click “OK” to close the Client Manager window.
14
With Windows Me, follow the procedure below to renew the IP address allocated
to your Wireless LAN PC Card. (With Windows 2000 this procedure is not
necessary.)
1. From the “Start” menu, click “Run”.
2. Type “winipcfg” (without quotation marks), and click “OK”.
The IP Configuration dialog box appears.
3. Select “Sony Wireless PC Card” from the drop-down list, and click “Renew”.
4. Confirm the IP address shown in “Adapter Address”.
5. Click “OK” to close the IP Configuration dialog box.
To confirm whether the connection is established, refer to “In Peer-to-Peer mode, the signal strength is not displayed.
How do I tell whether a peer-to-peer connection has been successfully established?” in the Troubleshooting Guide.
Windows XP
Establishing communication with the Access Point
This section describes how to configure settings for communication with an Access Point. For information on settings
when not using an Access Point, see Windows XP Help.
Before configuring the settings, the following tasks must be completed:
• The Wireless LAN PC Card must be inserted into the computer.
• The Access Point and the computer with the Wireless LAN PC Card must be located within the communication
limits of the Access Point, and the Access Point must be turned on. For details, see the Access Point
documentation.
• Check the Network Name (also called SSID) and the Data Security (also called WEP or Encryption) settings of the
Access Point. For details about these settings, consult your network administrator. The factory-default
configuration settings for the Access Point are listed in the Access Point documentation.
Note
Before configuring the Wireless LAN PC Card, perform the following steps to confirm that the “Use Windows to
configure my wireless network settings” check box is selected. This option is selected as the default setting.
To confirm that the “Use Windows to configure my wireless network settings” check box is selected:
1. From the “Start” menu, select “Control Panel”, and double-click “Network Connections”.
2. Right-click “Wireless Network Connection”, and click “Properties”.
3. Click the “Wireless Network” tab.
4. Confirm that the “Use Windows to configure my wireless network settings” check box is selected. If it is
not selected, select the check box.
1 Right-click the Wireless Network Connection icon in the notification area of
the taskbar. In the shortcut menu that appears, select “View Available Wireless
Networks”.
The Connect to Wireless Network dialog box appears.
5 In the “Network Name” field, enter the same Network Name as set for the
Access Point. You can also click “Scan” to search for Access Points within
communication range.
Note
The Network Name is case sensitive. Be sure to use the same uppercase/lowercase spelling as at the Access
Point.
z Tips
• If you leave the Network Name field blank, the computer will attempt to connect to an arbitrary Access
Point within range. If you enter “ANY” (all in uppercase) in the Network Name field, the computer will
attempt to connect to all Access Points within range.
• If the “Scan” button is dimmed, an Access Point search cannot be performed. Enter the Network Name set
for the Access Point.
6 If you clicked “Scan” in step 5, from the Scan for Network Name dialog box,
select the Access Point to which you want to connect, and click “OK”.
11
When using one Wireless LAN PC Card for multiple networks, select the “Renew
IP Address when selecting this profile” check box, and click “Finish”.
The Add/Edit Configuration Profile dialog box reappears.
12
Click “OK” to close the Add/Edit Configuration Profile dialog box.
The Client Manager window reappears.
13
Click “OK” to close the Client Manager window.
14
With Windows Me, follow the procedure below to renew the IP address allocated
to your Wireless LAN PC Card.
1. From the “Start” menu, click “Run”.
2. Type “winipcfg” (without quotation marks), and click “OK”.
The IP Configuration dialog box appears.
3. Select “Sony Wireless PC Card” from the drop-down list, and click “Renew”.
4. Confirm the IP address shown in “Adapter Address”.
5. Click “OK” to close the IP Configuration dialog box.
9 When creating a new network or when connecting to an existing network where
Data Security (also called WEP or Encryption) is enabled, use the following
settings.
Note
The Data Security function serves to prevent unauthorized access to the network. It is strongly recommended
that you enable Data Security.
1. Select the “Enable Data Security” check box.
2. Select the input method for the key (the key is a password for connecting to an Access Point with
Data Security enabled): “Use Alphanumeric Characters (0 - 9, a - z, A - Z)” or “Use Hexadecimal
(0 - 9, a - f, A - F)”. Symbols are also available when you select “Alphanumeric Characters (0-9, az, A-Z)”.
3. Type the encryption key in the “Key” field.
2 Click the Access Point to which you want to connect.
3 If Data Security (also called WEP or Encryption) is enabled at the Access Point,
type the encryption key in the “Network key” field.
Note
• Input is case sensitive. Be sure to use the same uppercase/lowercase spelling as at the Access Point.
• The Data Security function serves to prevent unauthorized access to your network. It is strongly
recommended that you enable Data Security after having checked that communication can be established. For
details about changing the settings of the Access Point, see the documentation of the Access Point.
• After changing the settings of the Access Point, change the settings for the Wireless LAN PC Card
accordingly.
4 Click “Connect”.
The computer connects to the Access Point.
z Tip
For details on making the connection, see Windows XP Help.
 Loading...