

Sony PCG-Z505HSK User Manual
Customizing Your VAIO® Z505
SuperSlim Pro™ Notebook
Y ou can customize the settings of your notebook c omputer . The following
sections briefly describe how to change your computer’s default settings.
You can also refer to the Sony Notebook Setup Help for more detailed
information.
Displaying the Sony Notebook Setup Screen
To display the Sony Notebook Setup screen:
1
Click the Start button on the Windows 98 taskbar.
2
Point to VAIO and click Sony Notebook Setup.
3
Select the tab for the item you want to change. See “Notebook Setup
Tabs” on page 2.
4
After you finish, click OK.
1

2
Customizing Your VAIO® Z505 SuperSlim Pro™ Notebook
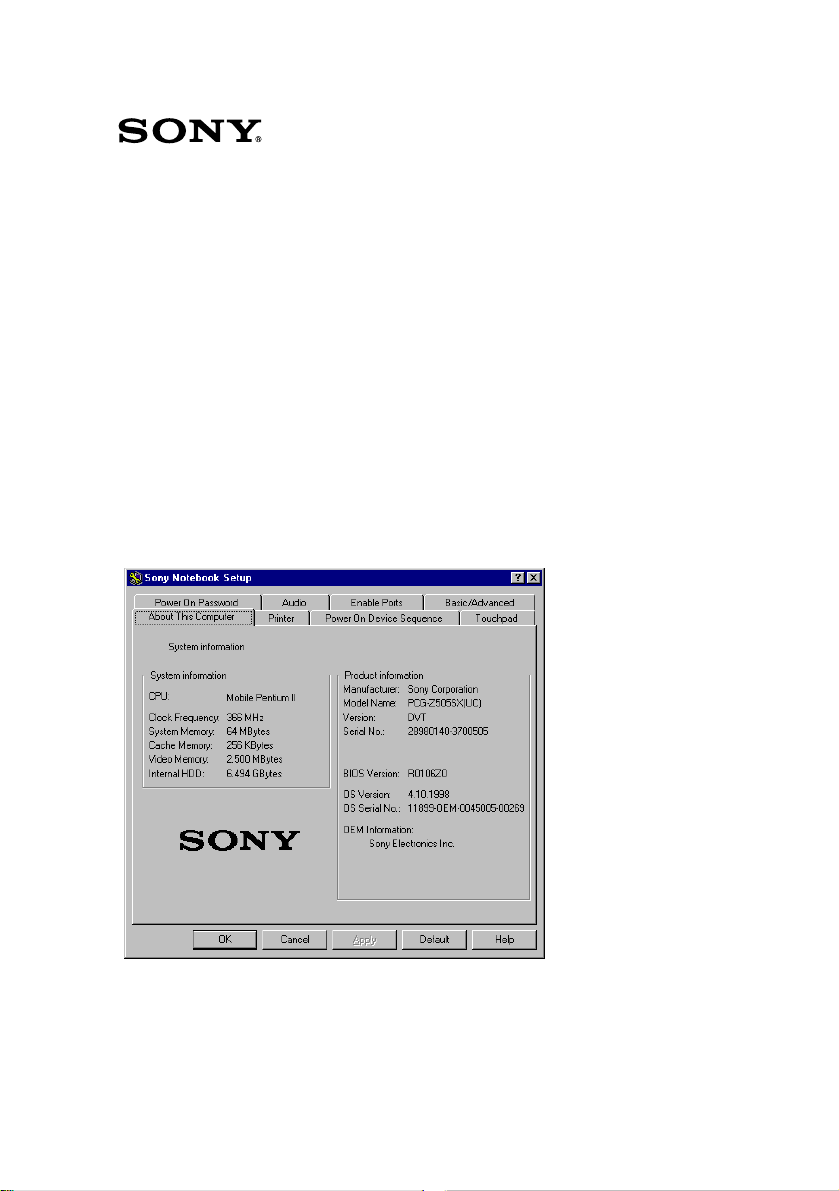
Notebook Setup Tabs
Tab Description
About This Computer Display system information, including memory
capacity, serial number, and BIOS version.
Audio Change the volume of the sounds that play while the
operating system is loading. Turn the Mega Bass
function on/off (available only when headphone is
used). You can also check the effect of the Mega Bass
function by selecting a sample from “soundfile” and
playing it.
Printer Change printer port mode settings.
Power On
Device Sequence
Touchpad When you connect an optional mouse to your
Power On Password Set the password to secure your computer.
Enable Ports Enable or disable ports. Disabling ports releases
Basic/Advanced T oggle b etween Advanced mode (add itional scr eens
Select the order of drives and devices from which
you want to load the operating system.
computer, you can make your touchpad inactive.
You can also customize your mouse settings using
the mouse utility.
resources to the system. To change the serial or
Infrared settings, click Advanced on the Basic/
Advanced tab.
with advanced settings) and Basic mode of display.
Advanced mode includes Serial, Infrared, and View
Resources tabs.
For more information about each option, click Help on the Sony Notebook Setup screen to
✍
display the help file.
Customizing Your VAIO® Z505 SuperSlim Pro™ Notebook
3
Controlling Power Management
The PowerPanel utility allows you to control the power management of
your notebook computer and provides key information about system
activity. The following sections briefly describe how to conserve your
computer’s battery power. You can also refer to the PowerPanel Help for
more detailed information. To activate a profile or command, see “To
activate PowerPanel” on page 5.
Power Management Profiles
PowerPanel provides several predefined power management profiles.
Each profile consists of a group of specific power management settings
that are designed to meet specific power management goals — ranging
from maximum power management to no power management. You can
change the settings for any of the predefined profiles or you can create
your own profile to suit your portable computing needs. The predefined
profiles are:
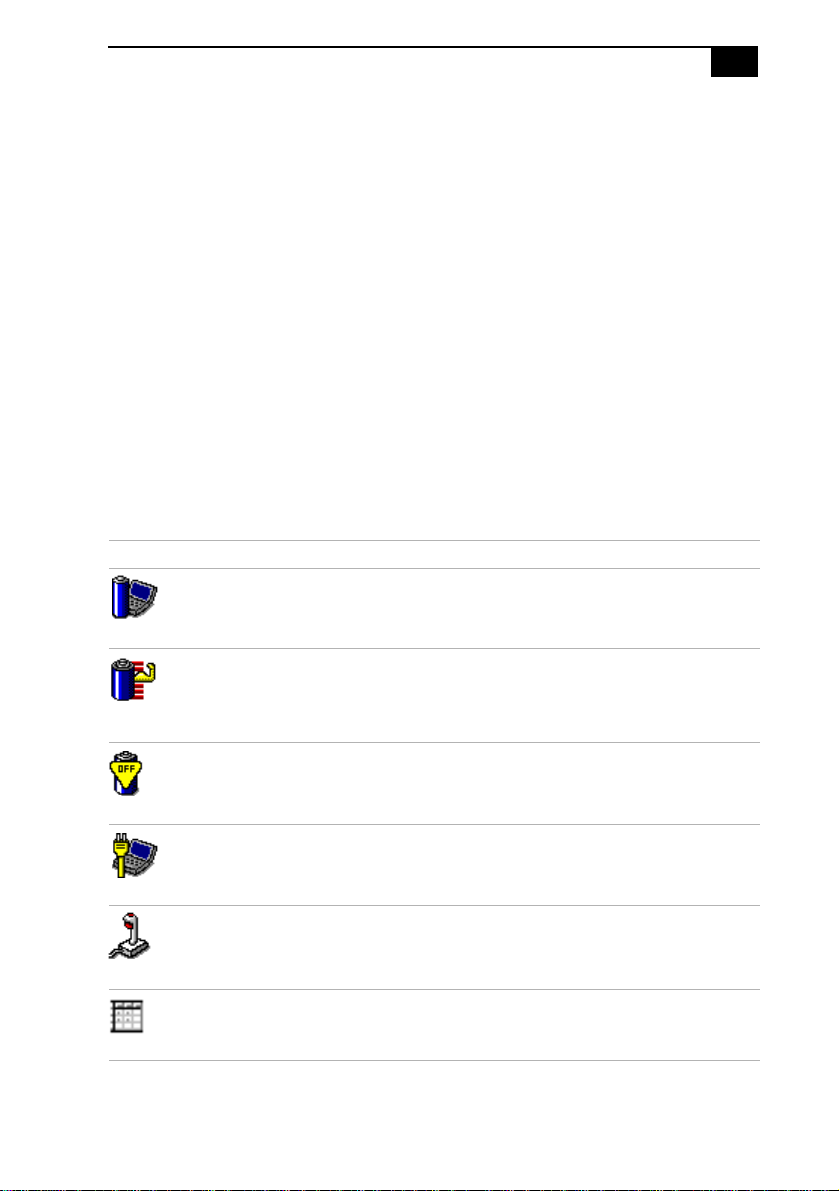
Icon Description
Maximum Performance
while still conserving power.
Provides the best system performance
–
Maximum Battery Life
you maximum battery life and good performance. It slows the
computer and puts it into System Suspend mode after a specified
period of inactivity.
Power Management Off
such as System Suspend and System Hibernation modes.
AC Power
use. Similar to the Power Management Off setting. PowerPanel
automatically loads the AC profile unless you disable this feature.
Games
timer.
Spreadsheet
spreadsheet applications such as Microsoft Excel.
The power management state when AC power is in
–
Disables the display and the Hard Disk Spindle Down
–
Optimizes performance and power requirements for
–
Provides power saving features to give
–
T urns off all powe r management features
–
®
4
Customizing Your VAIO® Z505 SuperSlim Pro™ Notebook
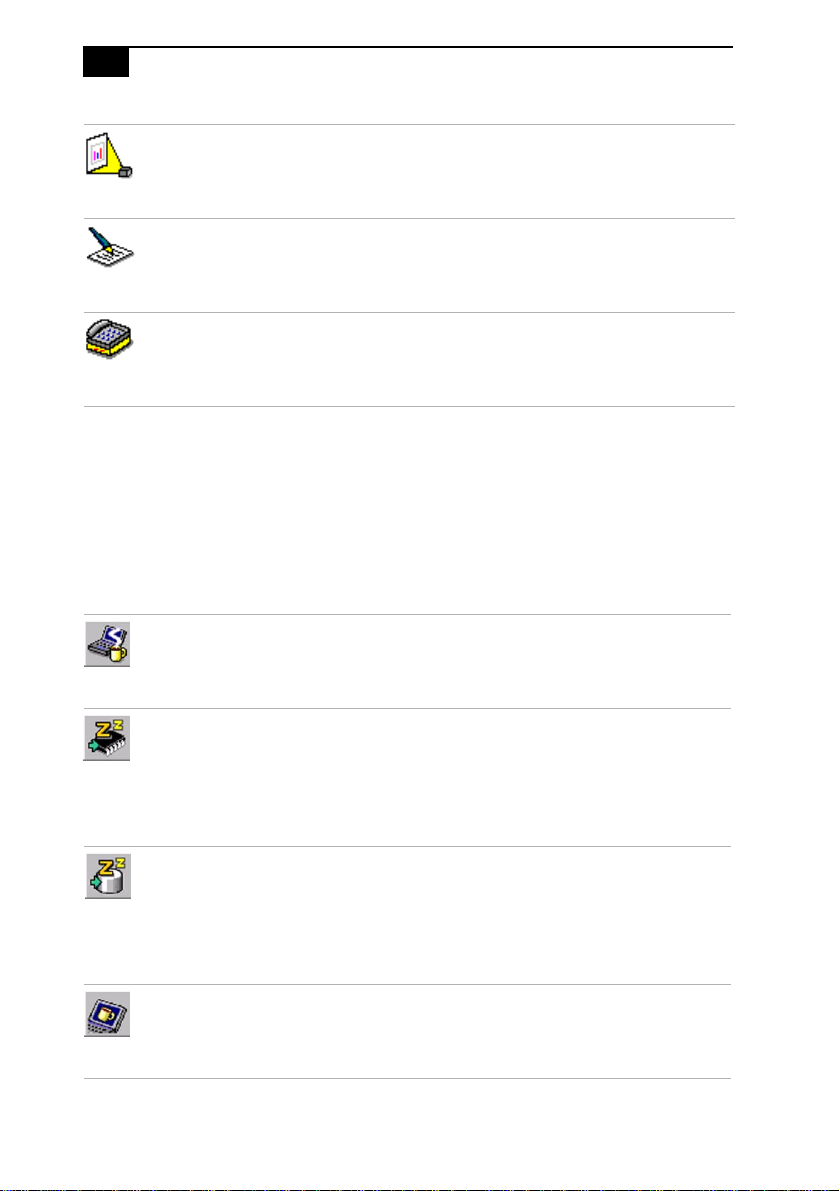
Presentation
power . This option is ideal for slide show presentations. You can
establish settings for LCD (Video) Standby, Hard Disk Sleep, and
System Suspend to optimize power management for your system.
Word Processing
timeouts on the hard disk and display screen. You can also establish
settings for LCD (Video) Standby and System Suspend to optimize
power management for your system.
Communications
timeout. The Internal modem remains powered. You can also
establish settings for LCD (Video) Stand by and System Suspend to
optimize power management for your system.
Keeps the display on at all times while it conserves
–
Optimizes power management with longer
–
Extends battery life by initiating a quick display
–
Power Management Commands
PowerPanel also provides power management commands that you can
use to activate specific power management functions and to control
power for a specific device. You might use these commands when you
want to override a profile setting or initiate an immediate action, such as
putting the system into Video Standby mode before the Video Standby
timer expires.
System Idle - Puts the system into System Idle mode, a state of low
power consumption. This state stops the CPU clock and puts all
peripherals into low power mode. T o return the system to the active
state, press any key or power switch on your system.
System Suspend
power management state that saves the state of the system and
peripheral devices in memory (RAM). Power consumption reduces
to a minimum, and the system remains on. To return the system to
the active state, press any key or the power switch on your
computer.
System Hibernation
consumption. The system writes the state of the system and
peripheral devices to the hard disk and turns off the system power.
To return the system to the original state, use the power switch to
turn on power. The system saves the data in the Save to Disk
Partition on the hard drive.
LCD (Video) Standby
turn off the Video Standby timer, the display remains active except
when the system enters System Suspend mode. The video display
system is one of the largest consumers of power in the system.
Puts the system into System Suspend mode, a
–
Provides for the lowest level of power
–
Turns off the LCD to save power. If you
–

Customizing Your VAIO® Z505 SuperSlim Pro™ Notebook
To activate PowerPanel
To activate the PowerPanel toolbar, right-click the taskbar at the bottom
of the screen. Select Toolbars from the pop-up menu, then click
PowerPanel. The PowerPanel toolbar appears on the taskbar.
The Current Profile icon appears on the PowerPanel toolbar. It is the icon
farthest to the left, and its appearance changes depending on which
power management profile is currently selected. To change the power
management profile, click the Current Profile icon, then select a profile
from the list. See pages 3-4 for a description of the power management
profiles.
To select a power management command, click the power management
icon you want to set. The power management icons are the four icons to
the right of the Current Profile icon. See page 4 for a description of the
power management commands.
Refer to the PowerPanel Help for information on customizing the PowerPanel toolbars.
✍
When you use the battery pack to power your computer, your system selects the Maximum
Battery Life power management profile by default. If you select a different power
management profile while using battery power, that profile is selected automatically the
next time you use the battery pack to power your computer.
5
Y ou can change the power management settings, such as the system timer
and brightness of the screen.
1
Click the Current Profile icon on the PowerPanel toolbar.
2
Select Edit/Create Profiles from the menu.
3
Click a profile whose setting you want to change.
4
Double-click an item whose setting you want to change.
5
Click a desired setting.
6
Click the File menu, then click Save.
7
Click the File menu, then click Close.
 Loading...