

Sony CFD-E100, CFD-E100L User Manual
Precautions
On safety
• As the laser beam used in the CD player
section is harmful to the eyes, do not
attempt to disassemble the casing. Refer
servicing to qualified personnel only.
• Should any solid object or liquid fall into
the player, unplug the player, and have it
checked by qualified personnel before
operating it any further.
• Discs with non-standard shapes (e.g.,
heart, square, star) cannot be played on
this player. Attempting to do so may
damage the player. Do not use such discs.
Cleaning the cabinet
• Clean the cabinet, panel and controls with
a soft cloth slightly moistened with a mild
detergent solution. Do not use any type of
abrasive pad, scouring powder, or solvent,
such as alcohol or benzine.
On power sources
• For AC operation, check that the player’s
operating voltage is identical with your
local power supply (see “Specifications”)
and use the supplied mains lead; do not
use any other type.
• The player is not disconnected from the
AC power source (mains) as long as it is
connected to the mains, even if the player
itself has been turned off.
• For battery operation, use six R14 (size C)
batteries.
• When the batteries are not to be used,
remove them to avoid damage that can be
caused by battery leakage or corrosion.
• The nameplate indicating operating
voltage, power consumption, etc. is
located at the bottom.
On placement
• Do not leave the player in a location near
heat sources, or in a place subject to direct
sunlight, excessive dust or mechanical
shock.
• Do not place the player on an inclined or
unstable place.
• Do not place anything within 10 mm of
the side of the cabinet. The ventilation
holes must be unobstructed for the player
to operate properly and prolong the life of
its components.
• If the player is left in a car parked in the
sun, be sure to choose a location in the car
where the player will not be subjected to
the direct rays of the sun.
• Since a strong magnet is used for the
speakers, keep personal credit cards using
magnetic coding or spring-wound watches
away from the player to prevent possible
damage from the magnet.
On operation
• If the player is brought directly from a
cold to a warm location, or is placed in a
very damp room, moisture may condense
on the lenses inside the CD player section.
Should this occur, the player will not
operate properly. In this case, remove the
CD and wait about an hour for the
moisture to evaporate.
• If the player has not been used for a long
time, set it in the playback mode to warm
it up for a few minutes before inserting a
cassette.
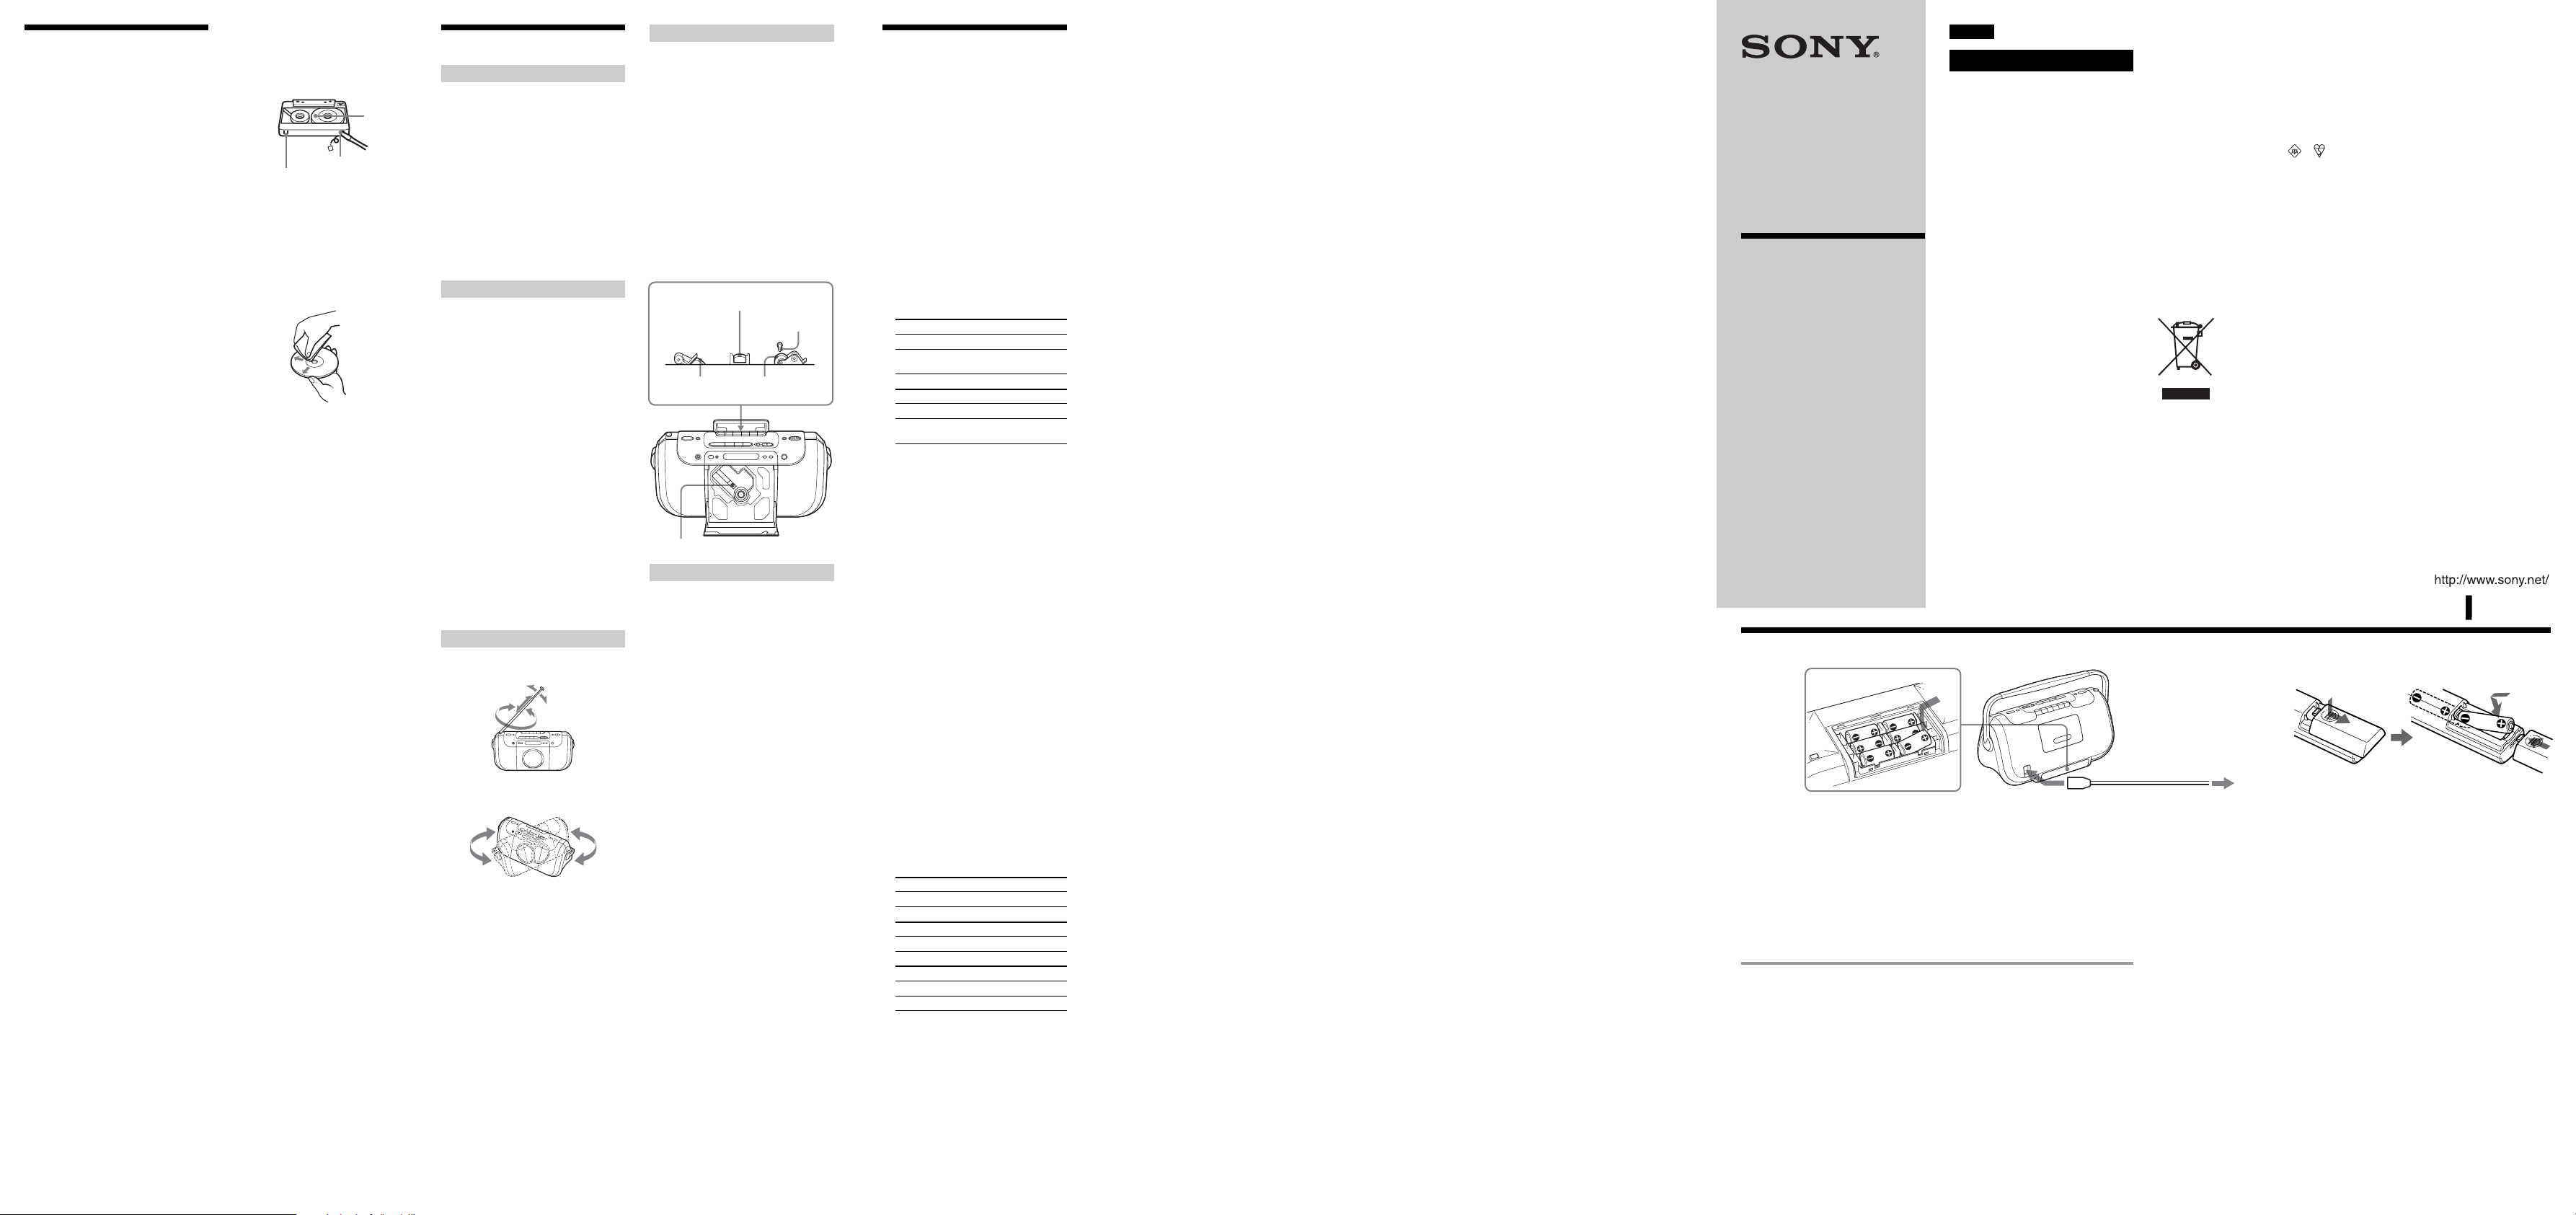
Notes on cassettes
• Break off the cassette tab from side A or B
to prevent accidental recording. If you
want to reuse the tape for recording, cover
the broken tab with adhesive tape.
Side A
Tab for side A
Tab for side B
• The use of a cassette with more than 90
minutes of play time is not recommended
except for long, continuous recording or
playback.
Notes on CDs
• Before playing, clean the CD with a
cleaning cloth. Wipe the CD from the
centre out.
• Do not use solvents such as benzine,
thinner, commercially available cleaners
or anti-static spray intended for vinyl LPs.
• Do not expose the CD to direct sunlight or
heat sources such as hot air ducts, nor
leave it in a car parked in direct sunlight as
there can be a considerable rise in
temperature inside the car.
• Do not stick paper or sticker on the CD,
nor scratch the surface of the CD.
• After playing, store the CD in its case.
If there is a scratch, dirt or fingerprints on the
CD, it may cause tracking error.
About CD-Rs/CD-RWs
This player can play CD-Rs/CD-RWs
recorded in the CD-DA format*, but
playback capability may vary depending on
the quality of the disc and the condition of
the recording device.
* CD-DA is the abbreviation for Compact
Disc Digital Audio. It is a recording
standard used for Audio CDs.
Music discs encoded with copyright
protection technologies
This product is designed to play back discs
that conform to the Compact Disc (CD)
standard. Recently, various music discs
encoded with copyright protection
technologies are marketed by some record
companies. Please be aware that among
those discs, there are some that do not
conform to the CD standard and may not be
playable by this product.
Note on DualDisc
A DualDisc is a two sided disc product
which mates DVD recorded material on one
side with digital audio material on the other
side. However, since the audio material side
does not conform to the Compact Disc (CD)
standard, playback on this product is not
guaranteed.
If you have any questions or problems
concerning your player, please consult your
nearest Sony dealer.
Troubleshooting
General
The power does not come on.
• Connect the mains lead to the mains securely.
• Make sure the batteries are inserted correctly.
• Replace all the batteries with new ones if they
are weak.
• You cannot turn on the player with the remote
when you operate the player on batteries .
There is no audio.
• Adjust the volume.
• Unplug the headphones when listening
through speakers.
Noise is heard.
• Someone is using a portable telephone or
other equipment that emits radio waves near
the player. tMove the portable telephone,
etc., away from the player.
CD Player
The CD does not play or “no dISC”
lights in the display even when a CD
is in place.
• Place the CD with the label surface up.
• Clean the CD.
• Take out the CD and leave the CD
compartment open for about an hour to dry
moisture condensation.
• The CD-R/CD-RW was not finalized. Finalize
the CD-R/CD-RW with the recording device.
• There is a problem with the quality of the CDR/CD-RW, recording device, or application
software.
• The CD-R/CD-RW is blank.
• Replace all the batteries with new ones if they
are weak.
The sound drops out.
• Reduce the volume.
• Clean the CD, or replace it if the CD is badly
damaged.
• Place the player in a location free from
vibration.
• Clean the lens with a commercially available
blower.
• The sound may drop out or noise may be
heard when using poor quality CD-Rs/CDRWs or if there is a problem with the
recording device or application software.
Radio
Reception is poor.
• Reorient the aerial to improve FM reception.
• Reorient the player itself to improve AM or
MW/LW reception.
The audio is weak or has poor quality.
• Replace all the batteries with new ones if they
are weak.
• Move the player away from the TV.
The picture of your TV becomes
unstable.
• If you are listening to an FM programme near
the TV with an indoor aerial, move the player
away from the TV.
Tape Player
The tape does not move when you
press an operation button.
• Close the cassette compartment securely.
The z button does not function or the
tape does not play or record.
• Make sure the safety tab on the cassette is in
place.
Poor or distorted playback, recording
or erasing quality.
• Clean the heads, pinch roller and capstan with
a cleaning swab slightly moistened with
cleaning fluid or alcohol.
• Replace all the batteries with new ones if they
are weak.
• TYPE II (high position) or TYPE IV (metal)
tape is being used. Use TYPE I (normal) tape
only.
• Demagnetize the heads using a commercially
available tape head demagnetizer.
Record/playback head
Capstan
Erase head Pinch roller
Lens
Remote
The remote does not function.
• Replace all the batteries in the remote with
new ones if they are weak.
• Make sure that you are pointing the remote at
the remote sensor on the player.
• Remove any obstacles in the path of the
remote and the player.
• Make sure the remote sensor is not exposed to
strong light such as direct sunlight or
fluorescent lamp light.
• Move closer to the player when using the
remote.
After trying the above remedies, if you still have
problems, unplug the mains lead and remove all
the batteries. After all the indications in the
display disappear, plug the mains lead and insert
the batteries again. If the problem persists,
please consult your nearest Sony dealer.
Specifications
CD player section
System
Compact disc digital audio system
Laser diode properties
Emission duration: Continuous
Laser output: Less than 44.6 µW
(This output is the value measured at a distance
of about 200 mm from the objective lens surface
on the optical pick-up block with 7 mm
aperture.)
Spindle speed
200 r/min (rpm) to 500 r/min (rpm)
(CLV)
Number of channels
2
Frequency response
20 - 20 000 Hz +1/–2 dB
Wow and flutter
Below measurable limit
Radio section
Frequency range
CFD-E100L
FM 87.5 - 108 MHz
MW 531 - 1 611 kHz (9 kHz step)
530 - 1 610 kHz (10 kHz step)
LW 153 - 279 kHz
CFD-E100
FM 87.5 - 108 MHz
AM 531 - 1 611 kHz (9 kHz step)
530 - 1 610 kHz (10 kHz step)
IF
FM: 10.7 MHz
AM/MW/LW: 450 kHz
Aerials
FM: Telescopic aerials
AM/MW/LW: Built-in ferrite bar aerials
Cassette-corder section
Recording system
4-track 2 channel stereo
Fast winding time
Approx. 120 s (sec.) with Sony cassette C-60
Frequency response
TYPE I (normal): 80 - 13 000 Hz
General
Speaker
Full range: 8 cm dia., 3.2 Ω, cone type (2)
Outputs
Headphones jack (stereo minijack)
For 16 - 68 Ω impedance headphones
Maximum Power output
3.6 W
Power requirements
For CD radio cassette-corder:
Malaysia and Singapore models: 230 - 240 V AC,
50Hz
Korean model: 220 V AC, 60Hz
Other models: 230 V AC, 50Hz
9 V DC, 6 R14 (size C) batteries
For remote control:
3 V DC, 2 R03 (size AAA) batteries
Power consumption
AC 14 W
Battery life
For CD radio cassette-corder:
FM recording
Sony R14P: approx. 13.5 h
Sony alkaline LR14: approx. 20 h
Tape playback
Sony R14P: approx. 7.5 h
Sony alkaline LR14: approx. 15 h
CD playback
Sony R14P: approx. 2.5 h
Sony alkaline LR14: approx. 7 h
Dimensions
Approx. 385 × 190.5 × 170 mm (w/h/d)
(incl. projecting parts)
Mass
Approx. 3.1 kg (incl. batteries)
Supplied accessory
Mains lead (1)
Remote control (1)
Design and specifications are subject to change
without notice.
English
WARNING
To prevent fire or shock hazard, do
not expose the player to rain or
moisture.
To avoid electrical shock, do not open
CD Radio
CassetteCorder
Operating Instructions
the cabinet. Refer servicing to
qualified personnel only.
WARNING
Do not install the appliance in a confined space,
such as a bookcase or built-in cabinet.
To prevent fire or shock hazard, do not place
objects filled with liquids, such as vases, on the
appliance.
Connect the apparatus to an easily accessible
AC outlet. Should you notice an abnormality in
the apparatus, disconnect the main plug from the
AC outlet immediately.
CAUTION — CLASS 1M INVISIBLE LASER
RADIATION WHEN OPEN
DO NOT VIEW DIRECTLY WITH OPTICAL
INSTRUMENTS
CFD-E100
CFD-E100L
©2005 Sony Corporation
2-587-606-54 (1)
Power Sources
B
A
1 to AC IN
Connect the mains lead A or insert six R14 (size C) batteries (not supplied) into the battery
compartment B .
Notes
• Replace the batteries when the OPR/BATT indicator dims or when the player stops operating.
Replace all the batteries with new ones. Before you replace the batteries, be sure to take out the CD
from the player.
• To use the player on batteries, disconnect the mains lead from the player.
• When you operate the player on batteries, you cannot turn on the player using the remote.
Preparing the remote C
Insert two R03 (size AAA) batteries (not supplied).
Replacing batteries
With normal use, the batteries should last for about six months. When the remote no longer
operates the player, replace all the batteries with new ones.
Notice for customers in the United
Kingdom
A moulded plug complying with BS 1363 is
fitted to this equipment for your safety and
convenience.
Should the fuse in the plug supplied need to be
replaced, same rating fuse approved by ASTA or
BSI to BS 1362, (i.e. marked with
mark) must be used.
If the plug supplied with this equipment has a
detachable fuse cover, be sure to attach the fuse
cover after you change the fuse. Never use the
plug without the fuse cover. If you should lose
the fuse cover, please contact your nearest Sony
service station.
or
Disposal of Old Electrical & Electronic
Equipment (Applicable in the European
Union and other European countries
with separate collection systems)
This symbol on the product or
on its packaging indicates that
this product shall not be treated
as household waste. Instead it
shall be handed over to the
applicable collection point for
the recycling of electrical and
electronic equipment. By
disposed of correctly, you will help prevent
potential negative consequences for the
environment and human health, which could
otherwise be caused by inappropriate waste
handling of this product. The recycling of
materials will help to conserve natural resources.
For more detailed information about recycling of
this product, please contact your local Civic
Office, your household waste disposal service or
the shop where you purchased the product.
Applicable accessories: Remote control
ensuring this product is
C
2 to the mains
Optional accessories
Sony MDR headphone series
Location of controls
Playing a CD
Listening to the radio
Playing a tape
Loading a CD
OPERATE
(POWER)
i
Remote sensor
With the labeled side up
u*
SLEEP
OPR/BATT
Inserting a cassette
With the side you want
to play facing out
*
PRESET +, –
x
Display
DISPLAY
ENTER/MEMORY
.,>
MODE
MEGA BASS
PUSH CLOSE
VOLUME +*, –
TUNE +, –
RADIO•BAND
AUTO PRESET
Z OPEN
Remote Control
OPERATE
(POWER)
FUNCTION
u
x
*The button has a tactile dot.
BAND
PRESET +, –
.,>
VOL +*, –
Display
DE
Total track number
To turn on/off the power
CFD-E100L: Press OPERATE.
CFD-E100: Press POWER.
To adjust the volume
Press VOLUME +, – (VOL +, – on the remote).
To listen through headphones
Connect the headphones to the i (headphones) jack.
Adjusting the sound emphasis
To reinforce the bass sound
Press MEGA BASS.
“MEGA BASS” appears in the display.
To return to normal sound, press the button again.
Total playing time
Programmed track
Falling asleep to music
1 Play the music source you want.
2 Press SLEEP to display “SLEEP.”
3 Press SLEEP to select the minutes until the player goes off automatically.
Each time you press the button, the indication changes as follows:
“60” t “90” t “120” t “OFF” t “10” t “20” t “30”.
To cancel the sleep function
Press OPERATE (or POWER) to turn off the power.
Note
When you are playing a tape using this function:
If the tape length of one side is longer than the set time, the player will not go off until the tape reaches
the end.
Playing order
1 Press Z OPEN to open the CD compartment.
2 Load a CD in the CD compartment until it clicks into place.
3 Press PUSH CLOSE to close the CD compartment.
4 Press u.
The player plays all the tracks once.
To
stop playback
pause playback
go to the next track
find the beginning of the current
track/go back to the previous track
remove the CD
locate a point while listening
to the sound
locate a point while observing
the display
locate a specific track directly*
* You cannot locate a specific track if “SHUF” or “PGM” is lit in the display. Turn off the indication by
pressing x.
Do this
Press x.
Press u.
Press the button again to resume play after pause.
Press >.
Press ..
Press Z OPEN.
Press and hold > (forward) or . (backward) while
playing until you find the point.
Press and hold > (forward) or . (backward) in pause
until you find the point.
Press a number button of the track on the remote.
Using the display
To check the total track number and playing time
Press DISPLAY•ENTER/MEMORY in stop mode (see fig. D).
To check the remaining time
Press DISPLAY•ENTER/MEMORY repeatedly while playing a CD. The display changes as
follows:
t the current track number and playing time
r
the current track number and the remaining time on the current track*
r
the number of tracks left and remaining time on the CD
* For a track whose number is more than 20, the remaining time appears as “- -:- -” in the display.
Selecting the play mode
Press MODE until “REP 1” “REP ALL” “SHUF” “SHUF REP” “PGM” “PGM REP” appears in
the display. Then proceed as follows:
To Select
repeat a single track “REP 1”
repeat all the track “REP ALL”
shuffle play “SHUF”
repeat tracks “SHUF REP”
in random order
programme play “PGM”
repeat programmed tracks “PGM REP”
To cancel selected play mode
Press MODE repeatedly until the selected mode disappears from the display.
To check the programmed track and playing order in the display
To check the order of tracks before play, press DISPLAY•ENTER/MEMORY.
Every time you press the button, the track number appears in the programmed order.
To change the current programme
Press x once if the CD is stopped and twice if the CD is playing. The current programme will be
erased. Then create a new programme following the programming procedure.
Tips
• You can play the same programme again, since the programme is saved until you open the CD
compartment.
• You can record your own programme. After you’ve created the programme, insert a blank tape and
press z to start recording.
Then do this
Press . or > to select the track that you
want to repeat, then press u.
Press u.
Press u.
Press u.
Press . or > then press DISPLAY•ENTER/
MEMORY for the tracks you want to programme
in the order you want up to 20 tracks (see fig. E).
Then press u.
Press . or > then press DISPLAY•ENTER/
MEMORY for the tracks you want to programme
in the order you want up to 20 tracks. Then Press
u.
1 Press RADIO•BAND•AUTO PRESET until the band you want appears in the
display (direct power-on).
Each time you press the button, the indication changes as follows:
CFD-E100L: “FM” t “MW” t “LW”
CFD-E100: “FM” t “AM”.
2 Hold down TUNE + or – until the frequency digits begin to change in the
display.
The player automatically scans the radio frequencies and stops when it finds a
clear station.
If you can't tune in a station, press the button repeatedly to change the frequency
step by step.
Tip
If the FM broadcast is noisy, press MODE repeatedly until “Mono” appears in the display and the radio
will play in monaural.
Changing the AM/MW tuning interval
The AM/MW tuning interval is preset to 9 kHz at the factory.
If you need to change the AM/MW tuning interval, do the following:
1 Remove all the batteries from the player.
2 While keeping the AC power cord connected, press N of the TAPE section on the
player.
3 Disconnect the AC power cord from the wall outlet.
4 While keeping PRESET + and MODE pressed, reconnect the AC power cord to the wall
outlet.
5 The tuning interval is changed and “AM 9” “MW 9” or “AM 10” “MW 10” appears in the
display for 2 seconds.
After changing the tuning interval, you need to reset your preset radio stations.
Presetting radio stations
You can store radio stations into the player’s memory. You can preset up to 40 radio stations
(CFD-E100L), 20 for FM, 10 for MW and 10 for LW in any order, or 30 radio stations (CFDE100), 20 for FM and 10 for AM in any order.
1 Press RADIO•BAND•AUTO PRESET to select the band.
2 Hold down RADIO•BAND•AUTO PRESET for 2 seconds until “AUTO”
flashes in the display.
3 Press DISPLAY•ENTER/MEMORY.
The stations are stored in memory from the lower frequencies to the higher ones.
If a station cannot be preset automatically
You need to preset a station with a weak signal manually.
1 Press RADIO•BAND•AUTO PRESET to select the band.
2 Tune in a station you want.
3 Hold down DISPLAY•ENTER/MEMORY for 2 seconds until the preset number flashes in
the display.
4 Press PRESET + or – until the preset number you want for the station flashes in the display.
5 Press DISPLAY•ENTER/MEMORY.
The new station replaces the old one.
Tip
The preset radio stations remain in memory even if you unplug the mains lead or remove the batteries.
Playing preset radio stations
1 Press RADIO•BAND•AUTO PRESET to select the band.
2 Press PRESET + or – to tune in the stored station.
1 Press xZ to open the tape compartment and insert a recorded tape. Close the
compartment. Use TYPE I (normal) tape only.
2 Press N.
To
stop playback
fast-forward or rewind the tape
pause playback
eject the cassette
Press
xZ
M or m
X
Press the button again to resume play after pause.
xZ
Recording
1 Press xZ to open the tape compartment and insert a blank tape. Use TYPE I
(normal) tape only.
2 Select the programme source you want to record.
To record from the CD player
Press x and load a CD (See “Playing a CD”).
To record from the radio
Press RADIO•BAND•AUTO PRESET and tune in the station you want (See
“Listening to the radio”).
3 Press z to start recording.
(N is depressed automatically.)
To Press
stop recording xZ
pause recording X
Tips
• Adjusting the volume or the audio emphasis will not affect the recording level.
• If the AM or MW/LW programme makes a whistling sound after you've pressed z in step 3, press
MODE to select the position of ISS (Interference Suppress Switch) that most decreases the noise.
• For the best results, use the AC power as a power source for recording.
• To erase a recording, proceed as follows:
1 Insert a tape with the recording you want to erase.
2 Press FUNCTION on the remote repeatedly until “TAPE” appears in the display.
3 Press z.
Press the button again to resume recording.
 Loading...