

Sony 7130501 User Manual
In the detail view, you can move tracks between your different
folders using the folder function, send tracks to other phones or
to a PC, using e-mail, multimedia messaging, Bluetooth
wireless technology, infrared communication or cable. Here it is
also possible to rename and delete tracks saved in your P800.
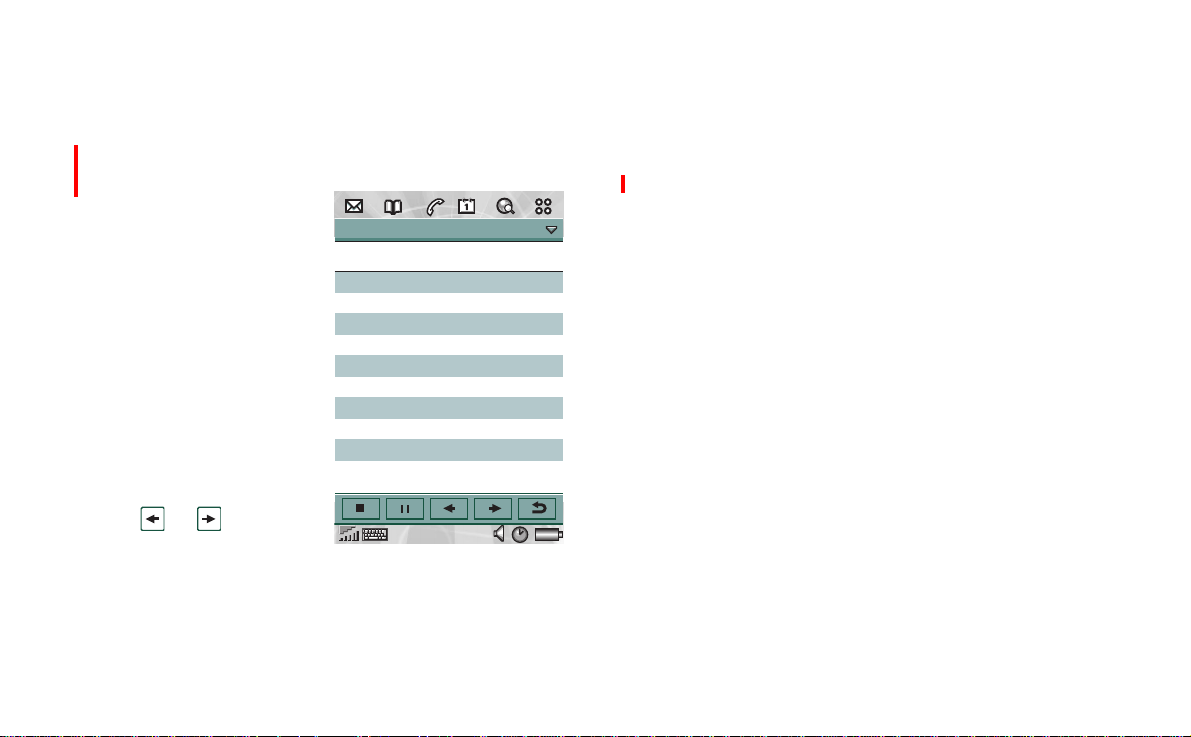
The detail view displays
the name of the track, the
artist name,the albumtitle,
the track number, the
copyright year, the sound
file type and the duration
of the track.
Note The amount of
information displayed
depends on how much
informationis available on
the sound file.
Move between the tracks
in the current folder using
the
and buttons.
Audio Edit Unfiled
Sony Ericsson theme
Artist: Various
Album: Autumn 2002
Track: 01
Copyright: Sony Ericsson
Filename: SEM.MP3
MP3 1:34/1:40
Preliminary
To rename a track
1. Select
Audio > Rename track
2. Enter a track name
Two or more tracks cannot have the same name.
T odelete a track from the P800
1. Select
2. Select
Audio > Delete track
Yes
.
To send a track
• Select
Audio > Send as
See Messaging for further details.
Note You cannot send MP3 or AU sound files in a multimedia
message. WAV and AMR sound files can be sent using
multimedia messaging.
> Done
.
.
.
.
Audio player 101
Preliminary
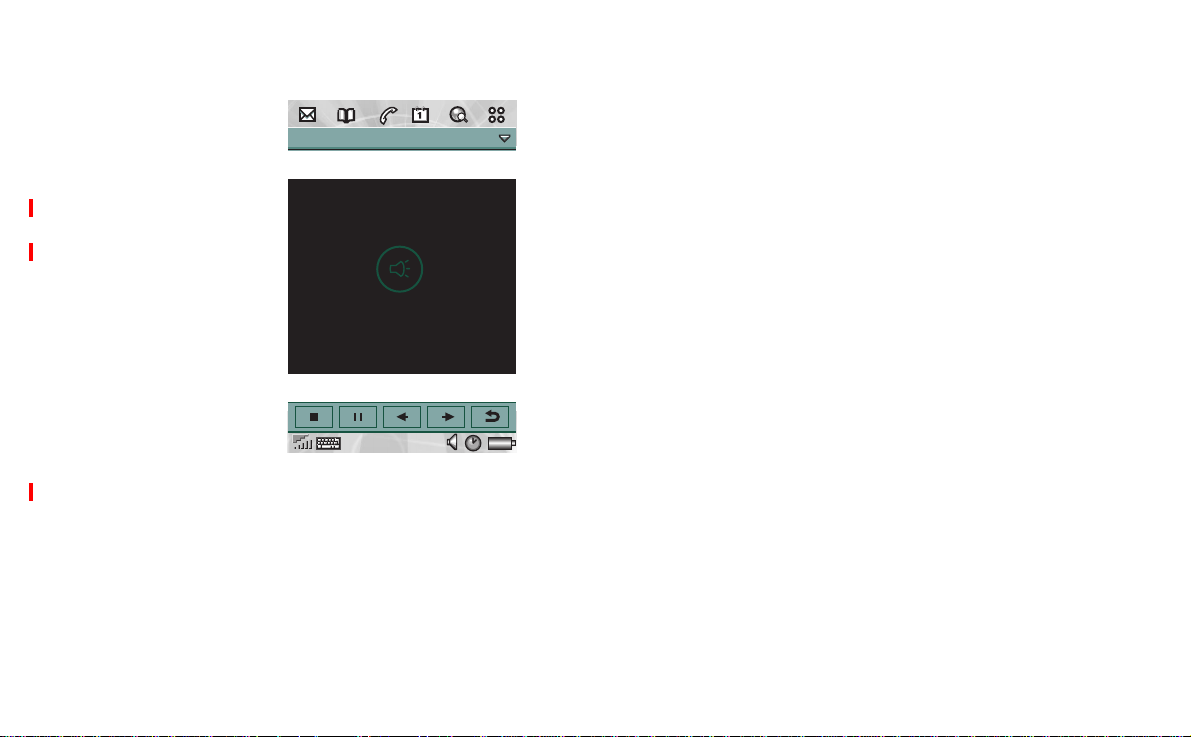
Downloading tracks
When you receive sound
files in other applications,
such as e-mail and
multimedia messages, you
activate the viewer in your
P800.Fromthevieweryou
can then save the sound
file to your P800.
To save a track from
another application
1. Tap Save or select
>Save
.
2. Select what folder you
want to save the track in
>Save
.
Note To create your own
melodies, see the information on the CD for your P800.
Audio
Audio Edit all
Mah Na Mah Na
WAV 1:34/1:40
102 Audioplayer

Preliminary
Audio player 103
Preliminary
Video player
You can view video clips that you have saved in your P800. The
video clips can be downloaded in the P800 from an Internet site
or transferred from a PC via cable or from Memory Stick. It is
also possible to send these video clips to other phones or PCs,
via infrared communication, Bluetooth wireless technology and
multimedia messaging.
It is not necessary to download the video clips to be able to view
them. You can use the streaming function and view the video
clip from the website where it is located. The video clip is
played with only a short time delay.
The video player supports files in the MPEG-4 file format, for
example name.mp4.
To adjust the volume
• Move the Jog Dial up to increase the volume, and down to
decreasethe volume.
Warning! The volume may be uncomfortably loud at the
higher volume levels if the phone is close to your ear. Exposure
to excessive volume levels may damage hearing.
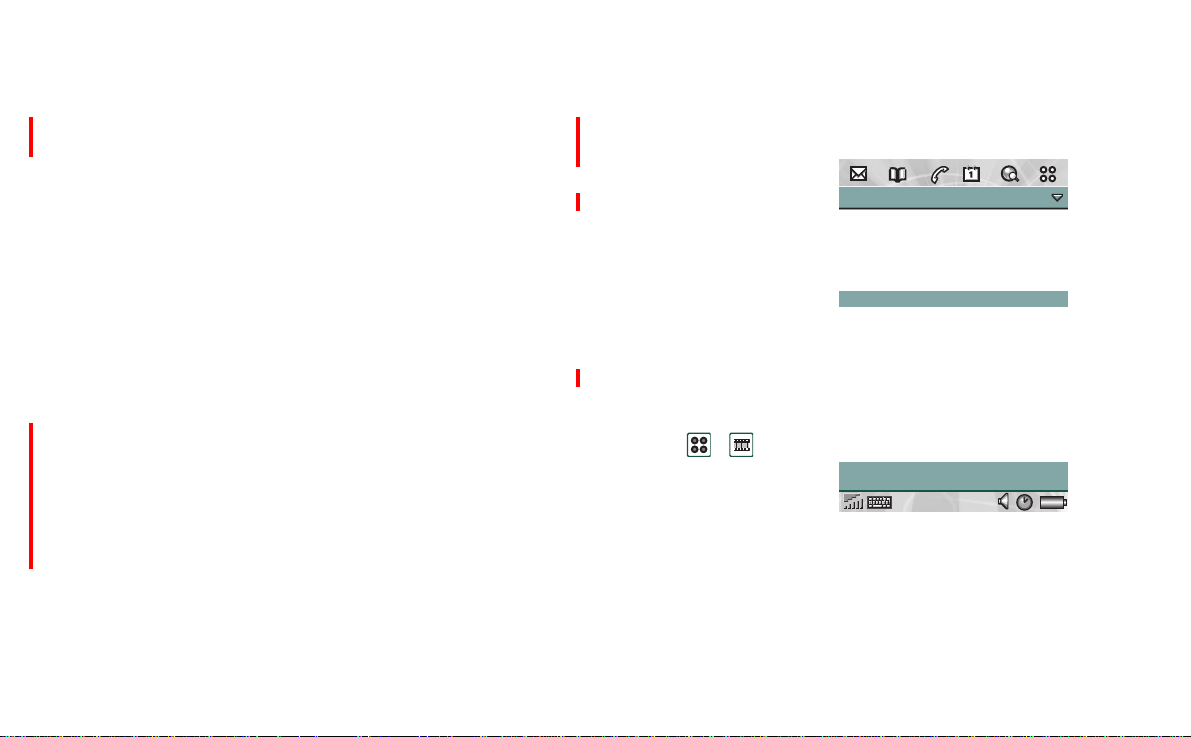
List view
In the list view, you get an
overview of all the MPEG4 video clips in your P800.
You can search for specific
video clips, zoom the video
clip names and sort them by
name, date, size or type. At
the bottom of the screen
you can see how many
video clips you have saved
in your P800.
To view a video clip
>
1. Select
2. Select a video clip in the
list.
Tip Use the
locate a certain video clip, and the
size of the screen fonts.
To sort the video clips
• Select
Edit
the current folder.
.
Find
functionto
and choose how you want to sort the video clips in
Video Edit Trailers
A Beautiful Mind
Panic Room
Spider Man
Diving in the Ocean...
The Time Machine
5 clips
Zoom
function to change the
104 Video player
Preferences
When you download a video clip to your P800, it is saved in the
downloadcache memory.When this memory is full, you have to
empty it to be able to download new video clips to your P800.
To clear the downloadcache
1. Select
2. Select
Whenyouviewavideoclipfromawebsite,usingthestreaming
function, a media buffer is used to provide a steady flow of data.
Increasing the size of the media buffer may improve the playback of the video clip.
To change the media buffer size
1. Select
2. Select
Edit > Preferences
Clear cache > Done
Edit > Preferences
Custom setting
.
.
.
and move the slider left or right.
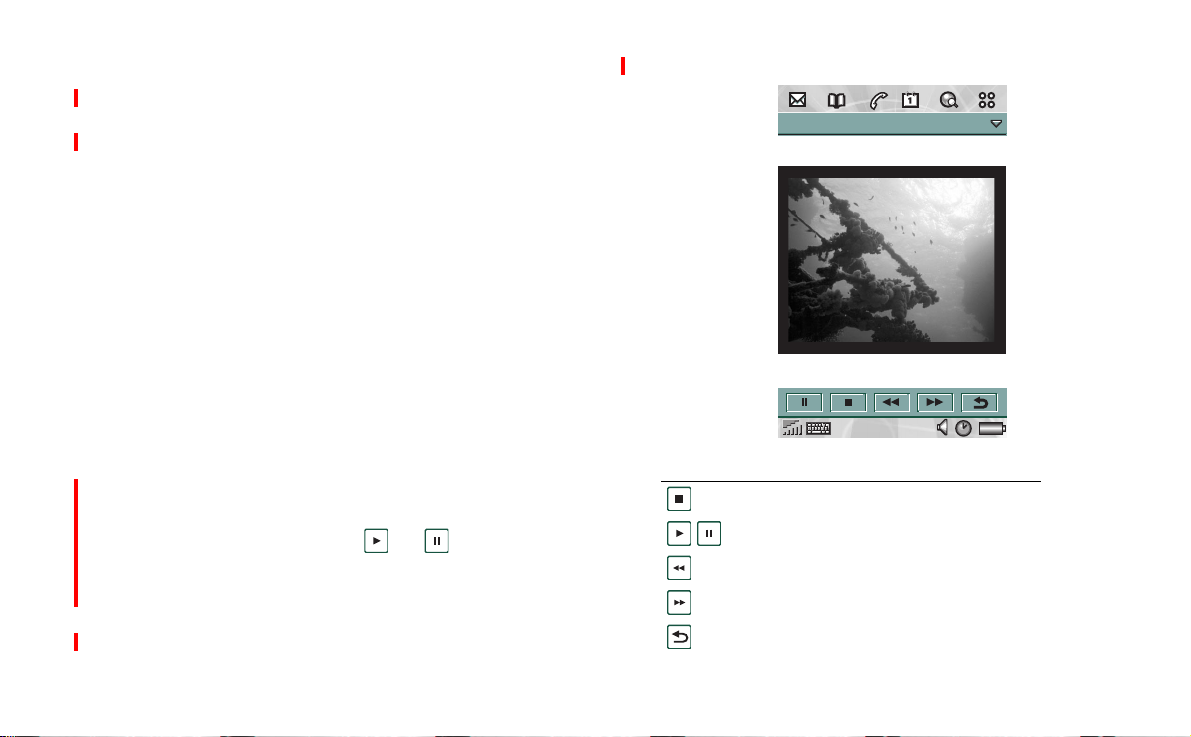
Detail view
This view is intended for managing one clip at a time. You can
playandpausetheclipbytapping and .
In the detail view you can send, rename, delete or categorize
your video clips. Only the video clips saved in you P800 can be
handled in the detail view. To handle a video clip saved on a
Sony Memory Stick, you first have to save it to your P800.
Preliminary
.
Video Edit Trailers
Diving in the Ocean...
Playing 1:49/2:24
Icon Function
Stop the track that is playing.
Play/Pause the highlighted track.
Rewind the current track.
Forward the current track.
Takes you back to the previous view.
Video player 105

Preliminary
To rename a video clip
1. Select
2. Enter a video clip name
To send a video clip
1. Selectthe video clip you want to send.
2. Select
Tip Use the
Video > Rename clip
Two or more video clips cannot have the same name.
Video > Send as
Folder
function to organize all your video clips.
.
> Done
.
and choose how you want to send it.
To save a video clip from another application
1. Select the video clip you want to save.
2. Select
3. Select what folder you want to save the video clip in
Video > Save clip
.
>Save
.
Tocopy the current video clip to another folder, select
, then select a folder from the list.
Copy to
To view the video clip information
• Select
To delete a video clip
1. Select the video clip you want to delete.
2. Select
Video > Clip info
Video > Delete clip
.
.
Video >
Saving video clips
When you play video clips that you have received via e-mail or
multimedia messaging, or that you have downloaded to your
P800 from the web, the viewer detail view is automatically
launched. From the viewer detail view you can then save the
videocliptoyourP800.
106 Video player

Preliminary
Video player 107

Viewer
Viewer is an application used to view various types of
documents:
• Word processing documents
• Spreadsheets
•Drawings
• PDF documents
• Presentations
•Archives
Document viewer has two views in flip open mode:
List view
Detail view
An alphabetical list of files, for selecting a file to
view.
The contents of a file, for viewing and manipulating
the file.
In addition to opening documents from the list view, you can
also open a document from another application, for example by
selecting an attached document in an e-mail.
The functions available differ depending on the document type.
General functions are similar between the document types and
are therefore described separately.
General functions
In all views there is a menu bar from where you can access some
of the functions. This section describes the functions that are
common to all document types.
List view
Menus Option Description
Viewer
Edit
Folders
Find file Search files with a name containing a
Sort by name Sort the file list by name.
Sort by size Sort the file list by file size.
Zoom Set the zoom level of the file list,
Zoom in
Zoom out
Restore
All Show all files in the list.
Unfiled Show the files that are not in a folder.
Edit folders Categorize your files in folders (for
specific text.
small, medium or large.
Set the zoom level of the viewed
document.
example business or personal).
Viewer 108
Detail view
Menus Option Description
Document
Edit
Folders
Rename Rename the document.
Send as Senda document as e-mail,
Bluetooth™ wireless technology, IR
or, multimedia message.
Save (if opened
from another
application)
Delete Delete the active document.
Properties Show information on the active
Zoom in Increase the view of the file.
Zoom out Decrease the view of the file.
Restore Restore to the original size.
Unfiled Show the contacts that are not in a
Edit folders Categorize your documents in folders
Save the document in the P800.
document.
folder.
(for example business, personal and so
on).
Preliminary
To save the document in the P800
1. Select
2. Select where to save the document and select
To open a document from the list view
1. Select the Application launcher icon .
2. Select the Document viewer icon .
3. If required, change folder.
4. Scroll to the desired file and select the file name.
To save the document to a different location
1. Select
2. Select where to save the document and select
Functions specific for different document
types
When you open a document, the document type is indicated by
the name of the first menu, for example
Document > Save
from the menu.
The document is shown in the Detail view.
Edit > Copy to
from the menu.
Spreadsheet
Save
Save
.
.
.
To open a document from an e-mail
• Select the document link.
Spreadsheet Edit Unfiled
The document viewer is started, showing the detail view of
the document.
Viewer 109

Preliminary
Detail view - Document
Menus Option Description
Document
Edit
To copy text from the document
1. Select the text to be copied. To select all text in the
document, select
2. Select
The text is put into the clipboard and a message is displayed.
Find Search the document for a specific
text.
Find next Search for the next occurrenceof the
search text.
Clear search hits Remove the search hits.
Copy Copy the selected text or elements of
the document.
Select all Select the contents of the entire
document.
Draft view Display the document as formatted text
without graphics, adapted to the
screen.
Normal view Display the document as formatted text
including graphics, adapted to the
screen.
Page view Display the document in print preview,
showing the complete layout.
Edit > Select all.
Edit > Copy.
To search for a text in the document
1. Select
Document> Find
from the menu.
2. Enter the text to search for.
3. Select find.
4. If required, select
5. To clear the highlighted search hits, select
search hits.
Document > Find next.
Document > Clear
To change the document view
1. To display the document as formatted text without pictures,
wrapped to the screen size, select
Edit > Draft view
.
2. Todisplay the document as formatted text including pictures,
wrapped to the screen size, select
3. To display the complete layout of the document, select
Page view.
Edit > Normal view.
Edit >
110 Viewer

Detail view - Spreadsheets
Menus Option Description
Spreadsheet
Edit
Find Search the document for a specific
text.
Find next Search for the next occurrenceof the
search text.
Clear search hits Remove the search hits.
Copy Copy the selected text or elements of
the document.
Select all Select the contents of the entire
document.
Draft view Display the document as formatted text
without graphics, adapted to the
screen.
Show gridlines Turn the gridlines on/off.
Next sheet Open the view of the next sheet in the
workbook.
Previous sheet Open the previous sheet in the
workbook.
To copy text from the document
1. Select the text to be copied. To select all text in the
document, select
2. Select
Edit > Copy.
Edit > Select all.
The text is put into the clipboard and a message is displayed.
Preliminary
To search for a text in the document
1. Select
Document> Find
2. Enter the text to search for.
3. Select find.
4. If required, select
5. To clear the highlighted search hits, select
search hits.
To change the document view
1. To display the document as formatted text without pictures,
wrapped to the screen size, select
2. Todisplay the document as formatted text including pictures,
wrapped to the screen size, select
3. To display the complete layout of the document, select
Page view.
To show/hide the spreadsheet grid lines
1. Select
Edit > Show gridlines.
To navigate in the workbook
1. To go to the next sheet in the workbook, select
.
sheet
2. To go to the previous sheet in the workbook, select
Previous sheet.
from the menu.
Document > Find next.
Edit > Draft view
Edit > Normal view.
Document > Clear
.
Edit >
Edit > Next
Edit >
Viewer 111

Preliminary
Detail view - Drawing
Menus Option Description
Drawing
Edit
To se arch for a text in the document
1. Select
2. Enter the text to search for.
3. Select find.
4. If required, select
5. To clear the highlighted search hits, select
search hits.
Find Search the document for a specific
text.
Find next Search for the next occurrenceof the
Clear search hits Remove the search hits.
Fit to width Displays the drawing with a width
Fit to window Displays the drawing with a width and
Next slide Open the view of the next slide in
Previous slide Open the view of the previous slide in
Document > Find
search text.
equal to the screen width.
height equal to the screen width and
height.
multi-page documents.
multi-page documents.
from the menu.
Document > Find next.
Document > Clear
To navigate in a multi-page drawing
1. To go to the next slide in the drawing, select
2. To go to the previous slide in the drawing, select
Previous slide.
Edit > Next slide
Edit >
Detail view - Archive
Menus Option Description
Edit
Open Opentheselectedfileforviewingina
Document viewer window.
Extract Extracttheselectedfiletobesavedin
a selected folder.
Extract all Extract all the archive files to be saved
in a selected folder.
Sort by Allow the user to view files in an
archive by name, date, or size.
Sort order Allow the user to view files in
ascending or descending order.
To extract documents from an archive
1. Toopen a file for viewing in the Document viewer, select the
file and select
2. Toextract a file and save it in the selected folder, select
Extract.
Edit > Open.
Edit >
3. To extract all files in the archive and save them in the
selected folder, select
Edit > Extract all.
.
112 Viewer

To change the archive sort order
1. To sort the documents by name, date or size, select
and select as desired.
by
2. To change between ascending and descending order, select
Edit > Sort order.
Edit > Sort
Preliminary
Viewer 113

Online services
Online services is a customized service offered by a network
operator.
This symbol indicates that a service or function is networkor subscription-dependent.
On-line services provides a mechanism that allows applications
that exist on the SIM to interact and operate with the P800. It
may provide services ranging from weather forecasts to the
latest information from the stock market.
Online service are placed on your SIM card by your operator.
Note Contact your operator to find out which services are
available for your account.
Online services 114

Preliminary
Online services 115

Preliminary
Time
The time and date are always displayed in standby mode. You
can customize the display of times and dates throughout your
P800. Youcan set your current location and another location of
your choice. It is also possible to set three different alarms.
Time
1
2
3
4
5
Stockholm
4th Jan 2003
Week 01
London
12
11
10
9
8
7
6
Fri 11:04:28
Fri 10:04 am
Daily 8:00 a... Wak...
Workday 12:30... Lunc...
Once(Su... 9:00 p... Earl...
Friday
Current city
Current date
Other city
Alarmslot
Time and date
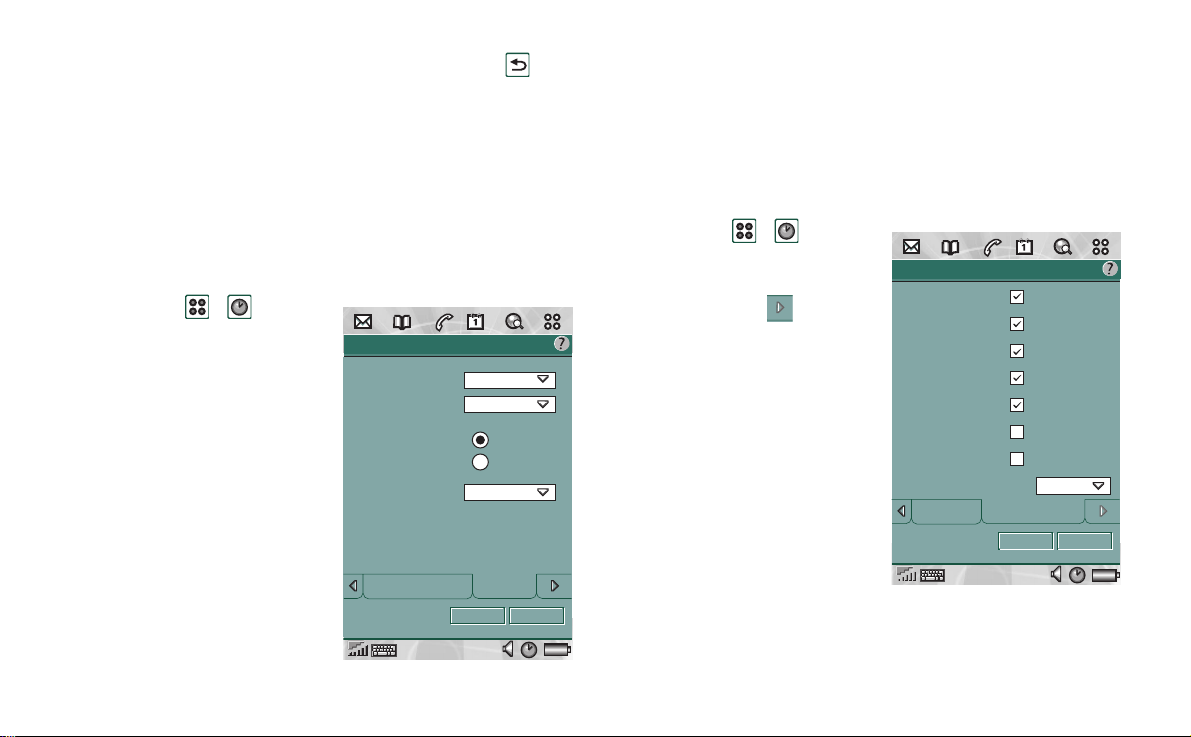
To set the current time and date
1. Select
2. Taptheclocktoviewthe
current time and date
settings.
3. Tap the Date box, then
use the arrows to set the
current year and month.
Then select the current
day.
4. Tap
then select the check box
next to the zone that
currently has summer
time
required if you are
currently in a country
with summer time.
5. Tap the time box, then tap the upper half of the hour or
minute box to increase the number displayed, or the lower
half to decrease the number.
>
.
Daylight saving time
>Done
.Thisisonly
,
Time & date
04/01/2003
Date:
11:04 am
Time:
Summertime
Time & date Format
Cancel Done
?
116 Time
6. Usetheam/pmbox to switch between am and pm
>
.This
is only possible if you use the 12-hour time format.
7. Select
Done
.
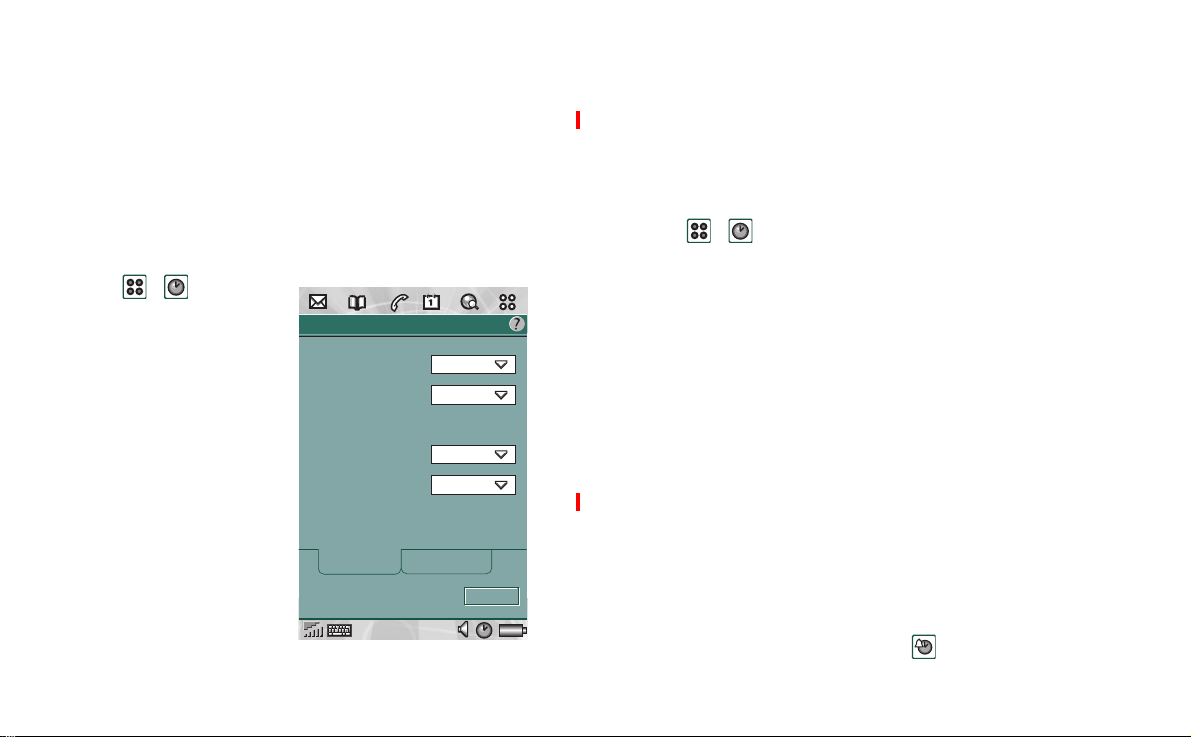
Format
You can specify how you want the time and date to be displayed
on the screen, and if you want to use the 12- or 24-hour time
format.
To set the time and date display format
>
1. Select
2. Tap the clock to view the
current time and date
settings.
3. Select
Format
4. Tap the Date Format box
>
choose a format.
5. Tap the Date Separator
box
>
choose a separator.
6. Select a
7. Tap the Time separator
box
>
choose a separator.
8. Select
Done
.
.
Time format
.
Time & date
Date format:
Date separator:
Time format:
Time separator:
04/01/2003
/
12 hour
24 hour
:
.
Time & date Format
Cancel Done
Preliminary
Workdays
You can specify what days you work, if, for example, you want
to set an alarm that sounds only on workdays. You can also
specify the first day of your week to customize the display of
both Week and Month views in Calendar.
To specify your workdays
>
1. Select
2. Tap the clock
3. Tap the right arrow key
icon twice.
?
4. Tap the check boxes next
to the days you normally
work.
5. Select
First day of week >
choose a day.
6. Select
Done
.
Time & date
Monday:
Tuesday:
Wednesday:
Thursday:
Friday:
Saturday:
.
Sunday:
First day of week:
WorkdaysFormat
Cancel Done
Monday
?
Time 117
Preliminary
Locations
Specify the country and city you are currently in. The city you
selectwillbedisplayednexttotheclockinTime.
If you are away from home, for example travelling in another
country, it can be useful to know what the time is in your home
country as well as the country you are in. The city you select as
Other City will be displayed below the clock in Time.
T oset the locations
1. Tap
2. Tap
3. Tap the Current Country
box
in at the moment.
4. Tap the Current City box
>
moment. If the city you
are in is not listed, select
the city closest to you.
5. Tap the Other Country
box
6. Tap the Other City box
chooseacity.
7. Select
>.
Time > Set location
>
the country you are
.
the city you are in at the
>
choose a country.
Done
.
>
International
Current country:
Current city:
Other country:
Other city:
United Ki...
London
United Ki...
London
NumbersLocation
Done
Numbers
You can choose how you want the measurements and numbers
in your P800 to be displayed in all your applications. Distances
can be displayed using the imperial or the metric system and
different punctuation marks can be used as separators.
To set the number details
1. Select
2. Select
3. Select
?
4. Tap the distance boxes
>.
Time > Set location
Numbers
.
.
>
choose imperial or metric.
5. Choose separators and symbol position in the same way as in
4.
Done
6. Select
.
Alarms
You have the possibility to set up to three different alarms in
your P800. You can choose to activate one of the preset alarms,
or set a new alarm with your own definitions.
You can choose to set a silent alarm, where only a message is
displayed when it goes off, or you can set a sound alert.
To activate an existing alarm
• Select the check box in the alarm slot. is displayed on the
status bar on the screen.
118 Time
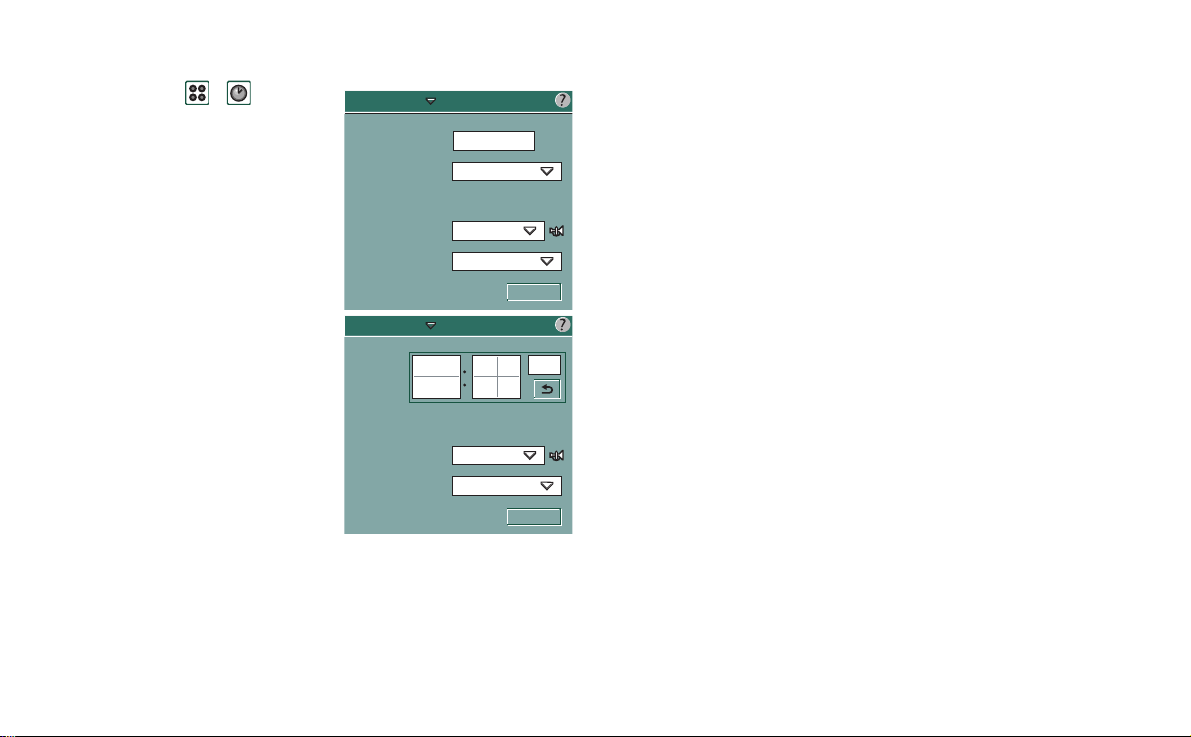
To set a new alarm
>
1. Select
.
2. Select one of the alarm
slots.
Time >
3. Select
choose at
what time you want the
alarm to go off.
When >
4. Select
choose how
often you want the alarm
to go off:
Once
The alarm will go
–
off at a time more than
24 hours from now but
within the next eight
days.
Next 24 hours
–
Within
the n ext 24 hours.
Daily
Every day at the
–
specified time.
Weekly
–
Every week at
the specified time.
Workdays
–
5. Select
6. Select
7. Select
Every workday at the specified time.
Alarm sound >
Message >
Done
.
choose a sound.
choose a preset message or write a new one.
Set alarm
Alarm sound:
Message:
Set alarm
Alarm sound:
Message:
Time:
When:
800
8:00 am
Daily
Silent
Wake up!
Silent
Wake up!
Done
am
Done
Preliminary
8. Make sure the check box next to the alarm is selected.
Snooze
?
When the alarm goes off, select
Silence
five minutes or
the alarm completely, select
to turn off the alarm sound. To turn off
Done
?
to postpone the alarm for
.
Time 119

Preliminary
Calculator
The Calculator is a standard 10-digit calculator. You can add,
subtract, multiply, divide, calculate square root and percentage.
It also has a memory function.
To use the calculator
>
1. Select
2. Enter the calculations by tapping the digits.
All calculations, except percentage calculations, are performed
as they are entered, for example: 5+5x5=50, not 30.
Percentage calculations are performed backwards. Tocalculate,
for example, 10% of 50, enter 50x10%. The result is displayed
when you tap the %-key.
.
Key functions
m+
mr
m-
C
You can copy and paste values to and from other applications by
selecting
Values stored in the memory are retained while using other
applications.
Taponcetostoreanenteredvalueinthememory.
If you already have entered a value in the memory, tap once
to add the value on the screen to the value in the memory.
Tap once to retrieve a value from the memory and enter it
into the screen.
Tap twice to clear the memory.
Tap once to subtract the entered value from the value in the
memory. The memory is adjusted but not displayed.
Tap once to delete the last digit you entered.
Taponcetoresetthescreento0.
Calculator > CopyorPaste
.
120 Calculator
Personalizing your P800
There are a number of ways you can give your P800 a personal
touch and change its settings to suit your requirements.
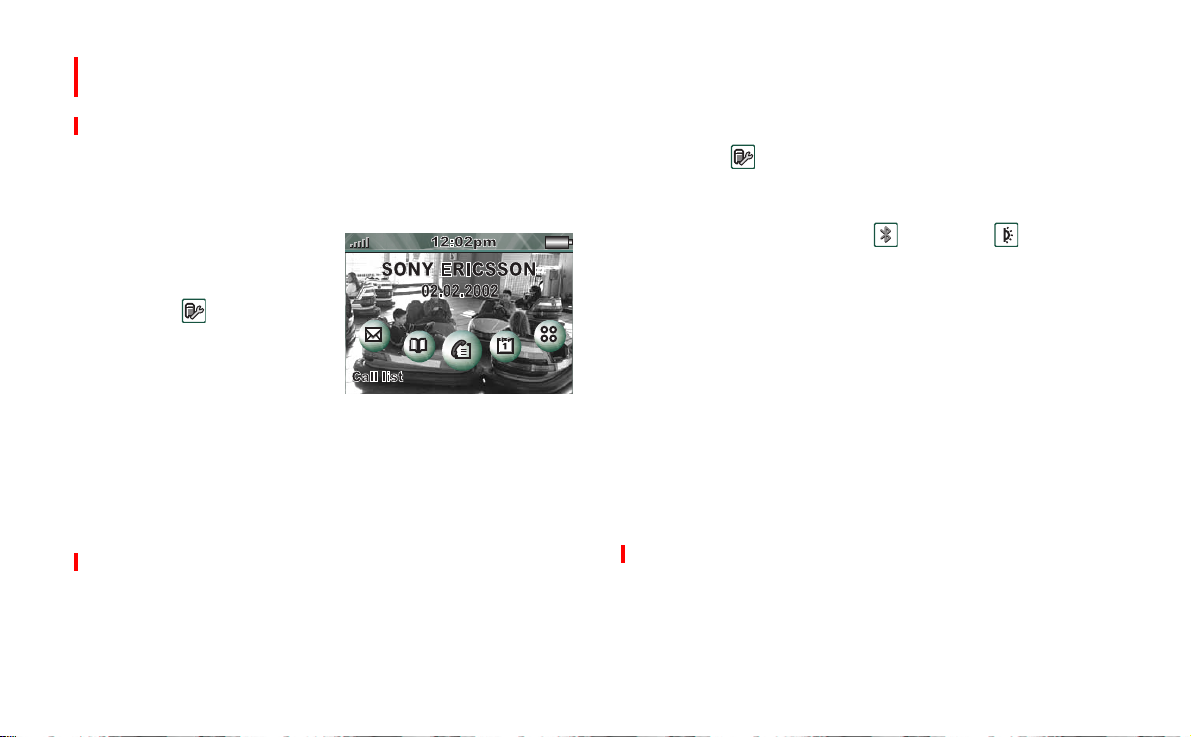
Changing your application shortcuts
The standby screen displayed
when the flip is closed shows
five short-cuts to applications.
From the
can change them, rearrange
them as you prefer, or even
hide them, if you wish. See
“Application shortcuts” on
page 23.
Control panel
you
Displaying the Area Code in the
Standby Screen
If your network operator provides CBS (Cell Broadcast
Services) with cell information you can set your P800 to display
theareacodebelowthenetworknameinthestandbyview.See
“CBS tab” on page 140.
Setting a background picture
From the
the stand-by screen. See “Wallpaper” on page 127.
You can obtain suitable background picture files by
downloading, beaming using
transferring them from your PC.
Background picture images are 208 x 144 pixels and the picture
can be seen in the standby screen.(Any chosen picture will be
scaled to fit well on the screen).The images can be JPEG, GIF,
BMP, WBMP, MBM or PNG format.
Control panel
you can set a background picture for
Bluetooth
or
Infrared
,or
Setting a Screen Saver
You can set a screen saver picture to be displayed after a period
of inactivity.From the
on and off and select the delay period before the screen saver is
displayed. See “Display” on page 127. Key lock and device
lock may be used in combination with the screen saver. When
you press a key or touch the screen, you will be prompted to
activate keys and/or enter the device lock code.
Control panel
you can also turn this facility
Personalizingyour P800 121
Preliminary
Picture format for the screen saver is 208 x 320 pixels.
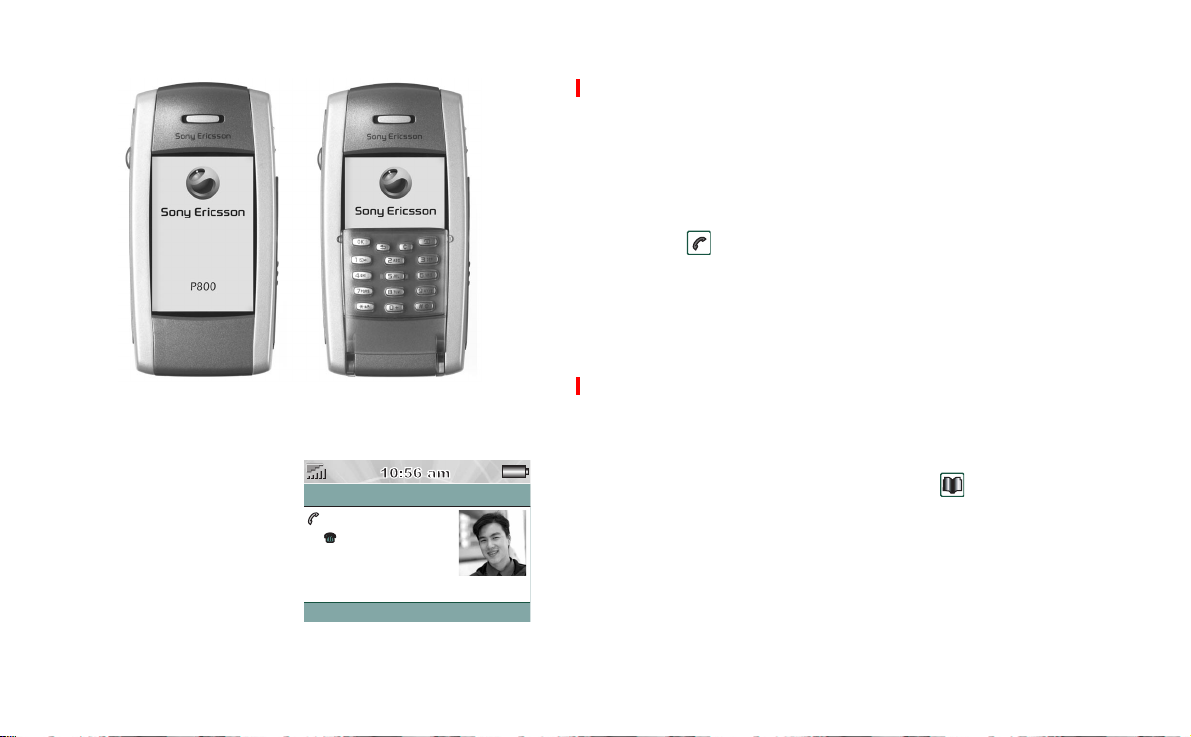
Adding images to your Contact s
You can store a picture with
each entry in Contacts. See
“Managing contacts” on
page 55.
Pictures are easily taken using
the CommuniCam (see
“CommuniCam and Pictures”
on page 94) though of course
other images can be used.
John Smith
+4613244500
End call
11:03
If your network operator provides a CLI (Calling Line Identity)
service, your P800 can display the contact's picture together
with the other information when an incoming call is received
with a CLI matching that contact (not all numbers can be
displayed). The contact's picture is also displayed when making
a call.
To show the contact’s picture when receiving an incoming call
1. Select
2. Select the
3. Tap
Phone > Edit >Preferences > Incoming call picture
Show picture for incoming calls
Done
.
check box.
Ring signals
Your P800 can play both iMelody format and polyphonic ring
signals (WAV, AU, AMR, and MIDI sound file formats). You
can add as many ring signals as desired, subject only to
available file space.
A ring signal may be selected for an entry in
that the caller can be identified by the ring signal that is played.
You can use a recording as a ring signal. See “Voice memo” on
page 92. Choose between a recording you have made yourself,
and a recording you may have downloaded, transferred from
your PC, or received via e-mail, EMS message or MMS
message.
Contacts
,so
122 Personalizing your P800

The recommended format for WAV files is PCM, 22,050 Hz, 8
bit, Mono, often called 'radio quality'. This format requires
approximately 22 kilobytes of space for each second duration.
Many PC audio applications support WAV.
Alarm tones and sound notification
You can choose different sounds for alarms and notifications in
these applications:
Time
Calendar
Tasks
Messages
See“Alarms” on page 118
Set a sound for reminder alerts, see “Customize the
calendar” on page 81)
Set a sound for reminder alarms. See “Settings” on
page 85
Set a different sound for each type of message as
notification of a new message:
See “Alerts” on page 141
Master reset
In the
P800 to the way they were when you originally bought it. See
“Master reset” on page 136 for more details.
Control panel
you can reset all the settings in your
Preliminary
Personalizingyour P800 123

Control panel
The Control Panel is the location for all the main settings on
your P800 that are system-wide and a ffect more than one
application. This is the main place to go to initially set up your
P800, and to change settings at any point thereafter. To access it,
select
Control Panel
in
Applications.
Tip Youcanfindsettingsthatapplytoasingleapplictioninthe
Preferences
>Preferences, Communicam > Preferences, Internet > Preferences
To make the
grouped into three groups shown on separate tabs:
Connections
Device tab Connec tions tab General tab
Certificate Manager Bluetooth International
Display Cable Time & date
Flip closed shortcuts Infrared
Flip removed Internet accounts
Format disk IP security manager
Language Messaging accounts
Master reset Secure tokens
Storage manager WAP accounts
System sounds
Text input
User greeting
WIM management
menu of the application, for example:
Control panel
and
General
settings easier to find, they have been
:
Phone > Edit
Device
,
To see a list of all control panel settings and the groups to which
they have been assigned, select
Control panel > Set groups.
• To sort the list of settings by group name: at the top of the
Group
list, select
.
• To change the group to which a setting is assigned: select the
name of the setting in the list.
The sections below, arranged in alphabetical order, describe the
settings available for each of the default items in the
panel.
Control
Bluetooth
Bluetooth™ wireless technology uses radio waves to enable
wireless connections between your P800 and other Bluetoothenabled devices. This method of linking works well at a range of
up to 8-10 metres. Obstructions between the transmitting
devices will have an effect on the performance.
Control panel 124

Bluetooth
Devices
Settings
settings are shown on two tabs:
A list of all the Bluetooth-enabled devices that your
P800 is paired (bonded) with.
• To change the name of a device, select the name in the
list.
• To remove a device from the list, select the name and
select
Remove
.
• A “friendly” device name for your P800.
Security-related settings:
• Its Bluetooth wireless technology operation mode.
• How it should act when receiving a beamed entry.
Tip You will probably find that the preset name of your P800,
and of devices you pair it with, are not very meaningful or easily
recognizable. It is a good idea to change these names to
something more useful. The name you choose for your P800
appears on any devices you pair it with.
Preliminary
– Devices that are within range but unknown are shown
with a preset name.
If a device you want to pair with your P800 does not appear in
the list, check that:
• It is on and within range.
• Bluetooth function on the device has been activated and that
it is in discoverable mode.
To pair a device to your P800
1. Select the device in the
2. If the device requires a passkey, you will be asked to enter it.
3. Select
Done.
Note The other device (a PC, for example) may require that you
enter the same passkey in its own dialogue.
Available Bluetooth devices
list.
To locate other Bluetooth-enabled devices in the vicinity
• Select
Add
.The
Available Bluetooth devices
dialogue opens:
– All enabled devices that are discoverable within range are
shownwiththeirnameandicon.Youcanuse
Show:
to
restrict the list to one category (only PC, for example).
– Paired devices that are within range are shown with
regular text.
– Non-paired devices that are within range are shown with
their names in italics.
Control panel 125
Security
On the
Settings
tab you can make the following security-related
settings:
• You can set your P800 to different operation modes:
On
Auto
All Bluetooth wireless technology functionality from
your P800 works. Your P800 is connectable,paired
devices can access it.
All Bluetooth wireless technology functionality from
your P800 works. Your P800 is not connectable.
Preliminary
Off
Discoverable
• You can also set how your P800 should act when receiving
beamed items:
Always receive
Ask first
Never receive
Cable
Use
Cable
parameters used when communicating through your P800's
cable port.
Select
Control Panel > Connections
• Choose the cable connection mode: when connecting via
cable the P800 must be set in PC connect mode or Modem
mode, see table below.
PC conn ect mode Modem mode
• Synchronization
• Installation of software
• Backup and restore
Bluetooth wireless technology is turned off.
Other Bluetooth-enabled devices can find and
connect to your P800. To pair with another device,
your P 800 must be
Receives the entry automatically.
You will be sh own a
can accept or reject.
Rejects the item automatically.
Discoverable.
Connection request
that you
to set the cable connection mode and the connection
and select
• P800 as a modem
• Phone Book Manager (PC
software)
Cable
to:
• Set the baud rate, parity,number of stop bits, character length
and type of flow control required for the connection. When
connecting your P800 via the desk stand to a USB port on
your PC, use the following (default) settings:
Baud rate
Parity
Stop bits
Character length
Flow control
460800
None
1
8
CTS/RTS
Tip Youcan set the cable connection mode when the flip is
closed by selecting
Cable.
Applications
>
Connections
>
Certificate manager
Digital certificates ensure that the web or WAP pages you visit,
or any software you install, really are created by the person you
expect.
Certificates may be present on the pages that you view or the
software that you download. Your P800 compares these
certificates with a set of certificates that are stored in
to ensure the authenticity of the page or software. If the
manager
certificates do not match, your P800 informs you, and gives you
the following choices:
• Prevent the page being loaded or the software being installed.
• Continue at your own risk.
Certificate
126 Control panel

The certificates on your P800 have been created and issued by
an independent organisation that ensures their authenticity.
Preliminary
• The certificate was issued incorrectly by the independent
organisation that created it.
Security information
Security information is displayed when
cannot be sure of the origin of the page or software. For
example, security information will be displayed if:
• The certificate on a page has expired.
• The identity of a software manufacturer cannot be verified.
Security information is also displayed when a certificate on your
P800 has:
•Expired.
• Been revoked by the independent organisation that issued it.
Certificate manager
Type of certificate
The type can be either
•
Certificate Authority
type of certificate is handled by your P800 when the server
only requires server authentication. This means that your
identity remains anonymous.
User
certificates contain your identity.This type o f certificate
•
is used when the server asks for client authentication. The
client application requests y ou to identify yourself by
choosing a user certificate.
Certificate AuthorityorUser
certificates contain server details. This
.
Display
Adding and removing certificates
Your P800 handles certificates automatically so, most of the
time, you can browse the Internet securely without using
Certificate manager
you will usually be informed by your network operator or
system administrator. Y ou should remove a certificate from
Certificate manager
• The certificate does not belong to the person who supplied
it.
Control panel 127
.Ifyoudo need to add or remove a certificate,
if you are informed, or suspect, that:
Use the
Display
settings to control the screen and power
functions of your P800.
Wallpaper
You can set a picture to be the background for the standby
screen. (See“Flip closed - overview” on page 22 for details on
Browser
the standby view.) Select
picture files available on your P800. Read more about
background pictures in “Personalizing your P800” on
page 121.
from the drop-down list to see
Preliminary
Screen saver
You can set a screen saver picture to be displayed after a period
of inactivity. You can also turn this facility on and off and select
a delay period of up to 15 minutes before the screen saver is
displayed. Read more about screensaver images in
“Personalizing your P800” on page 121.
If you select the
will activate when the delay runs out. Read more a bout locks
and security in “P800 locks” on page 33.
Phone lock protected
Power save
You can set a power saver to switch off the screen after a period
of inactivity (2, 3, 5, 7, 10, 15, or 30 minutes). When the power
saver activates, the screen will be switched off.
If you set times for both screen saver and power saver, the
power saver setting will automatically be set higher.
Light
You can set the screen light settings for car use and handheld
use.
Auto
Light switches on when you tap the screen, press a key, or
receive an incoming call
On
Light is always on
Off
Light is always off
check box the Device lock
Lock
Select
Lock
to activate the screen saver immediately. If the
lock protected
the Device lock.
check box has been selected, this will also activate
Phone
Calibrate
Occasionally you may find that you tap one item (for example a
button or menu option) but another is activated. Calibrating the
screen ensures that the correct item is activated. To restore
calibration to the factory settings, press the Jog Dial.
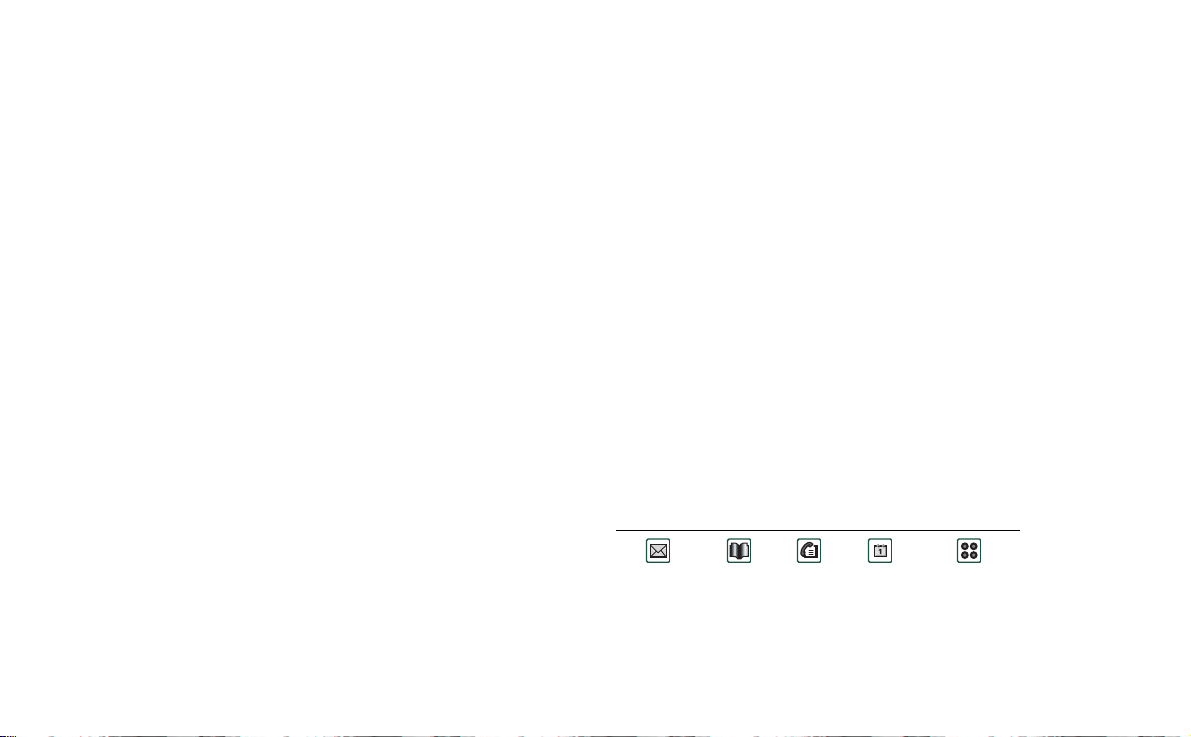
Flip closed shortcuts
Use this dialogue to configure the application shortcuts shown
Standby
in the Flip Closed
You can change the five shortcuts shown. If you feel that the
shortcuts obscure your background image, you can choose to
have them hidden when you do not need them. By default these
shortcut icons are displayed:
Messages Contacts Call list Calendar Applications
view,see “Standby view” on page 23.
128 Control panel

To change an application shortcut in the Standby view
1. In the
2. Choose the application you want to replace it with from the
Flip closed shortcuts
to change. The name of the application is shown in the
Application
list.
pick list.
dialogue,select the icon you wish
Set
Preliminary
Infrared
Use this setting to control the state of the infrared
communications port of your P800. You can set it
for 10 minutes.
using infrared in “Connection via infrared port” on page 151.
Read more about connecting to other devices
On,OfforOn
To hide the application shortcuts when your P800 is inactive
3. Clear the
Shortcuts always displayed
check box.
Flip removed
When you use your P800 with the hardware flip removed, you
can use the keys on the virtual flip instead. Use this setting to
turn it on or off (see “Virtual flip” on page 26).
Format disk
This dialogue primarily lets you rename and format any Sony
Memory Stick Duo that you install in your P800. Your P800
comes with one Memory Stick Duo.
When you format a disk, you delete all the information on it,
including any applications that you may have installed.
Your P800’s internal ROM drive is also listed in the dialogue,
so that you can rename it to give it a more meaningful name if
you wish.
Control panel 129
International
Use these settings to set the locations shown in
as the u nits for distances, numerical separators, and how
currency values should be shown.There are two tabs:
and
Numbers.
On the Locations tab
•Set
Current country
Other country
•Set
example your home location if you are abroad).
If the city you want is not listed, select another city in the
desired time zone.
On the Numbers tab
•Set
Long Distance
Long distances are those that are displayed in and are
measured in miles or kilometres. Short distances are those
that are measured in metres or and centimetres, or feet and
inches.
and
Current city
and
Other city
and
Short distancetoImperialorMetric.
to your current location.
to an alternative location (for
Time,
Locations
as well
 Loading...