

Page 1
FOR MEASURABLE SUCCESS
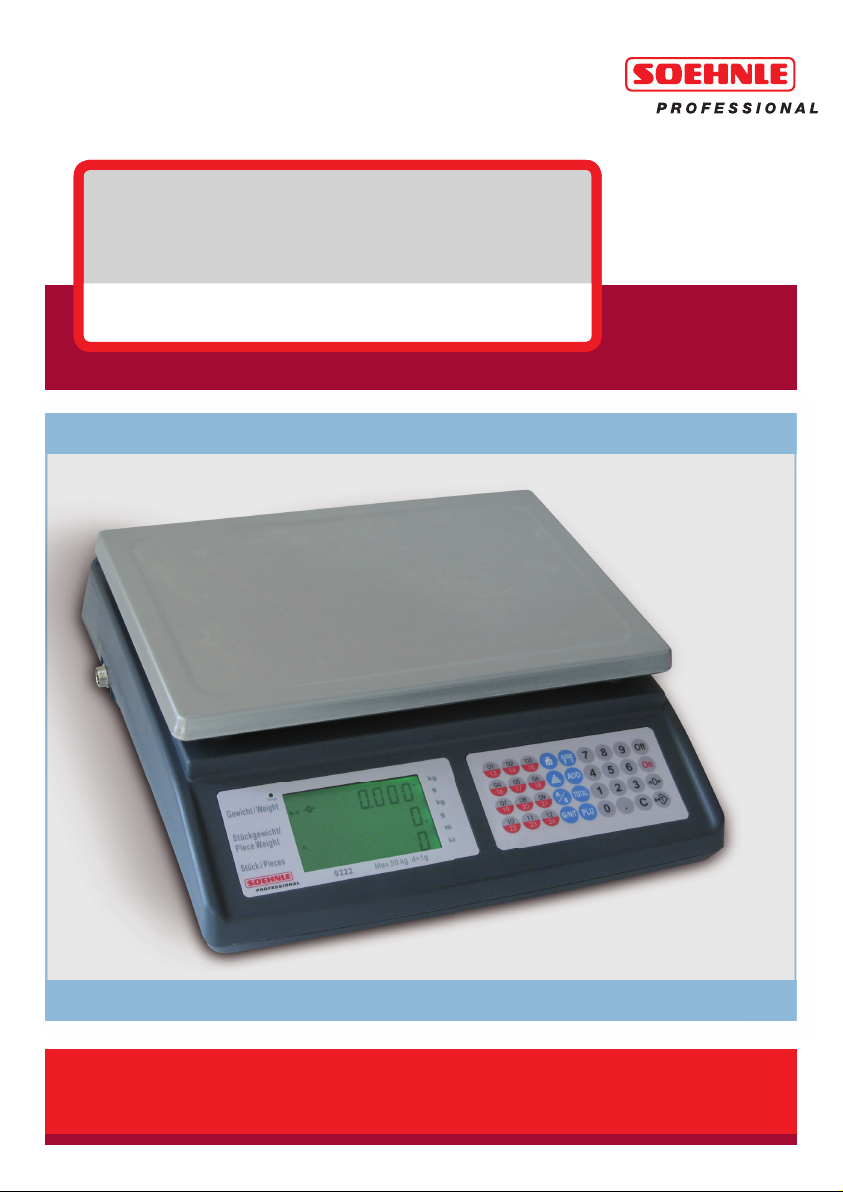
COUNTING SCALE 9222
Operating Manual
Trade, Commerce and Industry
www.soehnle-professional.com
Page 2

ENGLISH
Counting Scale 9222
INDEX
1. General Information P. 3
Application P. 3
Safety Notices P. 3
Cleaning P. 3
Maintenance and Service P. 3
Note P. 3
Warranty/Liability P. 4
Specifications P. 4
Disposal P. 4
2. Using the Scales for the First Time P. 5
Supplied Contents P. 5
Assembling the Scales P. 5
Switching on/off P. 5
3. Input and Control P. 6
Control Keys P. 6
Display P. 7
Display Symbols P. 7
4. Weighing and Counting P. 8
Zero setting P. 8
Calculating / Deducting the Tare Weight P. 8
Counting P. 8
Setting Target Weights / Quantities P. 9
Sum Total P. 9
Saving PLU (Product Look Up) P. 10
Selecting PLUs P. 10
Programming the PLUs with Tare Weight P. 10
Programming the Tare Weight as Standard P. 11
Error Messages P. 11
User Calibration P. 11
2
Page 3

1. GENERAL INFORMATION
■ Application
The Soehnle Professional Counting Scale 9222 is
designed for weighing goods and calculating unit
totals.
■ Safety Notices
Read the operator manual carefully before using
the equipment for the first time. It contains important information on the installation, correct use and
maintenance of the equipment.
The manufacturer shall not be held liable if the
following notices are not complied with: Observe
the regulations in place when using electrical components with important safety requirements. Never
carry out work on energised scales. Improper installation will invalidate the warranty. The electrical
connections must comply with the ratings printed
on the power supply unit.
The equipment is designed for use in buildings.
Note the permissible operating ambient temperatures (specifications).
The equipment complies with electromagnetic
compatibility requirements. Avoid exceeding the
maximum values specified in the standards. If
you have any problems, contact your Soehnle
Professional service partner.
■ Cleaning
All you need to clean the equipment is a damp
cloth and a commercial cleaning agent. Do not use
scouring agents.
■ Maintenance and Service
The scales do not require regular maintenance.
However, it is worth checking their accuracy at
regular intervals. The frequency will depend on
the application and condition of the scales.
■ Note
In accordance with European directive 89/336/EEC
this device is fitted with noise suppression. However, the display reading can be affected by extreme
electrostatic or electromagnetic interference, e.g.
using a radio or mobile phone in the immediate
vicinity of the equipment. At the end of the interference the product can be used again for its purpose, however it may need to be switched on
again. In the event of permanent electrostatic interference we recommend earthing the platform.
This device is a measuring instrument. Drafts, vibrations, rapid changes in temperature and solar irradiation can affect the scale reading.
The scales comply with safety rating IP 54. High air
humidity, steam, aggressive fluids and contamination
must be avoided.
3
Page 4

ENGLISH
Counting Scale 9222
■ Warranty/Liability
If the supplied goods contains a defect attributable
to Soehnle Professional, Soehnle Professional shall
be entitled to rectify the defect or provide a replacement. Replaced parts shall become the property
of Soehnle Professional. Should the rectification
or replacement not prove unsatisfactory, statutory
provisions shall apply. The warranty period is for
2 years and starts on the day of purchase. Please
keep your invoice as a receipt. For service please
contact your dealer or the Soehnle Professional
customer service department.
No liability shall be accepted in particular for
damage arising from the following situations:
Unsuitable, improper storage or use, faulty assembly / commissioning by the buyer or third parties,
natural wear, modification or tampering, faulty or
negligent handling, in particular overuse, chemical,
electro-chemical, electrical interference or humidity,
insofar as these are not attributable to Soehnle
Professional.
Should operational, climatic or other effects result
in a significant change to the operating conditions
or the condition of the material, the warranty for
the overall operation of the equipment shall become invalid. Where Soehnle Professional provides
a warranty in individual cases, this implies freedom
from defects to the goods for the duration of the
warranty period.
Keep the original packaging in case it is required
for returning the goods.
■ Specifications
Weighing range: 6 kg / 15 kg / 50 kg
Numeral script: 0,2 g / 0,5 g / 1 g
Accuracy: 1/30.000 / 1/30.000 / 1/50.000
Operating temperature: 0° – 40°C
Power supply: 9V / 500 mA, AC-Adapter;
6V-Akkus eingebaut
Interface: RS-232
■ Disposal
Faulty batteries must be disposed of in
accordance with national and local envi-
PB
ronmental regulations and raw materials
must be recycled.
Soehnle Professional GmbH & Co. KG
Manfred-von-Ardenne-Allee 12
DE-71522 Backnang
Phone +49 (0) 71 91 / 34 53-0
Fax +49 (0) 71 91 / 34 53-211
www.soehnle-professional.com
4
Page 5

2. USING THE SCALES FOR THE FIRST TIME
■ Supplied Contents
• Scales
• Platform
• Wall power supply
■ Assembling the Scales
1. Remove the cover from the platform and place
the platform on the scales.
2. Assemble the scales at the application point.
3. Use the adjustable legs and the spirit level
to ensure the scales are mounted horizontally.
4. Attach the wall power supply. The installed
battery charges up (LED lit).
5. The scales are ready for operation.
Connection
for other
scales
(inactive)
RS-232C
interface
■ Switching on/off
Switch the scales on using the On button, and off
Off
using the
the scales at this point.
Attention: Carefully place the items to be weighed
on the scales. Do not permanently load the platform.
Avoid impacts or overloading beyond the specified
maximum load as this could damage the scales.
button (see illustration). Do not load
Off
On
ON and OFF
buttons
5
Page 6

ENGLISH
01
13
12
24
0113021403
15
0416051706180719082009211022112312
24
Counting Scale 9222
3. INPUT AND CONTROL
■ Control Keys
ALARM
1
x
A
G N R
B
ADD
TOTAL
PLU
7
8
9
Off
4
5
1
2
.
0
On
6
0
3
C
PLU shortcut keys (to call up
stored unit weights directly)
To input numerical values
0
A
ALARM
ADD
9
Input the reference weight
1
x
(unit weight)
Input the reference amount
(unit total)
Toggle key between 2 scales
B
(inactive)
Change the display between gross,
net and tare weights
Limit setting
(max./min total weight/unit total)
Adding values
Sum total key (show overall unit totals
and weights after adding)
PLU shortcut keys for saving,
PLU
loading or modifying saved unit weights
("Product Look Up")
Reset display to zero /
C
delete input
Zero setting key
0
Tare
6
Page 7

■ Display
NET
PLU
A B C D
ACC
■ Display Symbols
Charge battery
Net weight
Idle
Zero report
PLU memory
kg
g
kg
g
Hi
Lo
Total weight
Reference weight or amount
Calculated unit total
Display in kilograms
Display in grams
Load above upper target weight
Load below lower target weight
Sum total memory
7
Page 8

ENGLISH
Counting Scale 9222
4. WEIGHING AND COUNTING
■ Zero setting
If after powering up the scales there is
0
no load on the scales but the display is
0
not zero, press
range –2%…+2% of the weighing range.
The display shows
. Possible zero setting
.
■ Calculating / Deducting
the Tare Weight
Weighing with the tare weight
calculated
• Place the container on the platform.
• Press
The display goes to zero.
The display shows
Weighing with the tare weight
manually entered
• Enter the known tare weight in
grams.
• Press
display flashes.
• Place the container on the platform.
• Place the items to be weighed on
the scales.
The net weight is displayed when the scales come
to rest. The display shows
Deleting the Tare Weight
When the scales are unladen press
.
.
until the value in the
.
.
■ Counting
Counting with an unknown unit
weight (method 1)
• Place the counted reference unit
total on the platform.
• Enter the unit total and press
within 4 seconds to calculate the
unit weight, otherwise the input will
be deleted automatically.
Other amounts placed on the scales will now also
be counted.
Counting with an unknown unit
weight (method 2)
• When the scales are unladen press
. "SAMPLE" appears in the sec-
ond line of the display and "100"
in the third line.
• Enter the unit total.
• Place the counted reference unit
total on the platform.
• Wait briefly until the scales have
calculated the unit weight.
Other amounts placed on the scales will now also
be counted.
Counting with an unknown unit
weight (method 3)
• Place the counted reference unit
total on the platform.
• Press
second line of the display and "100"
in the third line.
• Enter the unit total.
. "SAMPLE" appears in the
8
Page 9

• Remove the reference pieces from
the platform and wait briefly until
the scales have calculated the unit
weight.
Other amounts placed on the scales will now also
be counted.
Compensating fluctuating weights
Place other reference pieces on the scales. Press
to calculate the exact unit weight.
Counting with a known unit weight
1
x
• Enter the known unit weight in
grams.
1
x
• Press
within 4 seconds, otherwise the input will be deleted automatically.
Other amounts placed on the scales will now also
be counted.
■ Setting Target Weights /
Quantities
A top and bottom limit can be set for
ALARM
weight or counted readings.
• Press
"PCS. Hi" is displayed.
• Enter the maximum unit total.
• Press
"PCS. Lo" is displayed.
• Enter the minimum unit total.
• Press
ALARM
.
ALARM
.
ALARM
.
"LoAd. Hi" is displayed.
• Enter upper target weight.
• Press
ALARM
.
"LoAd. Lo" is displayed.
• Enter lower target weight.
• Press
ALARM
.
If the limits are exceeded a signal sounds and the
warning arrow flashes on
or
Removing the limits
Select the target levels and delete with
■ Sum Total
• Calculate the unit weight as
ADD
Attention
• Changing the PLU deletes the sum total memory.
• The same unit totals cannot be added one after
another as the scales will assume that the platform has not been cleared beforehand. A warning sounds.
described in "Counting".
• Place the goods on the scales and
wait until
• Press
appears.
ADD
and empty the scales.
• Place more goods on the scales and
wait until
• Press
appears.
ADD
again and empty the
scales...
The number of added readings is shown on
the left. Up to 180 readings can be stored.
.
C
.
9
Page 10

ENGLISH
01
13
12
24
01
13
01
13
12
24
Counting Scale 9222
Displaying the sum total
• Press
.
Deleting the sum total in the memory
C
• Press
.
■ Saving PLU (Product Look Up)
PLUs are used to store information on parts that are
used regularly, so that the data can be retrieved
quickly from the memory. The PLU number contains
data on the tare weight, name and unit weight.
Depending on the model, the scales can store up
to 1000 PLUs.
Saving under the PLU shortcut keys
• Calculate the unit weight
PLU
PLU is programmed.
as described in "Counting".
PLU
• Press
.
• Press the required PLU shortcut key,
.
e.g.
For the lower value press the PLU
shortcut key again.
• Press
PLU
.
■ Selecting PLUs
Selecting PLUs stored under
the PLU shortcut keys
• Press the required PLU shortcut key. For the
lower limit press the key again.
PLU is activated.
Selecting the PLUs stored under 0–199
PLU
• Press
• Enter the PLU number.
• Press
PLU is activated.
Note: The PLU numbers of the shortcut keys and the
numerical keys are shown identically on the right.
Note the displayed unit weight (e.g. a different value
may be stored under PLU-013 via the PLU shortcut
keys and the numerical keys).
Editing PLUs
• Call up the PLU to be changed.
• Press
• Enter a new unit weight.
• Press
The new PLU is stored.
until you hear the audible signal.
PLU
.
PLU
. The unit weight will flash.
PLU
.
Saving under the numerical keys 0-999
• Calculate the unit weight
PLU
as described in "Counting".
PLU
• Press
.
• Enter the required numerical value
for the PLU number.
• Press
PLU
.
PLU is programmed.
10
■ Programming the PLUs
with Tare Weight
• Place the tare weight on the scales.
• Press
Continue as described in "Saving PLU
(Product Look Up)".
.
Page 11

■ Programming the Tare Weight
as Standard
• Place the tare weight on the scales before
switching them on.
• Switch on the scales.
Continue as described in "Saving PLU
(Product Look Up)".
■ Error Messages
Max. weighing range exceeded
> Take the items off the scales
Piep Zero setting not possible
> Deviation from zero point too high
• Zero point calibration
< A/D reading
< reading 0 (grams)
< "Pnt 0"
Make sure that the scales are empty.
Wait until the A/D reading (1st row) is stable,
then press
• Setting the calibration weight
< calibration weight 0 (grams)
< "Pnt. CAL"
Place the calibration weight (min. 1/3 of the
weighing range) on the platform. Enter the
weight in grams via the keypad. Wait until
the A/D reading is stable, then press
to continue.
< A/D reading
.
■ User Calibration
• Press and switch on the scales with the
On
key.
•
• Selecting the maximum weight
Select using C "CAL 4"
and confirm using
Select the maximum weight in kg
(2nd row) using
with
.
.
C
and confirm
The calibration was successful.
Error Message "Err. Ad"
> Calibration weight too low
> Deviation from calibration weight
too high
Use a calibration weight with at least 1/3 of the
weighing range. You should calibrate in the range
in which you need to achieve the highest degree
of accuracy.
• The power-up initialisation starts when the
scales are discharged.
11
Page 12

ENGLISH
Counting Scale 9222
Soehnle Professional GmbH & Co. KG
Manfred-von-Ardenne-Allee 12
DE-71522 Backnang
Phone +49 (0) 71 91 / 34 53-0
Fax +49 (0) 71 91 / 34 53-211
info@soehnle-professional.com
www.soehnle-professional.com
Scales, System Solutions And Special Developments
12
All rights reserved. © Soehnle Professional GmbH & Co. KG. No publication, reproduction or any form of use
07/2009 470.070.002
or transfer to third parties – whether in part or in revised form – without the consent of Soehnle Professional
GmbH & Co. KG. Subject to technical modifications
 Loading...