

Page 1
SMC7008ABR Barricade Broadband Router
Installation Instructions
SPECIAL NOTE: Part F – Adjusting MTU Value. This procedure MUST be followed
in order to prevent chronic disconnections of the VPN tunnel!
Part A – General Setup
1. Open your Web browser and enter the following in the “Address” field:
http://192.168.2.1
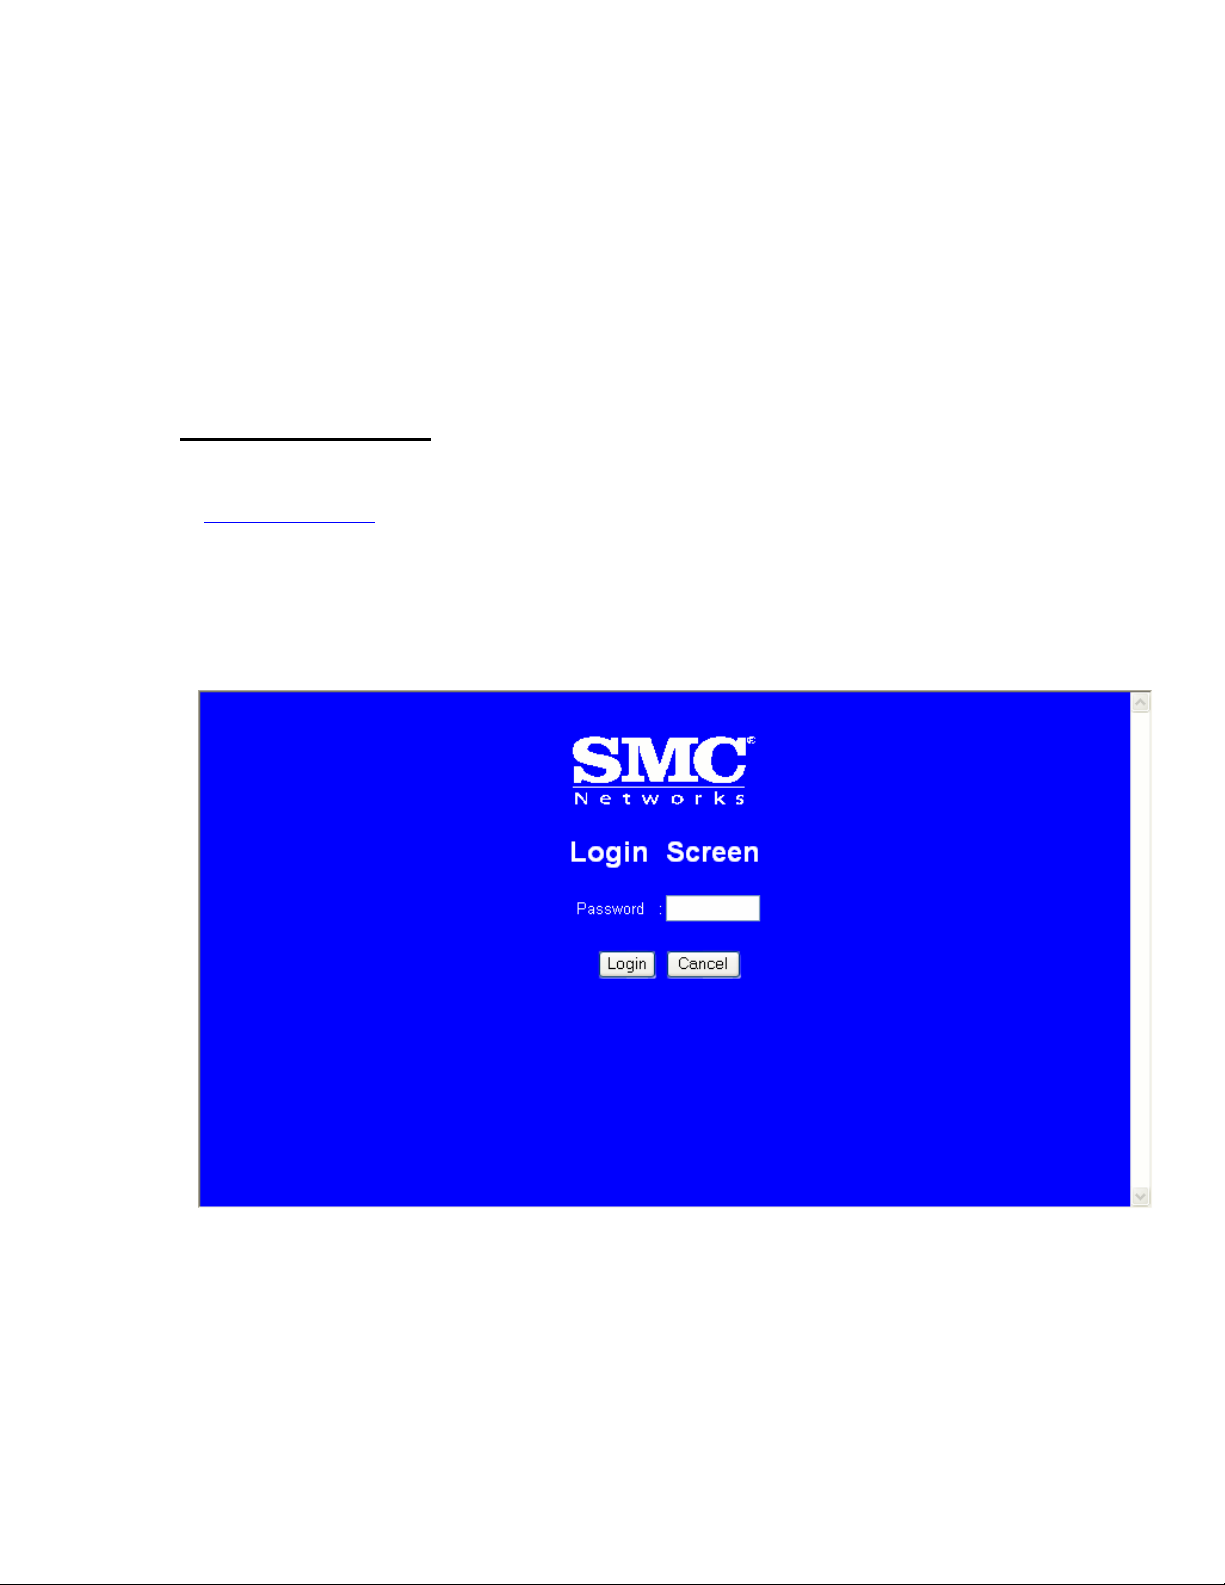
2. The Barricade login screen will appear. Leave the password field empty and click on
“login”.
3. On the main page of the Barricade Web console, click “Setup”.
Page 2
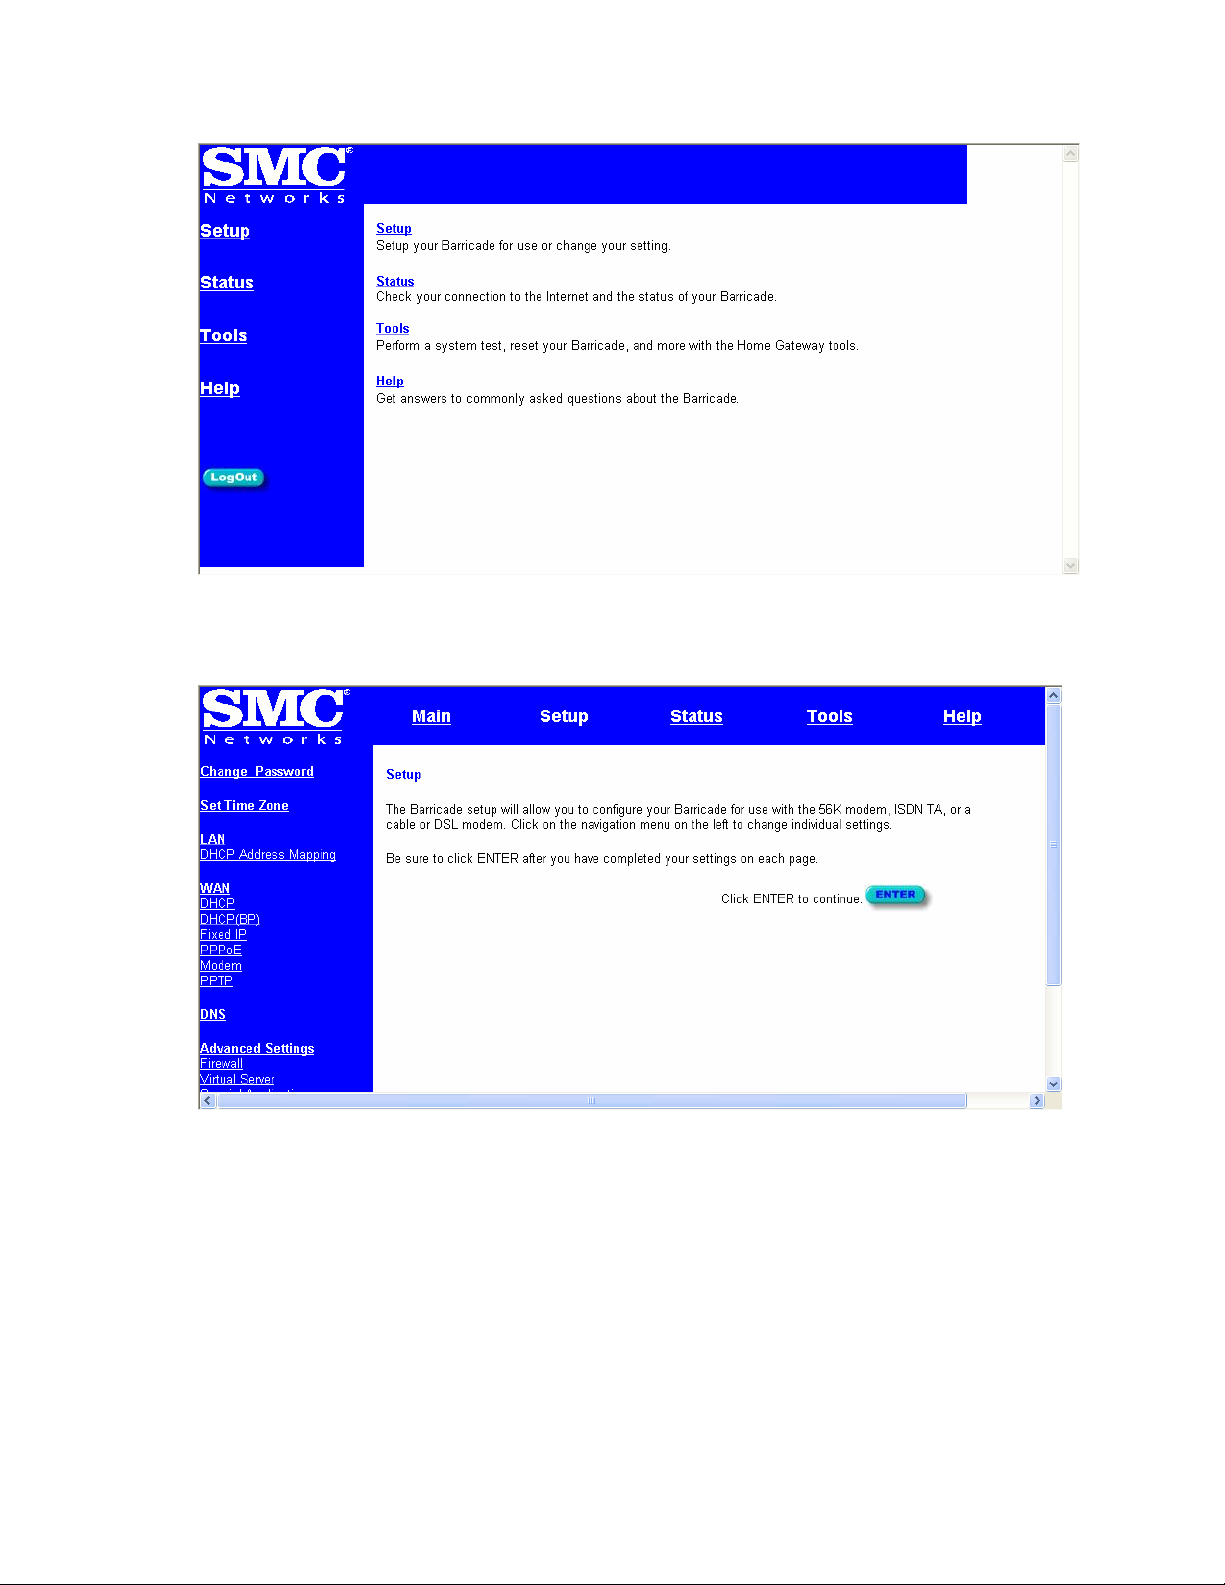
4. The Barricade’s automated setup process will take you through each step for setting up
your Barricade. Click “Enter” to start the process.
5. In the “Change Password” screen type lower-case “galileo” in the “New Password”
field. Confirm this entry by entering the lower-case “galileo” again in the “Re-enter
Password for Verification” field.
Page 3
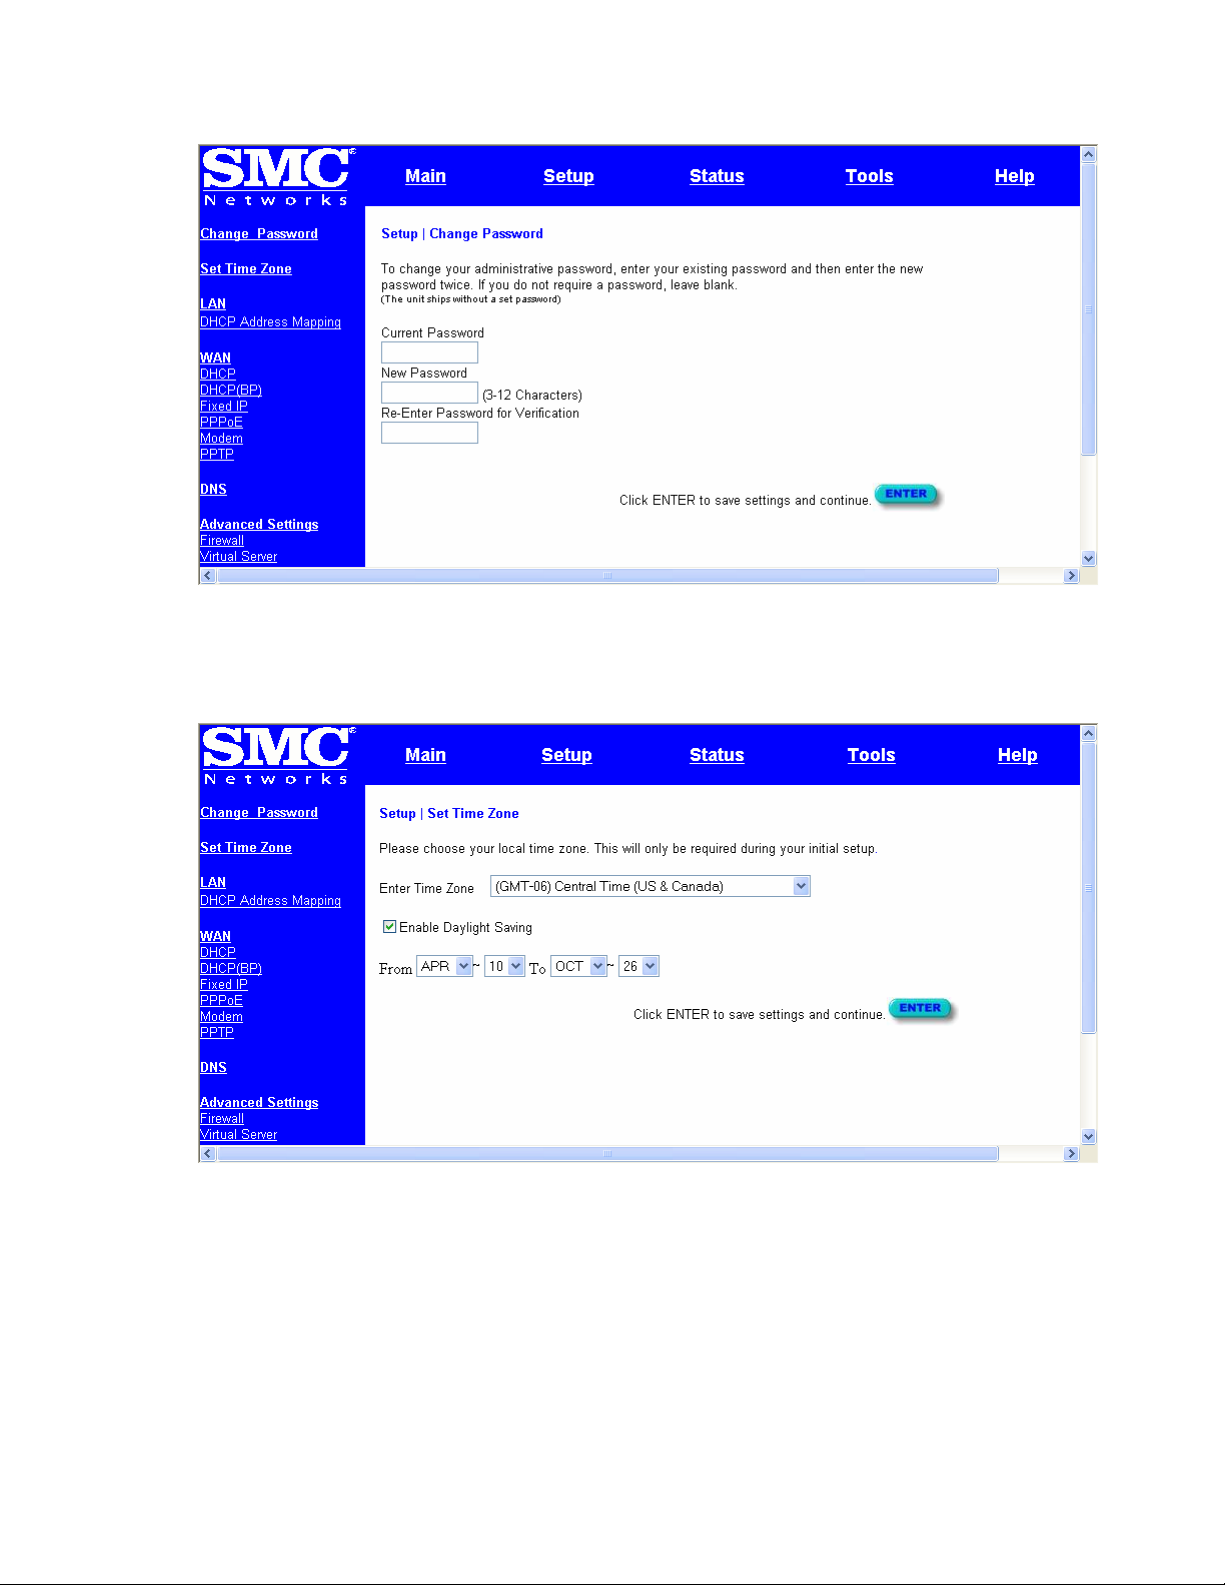
6. Click “Enter” to complete this step.
7. Select your time zone from the list and click “Enter”.
8. The LAN screen is where you configure the Local Area Network settings of your
Barricade. Unless you have an existing network with Domain information there is no
reason to change these settings. Click “Enter” to complete this step.
Page 4
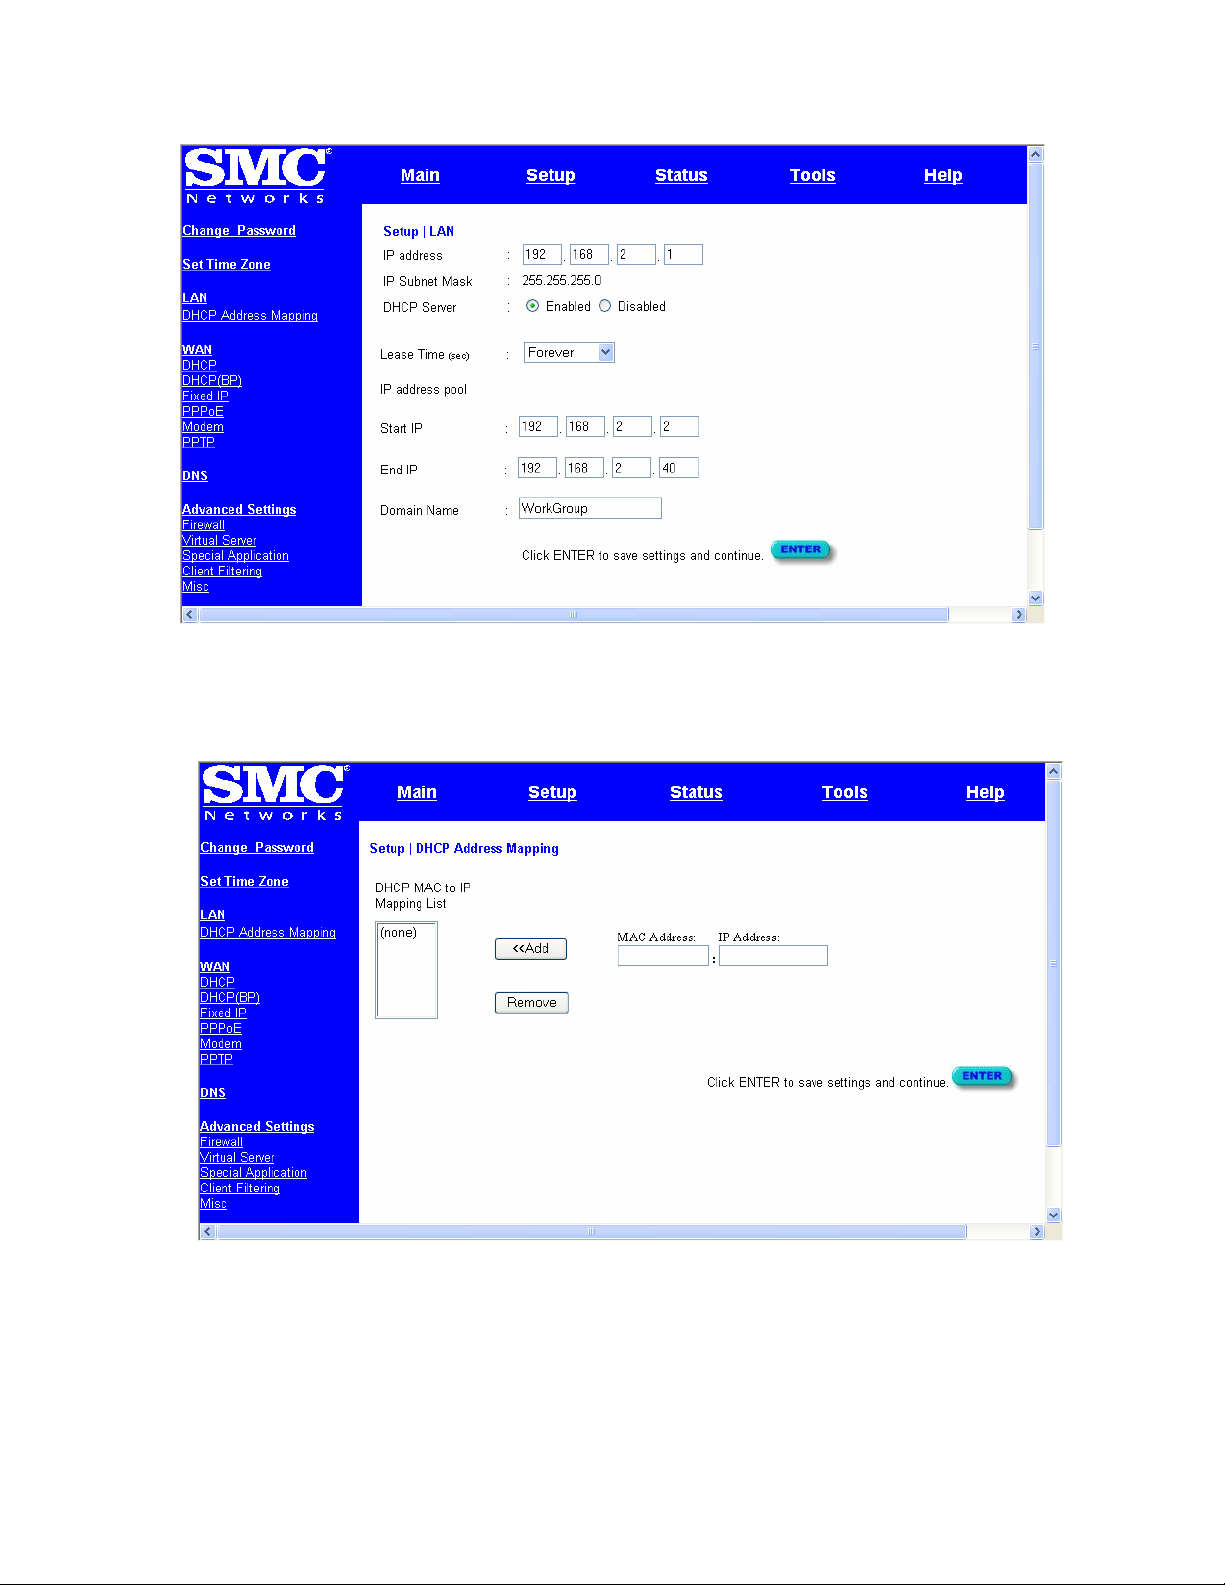
9. At this point the LAN side of your Barricade is configured. The next step is to
configure it for the Internet connection with the information provided by your ISP.
10. This screen needs to be configured in order to “RESERVE” an IP address for the
Focalpoint Print Manager.
Note: To complete this section we will need to obtain the MAC address or Physical
Address of the network interface card on the FPM machine. How this is
Page 5
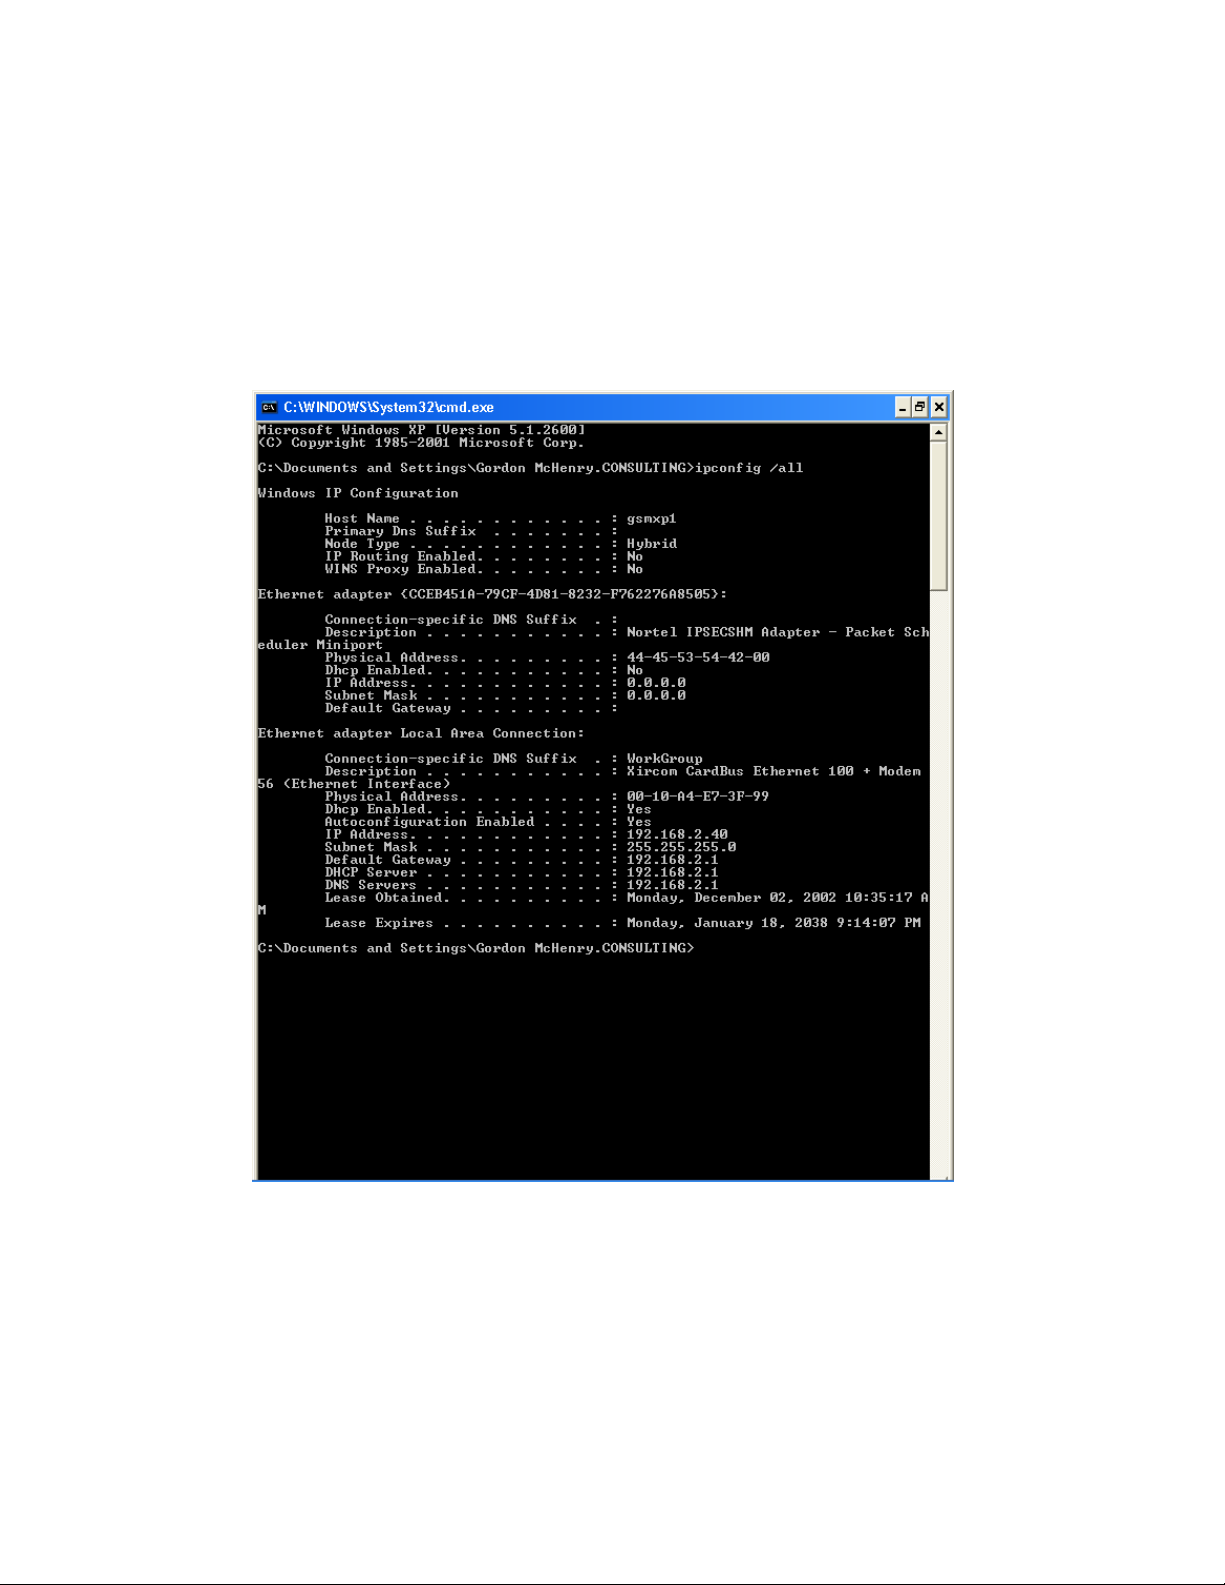
accomplished will depend of the Operating System that is running on the FPM
workstation.
• If the OS is Windows NT4, Windows 2000 or windows XP:
START->RUN->CMD to start a DOS window.
Type IPCONFIG /ALL at the DOS prompt.
• If the OS is Windows 9.x including ME:
START->RUN->WINIPCFG /ALL
C. Write down the Physical Address to be used in the next step.
D. You will need to select a specific address from the group of addresses
previously defined in Step 8 above and enter it here. This address needs to be
Page 6
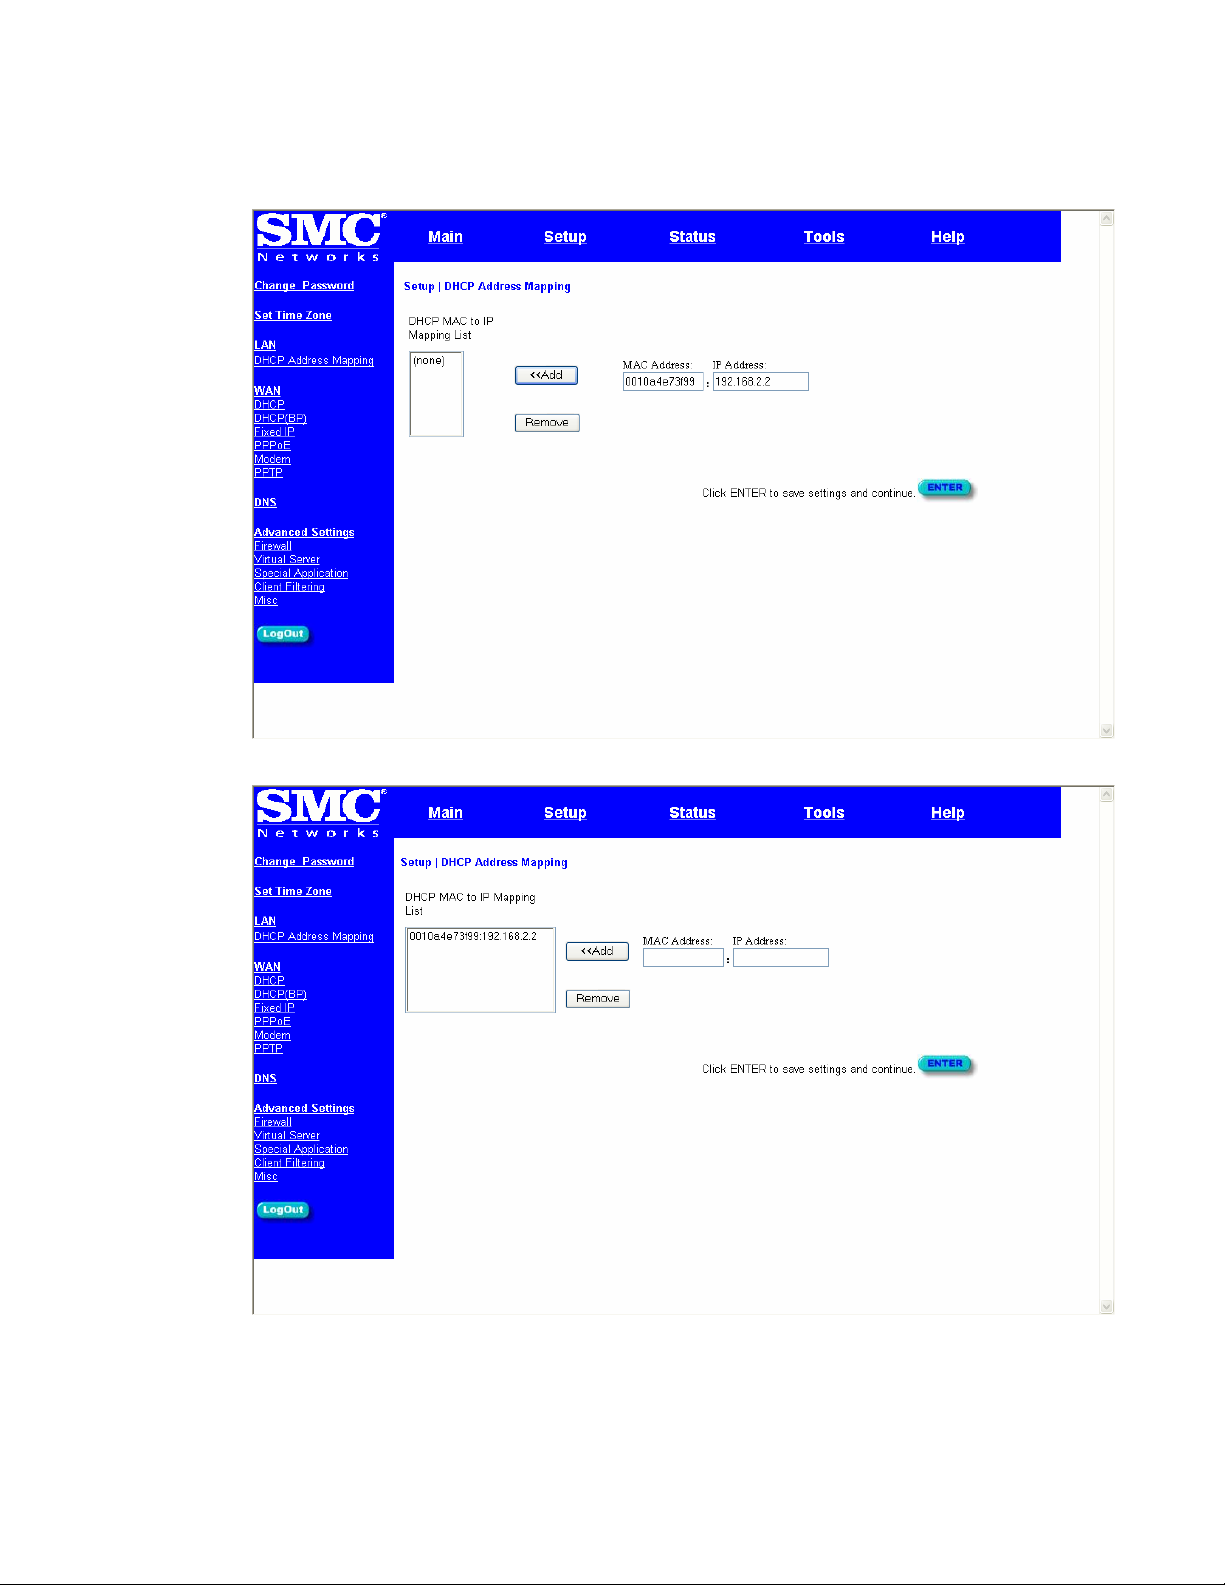
within the range of 192.168.2.2 – 192.168.2.40. The preference is to keep it
simple and select the first available address (192.168.2.2).
E. Click on the “Add” button to select this information.
F. Click on ENTER to finish this step.
Page 7

11. Under Advanced Settings click Virtual Server. Type the same reserved IP address
that was input in step 10 for the FPM workstation, type 5069 for the private and
public port number and choose TCP for the type. Click Enter.
12. The next few steps will be to configure the Barricade router for Internet access. There
are generally two different configurations used by most ISP’s.
• If you use a DSL Modem your ISP probably requires you to manually enter
your TCP/IP settings. If you have a DSL connection or if you know you use a
Static IP address please move to “Part B - Configuring Your Barricade for
Static IP Address”.
• If you connect to the Internet using a Cable Modem your ISP provider probably
used DHCP to issue an IP address to you. If you use a cable modem or you
know that the ISP uses dynamic IP address please move to “Part C -
Configuring Your Barricade for a Dynamic IP Address.
Page 8

Part B – Configuring Your Barricade for Static IP Addressing.
1. Select “Static IP Address” and click on “More Configuration”
2. Enter the IP Address, subnet mask and gateway provided to you by your ISP in the
appropriate fields. Click “Enter” when finished.
Page 9

A Domain Name Server (DNS) is like an index of names and Web addresses. If you
type a Web address into your browser, such as www.whitehouse.gov, a DNS server
will find that name in its index and find the matching IP address: 198.137.240.92.
Most ISPs provide a DNS server for speed and convenience. Since you are
connecting to the Internet with static IP settings, it is likely that your ISP also
provided DNS server addresses.
3. Enter the DNS server address(es) in the spaces provided. Click “Enter” when
finished.
Page 10

Part C – Configuring Your Barricade for Dynamic IP Addressing.
1. Select “Dynamic IP Address” and Click “More Configuration.
2. If you have a Host name provided by your ISP enter it here and Click “Enter” to
continue.
Page 11

3. Enter DNS Information as provided by your ISP and Click “Enter to finish the process.
Page 12

Part D – Configuring Your Barricade for PPPoE configuration.
1. Select “PPP over Ethernet” and click on “More Configuration”
2. Enter the User Name and Password for the account provided to you by your ISP in
the appropriate fields. Click “Enter” when finished.
Page 13

Part E – Upgrading the Firmware in Your Barricade.
Upgrades for your Barricade Broadband are readily available on the Internet at
www.smc.com. They are stored in compressed format to minimize the time it takes to
download. The files take one of two forms.
1. “Zipped” format – this format requires you to have special software in order to extract
the update files.
2. “Self-extracting” format – this format does not require any special software in order to
extract the files.
The preferred form to download is “Self-extracting”. This will eliminate the necessity of
having special software to extract the files.
When you downloaded the latest update you execute the self-extracting file and it will
create a directory with the name “SMC” and place the extracted files in this directory.
The actual update file has the extension of .DLF This will be important later on in this
process.
Once you have completed the download and extraction process you can start the
Firmware Update Process.
1. To Upgrade the Firmware in your Barricade you must Login to the Barricade and
begin from the main menu screen. Select “Tools” from the menu.
2. Select “Update Firmware” to begin the update process.
Page 14

3. The current version of Firmware that resides in the Barricade will be displayed. If you
did not download the latest update from the SMC Website you may do so at this time.
Normally you should simply Click “Enter” to start the process.
4. Enter the fully qualified location of the update file that was extracted from the
Internet Download. i.e. C:\SMC\7008ABR_FWv1001008.DLF
Page 15

5. You will be asked to confirm the upgrade. Click “OK” to continue
6. This is the final confirmation for the upgrade.
7. This is the final screen when the Barricade is updated.
Page 16

Part E – RESET of router to recover from lost password.
How do you reset the Barricade to factory defaults?
To reset your Barricade 7008-ABR to factory defaults please follow the steps below:
1. Power off the router for about 30 seconds and then turn it on.
2. Wait for the router to sync up (about 10 secs)
3. Depress the RESET* button for 8 seconds and release it. To verify a sucessful
reset, the power light will flash rapidly, all 8 port lights will turn on shortly, and
then the router will return to its normal state.
* Note: The RESET
button is located on the left side of the front panel.
Part F – Adjusting MTU Value
MTU, Partial Loss of Internet Connection, and Performance
o MTU (Maximum Transmission Unit) is the largest packet a network
device transmits. The best MTU setting for equipment is often just the
default value. MTU is sometimes presented as something that can be
easily changed to improve performance, but in practice this may cause
problems. You need to follow this procedure in order to prevent problems
Page 17

with the VPN connection. This will manifest itself as severe performance
problems such as chronic disconnects.
o Setting MTU size is a process of trial-and-error: start with the
maximum value of 1500, then reduce the size until the problem goes
away.
In order to find the optimum size for the MTU setting you will need to utilize the
extended portions of the PING command. (The parameters are case sensitive!)
PING –f –l 1500 fpnet.galileo.com
-f Set Don’t Fragment flag in packet
-l size Send buffer size (lowercase L)
If you have a problem with the packet size the following message will be returned:
Packet needs to be fragmented but DF set.
Reduce the size of the send buffer until the reply message comes back normally.
Reply from 12.17.202.11: bytes=1500 time=36ms TTL=59
To make the changes on the workstation you will need to go to
http://www.dslreports.com/ , Select Tests + Tools. Then select Dr. TCP. You will need to
download & install the latest copy of this program (DR.TCP). This program will allow
you to make the necessary changes to the MTU size on each workstation. Change the
MaxMTU value, Click Apply and then reboot the workstation.
Page 18

 Loading...