

Page 1
Software
WINDY BOY Setup Tool
User Manual
WBSetup-BEN100411 | Version 1.1
EN
Page 2

Page 3

SMA Solar Technology AG Table of Contents
Table of Contents
1 Notes on this Manual. . . . . . . . . . . . . . . . . . . . . . . . . . . . . . 5
1.1 Area of Validity. . . . . . . . . . . . . . . . . . . . . . . . . . . . . . . . . . . . . . 5
1.2 Target Group . . . . . . . . . . . . . . . . . . . . . . . . . . . . . . . . . . . . . . . 5
1.3 Additional Information . . . . . . . . . . . . . . . . . . . . . . . . . . . . . . . . 5
2 Safety . . . . . . . . . . . . . . . . . . . . . . . . . . . . . . . . . . . . . . . . . . 6
2.1 Appropriate Usage. . . . . . . . . . . . . . . . . . . . . . . . . . . . . . . . . . . 6
2.2 Licensing agreements . . . . . . . . . . . . . . . . . . . . . . . . . . . . . . . . . 6
3 Description of the user interface . . . . . . . . . . . . . . . . . . . . . 8
3.1 Menu bar . . . . . . . . . . . . . . . . . . . . . . . . . . . . . . . . . . . . . . . . . . 9
4 Getting started . . . . . . . . . . . . . . . . . . . . . . . . . . . . . . . . . . 10
4.1 Installation. . . . . . . . . . . . . . . . . . . . . . . . . . . . . . . . . . . . . . . . . 10
4.1.1 System Requirements. . . . . . . . . . . . . . . . . . . . . . . . . . . . . . . . . . . . . . . . . . . 10
4.1.2 Installing the software onto Windows XP . . . . . . . . . . . . . . . . . . . . . . . . . . . 10
4.1.3 Installing the software onto Windows Vista . . . . . . . . . . . . . . . . . . . . . . . . . 10
4.2 Select COM interface. . . . . . . . . . . . . . . . . . . . . . . . . . . . . . . . 11
4.3 Setting the software language . . . . . . . . . . . . . . . . . . . . . . . . . 11
4.4 Detecting Inverters . . . . . . . . . . . . . . . . . . . . . . . . . . . . . . . . . . 11
5 Settings . . . . . . . . . . . . . . . . . . . . . . . . . . . . . . . . . . . . . . . . 12
5.1 Taking over the inverter factory settings . . . . . . . . . . . . . . . . . . 12
5.2 Entering the inverter parameters . . . . . . . . . . . . . . . . . . . . . . . . 12
5.3 Displaying the power curve . . . . . . . . . . . . . . . . . . . . . . . . . . . 13
5.4 Adjusting the power curve . . . . . . . . . . . . . . . . . . . . . . . . . . . . 14
5.4.1 Entering nodes . . . . . . . . . . . . . . . . . . . . . . . . . . . . . . . . . . . . . . . . . . . . . . . 14
5.4.2 Entering Coefficients . . . . . . . . . . . . . . . . . . . . . . . . . . . . . . . . . . . . . . . . . . . 16
5.5 Changing the section of the power curve . . . . . . . . . . . . . . . . . 16
6 Saving and loading data. . . . . . . . . . . . . . . . . . . . . . . . . . 17
User Manual WBSetup-BEN100411 3
Page 4

Table of Contents SMA Solar Technology AG
6.1 Saving data . . . . . . . . . . . . . . . . . . . . . . . . . . . . . . . . . . . . . . . 17
6.2 Loading data. . . . . . . . . . . . . . . . . . . . . . . . . . . . . . . . . . . . . . . 17
7 Sending data to the inverter . . . . . . . . . . . . . . . . . . . . . . . 18
8 Uninstalling the software. . . . . . . . . . . . . . . . . . . . . . . . . . 19
8.1 Uninstalling the software from Windows XP . . . . . . . . . . . . . . . 19
8.2 Uninstalling the software from Windows Vista . . . . . . . . . . . . . 19
9 Contact . . . . . . . . . . . . . . . . . . . . . . . . . . . . . . . . . . . . . . . . 20
4 WBSetup-BEN100411 User Manual
Page 5

SMA Solar Technology AG Notes on this Manual
1 Notes on this Manual
This manual describes how to install and operate the Windy Boy Setup Tool.
1.1 Area of Validity
This manual applies to the Windy Boy Setup Tool software version 1.0.2, and later.
1.2 Target Group
This manual is for qualified personnel. The tasks described in this manual may be performed by
qualified personnel only.
1.3 Additional Information
Further information on the power curve can be found in the inverter installation guide.
User Manual WBSetup-BEN100411 5
Page 6

Safety SMA Solar Technology AG
2 Safety
2.1 Appropriate Usage
Windy Boy Setup Tool is a software which creates an interface between the wind power inverter and
the wind turbine system and offers the installer the possibility to enter all wind parameters. The
recorded parameters can be transferred to the wind power inverter via this software.
Ad dit ion all y th e Wi ndy Boy Set up T ool fea tur es gr aph ica l re pre sentation of the power curve. You can
set and transfer the desired power curve for an inverter. For this, the inverter must be in operation and
detected by the software. In addition you have the possibility of setting the power curve without an
inverter being in operation and detected by the software. You can set the power curve i n the so-ca lled
"offline operation" and save it locally onto your computer and transfer it to the inverter later.
2.2 Licensing agreements
With the installation of the Windy Boy Setup Tool® software, you express your approval of the
following licensing agreements.
COPYRIGHT
The Windy Boy Setup Tool® software has been developed by SMA Solar Technology AG and is
copyright protected. It is provided to the user free of charge and for an unlimited period.
PASSING ON TO THIRD PARTIES
Windy Boy Setup Tool® is freeware and may be freely copied and used and may only be passed
completely and unmodified on to third parties when maintaining all legal property right notes. The
commercial passing on to third parties (e.g. within shareware and/or freeware distributions) is not
permi tted. The user is not allo wed to change in any way the o riginal code and the original data. SMA
reserves the right to improve and/or modify the product described here at any time. You can obtain
the current version on the Internet at www.SMA.de/en or from the usual sales channels.
WARRANTY AND LIABILITY
The software is provided to the user free of charge. SMA cannot accept responsibility for its proper
operation, for its suitability for certain purposes and for the non-violation of any rights of third parties.
The software is exclusively used at the user's risk and responsibility. SMA does not accept liability for
defects and consequential damage, for incorrect profit calculations, loss of profit, loss of feed-in tariff,
damage to user hardware, loss of data, loss of use, interruptions in operation or other damage,
especially not for those damages resulting from changes of the inverter's configuration.
6 WBSetup-BEN100411 User Manual
Page 7

SMA Solar Technology AG Safety
CONTACT INFORMATION
Please direct any questions or feedback to:
SMA Solar Technology AG
Sonnenallee 1
34266 Niestetal
Germany
Tel. +49 561 9522-0
Fax +49 561 9522-100
www.SMA.de
E-Mail: info@SMA.de
© 2009 SMA Solar Technology AG All rights reserved.
User Manual WBSetup-BEN100411 7
Page 8

Description of the user interface SMA Solar Technology AG
3 Description of the user interface
The following illustration shows the layout of the operating interface of the Windy Boy Setup Tool:
A
B
J
Object Description Function
A Menu bar The various items can be accessed via the menu
B Diagram of the power curve The power curve of the inverter is displayed in
C Option field for calculation of the
power curve
D Option field for presentation of the
power curve
E Value range "Nodes" In this area you can specify the nodes from
F Value range "Parameters" In this area you can enter the parameters of
G Button [New] By using the button you can delete the entered
H Button [Device selection] By using this butto n you can se lect your inver ter
C
bar.
this diagram.
Here you can select whether the power curve
should be calculated from nodes or from
coefficients.
Here you can select whether the power curve is
presented as a curve or as a line.
which the power curve is calculated.
your inverter.
data.
type and take on the factory-installed
parameters.
D
F
G H
E
I
8 WBSetup-BEN100411 User Manual
Page 9

SMA Solar Technology AG Description of the user interface
Object Description Function
I Button [Transfer] By using this button the set data is sent to the
inverter.
J Status bar The status bar displays the current status of the
software. Here you will find the connection
status to your inverter.
3.1 Menu bar
The menu bar contains the following items:
Menu Items Function
File Open With this you can load data already saved on your
computer.
Save With this you can save entered data into the opened
file.
Save as... With this you can save entered data into a new file.
Last file With this you can load one of the 4 last saved files.
Quid With this you can exit the software.
Options Detecting the device This opens the log-in window, in which you must log
in. Upon log-in, the connected device is detected.
Settings This opens the "Settings" window, via which you can
select the desired com-port and language.
Help Help topics With this you can open the software user manual.
Info This opens the "Info" window, in which information
about the current software installation is displayed.
User Manual WBSetup-BEN100411 9
Page 10

Getting started SMA Solar Technology AG
4 Getting started
4.1 Installation
You may install the software on various operating systems. Select your current operating system, onto
which you would like to install the software:
• Insta ll the software onto Windows XP as described in section 4.1.2”Installing the software onto
Windows XP” (page10).
• Install the software onto Windows Vista as described in section 4.1.3”Installing the software
onto Windows Vista” (page10).
4.1.1 System Requirements
Supported operating systems: Windows XP version SP2 or higher, Windows Vista
Processor (XP): PIII 800 MHz
Processor (Vista): P4 1 GHz
Main memory (XP): 512 MB
Main memory (Vista): 1 GB RAM
Screen resolution: 1024 x 768 pixels
Supported languages: German, English
4.1.2 Installing the software onto Windows XP
1. Run the "Windy Boy Setup Tool.exe" file by double-clicking with the left mouse button.
☑ The Windy Boy Setup Tool "Installation Assistant" opens.
2. Follow the "Installation Assistant" instructions.
☑ Software is installed onto Windows XP.
4.1.3 Installing the software onto Windows Vista
1. Run the "Windy Boy Setup Tool.exe" file by double-clicking with the left mouse button.
2. Confirm the Windows Vista security question.
☑ The Windy Boy Setup Tool "Installation Assistant" opens.
3. Follow the "Installation Assistant" instructions.
☑ Software is installed onto Windows Vista.
10 WBSetup-BEN100411 User Manual
Page 11

SMA Solar Technology AG Getting started
4.2 Select COM interface
In order to select the COM interface of your device, the inverter has to be in operation. Proceed as
follows for the selection of the COM interface:
1. Select "Options > Settings" in the menu bar.
☑ The "Settings" window opens.
2. Select COM interface in the "Com-Port" field.
3. Select [OK].
☑ COM interface is selected.
4.3 Setting the software language
The Windy Boy Setup Tool aligns itself to the language of your operating system. If your operating
system is set to German, then the Windy Boy Setup Tool is also set to German. If your operating
system is set to a language other than German, then the Windy Boy Setup Tool language is set to
English.
In order to change the language setting, proceed as follows:
1. Select "Options > Settings" in the menu bar.
☑The "Settings" window opens.
2. Select the desired language in the "Language" field.
3. Select [OK].
☑ The software language is set.
4.4 Detecting Inverters
In order to detect and inverter, it must be in operation. Proceed as follows:
Installer password
Please contact the SMA Solar Technology Serviceline if you have any questions
concerning the installer password (see 9”Contact” (page20)) .
1. Select "Options > Detecting devices" in the menu bar.
☑ The log-in window opens.
2. Enter the installer password in the "Password" field.
3. Select [OK].
☑ The inverter is detected.
User Manual WBSetup-BEN100411 11
Page 12

Settings SMA Solar Technology AG
5 Settings
5.1 Taking over the inverter factory settings
In order to fit the power curve of an inverter to the wind turbine system optimally, you have to enter
the parameters of the inverter in the "Parameter" value range. You have the possibility of entering the
factory installed parameters and the coefficients (Wind_a
automatically from the software. You can adjust the coefficients to your wind turbine system more
exactly once they have been taken over.
In order to take over the factory settings of your inverter type, proceed as follows:
1. Select [Device selection].
☑ The selection window opens.
2. Select the inverter type in the "Device type" field, whose power curve is to be adjusted.
3. Select [OK].
☑ The factory settings and coefficients are loaded and displayed in the "Parameters" value range.
5.2 Entering the inverter parameters
If the factory installed parameters of an inverter have been changed, you must manually enter the
adjusted parameters in the "Parameters" value range. Allocate the respective value for every
parameter.
- Wind_a3) of an inverter type
0
12 WBSetup-BEN100411 User Manual
Page 13
SMA Solar Technology AG Settings
5.3 Displaying the power curve
You have two different possibilities of displaying the power curve of the inverter:
• Display as a curve
or
• Display as a straight line
Select the desired display of the power curve in the "Settings" option field and set the mark to either
"Curve" or "Straight line".
User Manual WBSetup-BEN100411 13
Page 14

Settings SMA Solar Technology AG
5.4 Adjusting the power curve
There are two different ways that the software calculates the power curve of the inverter.
•Calculation from nodes
or
• Calculation from Coefficients
Select whether the power curve is to be calculated from "Nodes" or from "coefficients" in the
"Calculation from" option field and set the marker to "Nodes" or "coefficients".
If you have taken over the factory-installed parameters as described in section 5.1”Taking over the
inverter factory settings” (page12), the coefficients (Wind_a
to Wind_a3) are automatically
0
adjusted in the "Parameters" value range. In this case you can let the power curve be calculated from
coefficients.
5.4.1 Entering nodes
Enter the values of the nodes for the appointed wind turbine system in the "Nodes" value range. Enter
all 7 nodes to construct an optimal power curve
If you want to construct a power curve with e.g. only 3
nodes (carryover of the 3 point characteristic curve),
enter the first point several times in the "Nodes" value
range (see figure).
Once you have entered the values for the individual nodes the power curve is displayed adjusted in
the diagram and the software calculates the coefficients (Wind_a
to Wind_a3) automatically, these
0
finally being transferred to the "Parameters" value range. You can adjust the coefficients to your wind
turbine system more exactly once they have been calculated.
14 WBSetup-BEN100411 User Manual
Page 15

SMA Solar Technology AG Settings
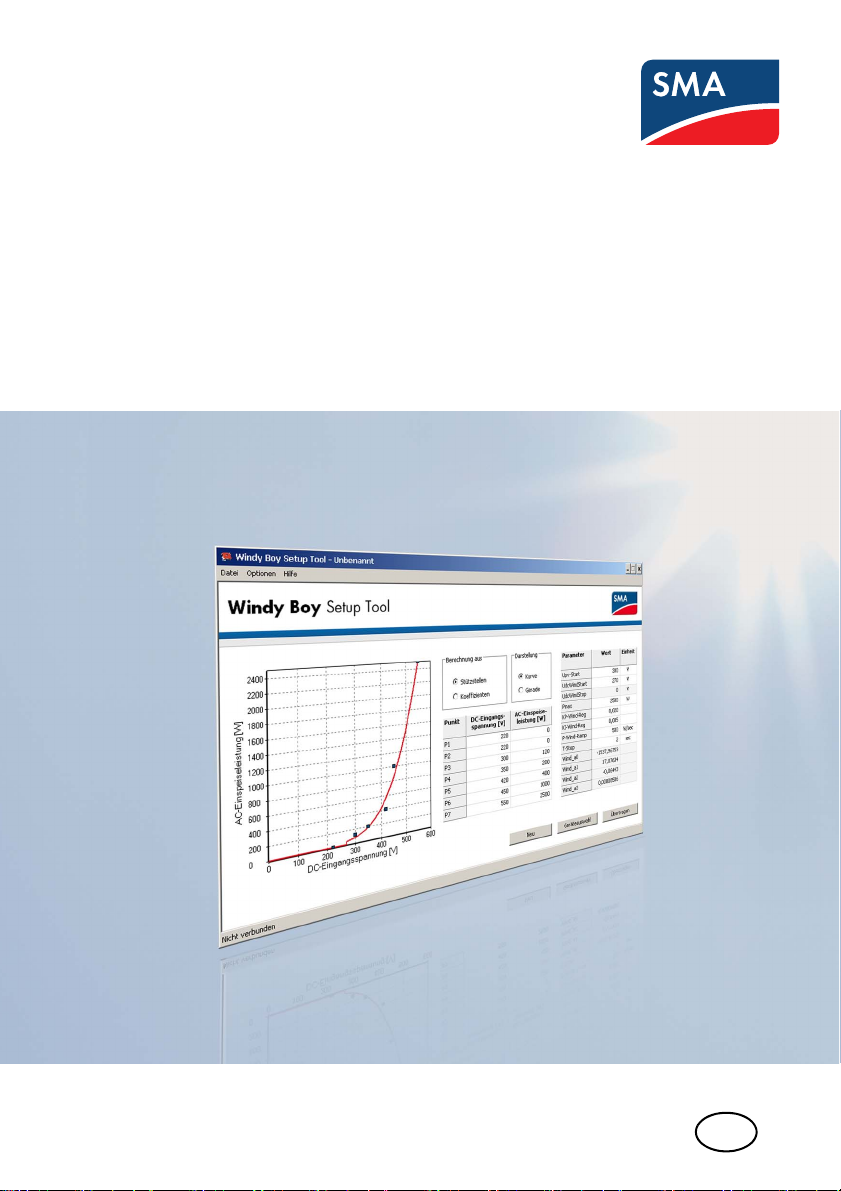
The figure below graphs a power curve constructed by nodes.
User Manual WBSetup-BEN100411 15
Page 16

Settings SMA Solar Technology AG
5.4.2 Entering Coefficients
Enter the values of the coefficients ("Wind_a0" to "Wind_a3") in the "Parameters" value range. Enter
all coefficients, in order that the power curve can be adjusted optimally.
Once you have entered the coefficients, the power curve is displayed adjusted in the diagram.
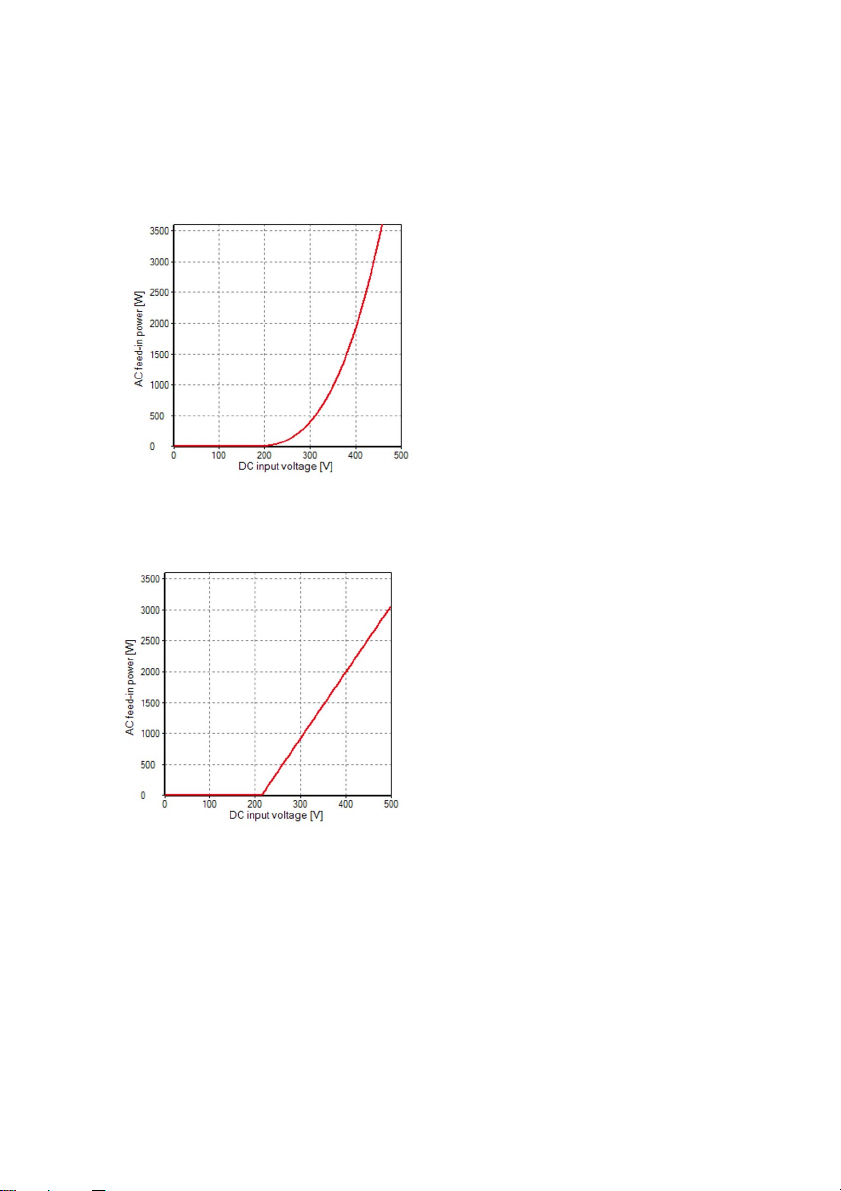
The figure below graphs a power curve constructed by coefficients.
5.5 Changing the section of the power curve
You have the possibility of enlarging a certain section of the power curve. Click and drag a frame
from the left top to the right button around the section you want to select.
To restore the view of the whole power curve, click and drag a frame from the right to the left.
16 WBSetup-BEN100411 User Manual
Page 17

SMA Solar Technology AG Saving and loading data
6 Saving and loading data
6.1 Saving data
Once you have entered all the settings, you can save the data on your computer and reload it at
another point in time. You have the possibility to save the data in the opened file. To this end, select
"File > Save".
If you would like to save the data in a new file on you computer, proceed as follows:
1. In the menu bar, select "File > Save".
☑ The "Save as" window opens.
2. Select the path, in which the file should be saved.
3. Enter the file name in the "File name" field.
4. Select [Save].
☑ Data is saved onto your computer.
6.2 Loading data
You have the possibility to load saved data via "File > Open" in the menu bar, or to load one of the
4 last saved files directly via the file name in the menu bar under "File".
If you would like to load saved data via "File > Open", proceed as follows:
1. Open Windy Boy Setup Tool.
2. In the menu bar, select "File > Open".
☑ The "Open" window opens.
3. Select the file that is to be opened.
4. Select [Open].
☑ The file will be loaded.
User Manual WBSetup-BEN100411 17
Page 18

Sending data to the inverter SMA Solar Technology AG
7 Sending data to the inverter
As soon as you have set the power curve optimally, you can send the settings to the inverter. For this,
the inverter must be in operation and detected by the software.
To send the data to the inverter, proceed as follows:
Installer password
Please contact the SMA Solar Technology Serviceline if you have any questions
concerning the installer password (see 9”Contact” (page20)).
1. Select [Transfer].
☑ The log-in window opens.
2. Enter the installer password in the "Password" field.
3. Select [OK].
☑ Data is sent to the inverter. The inverter takes the setting on after it has been disconnected from
the grid once and turned back on again.
18 WBSetup-BEN100411 User Manual
Page 19

SMA Solar Technology AG Uninstalling the software
8 Uninstalling the software
You can completely remove the software from your computer. Select your operating system and
proceed as described in the following sections:
8.1 Uninstalling the software from Windows XP
1. Select "Start > settings > control panel > software" in Windows.
2. Select the software from the list and click on [remove].
☑ The software is completely removed from your computer.
8.2 Uninstalling the software from Windows Vista
1. In Windows, select "Start > Computer".
☑ "My Computer/Computer" opens.
2. Select "Uninstall or change program".
☑The "Uninstall or change program" window opens.
3. Select the software from the list, and choose [uninstall/change].
☑ The software is completely removed from your computer.
User Manual WBSetup-BEN100411 19
Page 20

Contact SMA Solar Technology AG
9 Contact
If you have technical problems with our products, please contact our Serviceline. We require the
following information in order to provide you with the necessary assistance:
•Software version
•Communication type
SMA Solar Technology AG
Sonnenallee 1
34266 Niestetal, Germany
www.SMA.de
SMA Serviceline
Inverters: +49 561 9522 1499
Communication: +49 561 9522 2499
Fax: +49 561 9522 4699
E-Mail: serviceline@SMA.de
20 WBSetup-BEN100411 User Manual
Page 21

SMA Solar Technology AG Legal Restrictions
The information contained in this document is the property of SMA Solar Technology AG. Publishing its content, either partially or
in full, requires the written permission of SMA Solar Technology AG. Any internal company copying of the document for the
purposes of evaluating the product or its correct implementation is allowed and does not require permission.
Exclusion of liability
The general terms and conditions of delivery of SMA Solar Technology AG shall apply.
The content of these documents is continually checked and amended, where necessary. However, discrepancies cannot be
excluded. No guarantee is made for the completeness of these do cuments. The latest version is available online at www.SMA.de
or from the usual sales channels.
Guarantee or liability claims for damages of any kind are excluded if they are caused by one or more of the following:
• Damages during transportation
• Improper or inappropriate use of the product
• Operating the product in an unintended environment
• Operating the product whilst ignoring relevant, statutory safety regulations in the deployment location
• Ignoring safety warnings and instructions contained in all documents relevant to the product
• Operating the product under incorrect safety or protection conditions
• Altering the product or supplied software without authority
• The product malfunctions due to operating attached or neighboring devices beyond statutory limit values
• In case of unforeseen calamity or force majeure
The use of supplied software produced by SMA Solar Technology AG is subject to the following conditions:
• SMA Solar Technology AG rejects any liability for direct or indirect damages arising from the use of software developed by
SMA Solar Technology AG. This also applies to the provision or non-provision of support activities.
• Supplied software not developed by SMA Solar Technology AG is subject to the respective licensing and liability agreements
of the manufacturer.
SMA Factory Warranty
The current guarantee conditions come enclosed with your device. These are also available online at www.SMA.de and can be
downloaded or are available on paper from the usual sales channels if required.
Trademarks
All trademarks are recognized even if these are not marked separately. Missing designations do not mean that a product or brand
is not a registered trademark.
The Bluetooth
Solar Technology is under license.
SMA Solar Technology AG
Sonnenallee 1
34266 Niestetal
Germany
Tel. +49 561 9522-0
Fax +49 561 9522-100
www.SMA.de
E-Mail: info@SMA.de
© 2004 to 2010 SMA Solar Technology AG. All rights reserved
®
wor d mark an d logos are registe red trad emar ks own ed by Blu etoo th SIG , Inc. and a ny use of such marks by SMA
User Manual WBSetup-BEN100411 21
Page 22

SMA Solar Technology AG
www.SMA.de
 Loading...