

SINGER W7317 User Manual

c
lEWING MACHINE
a

CONTENTS
Page
Contents .......................................................................................... ^
Name of Each Parts ........................................................................... 2
Special Features ................................................................................ 3
1. Installing Head into Cabinet
2. Attaching Motor to Machine
3. Built-in-Light ........................................................................ 5
4. Winding the Bobbin
5. To Insert and Remove the Bobbin Case
6. Threading the Bobbin Case
7. Placement of the Needle
8. Threading the Machine ....................................................... 11
9. Picking up the Bobbin Thread ............................................ 12
10. Commencing Sewing ........................................................... 12
11. Regulating Thread Tension
12. Regulating the Pressure of the Presser Foot ••• 14
13. Drop-Feed Control
14. Regulating Stitch Length
15. Zig-zag Sewing ..................................................................... 15
.................................................
.....................................
.........................................
..........................
..................................................
.....................................................
................................................
...............................................................
....................................................
6~7
8
10
^
4
13
15
15
Page
16. Cleaning the Snap-Open-Race .......................................... 17
17. Oiling the Machine ................................................................... 18
18. Sewing on Button .................................................................... 19
19. Making Button-Hole ............................................................. 20
20. Darning & Embroidery
21. Quilting ................................................................................ 21
22. Sewing Braids & Raising Applique Stitches ■■■ 21
23. Narrow Hemmer ................................................................... 22
9
24. French Seam (Felling) ......................................................... 23
25. Lace Trimmed Hem
26. Lace Edge With Invisible Stitching
27. Flat Felled Seam .................................................................. 25
28. Cloth Guide .......................................................................... 26
29. Attaching the Zipper Fastener
30; Some Useful Hints ............................................................... 27
31. Causes of Common difficulties
32. Needle and Thread Sizes
(Use 15X1 Needle only)
Parts List
.......................................................
.............................................................
...................................
...........................................
.........................................
...............................
21
24
24
26
28
29
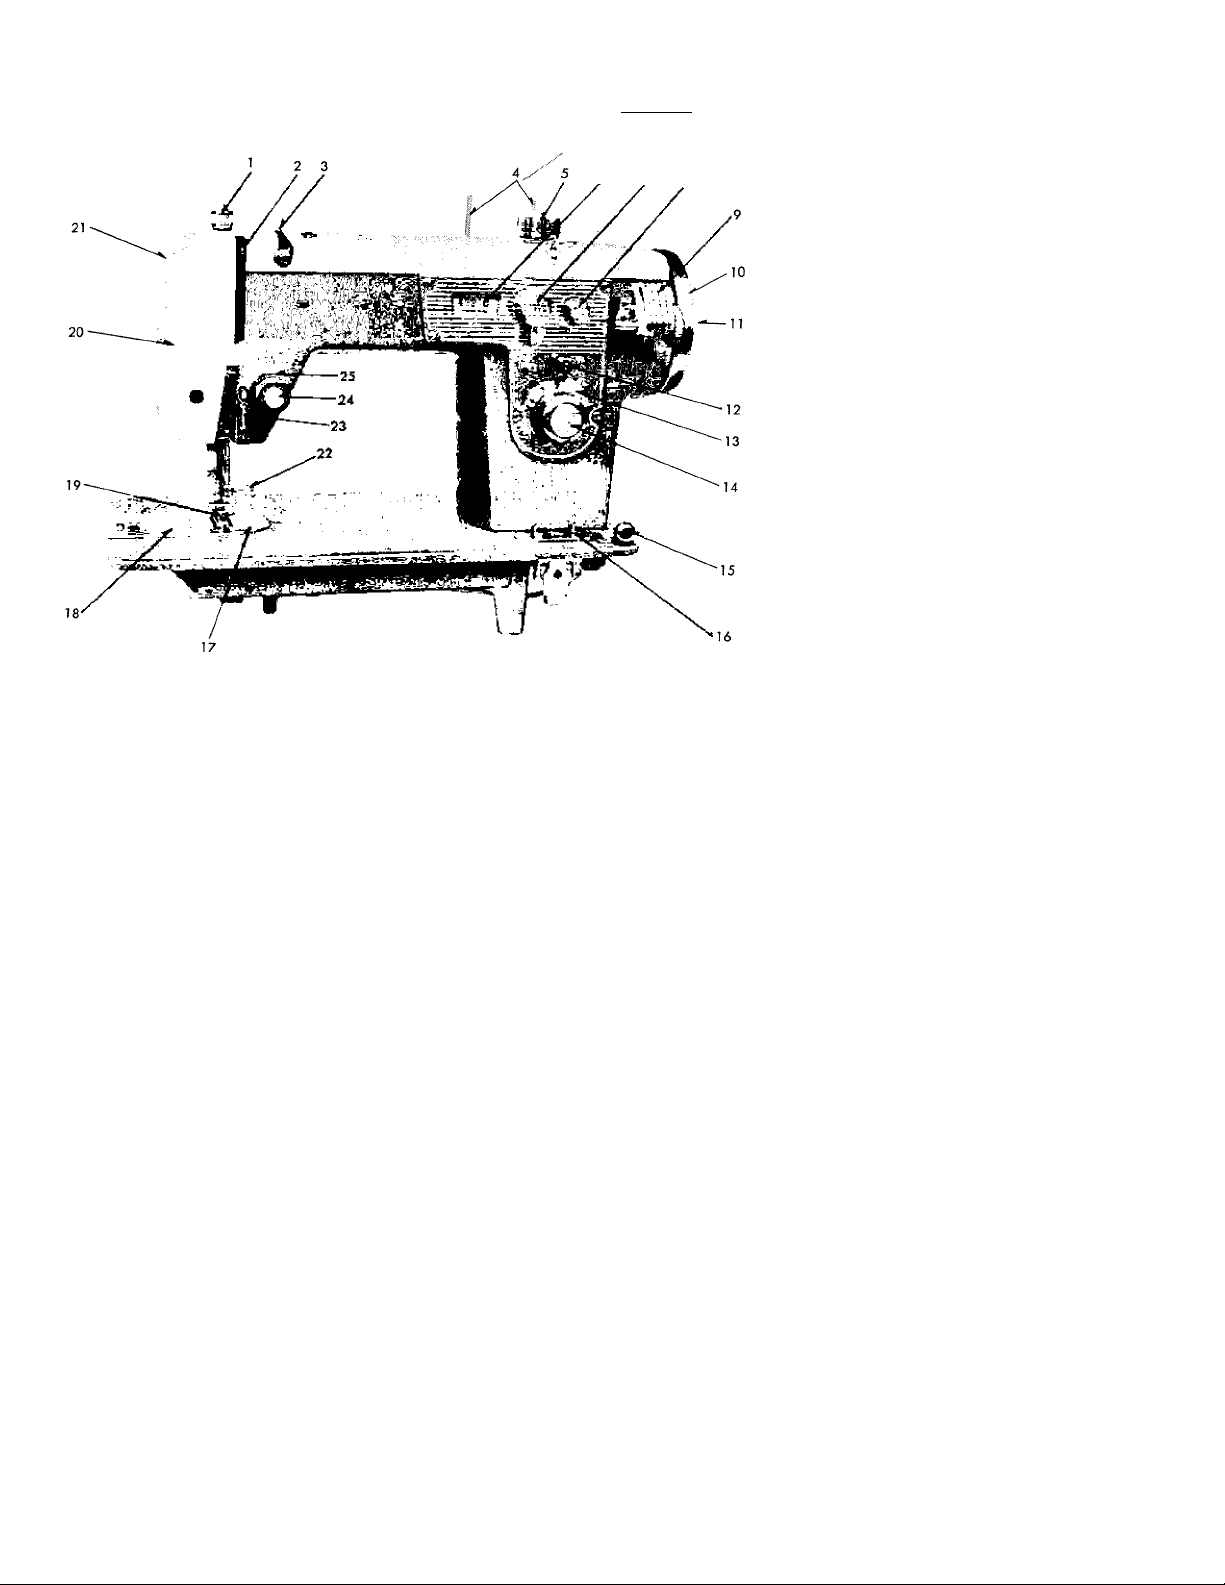
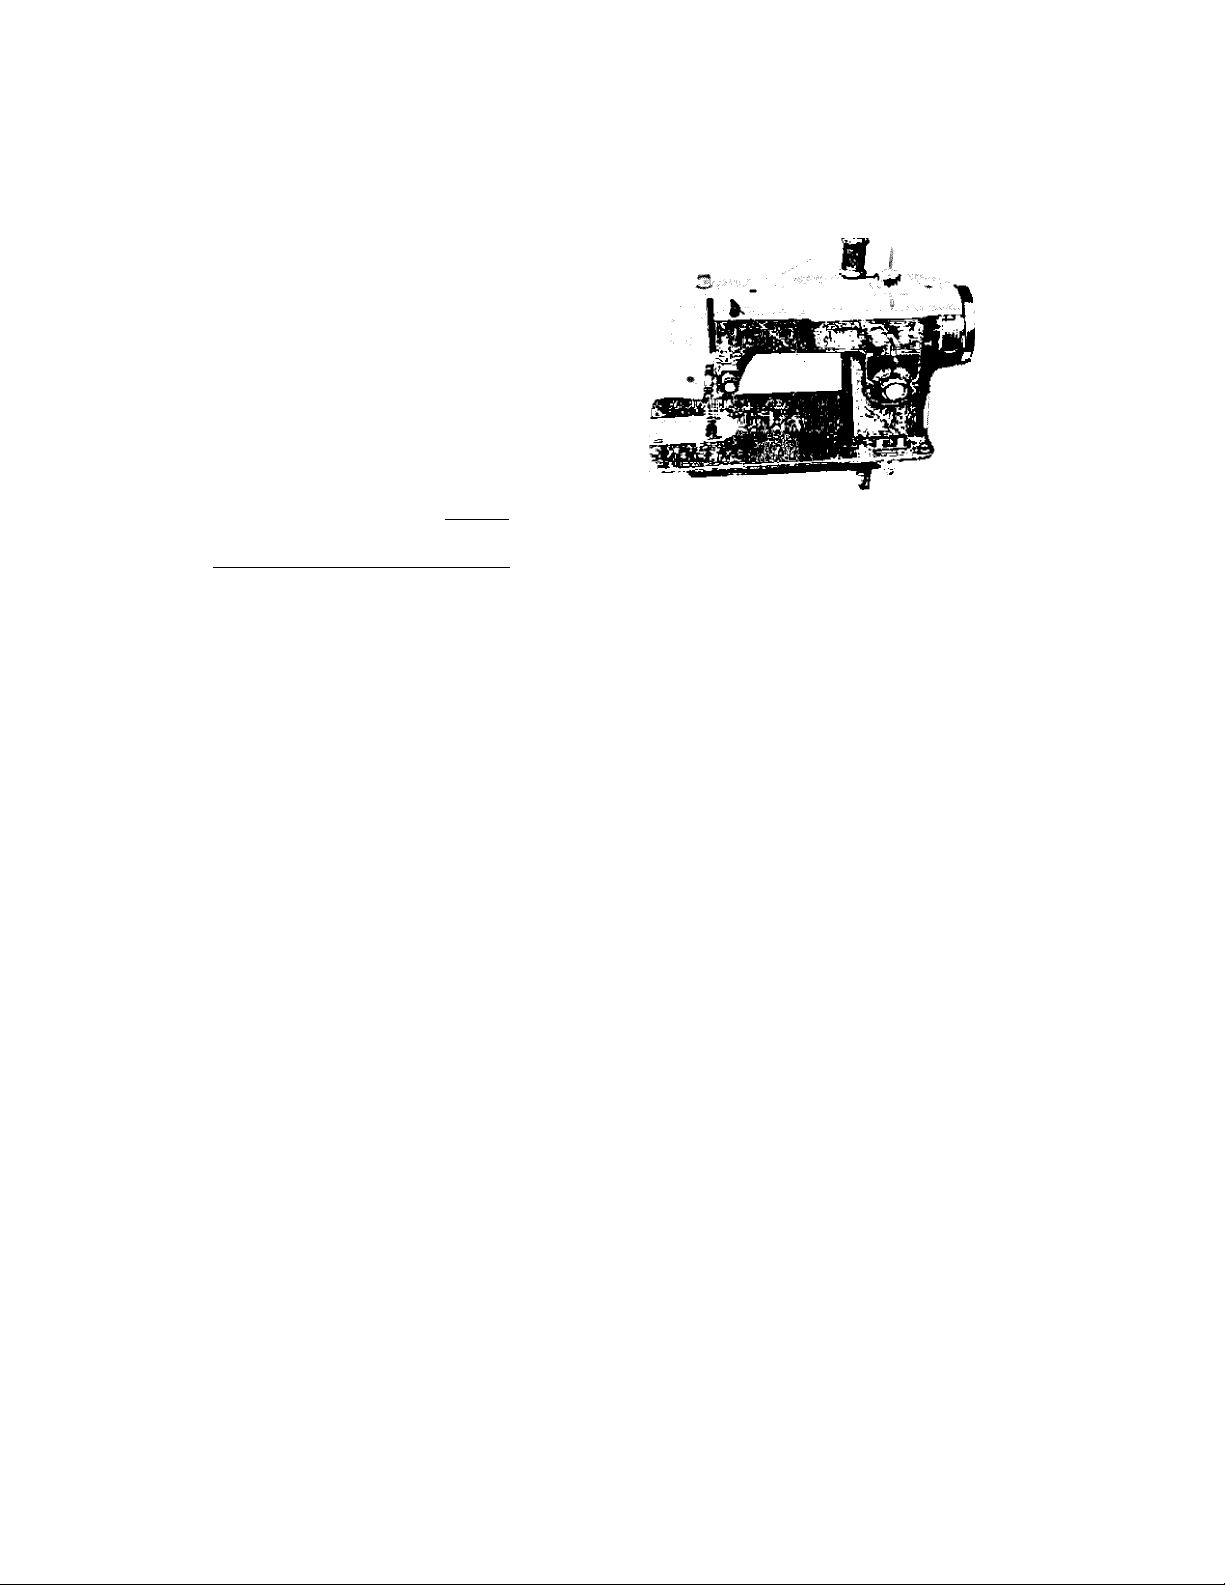
NAME OF EACH PARTS
6
' /1 A
1 /"“
7 8
1. Automatic darner
2. Thread take up lever
3. Upper arm thread guide
4. Spool pins
5. Button hole knob
6. Zig-zag width window
7. Zig-zag width control knob
8. Zig-zag width stopper
9. Bobbin winder
10. Balance wheel
11. Stop motion knob
12. Push button for reverse sewing
13. Stitch length window
14. Stitch length control knob
15. Bobbin winder thread tension guide
16. Push button drop feed
17. Needle plate
18. Slide plate
19. Presser foot for zig-zag sewing
20. Face cover (Built-in-light)
21. Sew-iieht switch
22. Needle clamp
23. Upper thread retaining bar
24. Upper thread tension regulator
25. Check spring

SPECIAL FEATURES
AUTOMATIC DARNIR (PRESSURE RiGULATOR) - enables you to select the exact pressure by pushing
the button according to materials,
STITCH LENGTH CONTROL KNOB - regulates the stitch length by turning the knob. It helps you to select
the stitch size with ease and accuracy.
PUSH-BUTTON FOR REVERSE SEWING - changes to sew reverse stitch from forward by pushing this
button.
AUTOMATIC BOBBIN WINDER - winds your bobbin and stops automatically when bobbin is filled.
NUMBERED UPPER THREAD TENSION REGULATOR - allows the tension of the upper thread to be
easily and accurately adjusted according to thread and material weight.
BUILT-IN-LIGHT - none glare sew-light will be more efficient, light bulb can be changed easily.
BUTTON-HOLE SWING - can be sewn automatically by regulating the knob, without turning the fabrics.
PUSH-BUTTON DROP-FEED - darning & embroidery can be selected easily and accurately.
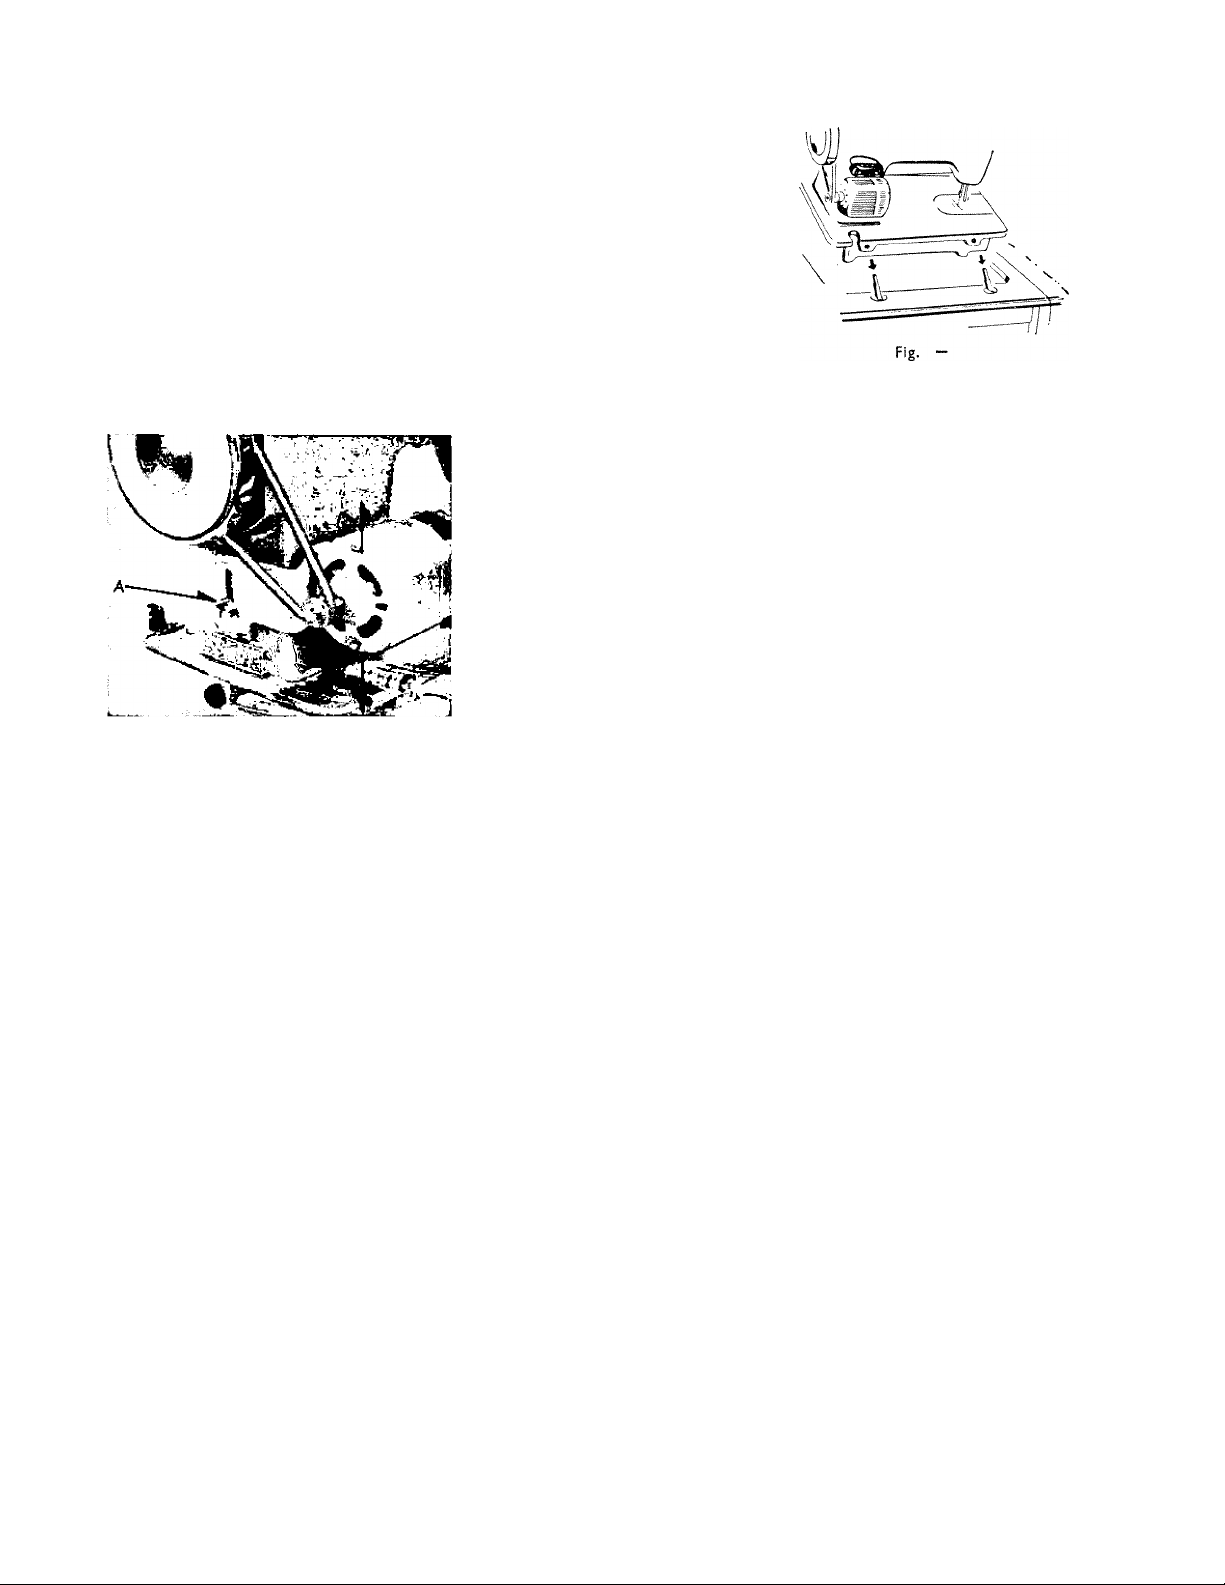
1. INSTALLING HEAD INTO CABINET
1) Loosen the two hinge screws under the holes in the rear edge
of the machine bed ¡Fig. 11.
2! Raise hinge-pins in the cabinet cut-out, slip machine head on
the pins, and tighten hinge screws securely.
2. ATTACHING MOTOR TO MACHINE
1) Place the motor bracket over the tongue of the arm under
the balance wheel, the screw hole in the center of the
tongue can be seen through the slot of the motor bracket
IFig. 2).
2! Then insert the screw and after shifting the motor upward
as far as it will go, tighten the screw.
3) Slip the motor belt into the groove of the balance wheel,
and then slip the belt into the groove of the motor pulley.
4) Adjust the belt tension by loosing the motor bracket fas
tening-screw and let the motor drop downward until the
Fig. 2
Then tighten the motor bracket tastening-screw tightly. NEVER OIL THE MOTOR.
correct belt tension has been reached.
— 4 —
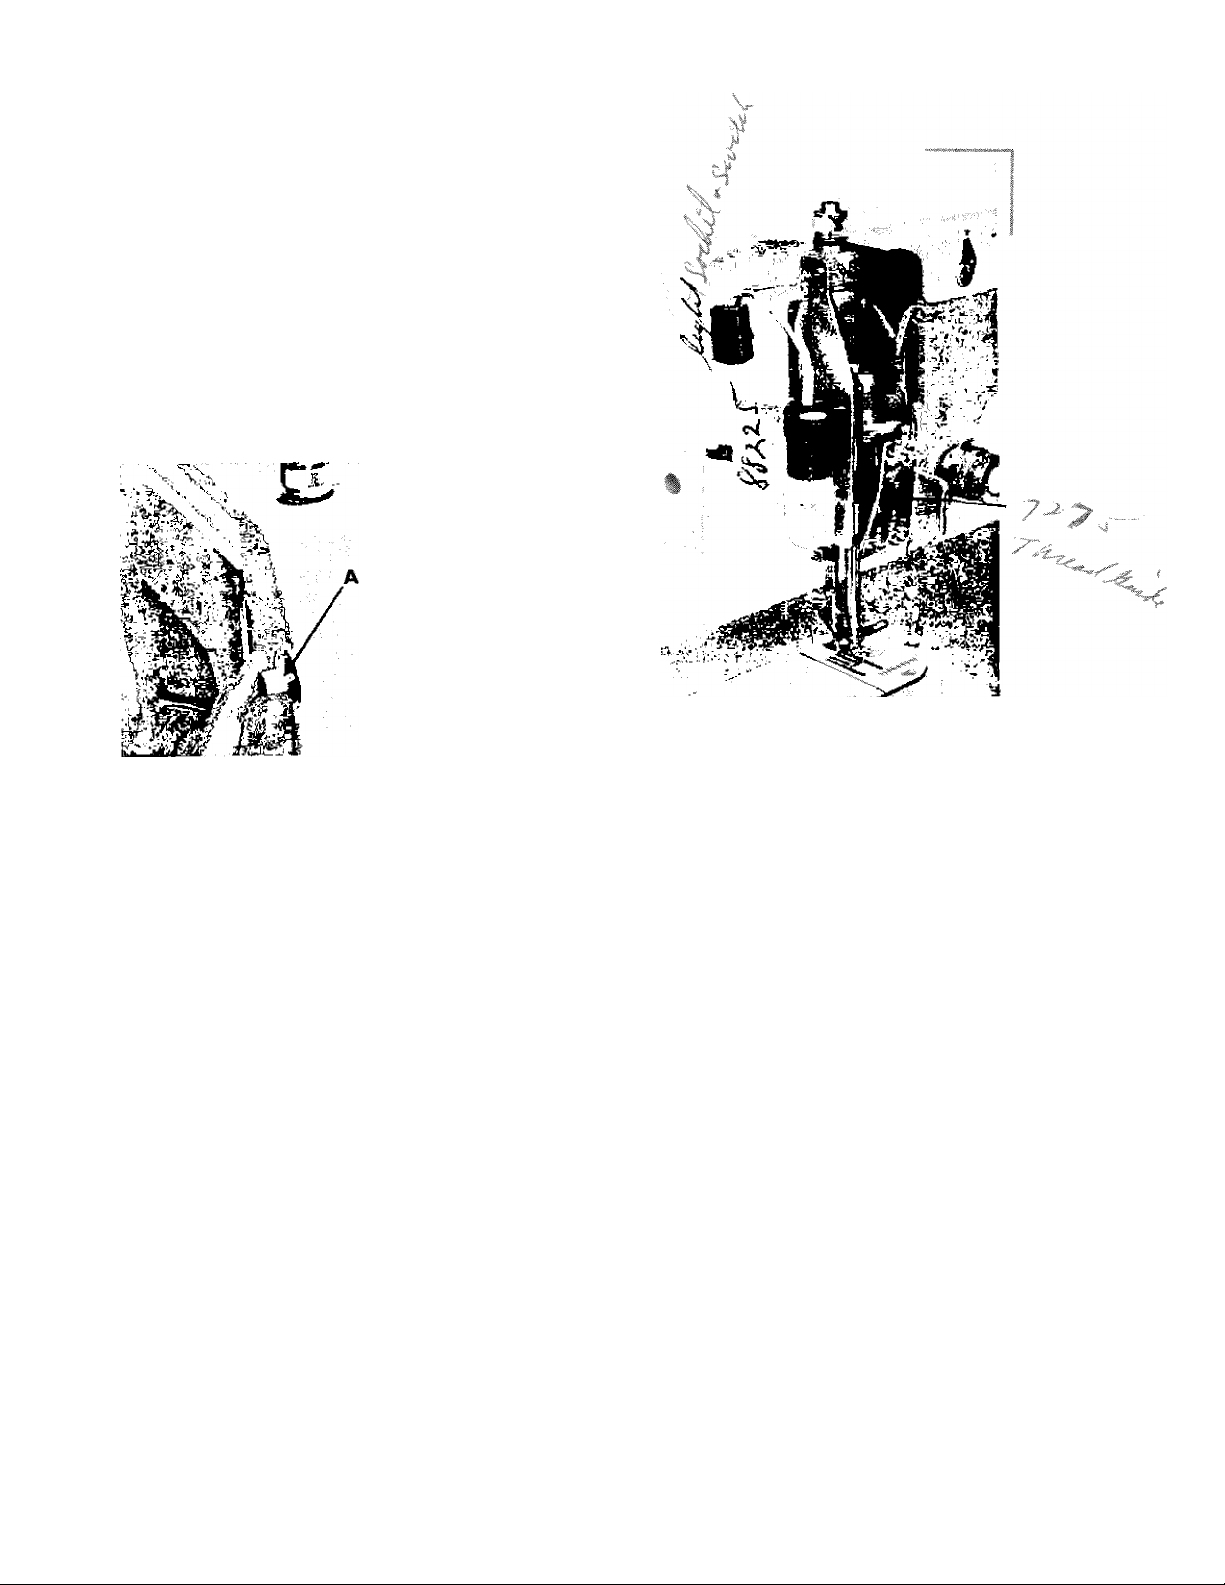
As shown in ¡Fig. 3). lamp is encased in the face
cover. Light is put on when the lamp switch (A)
located on back side of face cover is revolved clockwise,
and when turned further it is put off. When you want
to replace the new bulb, open the face cover and
un-screwes- Electric bulb (15w| is available at any
department stores, electric shops, or your sewing
machine dealers.
Fig. 3-A
Fig. 3-B
4. WINDING THE BOBBIN
II Hold the balance wheel with your left hand and turn the stop motion knob (A) (Fig. 41 toward you with your right
hand (counter-clockwise!. The balance wheel is now disconnected for the bobbin winding operation.
21 °lace a spool of thread on the spool pin (Fig. 51. Draw the thread from the spool to thread guide' then downward
across the machine from left to right.
31 Pass the thread through the tension device at the |
right corner on the bed. i
4) Now wind the end of thread around an empty
bobbin several times and insert the bobbin on the
bobbin winder spindle.
51 Press the bobbin winder cover until a click is
heard. The bobbin winder release lever is now
touching the spindle of the bobbin. It holds the
bobbin in place.
I
Fig. 4
6) Press vour foot controller or knee controller in
the same manner as in sewing, when the
bobbin is nearly full, it will release automa
tically and stop turning.
Remove the bobbin from the spindle. Hold the
balance wheel firmly with the left hand and
tighten the stop motion knob away Iclockwise!
with right hand.
You may continue sewing while you are
winding bobbin without disconnecting
balance wheel.
Fig. S
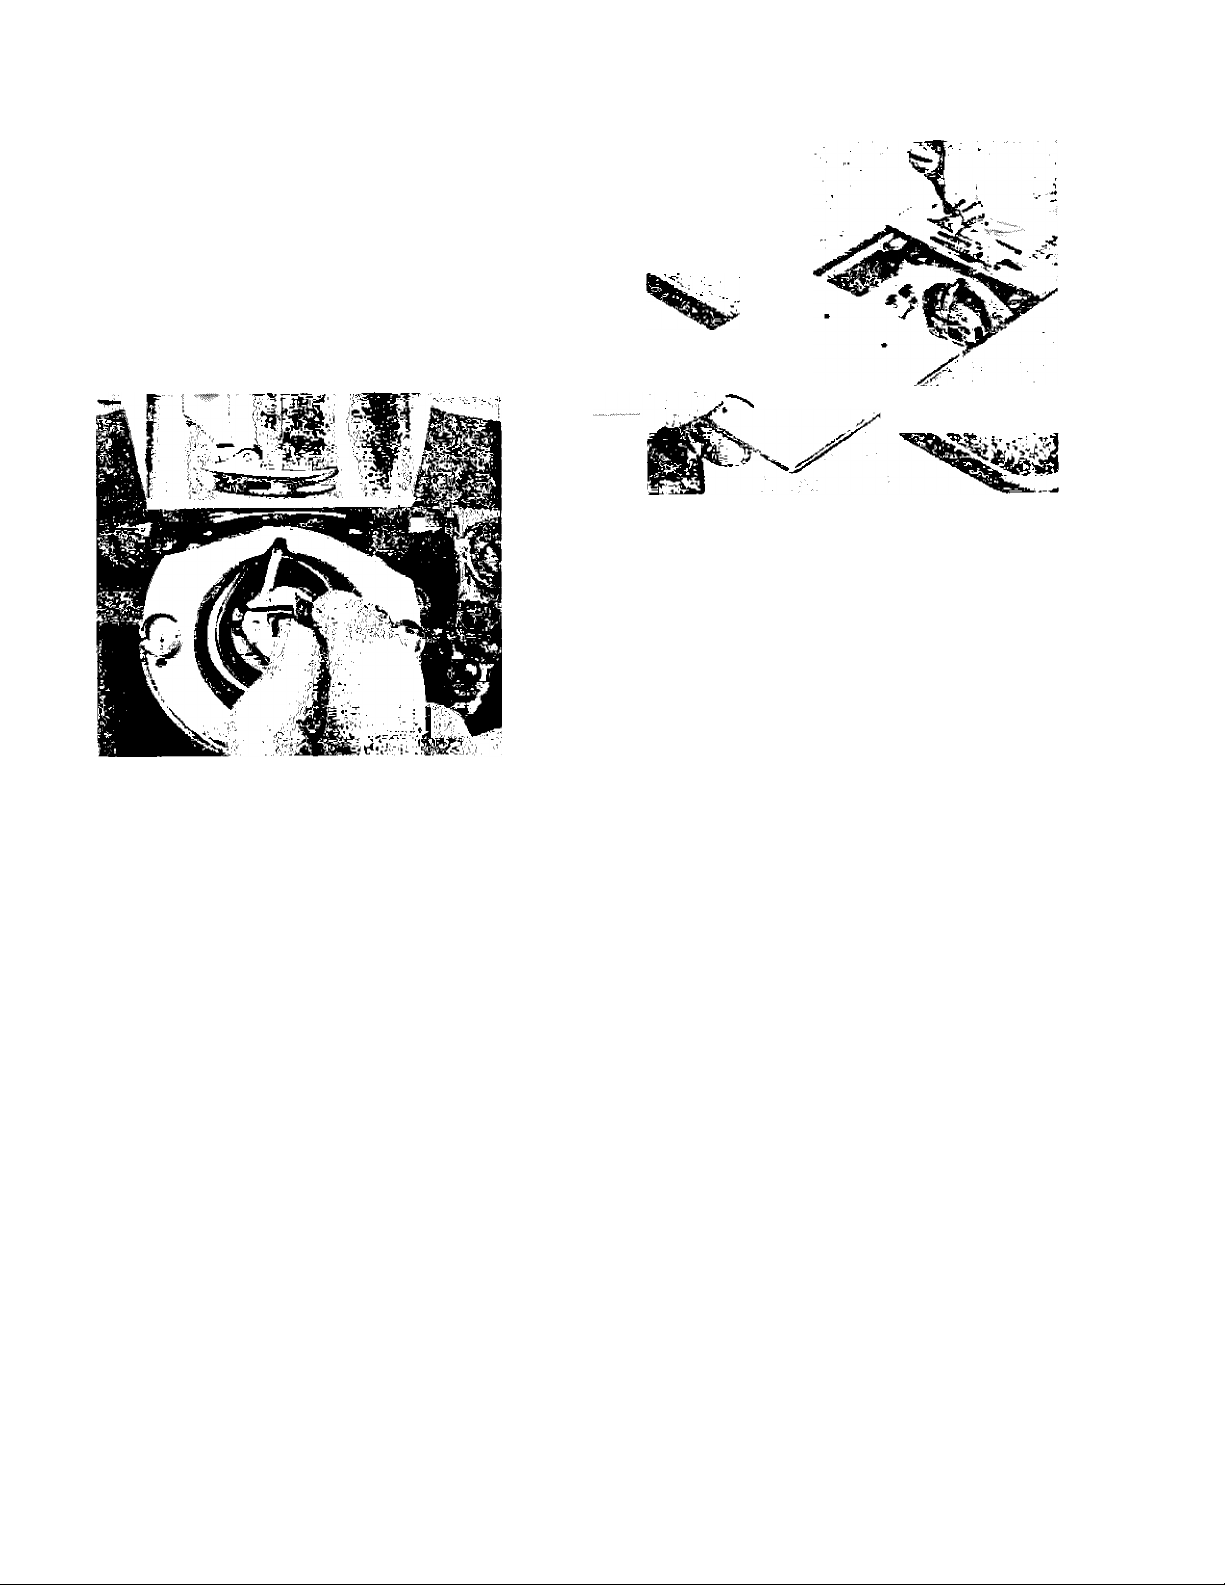
5. TO INSERT AND REMOVE
.................... THE BOBBIN CASE
1) Raise the presser bar by lifting the presser bar lifter.
2) Turn the balance wheel toward you until needle bar
comes to its highest position,
3) Pull out slide plate to the left (Fig. 6).
4) With the thumb and forefinger of the left hand, grasp the
5) Allow the end of thread to hang free.
6) Push back the slide plate.
Fig. 7
Fig. 6
bobbin case latch with thread coming from the top, slide
out the case (Fig. 7).
To remove the bobbin case do all the above in reverse
order.
8
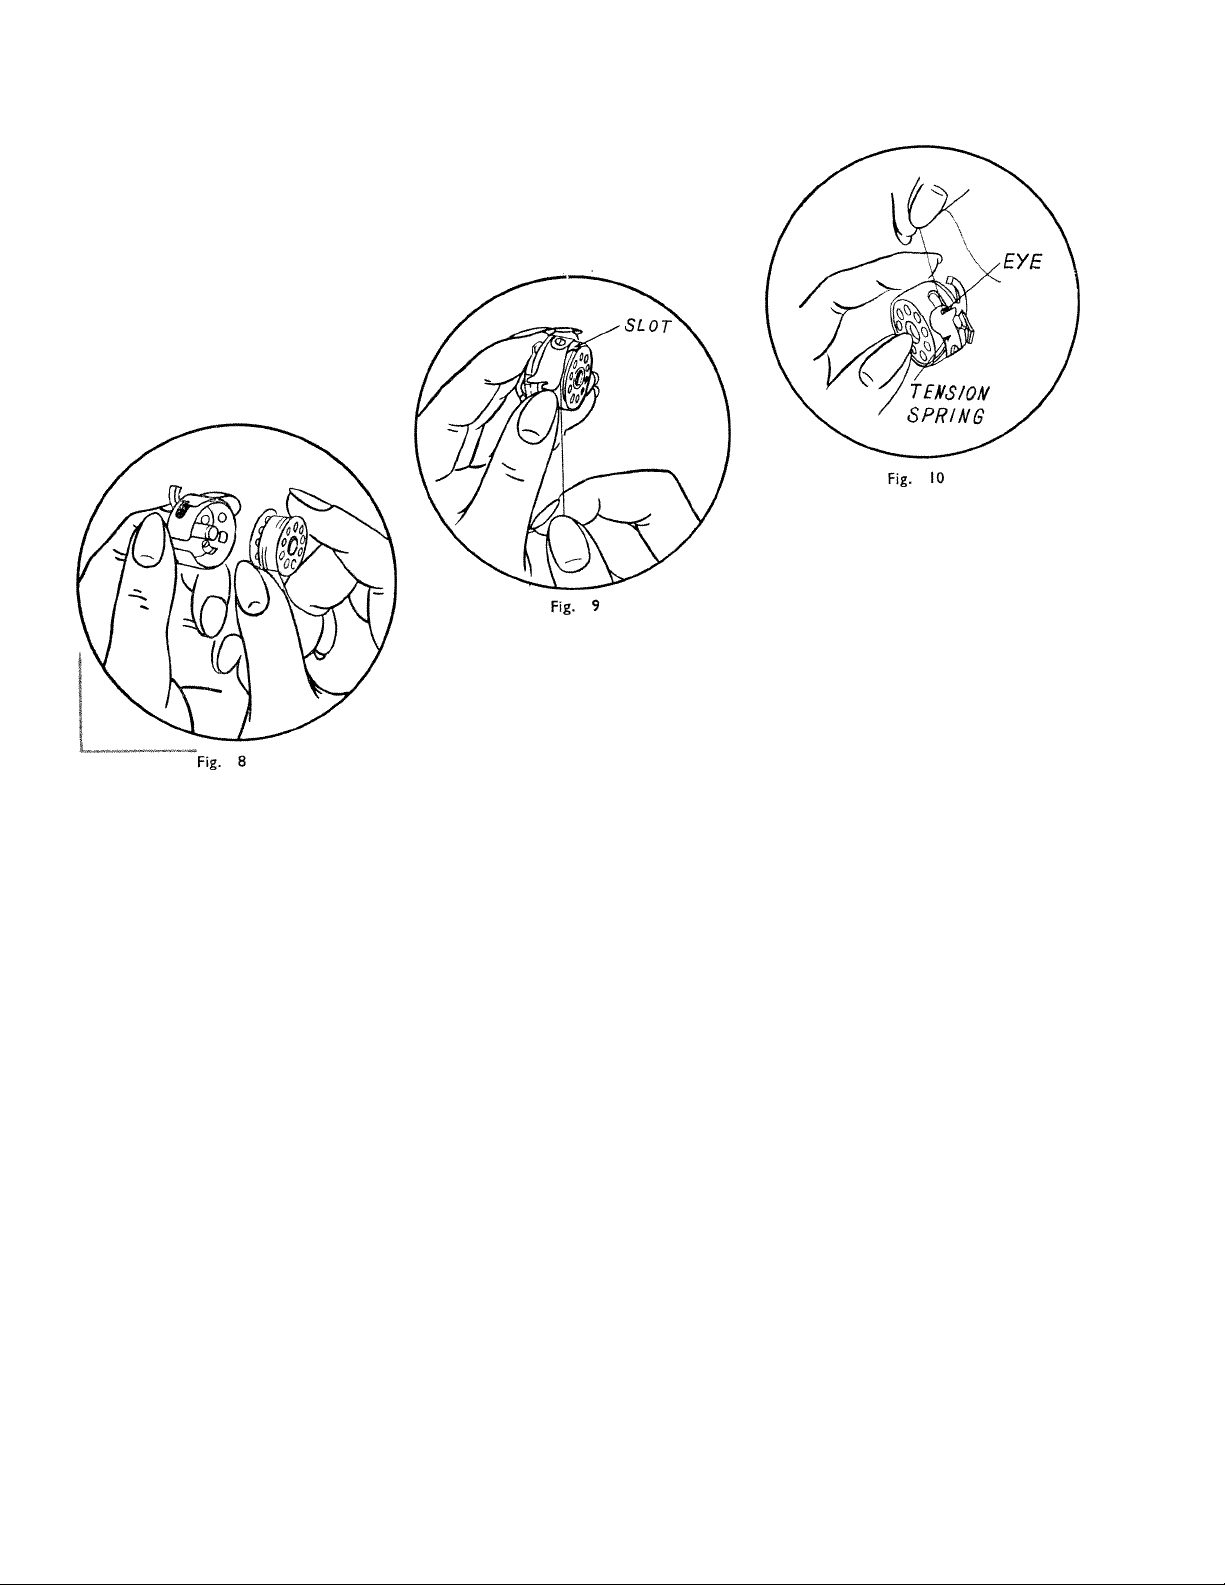
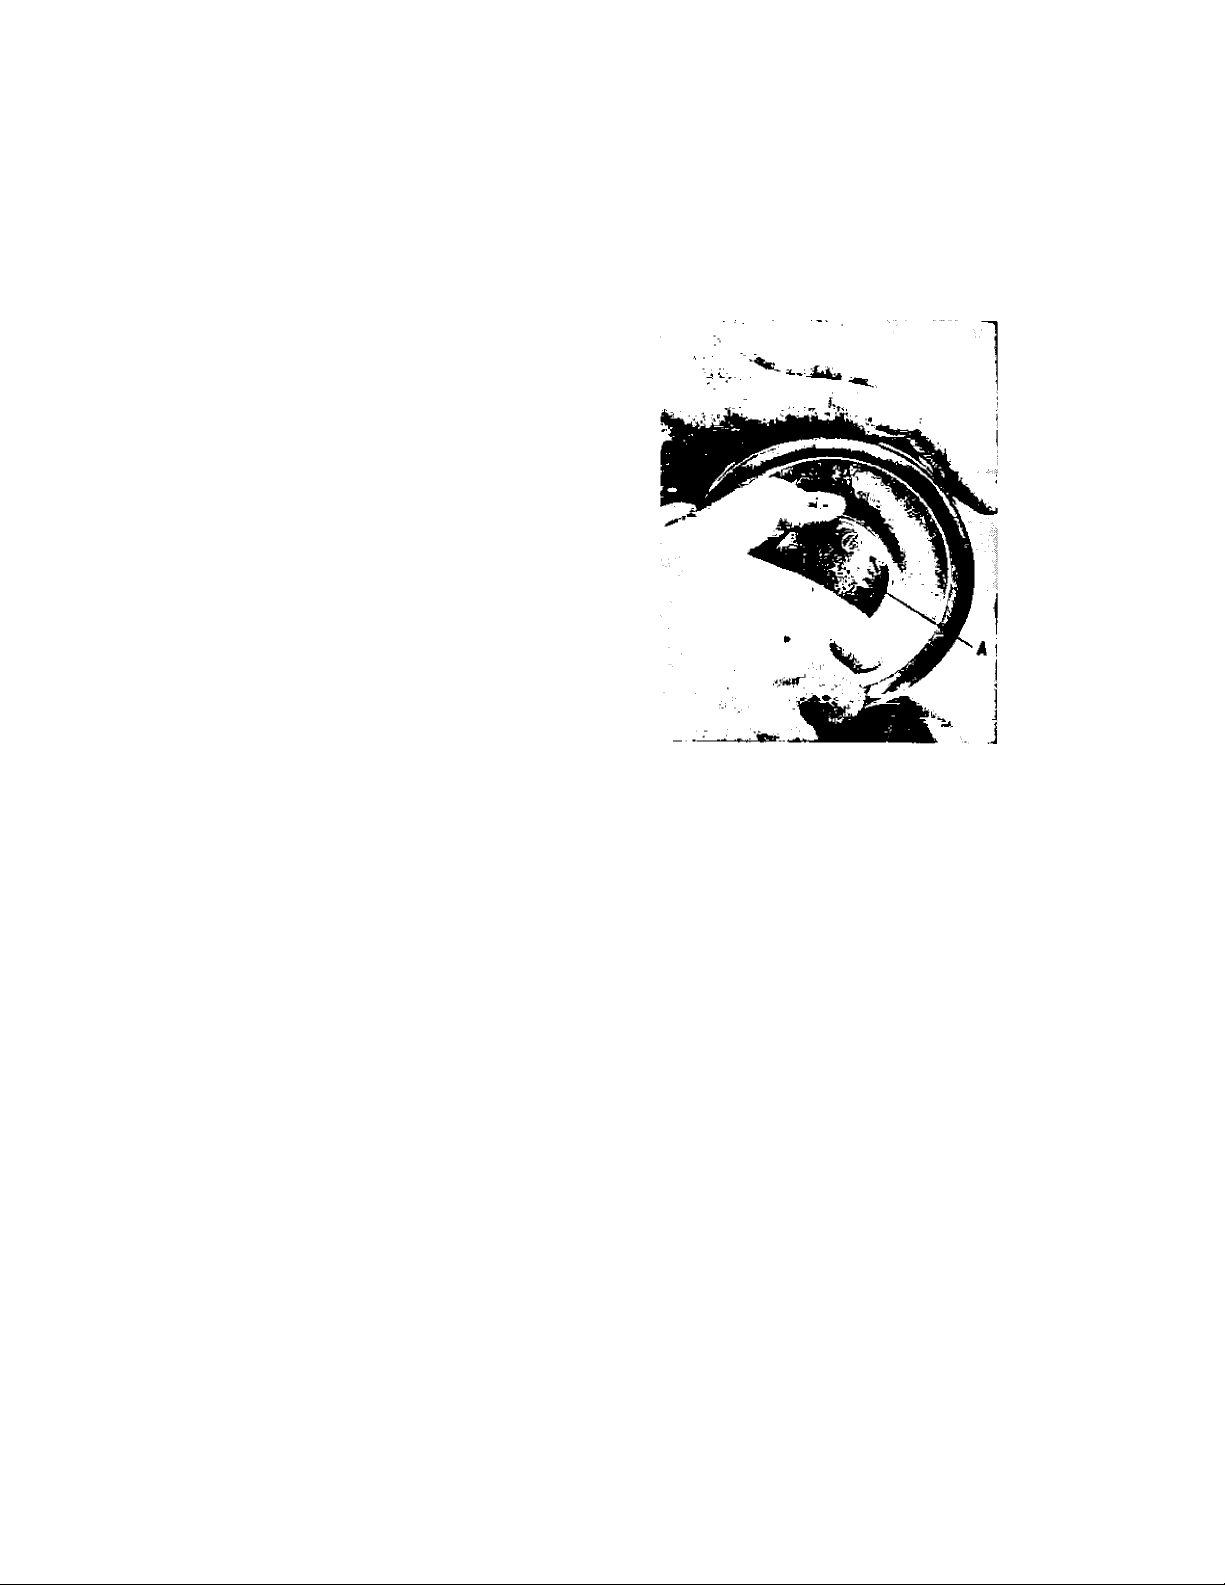
6. THREADING THE BOBBIN CASE
Before threading the bobbin case, study IFig. 8, 9, 10) to get a
general idea as to how it is done.
1) Hold the bobbin case with your left hand and put the bobbin
into the bobbin case with your right hand, leaving about two
inches of the thread end un
wound (Fig. 8). As the bobbin
is being inserted in the bobbin
case, the thread flow in
clockwise.
3) Then pull it through under the tension spring of
the bobbin case IFig. 9) until it enters the delivery
eye (Fig. 10!.
2! While holding the bobbin case
as before, grasp the thread end
with your right hand, and draw
it into the cross slot (Fig. 8).
 Loading...