

Page 1
Blectric Sewing Machine
BUILT-IN STITCH
SELECTOR
Page 2

. . . welcome to the growing family of
happy owners of this fine, precision built
electric sewing machine.
You now have one of the finest full-size
sewing machines made, with all these won
derful features :
• BUILT-IN STITCH REGULATOR
• INSTANT REVERSE-SEWING by just
flicking a lever.
• DROP-FEED for embroidery and darn
ing.
• BUILT-IN DARNER.
• NUMBERED THREAD TENSION DIAL.
• AUTOMATIC BOBBIN WINDER. Self
adjusting.
• HINGED PRESSER FOOT that rides
over pins, seams, etc
• AUTOMATIC TENSION RELEASE.
• NOTCHED SHUHLE HOOK that pre
vents thread from tangling.
• SNAP-OUT RACE for convenience in
cleaning.
This machine is precision-built for o lifetime of sewing pleasure. It will
require a minimum amount of servicing, and will give the maximum in
satisfaction. Needles, bobbines and other parts are interchangeable with
those of other first class manufacturers.
This manual provides all the information needed to operate the machine
and to care for it properly. Hence, read through the book thoroughly so
that you may become familiar with beha-dor and operation of the machine
Foil ow all instructions closely.
Several seivice calls may be necessary to adjust this machine to your
Individual needs, and to eliminate any stiffiness which may be present in
a new machine. So do not hesitate to call on your Authorized Dealer for
any adjustment needed during the initial break-in period.
Page 3

!>o èasu
Keep the machihe clean and well oiled
Adjust tensions, etc. properly
Use proper size needles
WHEN PURCHASING NEEDLES FOR THIS MACHINE,
Enjoyable Sewing
NEVER ATTEMPT TO USE A BENT NEEDLE,
NOR ONE WITH A BLUNT POINT
ASK FOR 15x1 NEEDLES ONLY.
Sizes and !
Grades of
Needles i
; 11
i
1 (Medium1 Fine)
14
(Medium)
16
(LightHeavy)
Ì8
Medium '
Hea^'y)
1
I Nylon and Plastics.
Medium light-weight and
summertime fabrics.
For house dresses, children's
dresses, washable cotton dress
es, aprons, curtains.
Dress silks and cottons, light
weight woolens, draperies,
fabric furnishings.
Fot general household sewing,
fine men’s shirts, smocks, win
dow draperies and fabric
decorations.
Heavy cretonne^ madras, mus
; lin, brocades and quilts. |
For men's work shirts, sturdy I
smocks and aprons, heavy i
guilting and fabric furnishings. I
Heavy woven coating, light ^
weight canvas, bed ticking,
upholstery and awning mate
rials, slip-cover fabrics.
: For work or sports uniforms,
suits made of strong linen or
• cotton fabrics, awnings, slip
covers and mattresses.
Heavy woven suiting, coating,
duck, ticking, drilling, canvas
and sacking.
For heavy washing uniforms,
bedding supplies for hospi
tals, hotels and camps.
Type of Fabric
and
Work to be Done
Cotton
^ 80
to
100
60
to
80
40
to
60
24
to
30
: ^
1
; E
1 Twist
Silk
0
Twist
k & %
Twist
C
Twist
SIZE OF THREAD ji
Lii
1
__ 60
Ì to
1 80
Ir. general «wing, use the same size thread is the bobbin as js used on top.
Page 4
to Set the J^ecdk
FLAT
SIDE
m
Raise needle to its highest point by turn
ing the balance wheel toward you by hand.
Loosen the needle-clamp screw on the
right hand side of the needle bar. Remove
the old needle, and slide new needle up
(FLAT SIDE TOWARD BALANCE
WHEEL) until it hits the stop. Then
tighten the needle-clamp screw securely.
For best results, change needles frequently.
WtaUec
.y-7*
m
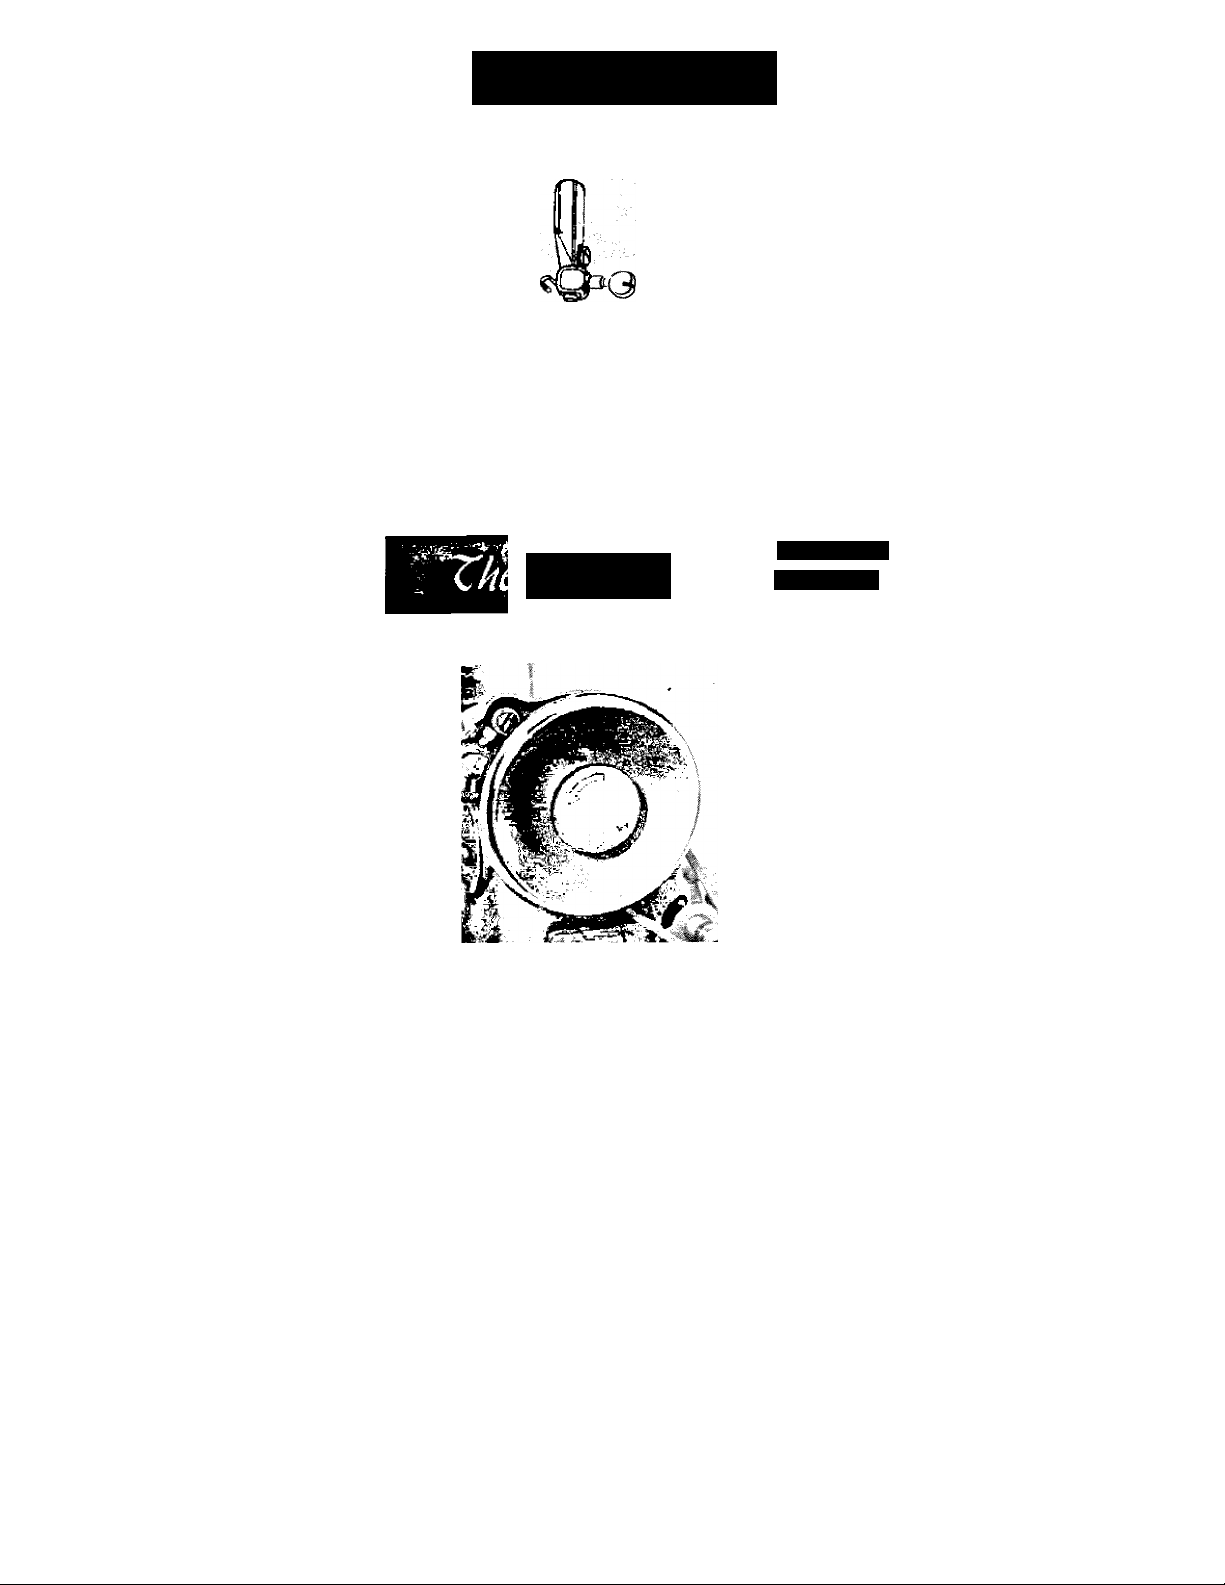
WHEN SEWING, WINDING BOBBINS, or
CHANGING NEEDLES ALWAYS TURN
THE BALANCE WHEEL TOWARDS YOU
The balance wheel is provided with
a stop-motion device which allows the
balance wheel to run freely so that
bobbins may be wound without operat
ing the needle.
To loosen the wheel, hold it tightly
with the left hand, and with the right
hand, turn the stop-motion knob toward
you. See arrow.
To tighten the balance wheel, turn
stop-motion knob away from you.
Page 5
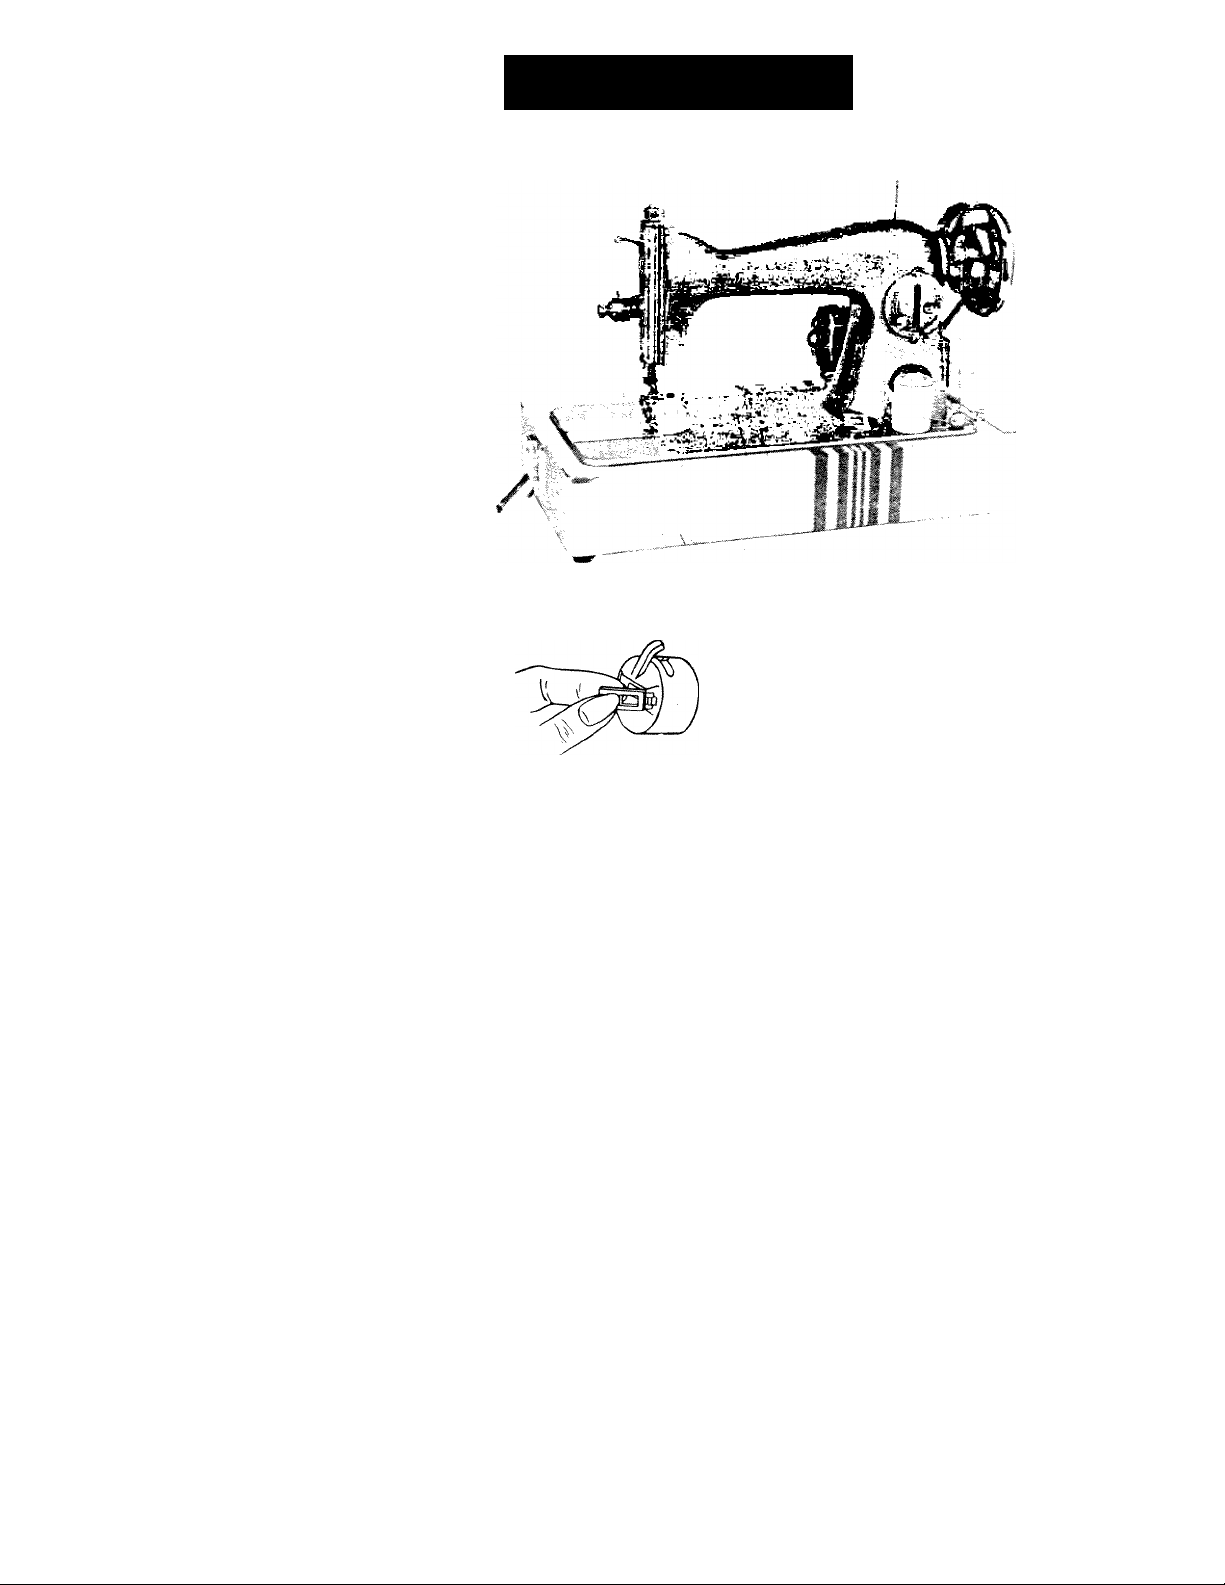
ii) Wind the Bobbin
First remove the bobbin case as Follows; Turn
the balance wheel toward you until the needle
bar is at its highest point. Hove the slide plate to
the left, and with two fingers grasp the hinged-
latch on the bobbin case and remove the case.
The bobbin will remain in the case as long as
you hold on to the hinged-latch. CloSe the latch
and the bobbin will fall out.
m
Loosen the balance wheel (as explained on Page 4.)
Place a spool of thread on the spool pin (A). Pass the thread through the tension
disc (B) at right corner of ti,e base of the machine. Wind the end of the thread
around an empty bobbin six or seven times and place the threaded Dobbin on the
spindle iC) of the bobbin winder. Press the bobbin onto the spindle making sure
that the PIN on the spindle fits into the SLOT in the bobbin winder. Push the bobbin
winder lever (D) down until the small.rubber wheel presses against the hub of the
balance wheeb and the clasp (E) falls between the sides of the boobin, holding it in
position.
Turn the balance wheel toward you, and press the knee control or Foot control (as
in sewing) to wind the bobbin completely. Run the machine slowly to wind the bobbin
evenly.
When the bobbin is full it will release automatically and come to a stop. Break off
the thread and remove the bobbin and reset the balance wheel for sewing.
Should the thread wind unevenly on the bobbin, adjust the tension discs (B) at the
bottom by loosening the screw and sliding the tension right or left as needed to chance
the tension.
Screw up the adjusting thumb screw (F) until the rubber ring gently touches the
balance wheeL
Note;—this machine uses standard 15 class bobbins—available at all sewing stores.
Page 6

ff- i.
Zh reading the Bobbin Case
Hold the bobbin case between the thumb and
forefinger of your left hand with the slot in the
edge facing up.
Hold the wound bobbin between the thumb and
two fingers of your right hand with the thread on
top leading away from you (see picture).
Insert the bobbin into the case, pull the thread
into the slot; then down under the spring, until it
enters the delivery eye.
i*»*'
ii?:-
(Be sure the needle is at its highest point.)
Hold the bobbin cose with your left hand
by the hinged-latch, with the metal finger
of the case pointing up and in line with the
notch at the top of the shuttle raceway.
Release the hinged-latch, and fitting the
centre of the bobbin over the center-pin
protruding from the racev./ay, press the bobbin
gently into position, being sure that the metal
finger fits into the notch of the raceway.
The 5 or 6 inches of thread hanging freely
from the case wii i be brought up later through
the hole in the centre of the ’needle plate.
Close the slide plate.
Page 7

Turn Balance Wheel
towards you until the
take-up lever is raised to
its highest point. Place
spool of thread on the
spool pin of the machine
arm ; pass thread over
and through the thread
guide Fig. 9 (A) at the
top corner of the face
plate, down and over the
back to front between
the tension-disc Fig. 9
(Bj up to thread guard
Fig. 9 (C), down into
the hook of take-up spr
ing Fig. 9 (D) and over
back to front through
hole in the end of the
thread take-up-lever Fig.
9 (E) down into the
eyelet of the face-plate,
Fig. 9 (F) into the lower }
wire-thread guide, Fig. 9
(G) Ihen from left to
FIGURE 9
right through eye of the
needle Fig. 9 (H j .
Draw about 2" of thread
through the eye of the
needle with which to commence sewing. Hold needle
thread in your left hand, turn balance wheal towards
you until needle moves up and down and up again to
its highest point, catching the bobbin thread, which will
be brought up that way through the hole in the thread
plate.
Page 8

Zo prepare for Sewing
Pick up the thread as follows : Holding
the loose end of the needle thread in your
left hand, turn the balance wheel toward
you by hand until the needle moves down
and up again to its highest point. Pull the
needle thread gently, and the bobbin thread
will come up with it in the form of a loop
through the needle hole. With your finger,
pull this loop until the end of the thread
appears. (If the bobbin thread does not rise,
check to see if at least 5 or 6 inches of
bobbin thread is hanging loosely from the
bobbin case.) Then draw both ends of the
thread back under the presser foot and
through the toes cf the presser foot.
Place the material to be sewn beneath
the presser foot, and lower the presser foot
lever. Insert needle into material by turning
the balance wheel toward you, from top
down, by hand. Regulate stitch to desired
size, and start sewing.
Do not trv to help the feeding of the
work by pulling the material, as this may
bend the needle and cause it to blunt or
break. As the machine feeds without any
assistance, it ir sufficient merely to guide
the fabric gently by hand in the direction
you want it to be sewn.
IT IS ADVISABLE TO TEST THE
TENSION AND THE STITCH LENGTH
ON TWO PLIES OF SCRAP MATERIAL
BEFORE STARTING TO SEW THE
ACTUAL GARMENT.
i c remove the work, stop the ma
chine with the needle at its highest
point ; raise the presser foot, and
draw the fabric back and to the left,
then pass the threads over the thread
cutter, and pul! down lightly to cut
them.
important
NOTICE
Never operate the
machine without
material under the
presser foot. If this
is not strictly ad
hered to, your ma
chine will lock, and
cannot be ope.ated
until the ra^d is
cleaned out of the
race.
Page 9

Kegulating the Stitch SormatioM^
For ordinary stitching; the tension on the upper and under threads should be equal,
and just sufficiently strong to lock both threads in the center of the work, as shown
above (A).
If the tension on the needle is too tight, or if that on the bobbin thread is too loose,
the needle thread will He straight along the upper surface of the material, thus mak
ing an imperfect stitch, as shown above (B).
If the tension of the bobbin thread is too tight, or if that on the needle is too loose,
the bobbin thread will be straight along the under side of the material, thus making
an Imperfect stitch, as shown above (C).
’ Regulating the Zension
A correct stitch can usually be obtained by
varying ^he tension on the needle thread.
AH adjustments should be made while the
presse” foot is down, since the automatic
release does not permit adjustments to be
made while the presser foot is up.
To increase the tension, turn the thumb nut
on the tension spring toward you. To lessen the
tension, turn the nut in the opposite direction.
The thumb nut should not be turned abruptly,
but regulated little by little, until the desired
tension is obtained.
The quality of sewing depends on the thread.
Hence, it is necessary for the user to become
fully familiar with the correct tensions, through
practice.
Page 10

CO Uegiilalc the jCeagth of thc^Stitchm^:^
r'|‘.
'To regulate length of
stitch, loosen thumb-screw
"A” and move it to the
bottom of the curved slot.
Now move stitch regulat
or lever “B” until its top
side is in line with the
number indicating the se
lected length of stitch.
Move thumb-screw “A”
until the regulator plate
touches the lever ”B”,
then tighten thumb-screw
"A”.
rf
Xo Reverse Sew
Loosen the thumb-screw "A” and move lever "B" above center line
towards position "R”.
can now adjust for desired reverse stitch. Tighten thumb-screw
A , so that it will lock the stitch. The machine will now sew in reverse.
NEVER SEW OR USE THE MACHINE with the Lever in
the NEUTRAL position.
To ADJUST THE BOBBIN TENSION.
All sewing machines are correctly adjusted before leaving the factory, and it is
therefore seldom necessary to alter the bobbin tension. '
Should it become necessaiy to do so, however, due to using certain hinds of materials,
the adjusting screw in the tension spring on the outside of the bobbin case can be
tightened so as to increase the tension, or loosened slightly in order to lessen the tension.
10
i
Page 11

m
ir
aa
This machine is fitted with both a dropfeed mechanism and a built-in darning de
vice which will enable you to darn, sew rips
and patches and Jo embroidery and applique
work.
TO WORK THE DROP-FEED, simply
turn the drop-feed button (at the right
bottom of the machine) to the right until
it stops—a quarter-turn. The feed dog is
then out of the way. For regular sewing
turn the button bock to its normal positio.'i.
It is adv isable that you practice carefully on scrap material before at
tempting any major repair so tliat you will learn to control the stitching
evenly. Be sure to keep the material constantly moving by pressure of
your fingers inasmuch as permitting the cloth to remairi in one place while
sewing may cause your thread to breaK.
Upon completion of your use of the Darner, simply press the device
down to its normal position. Also turn the drop-feed button hack to
regular sewing.
9or Darning and Smbraidcry^»
TO WORK THE BUILT-IN DARNER.
Place a finger of your left hand on the
mushroom-shaped cap (to cushion the sud
den rise of this cap when it is released).
Release this cap by pressing the Lever
(to which the other finge' is pointing)
with your right hand. Allow the cap to
rise all the way slowly.
Remove the presser foot, lower the
presser foot levar (to put the automatic
tension release out of operation) and you
are ready to darn or embroider.
Large repairs, fine materials, embroidery
and applique are best done with a hoop.
TO REGULATE PRESSURE OF THE PRESSER FOOT IN REGULAR SEWING’
Always maintain only enough pressure to keep the cloth moving and to permit the machine
to make a straight seam. When the cloth does not feed through the machine properly,
there may be too much pressure of the presser foot. Adjust by raising the darning
device a bit. Test this adjustment before sewing. If you wish, you can adjust the
machine for sewing heavier fabrics by adjusting the Drop-Feed instead.
11
Page 12

Use only a good grade of oil.
Inferior oils may cause the machine
to become sluggish.
Use only oil whose label spec
ifies “for Sewing Machines.”
If your machine is used continuously, it should be oiled every day ;
preferably when you are done using the machine for the day. If not
in constant use, oil the machine before using.
Use ONE drop of oil on bearings, and wherever one part rubs against
another, or turns within another part.
Some such parts are visible to the eye. Others are hidden inside tfie
castings. Hence look for all oil holes in the casting as indicated by arrows
in the picture. Insert the oil can nozzle well into the oil hole.
Before oiling the oil hole to the RIGHT of the spool-pin on top of the
machine, turn the balance wheel until the needle is DOWN at its lowest
point, and look into the oil hole to see that the oil receptacle on the shaft
is in position.
Also remove the face plate by loosening the screw near the top and
lifting the face plate up and off. Turn the balance wheel slowly by
hand and watch the mechanism under the face plate to see which parts
move and require oil.
o
u
Next, put three drops of oil in the bobbin raceway after the race has
been removed as described at the top of page 12.
The machine is also to be oiled from the back. Loosen the screw hold
ing the metal plate, move the plate out of the way, and tighten the screw
to hold it there. Turn the balance wheel slowly in order to see which
parts move and require oil.
Page 13

Lint, du5t and threads collecting In th»
machine will cause it to bacome alugglsh.
To dean th* machine^ first diBConnect the
alectric cord. Then remeve the needle,
presser foot, slide plate, and throat plate.
Also remove the bobbin ai>d bobbin cose
Brush the exposed parts thoroughly. I^e-
mova any packed lint with a toothpick*
Clean the inside oF the bobbin cast and
under the spring. Also dean th* raceway
as Instructed on Page 12. (Leave the ma
chine In this condition For oiling.)
Hte MACE ?N
p—.
Then tilt the machine back, and again turn the balance wheel slowly
to locate the bearings and ether movir.g parts. Here, too, you will find
some oil holes in the castings.
Wipe away all excess oil from ell parts cf the machine. Connect and
run the machine rapidly for a minute to allow the oil to penetrate into
the bearings.
Also sew some scrap material to be sure that no oil will dnp from
the needle bar on to your material.
13
Page 14

1. Turn the balance wheel by hand until needle is at its highest point.
2. Remove bobbin and bobbin case.
3. Turn knob (A) one ha!f turn toward you.
4. Turn knob ;B) one half turn away from you.
5. Remove retaining (C;, and hook (D) by grasping axle of hook 'D).
6. Remove accumulated lint and thread from retaining ring, hook and
race body.
7. Replace hook !,D.' m race body, with axle facing out, forming a
perfect circle with Driver E..
8. Replace retaining ring (C), polished side out, so that both grooves
are under knobs (A) and B).
9 LOCK retaing ring with knobs (A) and (Bj.
10. Replace bobbin and bobbin cace, and commence sewing.
DO NOT ATTEMPT TO FORCE ANY OF
THE ABOVE OPERATIONS.
14
Page 15

S?S?
^5H5E5S5S25Z51^S252S2S^iESH5£5^2STSZS2S25?ll
|pa j
This is to certify thac the sewing ma
chine listed on Slip Number dated
for twenty years for family sewing. Only
the best materials and the most skilled
labor enters into the construction of this
machine. Any part found defective and
returned, (transportation charges prepaid),
within twenty years from date shown
above, will be replaced, free of charge,
by the authorized sewing machine Dealer
named below, or affiliated branches.
The motor is guaranteed for one year.
Any motor proving defective will be re
placed, free of charge, if returned, (trans
portation charges prepaid), within one
year of the date shown above.
This guarantee is binding on all parts of
the machine, except bobbin case, bobbins,
needles, bulbs, cords and rheostat controls.
AUTHORIZED
SEWING MACHINE DEALER
by
•an t^ p
is hereby guaranteed
- - -
tfc!SZSKeS?SJSSS2S2SHSESESlSESZES|SKSS2S;^-2KgS='S
. ii-iA „
V"’
15
Page 16

SKIPPED STITCHES. May be caused by a bent or blunt
needle; or by incorrect setting the needle; or the wrong
size needle; or by a thread too heavy Рог the size of the
needle.
SEE THAT THE PRESSER TOOT is snug against the presser
bar and securely clamped by the screw so that the needle
will pass through the opening in the foot without any
interference,
BREAKIN6 NEEDLES. Usually due to pulling on the work,
causing the needle to get out of line and strike the throat
plate, thus breaking or bending the needle. May be due to
presser foot or attachments not being securely fastened to
presser bar. Be sure to use correct size needle and thread
for material.
BREAKINB THE UPPER THREAD. May be caused by:
(]) Incorrect threading.
(?) Not bringing up under thread correctly.
(3) Upper tension too tight.
(4) Needle imperfect, or set incorrectly.
(5) Needle rubbing against attachments or presser foot.
(6) Needle eye too small for thread.
(7) Starting the machine at full speed.
(8) Starting without take-up lever at highest point.
BREAKINB THE LOWER THREAD. May be caused by:
(1) Incorrect threading of bobbin case.
(2) Too tight a tension.
(3) Bobbin wound too full to revolve freely.
(4) Not bringing up under thread correctly.
(5) Mole -n the needle plate rough, caused by needle
striking the plate.
(6) Dust or lint in bobbin.
UNEVEN STITCHES. May be caused by :
Presser foot not resting evenly on material.
Feed not high enough.
Too short a stitch.
(3)
Pulling the cloth.
^4)
Too fine a needle with too coarse or poor a thread.
(5)
Distributed by
Printed in Tannn
 Loading...