

Page 1
C81EN_FW2.00
(
(
(
)
f
)
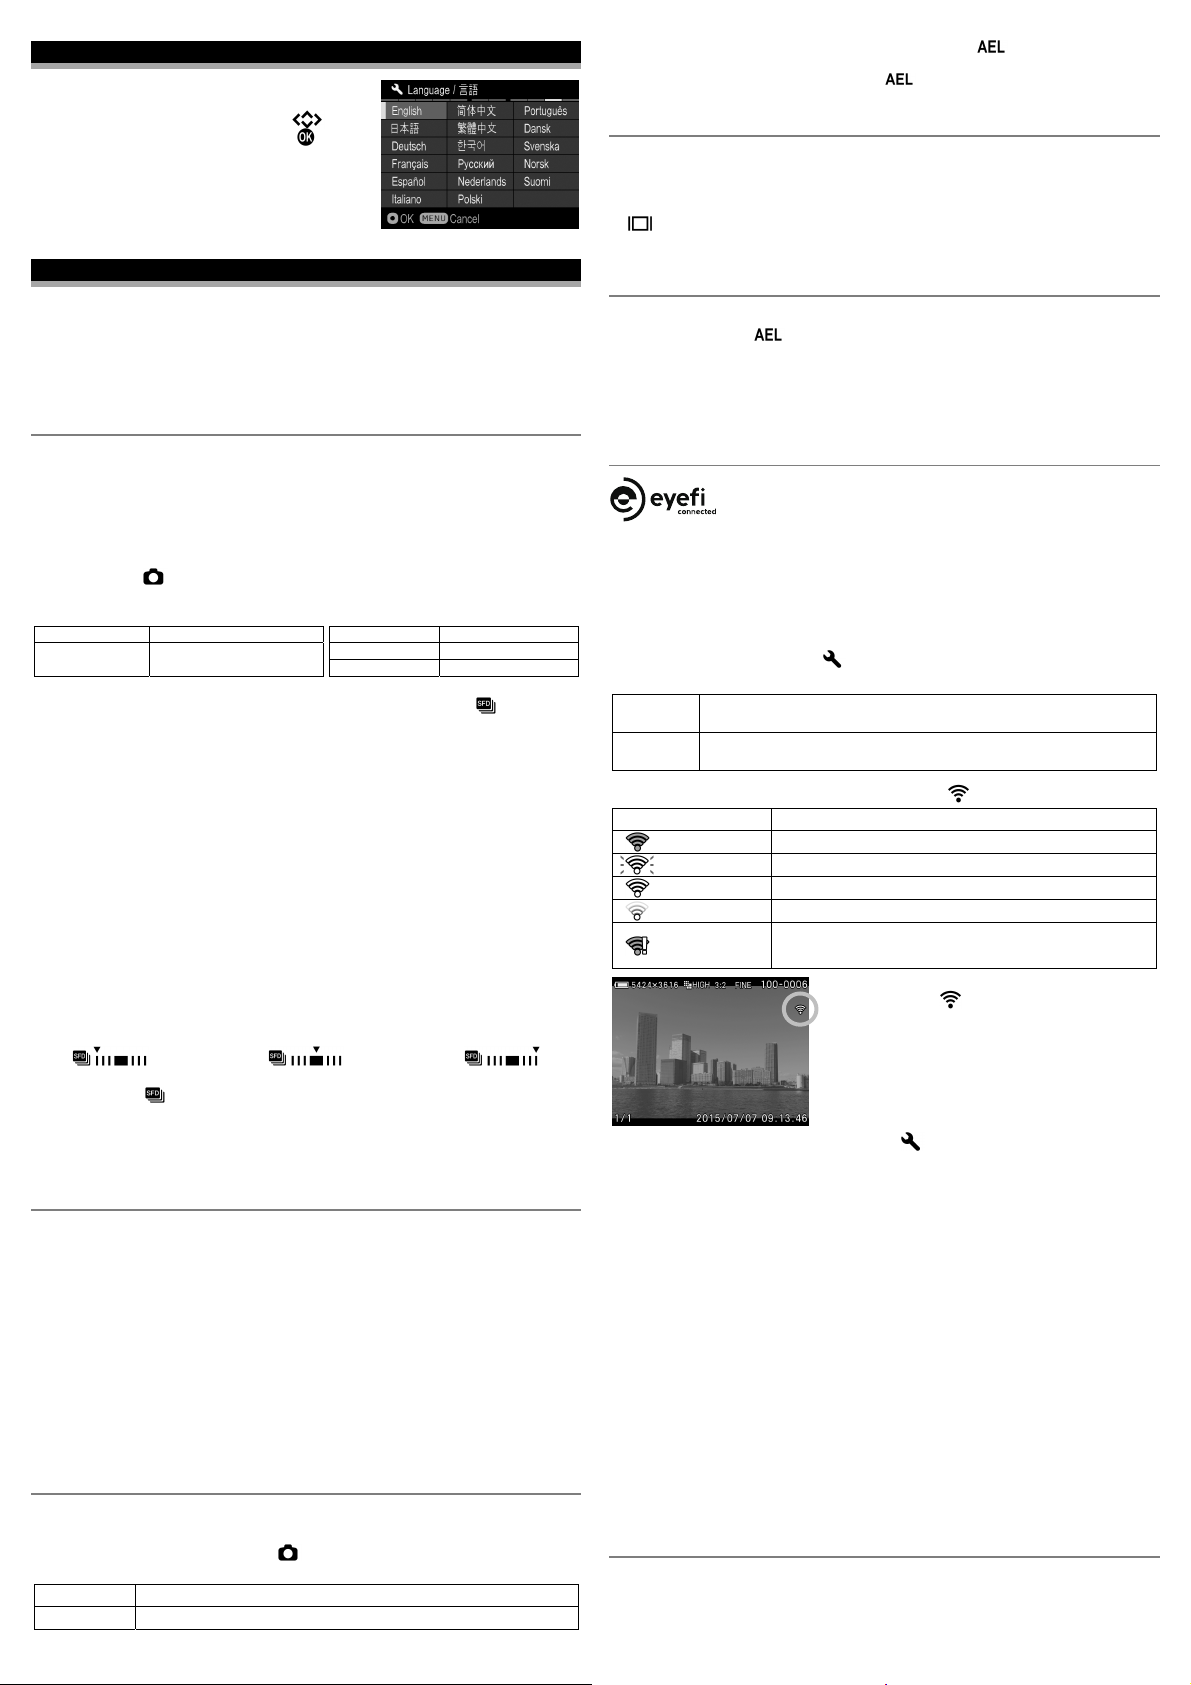
For when the camera used for the first time
When the camera is switched on for the first time,
select a language on the display. Press
and confirm the language by pressing the
buttons
button.
After selecting a language, input the date and time on
the display. For the details of settings, refer to the
instructions in “SETTING THE TIME AND DATE” on
the page 25 of the instruction manual, from the section
number
6
onward.
NOTICE OF FUNCTION CHANGE (firmware version 2.00 or later)
The following new functions were added to the dp2 Quattro camera with the new
Firmware update (Firmware version 2.00 or later).
WARNING!!
After the firmware update, the order of the [LIST OF MENU FUNCTIONS] (P.29) will
be different.
SFD MODE (SUPER FINE DETAIL) (2.00 or later)
By recording several pictures with different exposures and combining them using SIGMA
Photo Pro, delicate pictures with a wide dynamic range and low noise can be generated.
When shooting in SFD Mode, fix the camera on a secure tripod. If the lens
incorporates OS (Optical Stabilizer), turn off the OS.
The composition result in SFD Mode cannot be checked in the camera.
The file captured in the SFD mode will have an extension of .X3I.
1
Select [On] from [ Capture Settings] (P.27) → [SFD Mode].
When SFD Mode is on, the camera settings are fixed as follows, and the selection
becomes limited.
Exposure Mode A, M mode ISO Sensitivity ISO100
Drive Mode
Single Capture
Self Timer 2 sec./10 sec.
Image Quality RAW
Image Size HIGH
2
Press the shutter button ‘‘half-way’’ to return to shooting mode. (The icon will be
displayed on the color LCD monitor.)
3
When the shutter is pressed, seven frames are taken automatically.
The SFD frames can be generated in SIGMA Photo Pro. For details, please refer to
HELP in SIGMA Photo Pro.
In the file taken in SFD Mode, the original X3F files can be extracted with SIGMA
Photo Pro. For details, refer to HELP in SIGMA Photo Pro.
CAUTION !!
In SFD Mode, Auto Bracketing, Custom Bracketing, and Flash shooting cannot be
used simultaneously.
When playing the file taken in SFD Mode in the camera…
The composition result in SFD Mode cannot be checked in the camera. The file is played
as follows in the camera.
During a standard single-frame view, frames are played in an order of under exposure
to over exposure. The icon at the upper right section of the image indicates the
sequential number of the image.
1st Frame
under exposure)
On the contact sheet view, the images with the standard exposure are shown in the
thumbnail. The
►►
icon is indicated in the thumbnail.
4th Frame
appropriate exposure)
►►
7th Frame
over exposure
CAUTION !!
When deleting files exposed in SFD Mode, it is not possible to delete files
independently. Instead, all files are deleted.
It is possible to save files in DNG format. (2.00 or later)
DNG is the RAW image data that is developed by Adobe Systems Incorporated. It is not
possible to develop it on SIGMA Photo Pro, so it is necessary to use the software that is
compatible with DNG files (depending on the specifications, there might be some
software that may not support the DNG files taken by SIGMA dp Quattro).
It is not possible to record the image data in DNG and JPEG simultaneously.
It is not possible to adjust the White Balance of DNG files.
It is not possible to select the following color modes when the file format is set to DNG.
[CINE], [Sun R.], [For G.], [Fov B.], [Fov Y.]
It is not possible to change the Color Mode Detailed Setting when it is set as DNG.
It is not possible to set Custom Bracketing when it is set as DNG.
For DNG files, it is not possible to use the function to develop RAW data inside the
camera.
It is possible to select whether or not the AF function operates when the
shutter button is half-pressed. (1.06 or later)
It is possible to select whether or not to operate the AF function when the shutter button
is half-pressed.
The Half-pressed AF-ON can be set in [
AF-ON].
AF function does not operate when the shutter button is half-pressed.
Of
On (Default) AF function operates when the shutter button is half-pressed.
Capture Settings] (P.27) → [Half- pressed
When [Half-pressed AF-ON] is selected as [Off] while the
button is set as [AF-ON],
the auto focusing will be isolated from the shutter button. Please refer to [SETTING THE
AEL BUTTON] in P.73 for the details of the
button settings.
It has increased the number of display modes. (1.06 or later)
It has increased the number of display modes in which information can be customized
from two display modes to four display modes. (Refer P.36, 116)
CAUTION !!
This firmware update will change the name of the [Display Mode Settings] menu to
Mode Settings], and the name of the option will change from [Display Mode] to
[
[Custom].
It has changed the acquisition method for custom white balance. (1.06 or later)
It has changed the method for custom white balance capture from pressing the shutter
button to pressing the
button.
CAUTION !!
Please note that the AF function does not operate during custom white balance
capture. Rotate the focus ring to set the focus point (the focus point does not have to
be perfectly in position). (Refer P.65)
It has become compatible with Eye-Fi related functions. (1.06 or later)
By using Eye-Fi Card with Wi-Fi communication function (sold
separately), it enables a camera to transfer the images to
smartphones or a PC wirelessly.
It is the Eye-Fi card that has the feature to transfer images. For the details of the usage
of the card and how to set it up, please refer to the instruction manual of the Eye-Fi
card.
Depending on the specification of the Eye-Fi, it might be possible to transfer images in
RAW format. For more information, please refer to the instruction manual of the Eye-Fi
card.
Once you insert the Eye-Fi card into the camera, it is possible to configure [Eye-Fi
Setting] → [Eye-Fi Transfer] in [
Eye-Fi Transfer
Off
On
(Default)
It disables the communication and image transfer functions of the card.
Its function becomes as same as usual memory cards.
It automatically transfers the images, based on the settings of the
Eye-Fi card.
Camera Settings] (P.27).
It is possible to check the Wi-Fi connection with the icon on the display.
(No signal) [Eye-Fi Transfer] is turned off.
—
(Gray) Not connected to other devices.
(White Blinking) Trying to connect to other devices.
(White) On standby for transferring images.
(Animation) Transferring images.
Error in the communication of the Eye-Fi card.
(Please reboot the camera. If the same icon keeps
appearing, it might be the malfunction of the camera.
The images with
It is possible to check the device information of the
card and the status of Wireless communication.
Eye-Fi
icon have been transferred.
Information to check:
Connected SSID
MAC address of the Eye-Fi card
Firmware version of the Eye-Fi card
It is possible to check the information from [
Settings] → [Connection Information].
Camera Settings] (P.27) → [Eye-Fi
CAUTION !!
The communication is interrupted if the camera is turned off during the transfer. It
resumes when the camera’s power is switched on again.
Please check that use of the Eye-Fi card is allowed in your country or region. Please
use it only if it complies with the laws in the country or region.
In some cases, it is possible that the Eye-Fi card keeps sending radio waves even
when the function is set to [Off]. Please remove the card from the camera when
emitting the radio wave is strictly prohibited, such as in hospitals or airplanes.
Depending on the wireless connection, the transferring process might be slow or
interrupted.
In case images are taken during image transferring, it may pause the communication
and transfer for a moment. Once the images are written to the memory card, it
continues the transfer process.
In case the image transfer does not operate well, please refer to the instruction manual
of the card, and check the settings of both of the card and the computer.
The communication and transfer of the Eye-Fi card requires higher consumption of the
camera battery, so the battery will run out faster than usual.
For images with Sound Memo (P.108), it is not possible to transfer the sound data, and
only the image data will be transferred.
It has shortened the shortest interval in Interval Timer shooting. (1.05 or later)
Interval can be set from 4 seconds to 60 minutes.
[INTERVAL TIMER] → (P.58)
Depending on the combination of Image Quality and Image Size, the shortest interval
will vary.
Page 2
Image
Quality
If the selected interval is short, the camera may start to take the next image before the
7sec. 7sec. 4sec. 4sec.
6sec. 6sec. 4sec. 4sec.
6sec. 6sec. 4sec. 4sec.
Image Size (Resolution mode)
8sec. 4sec.
8sec. 4sec.
display returns to the shooting mode.
It is possible to select a new aspect ratio of the image, [7:6]. (1.05 or later)
Aspect Ratio is the same as those of 6x7 film cameras.
[ASPECT RATIO SETTING] → (P.70)
It is possible to select a new Image Size, [ ]. (1.05 or later)
[IMAGE SIZE SETTING] → (P.70)
[ ] can be selected only when the image quality setting is set as JPEG (FINE,
NORMAL, and BASIC).
When [ ] is selected, the combination of Image Quality and Aspect Ratio will
vary the Number of Pixels and approximate file size as follows;
Aspect
Ratio
Number of Pixels
Image Quality
21:9 1.6M (1920×816) 1.1 MB 0.6 MB 0.5 MB
16:9 2.0M (1920×1080) 1.5 MB 0.8 MB 0.6 MB
3:2 2.5M (1920×1280) 1.8 MB 0.9 MB 0.7 MB
4:3 2.2M (1696×1280) 1.6 MB 0.8 MB 0.6 MB
7:6 2.0M (1584×1280) 1.5 MB 0.8 MB 0.6 MB
1:1 1.7M (1280×1280) 1.2 MB 0.6 MB 0.5 MB
It has added a new function to save the Copyright Information. (1.05 or later)
It is possible to save the [Photographer] and [Copyright] information in the Exif data.
[Photographer] [Copyright]: Respectively, it is possible to enter up to 48 single-byte
characters and symbols.
1
Select from [ Camera Settings] (P.27) → [Copyright Information].
2
In the Copyright Information screen, select either
[Photographer] or [Copyright Owner] and follow the
steps for [ENTERING INFORMATION].
3
Once the relevant information has been entered, use
buttons to scroll to [Attach Copyright
the
Information] and select [On]. Copyright information
will embed in each image from then on.
WARNING !!
Make sure the [Attach Copyright Information] is set to [Off] if the camera is being
used by another photographer. It is recommended that the information in
[Photographer] and [Copyright Owner] is deleted in such cases.
We assume no responsibility whatsoever for any difficulties and/or damages resulting
from the usage of copyright information.
ENTERING INFORMATION
Screen to enter the Photographer and Copyright Owner information
Entered information area
It is possible to move the cursor in the area using the
front/rear dials.
Keyboard area
Move the cursor in this area using the
buttons.
1
Select the desired character in the Keyboard area, and press the button to enter it.
Switch the keyboard to alphabet. When the alphabet is displayed, it
is possible to select capital and lowercase letters.
Switch the keyboard to symbols.
Insert a 1 character space.
2
Select and to finalize the entered information. It will then go back to
the previous screen.
The button will cancel the characters entered, and it goes back to the
previous screen.
Deleting characters
Using the front/rear dials, place the cursor after the letters you wish to delete and press
the button.
WHILE IN IMAGE INFO SCREEN (P.94):
It is possible to check Copyright Information
(Photographer and Copyright) by pressing
button and switching it to Copyright Information
screen.
It is possible to check the attached information in the
[Image Information Window] in SIGMA Photo Pro
and other software compatible with Exif data.
It has added a new function to make the frame look semi-transparent.
(1.05 or later)
When shooting with aspect ratio other than 3:2, the
frame is normally displayed in black. By making it
semi-transparent, it is possible to use
it as a
finder which allows users to check the surrounding
areas of the image.
Select the setting from [
Camera Settings] (P.27)
→ [Outer Frame Display].
Black (Default) Frame is displayed in black.
Semi-transparent Frame is Semi-transparent.
Developing RAW data inside the camera (1.03 or later)
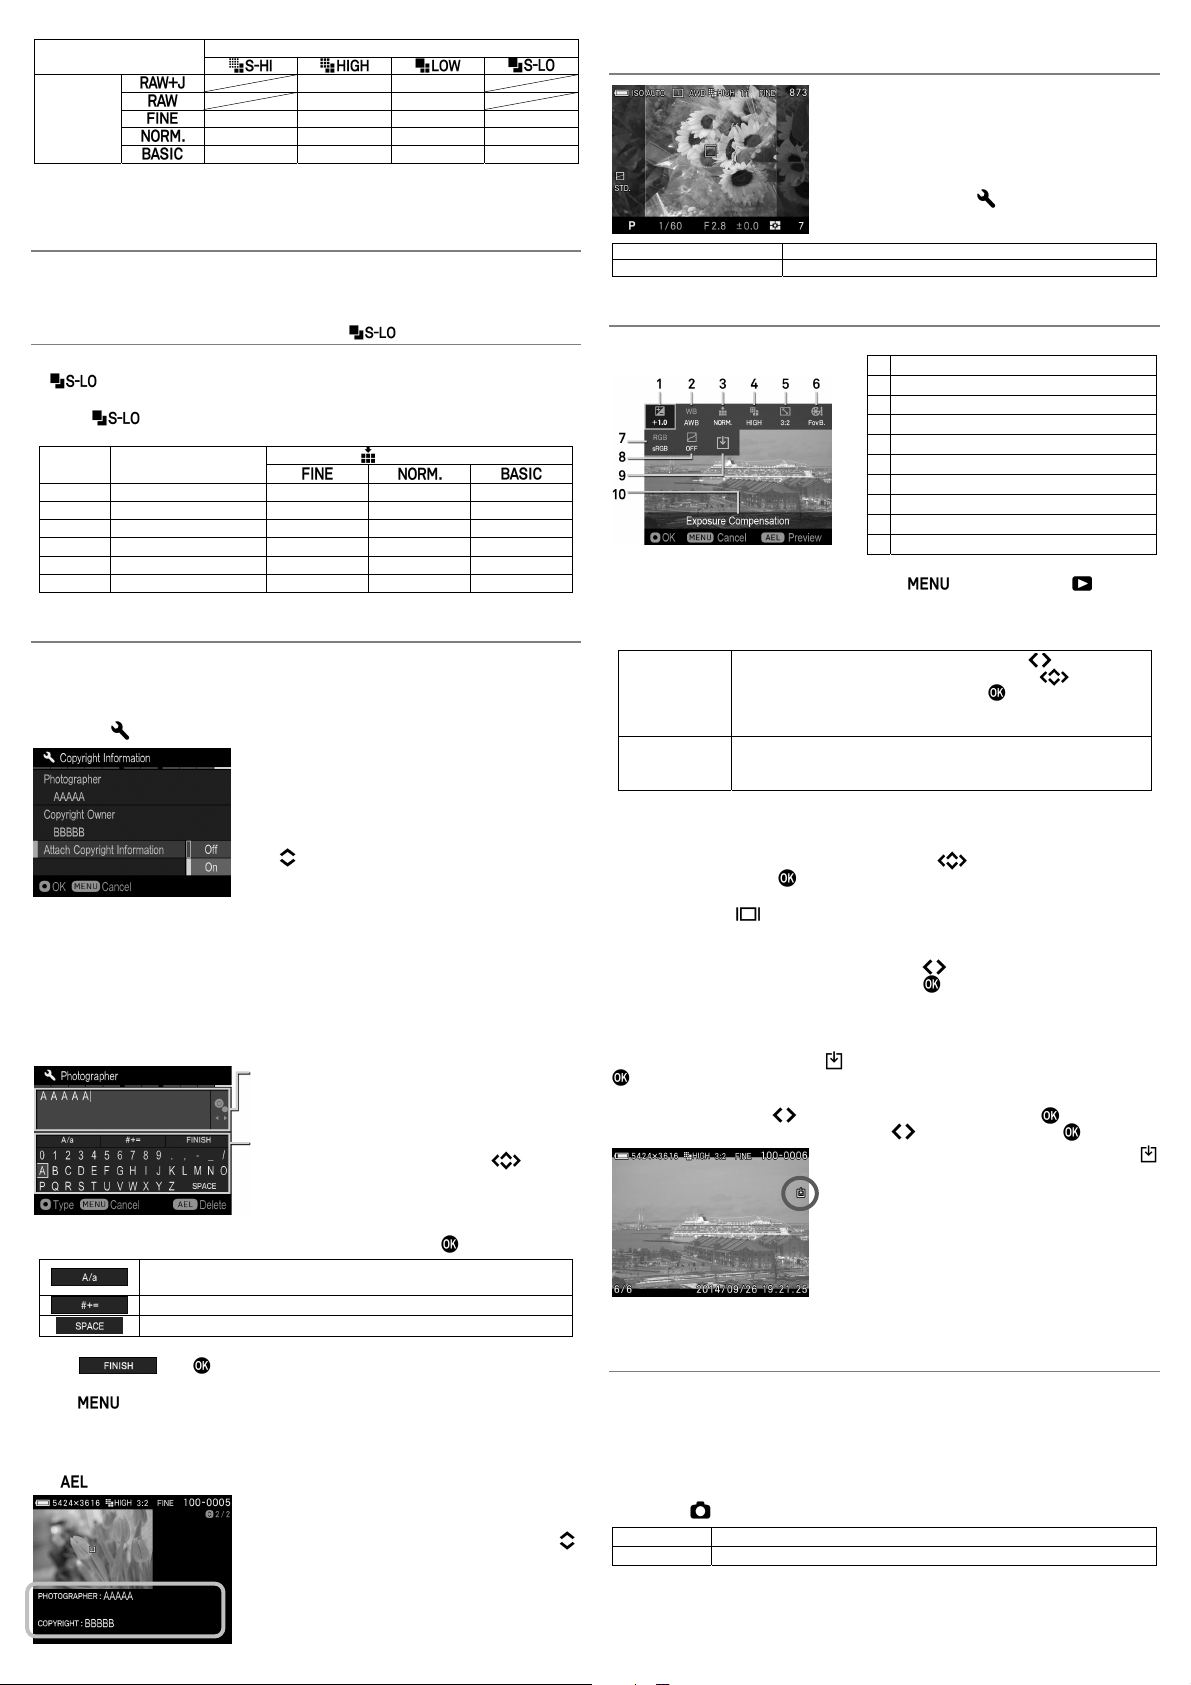
It is possible to develop RAW data inside the camera, and create a JPEG format image.
RAW development setting screen
1 Exposure Compensation (P.75)
2 White Balance (P.61)
3 Image Quality (P.69)
Image Size (P.70)
4
Aspect Ratio (P.70)
5
6 Color Mode
7 Color Space (P.82)
8 Tone Control (P.81)
9 Icon to start image development
1
While displaying the RAW image, press the button and open [ Playback
Description of selected icon
10
Menu] (P.27), then select [RAW Development].
2
In the sub menu, select the image to develop in RAW format from the following two methods;
Display the picture to develop by pressing the
it is displaying 9 pictures over the screen, the
Select A Files
appear instead), and confirm it with the button.
It is possible to process [Selecting A File] even when an image
is not displayed in Step
1
.
It displays the image selected at the Step
Current File
After selecting the image, the message [Now Processing…] will appear until it
It is not possible to select [Current File] when JPEG images
are selected at the Step
1
.
1
.
buttons (when
button will
displays the RAW development setting screen.
3
In the RAW development setting screen, press the buttons to select an item, and
comfirm it by pressing the
It is possible to set details of each option in White Balance (P.61) and Color Mode
(P.78). Press the
button.
button to display the setting page. For further information, refer
to the related sections in this instruction manual.
4
While checking the image, use front/rear Dials or buttons to change the adjustment
value (or option). Then, confirm it by pressing the
button.
5
Repeat Step 3 and 4 in case there are multiple items to change.
6
After finalizing the setting, select (icon to start image development) and press the
button.
7
Select [Yes] by using the buttons, and confirm it by pressing the button. In order
to stop the process, select [No] by using the
For the JPG images developed from RAW data,
buttons, and press the button.
mark will appear in the image.
The File Number of the JPEG image developed
from RAW data will become the next number
following the final recorded file in the memory card.
WARNING !!
In case there is insufficient space in the memory
card, there will be a warning message and it is not
possible to develop RAW file.
It is recommended to use SIGMA Photo Pro for further detailed adjustment and image editing.
LCD Display in M Mode (1.02 or later)
When the exposure is set as M mode, the LCD Display reflects the selected exposure on
the screen so that photographers can confirm how the actual image will look. When the
exposure is under, it becomes darker, and when it is over, it becomes brighter. When you
shoot images in M mode while using the flashguns from other companies, the display
would be dark, and make it difficult to check the details of the image, such as the focus
point and composition. In this case, it is recommended to change the setting to [Off], and
adjust the brightness of the image on screen.
Select from [
Off
On (Default) The selected exposure value is reflected in the LCD Display.
TIP
When
of the LCD Display is automatically adjusted for better visibility even when the function
is [On].
Capture Settings] (P.27) → [Preview Exposure in M Mode].
Brightness of the LCD Display is automatically adjusted for better visibility.
ELECTRONIC FLASH EF-140S SA-STTL
is used with the camera, the brightness
sports
 Loading...