

Sierra SRP54, SRP62, SRP693 Installation Manual
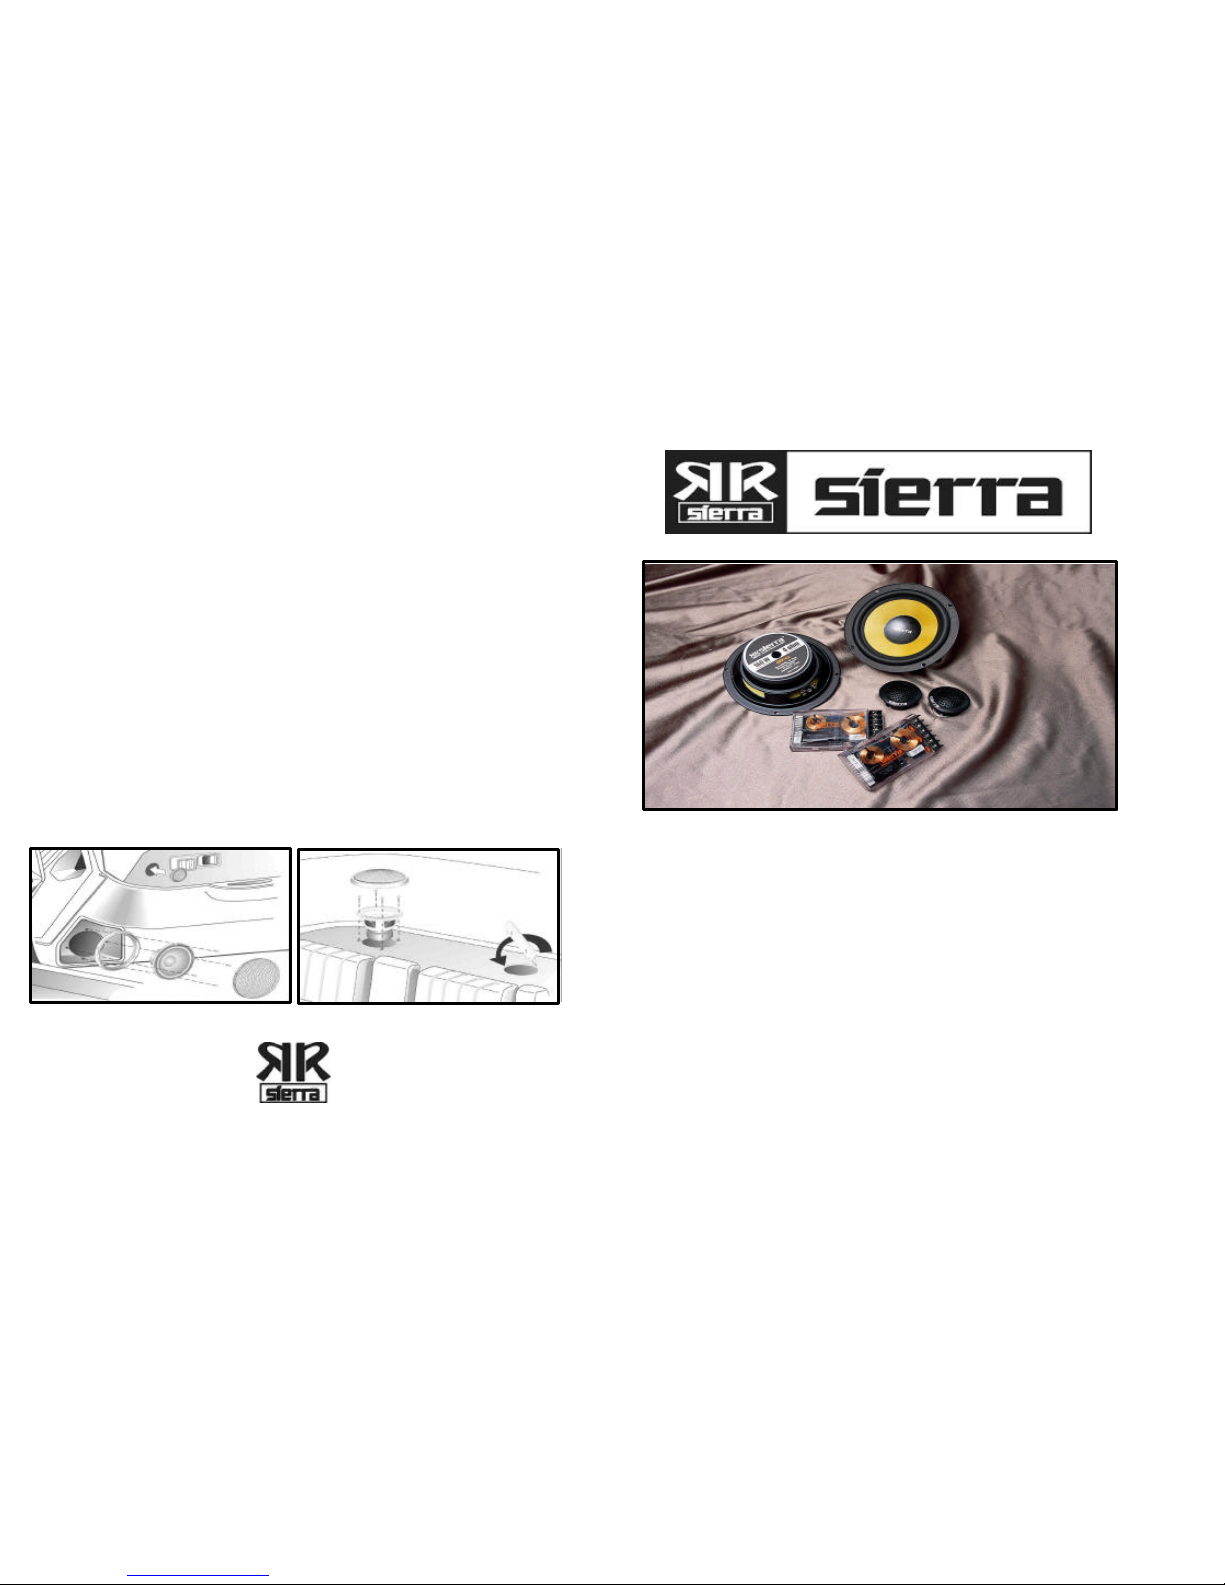
Figute 1 : Factoty speaker location Figute 2 : Creating new speaker location
4. Always provide water protection if not supplied in the vehicle. We suggest using a rain
shield or equivalent.If in doubt, please contact your Sierra Dealer.
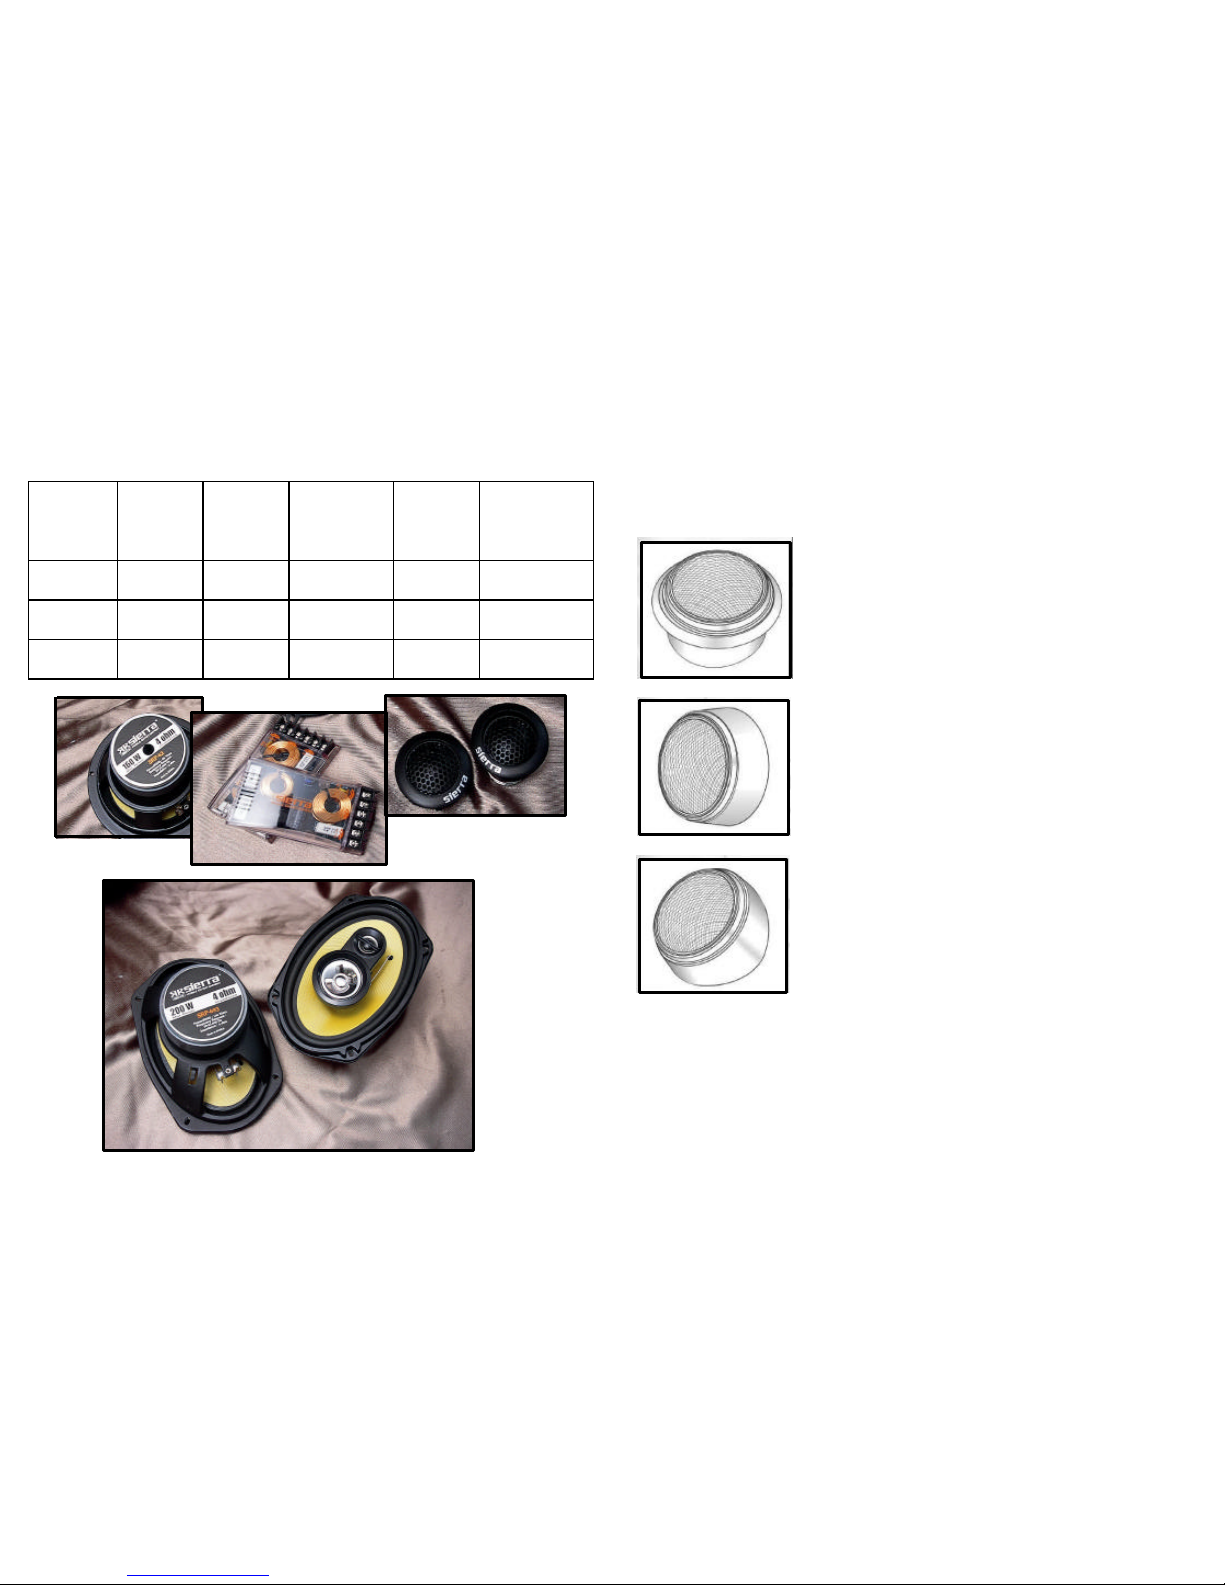
COMPONENTS : SRP54 / SRP62 / SRP693
SIERRA COMPONENT FEATURES
system. By purchasing Sierra, you’ve demonstrated a desire to own the finest
Congratulations on your purchase of a new Sierra Component loudspeaker
screws.
obstructions. Make sure to allow sufficient clearance for window tracks, structural
braces, trunk lid springs, etc.
2. Assuming enough area and depth is available, use the provided template and trace
the speaker cutout and mounting holes onto the surface of the mounting location.
SIERRA WOOFER INSTALLATION
3. If the mounting surface is not structurally strong enough to accommodate screws, (i.e.
plastic, cardboard) use the provided speed clips which will act as a nut for the supplied
moisture or UV, and is extremely well damped.
• Flat linear roll spider reduces distortion and provides maximum voice coil centering.
SIERRA COMPONENT INSTALLATION
1. Many vehicles already have factory locations (Figure 1.) to house the "DROP IN" feature
of the Sierra Component line.If no existing locations are available or are not used
(Figure 2.), check the desired location for adequate cutout area and any depth
Selecting the placement of your new Sierra Component speakers may be as easy as
using the existing factory locations or may require you to create a new location. Speaker
placement in the door, dash, or rear deck is the most common. See your local
Phoenix Gold Dealer for additional location options and mounting assistance.
• Developed by Sierra from the ground up to set new standards in performance.
• Optimized magnet/motor structures result in high efficiency and clarity.
• Advanced butyl rubber surround is more rugged than foam,won’t break down from
TEL : (02) 2659-8385 FAX : (02) 2659-3846
서울시 강서구 가양2동
1481
가양제1공단 4층
most thoroughly engineered and tested car audio products possible.
in audio reproduction. Sierra strives to provide you, the customer, with the
• Silk, ccaw(Copper Coated Aluminum Wire) Coil Neodymium Magnet
• Rigid powder coated steel frame
• Optimized 12dB/18dB octave acoustic crossover.
• Standard mounting sizes and bolt patterns
• Poly Kevlar Cone, Butyl – Rubber Surround, Conex Damper, Kapton Voice Coil.
TWEETER INSTALLATION
the hex bolt and pronged spring retainer to secure the
SURFACE MOUNT : Use the surface mount option when,
cutting a hole in the door panel, or other mounting surface is
not possible.Make sure that the surface mount location is free
of passenger movement that might damage the tweeter. Use
the kit screws supplied to secure the mount to the surface
ANGLE MOUNT: This other surface mount type of housing
is a two piece unit that opens just like the flush mount part.
It should be used when a surface angle directs the tweeter
axis away from the listener. This can be useful in dashboard
and kick panel mounting situations.
SIERRA TWEETER PLACEMENT
For the best results always try to maintain equal path lengths between the right and left
tweeters and the listening position.This can usually be accomplished by mounting as low
and deep as possible,in a kick panel installation,or high and deep in a dashboard
installation.Be cautious in dashboard installations not to reflect the tweeter off of the
windshield. This increases reflections and greatly diminishes the overall performance of
the tweeter. The angle mount housing can help to point the tweeter at the listener.
For door panel installations try to angle the tweeter toward the listener to minimize cross
cancellation.
The Sierra Component series features several types of unique mounting options.
IMPEDANCE FREQUENCY
housing to the mounting surface.
The tweeter is easy to install in any vehicle. Each Sierra component set comes
with a flush mount,surface mount, and angle mount hardware kit. For other
custom. mounting configurations contact your Sierra Dealer
S P E C I F I C AT I O N S
MODEL NO.
RMS
160
200
(OHMS) RESPONSE
4
91dB/1M/1W
92dB/1M/1W
4
4
50ㅡ20,000HzSRP62
SRP693
80
100
POWER
MAX
POWER
SENSITIVTY
(DB)
SRP54 60 120 90dB/1M/1W
50ㅡ20,000Hz
FLUSH MOUNT: For optimal tweeter installation,use the flush
mount option.The flush mount requires a 7/8" depth and XX
2 1/8" mounting hole in the mounting surface.The flush
mount tweeter housing is a two piece design that twists
counter clockwise for opening,to insert the tweeter driver. A
clockwise twist will lock the housing assembly together. Use
60ㅡ20,000Hz
 Loading...