

Page 1
XV-Z9000U/E
TENTATIVE
SUPPLEMENT
SERVICE MANUAL
SERVICE-ANLEITUNG
S81Y7XVZ9000U
SUPPLEMENT
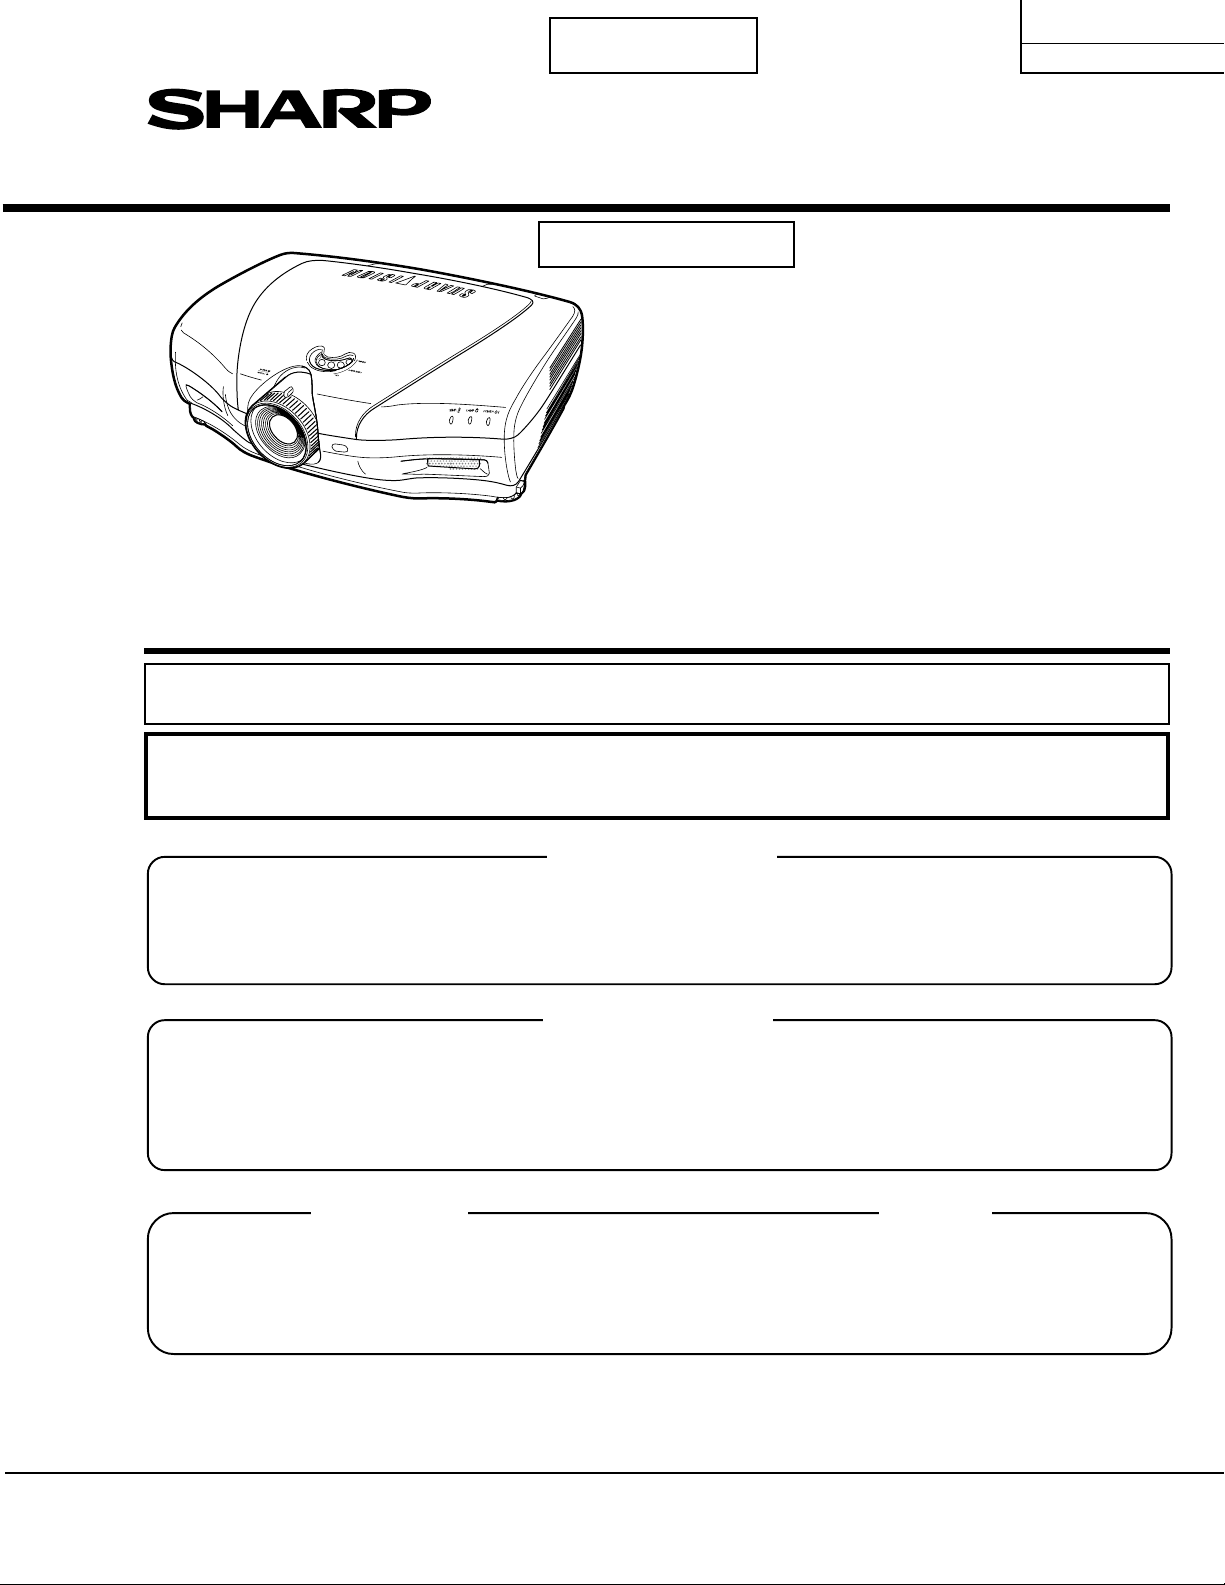
DLP PROJECTOR
DLP PROJEKTOR
MODELS
MODELLE XV-Z9000U/E
In the interests of user-safety (Required by safety regulations in some countries) the set should
be restored to its original condition and only parts identical to those specified should be used.
Im lnteresse der Benutzersicherheit (erforderliche Sicherheitsregeln in einigen Ländern) muß das Gerät
in seinen Originalzustand gebracht werden. Außerdem dürfen für die spezifizierten Bauteile nur identische
Teile verwendet werden.
OUTLINE
» The PC interf ace board progr ams hav e been updated as from the J anuary 2002 production in order to
improve the lip synchronization function.
» This SUPPLEMENT MANUAL discusses the program updating procedure. For to-be-reprogrammed
units from users, first check the programs’ version and then take their proper steps.
BESCHREIBUNG
CONTENTS
Page
» Improving the Z9000U units ................................... 2
» Reprogramming procedure ...................................... 5
» Modifications on the PC interface board .............12
SHARP CORPORATION
INHALT
» ..................................................................................1 0
» ..................................................................................1 2
» ..................................................................................1 8
This document has been published to be used
for after sales service only.
The contents are subject to change without
1
Seite
Page 2
XV-Z9000U/E
SUPPLEMENT
ËImproving the Z9000U units
(Program version-up for HTPC (Home Theater PC) compatibility, performance upgrading and lip
synchronization improvement)
The Z9000U units have been improved in the following 3 points. These improvements can be
confirmed by looking at the program versions.
Redesigned circuitry
Program version and PC interface version
z Z901819 and Z901905
(CPCI0051CE01)
x Z901927
(CPCI0051CE05)
c Z901Z25 - Z902220
(CPCI0051CE05)
To implement the above improvements from Level-z to Level-c, it is necessary to update the PC
interface board programs, modify the hardware, and change some parameter settings. There is no
need to replace the PC interface board itself. If this board is replaced, however, the background
setting must be additionally readjusted.
To get the Level-z unit compatible with HTPC, just update the programs. To upgrade the Levelxunit to Level-c, update the programs and make some readjustments. All these are discussed
below.
HTPC compatibility
No No No
Yes Yes No
Yes Yes Yes
for performance
improvement
Lip synchronization
improvement
Upgrading from Level-z to Level-c
1) Checking the unit
» Select "ST ATUS" on the menu screen and look at the right bottom of the screen to check the program
version. If the version is "Z901819" or "Z901905", take the following procedures.
2) Jotting down the process parameters.
» Note down the existing settings specified below because there may be a problem during the
reprogramming. Your notepad can be used to confirm the settings after the reprogramming.
(1) Power on the unit and call the process mode.
To do so, use the keys on the remote controller or on the unit. Press the keys "INPUT → UP →
DOWN → ENTER → ENTER → MENU" in this order . Or just press the S001 s witch on the main
PWB.
Select "A/D , DLP and DTV" in this order on the process menu. Write down the follo wing parameters.
(2)
A/D : A/D converter input setting
DLP : Background setting
DTV : Component mode A/D setting
(3) Exit from the process menu. Press the keys in the same order as for entering this mode.
2
Page 3

3) Modifying the hardware
» Remove the PC interface board from the unit. Make the following modifications.
(1) Add two jumper leads.
Connect one jumper between TL88 and TL136 and the other between TL87 and TL140. Apply
adhesive to the specified points to secure the jumpers. Refer to the attachment file “0051 Modifications”.
(2) Change the resistor constants.
Change the constants of the following jumper resistors on the board.
R82: Not mounted → 0 ohm
R69, R93 and R94: 0 ohm → abolished
R76: Not mounted → 47 ohms
For more details, refer to the attachment file 0051 Modifications.
4) Updating the programs
» Get the following two programs updated.
XV-Z9000U/E
SUPPLEMENT
Main program Z9000_020220.bhx
CVIC program cvic_AB_Z9000_1219al.bhx
The reprogramming procedures are the same as for the projector data progr am. Ref er to the attach
ment file "Z9000Manual.doc".
5) Checking and readjusting the process data
» Enter the process mode again and check the parameters jotted down in Step 2 above.
A/D : A/D converter input setting
DLP : Background setting
DTV : Component mode A/D setting
If any of them has been accidentally deleted, reenter the same value.
» Enter the process menu "SSS" and click on "S2".
» For readjusting the video line, refer to the Service Manual.
Feed the NTSC video signal to the "INPUT4" pin. Make sure the signal has clear white level
(100% white) and black level (0% black) (setup at 0%). Select "VIDEO1" on the process menu.
Adjust the "BRIGHT" setting until a bit dropout occurs at the black side. Then adjust the "CONTRAST" setting until a bit dropout occurs at the white side.
» Enter the process menu "SSS", click on "S4" and exit from this process.
3
Page 4

XV-Z9000U/E
SUPPLEMENT
Upgrading from Level-x to Level-c
(No modifications on the hardware)
1) Checking the unit
»
Select "ST ATUS" on the menu screen and look at the right bottom of the screen to check the program
version. If the version is "Z901927", take the following procedures.
2) Jotting down the process parameters.
» Do the same as for the upgrading from Level-z to Level-c.
Select "VIDEO1" on the process menu and write down the "CONTRAST" and "BRIGHT" settings
too.
3) Updating the programs
» Get the following two programs updated:
Main program Z9000_020220.bhx
CVIC program cvic_AB_Z9000_1219al.bhx
Take the same steps as for the upgrading from Level-z to Level-c.
4) Checking and readjusting the process data
» Check the "A/D, DLP and DTV" settings on the process menu.
» Enter the process menu "SSS" and click on "S2".
» Select "VIDEO1" on the process menu. Enter the noted-down values in the "CONTRAST" and
"BRIGHT" settings. There is no need to readjust the other "VIDEO1" settings.
» Enter the process menu "SSS", click on "S4" and exit from this process.
Upgrading the Level-z unit for HTPC compatibility
(No modifications on the hardware)
1) Checking the unit
» Select "STATUS" on the menu screen and look at the right bottom of the screen to check the
program version. If the version is "Z901819" or "Z901905", take the following procedures.
2) Updating the programs
» Get the following program updated:
Main program Z9KU_011122b.bhx
Refer to the attachment file "Z9000Manual.doc".
4
Page 5
ËReprogramming procedure
Requirements on the programming PC
» OS: Windows95, 98 or NT4.0
» RS232C terminal (No problem if compatible with SVM or SAPS)
For this programming, the oper ator must be able to do the follo wing levels of running the computer.
» Opening specified folders on a "Windows95/98" machine.
» Double-clicking to run files.
» Decompressing "Zip" files.
In the screen displays below, the circle means that you move the cursor there and click the mouse,
where the circle indicates that you look there and confirm.
Reprogramming for the projector
<Preparations>
Installing the write program and the data program
The "TeraTermPro" communication program is used for this programming.
Note:
If your computer already has the "TeraT ermPro" progr am installed, once uninstall this program and
reinstall it in the following procedure. (This is because the program may fail to work depending on the
computer’s operating environment.) Refer to Paragraph 2) at the end of this manual.
XV-Z9000U/E
SUPPLEMENT
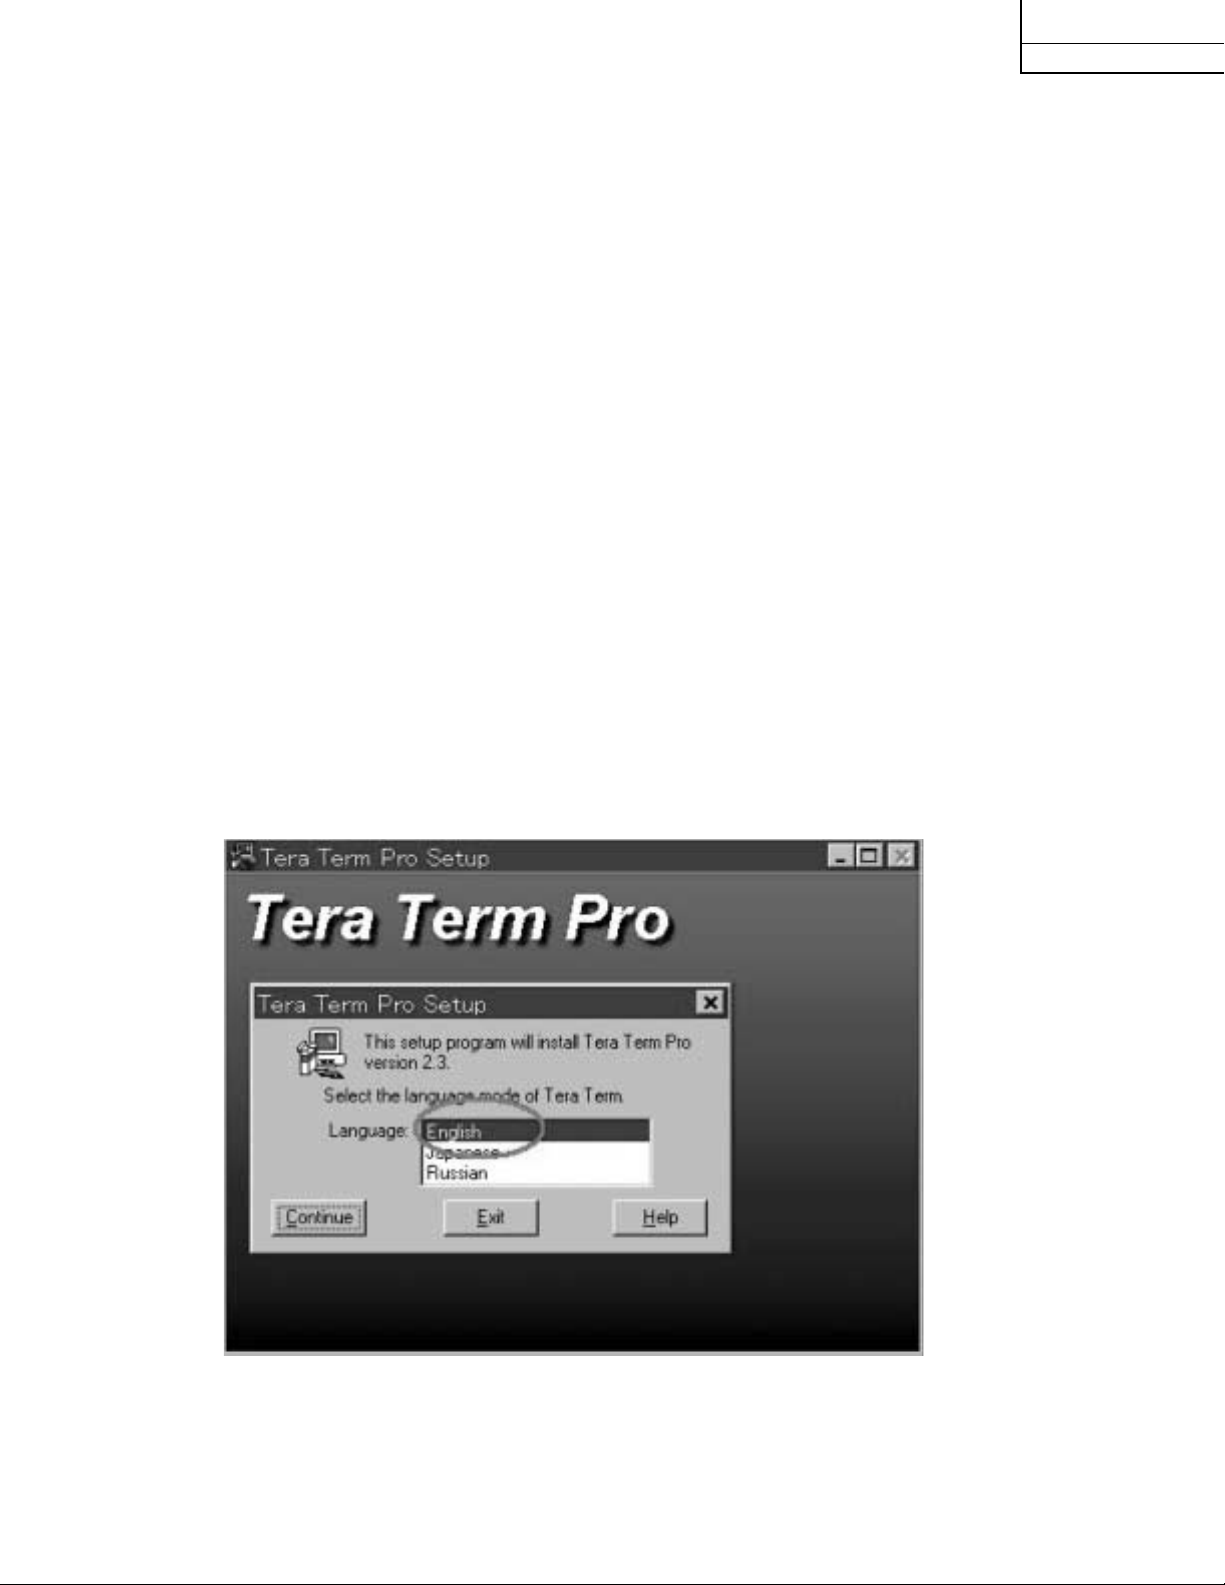
1) Installing the TeraTermPro program
a. Decompress the attached "ttermp23.zip" file and click on the "setup.exe" file in the folder.
b. The "Language" box shows up. Click on [English].
5
Page 6

XV-Z9000U/E
SUPPLEMENT
c. Click on [Continue].
d. The "NOTE: ~" message appears. Click on [Continue].
6
Page 7

XV-Z9000U/E
SUPPLEMENT
e. The "T era Term Pr o Setup Destination Path ~" message appears . Click on [Continue].Do not
change the Path entry. The program may fail to work.
f. The "Tera Term Pro Setup Complete" message appears.Finally click on [OK].
7
Page 8

XV-Z9000U/E
SUPPLEMENT
2) Installing the projector program and write macro
a. Click on the attached "dsetup.exe" file.
b. The "dsetup window" opens and click on [OK]. Do not change the "Install Directory"entry.
The program may fail to work.
8
Page 9

Programming the Z9000 units
<Precautions>
Be sure to strictly follow the programming procedure. And the projector may fail to work if
the power is shut down halfway, the serial cable gets disconnected, or a wrong step is taken.
a. Connect the serial cable between the Z9000 unit and the program-installed computer. This is
similar to SVM-serial connection.
b. Power on the computer and the Z9000 unit as well.
c. Press the following keys on the remote controller or the Z9000: "INPUT → UP → DOWN→
ENTER → ENTER → MENU" in this order.
d. The process menu appears on the screen. Select "SPECIAL" and press the "ENTER key".
(Note: "Z9KU[011122b]" as shown below indicates the program version after updating.
Before updating, a different program version is displayed.)
XV-Z9000U/E
SUPPLEMENT
e. Select "IPL" and press the "ENTER key". The Z9000’s lamp goes out and the prog ram updating
mode comes up. (The POWER LED indicator starts flashing in blue.)
9
Page 10

XV-Z9000U/E
SUPPLEMENT
f. Open the "C\Program Files\TTERMPRO" folder using the Explorer on the computer.
g. Double-click on the "write.bat" file.
h. The program updating gets started. The "Tera Term Send file" dialog box appears. See if the
number located below "Butes tramsfered: xxxx" is counting up. This means the program is
updated.
10
Page 11

XV-Z9000U/E
SUPPLEMENT
i. Soon after, the "Transfer Program" dialog box appears. Click on [OK].
i. Finally unplug the AC power cable and plug it in again. Switch on the power again.
» The abov e procedures hav e been tested and confirmed on a "Windows98 [English version] "
machine.
» When uninstalling the existing "TeraTermPro" program, take the following notes.
(1) For uninstalling, click "My Computer", select "Control Panel" and use
"Add and Delete Applications".
(2) There are some files that cannot be uninstalled all at once. Delete the entire folder of
"C:\Program Files\TTERMPRO" (previously installed program folder).
Be sure to take Step (1) first and then Step (2). Otherwise the newly installed program
may perform poorly.
11
Page 12

XV-Z9000U/E
SUPPLEMENT
ËModifications on the PC interface board
Connect one jumper between TL88 and TL136 and the other jumper between TL87
and TL140. Apply adhesive to the two points indicated above.
12
Page 13

XV-Z9000U/E
SUPPLEMENT
13
Page 14

XV-Z9000U/E
SUPPLEMENT
14
D Japan P Japan TQ0000-S
Feb. 2002 Printed in Japan
SY. KD
 Loading...