

Page 1
SPECIAL FEATURES ON YOUR VCR
POWERSAVE MODE
ENABLING POWERSAVE MODE
If you wish to use the POWERSAVE feature, it can be switched on within the Mode Menu
Screen, this will automatically disable the STANDBY mode.
1. Press MENU to display the main menu on the
screen.
2. Press [ / ]to select MODE.
3. Press SET.
4. Press [ / ]to select POWERSAVE.
5. Press [ / ]to select ON.
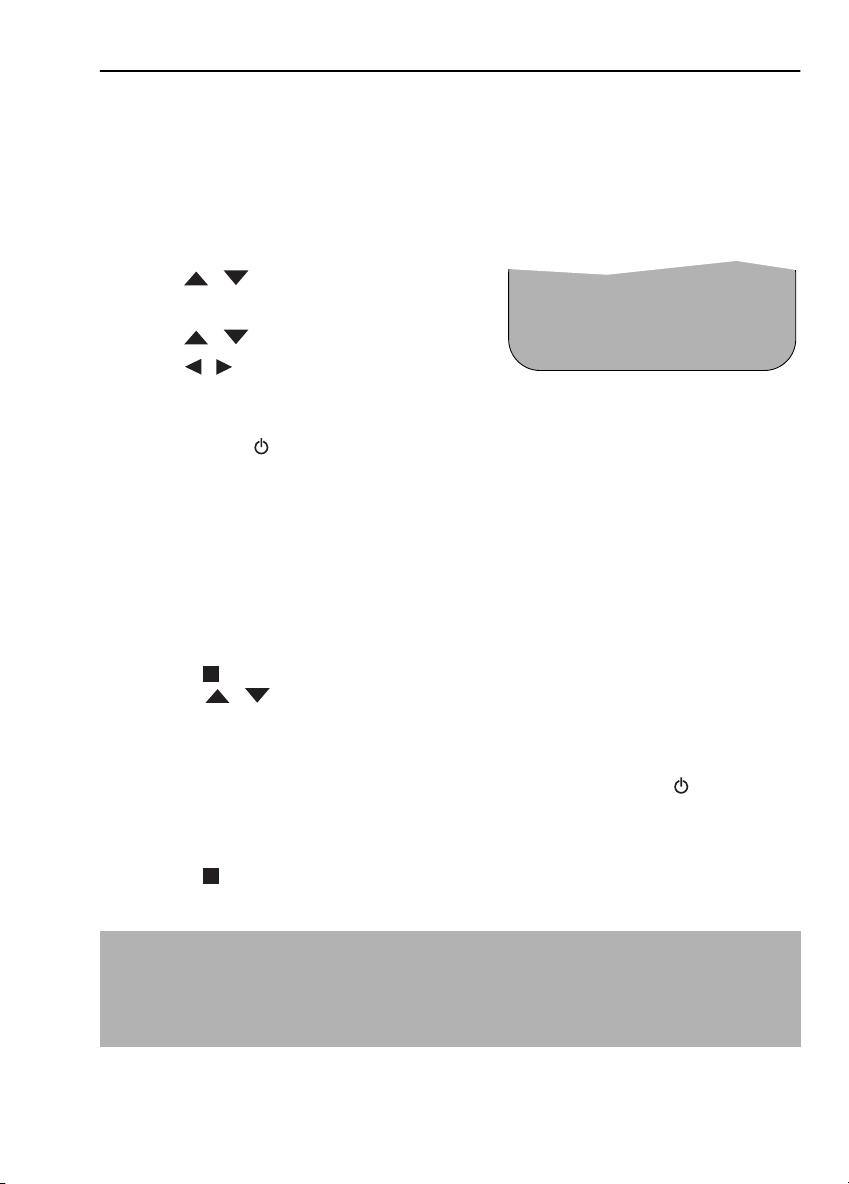
MODE MENU SCREEN
COLOUR AUTO PAL
BLUE MUTE AUTO OFF
REPEAT ON OFF
AUD IO M I X ON OF F
16:9 AUTO OFF
➝POWERSAVE ON OFF
6. Press SET and then MENU to return to the
normal screen.
Press
STANDBY ( ) to place the VCR in POWERSAVE mode. The VCR digital display will
flash save for 5 seconds and will then appear blank.
The VCR power consumption will now be below 1.5 Watt. i.e., The VCR is now in the
POWERSAVE MODE.
AUTO POWERSAVE
If the VCR is not operated for more than 3 hours, the VCR will go into POWERSAVE mode and
the digital display will appear blank.
DISENGAGING POWERSAVE MODE
Press STOP ( ) to use the VCR. (Other keys may also disengage POWERSAVE, such as the
CHANNEL /).
STANDBY MODE
The POWERSAVE feature must be OFF for the STANDBY mode to function. This will allow viewing
through the VCR without AUTO POWERSAVE operating. Press
VCR in standby mode.
STANDBY ( ) to place the
DISENGAGING STANDBY MODE
Press STOP ( ) to use the VCR.
NOTES:
• POWERSAVE mode will not operate when CHILDLOCK is engaged
• POWERSAVE/STANDBY will operate after auto rewind and cassette will eject.
• POWERSAVE/STANDBY will operate when TIMER is on.
• STANDBY will only operate when POWERSAVE is disabled.
• POWERSAVE will not operate if disabled via the MODE screen.
If problems persist contact the SHARP Helpline on tel: 08705-274277 (office hours)
or www.sharp.co.uk/support
33
Page 2
SPECIAL FEATURES ON YOUR VCR
CHILD LOCK
You can lock your VCR with this feature. It will work even when the VCR is in POWERSAVE/
STANDBY, preventing children from operating the VCR.
TO ENGAGE CHILD LOCK
Press and hold on the remote control for about 2 seconds.
flashes and then remains lit on the VCR display confirming that CHILD LOCK
has been activated.
Regardless of what other operating buttons are touched, the VCR will continue to operate in
its present mode. If CHILD LOCK is activated during playback, once the tape reaches its end,
the VCR will automatically rewind the tape, eject it, and turn the power off.
TO DISENGAGE CHILD LOCK
Press and hold for about 2 seconds.
starts flashing and then disappears. CHILD LOCK is disengaged.
NOTES:
• If you attempt to change modes by pressing another button while CHILD LOCK is on,
the indicator will flash on the VCR display.
• If power is interrupted for more than 1 hour (due to power failure etc), CHILD LOCK may
disengage.
If problems persist contact the SHARP Helpline on tel: 08705-274277 (office hours)
or www.sharp.co.uk/support
34
Page 3
CUSTOMISED INSTALLATION
MANUALLY TUNING A CHANNEL
• It should not be necessary to tune in a broadcast channel manually except in unusual
circumstances such as poor signal.
To manually tune in a channel follow the procedure below.
1. Press MENU.
2. Press the / menu select buttons
to select SET UP. Press
SET to confirm.
3. CHANNEL PRESET will be
highlighted. Press
SET.
4. Press / to select CHANNEL.
5. IMPORTANT NOTE:
Press to select CH or CC. This will
determine whether off air (CH) or cable
(CC) is tuned first. Note that both off air
and cable will be tuned regardless of the
setting.
6. Press / to start tuning in either
direction. Tuning will stop when a channel
is received. If it is not the desired channel,
press / to continue tuning.
7. Press / to select FINE
TUNING. Press and hold / until
the sharpest colour picture is obtained.
IMPORTANT NOTE:
8. If you connect an independent decoder,
you must press / to select
DECODER, then select / to turn
the decoder function ON.
9. Press / to select SKIP.
The SKIP function determines whether the
channel can be selected when using the
CHANNEL / instead of the
NUMBER BUTTONS.
10. Press / to select ON or OFF for
this option.
11. Press SET to confirm.
12. Press MENU to leave this function.
➔
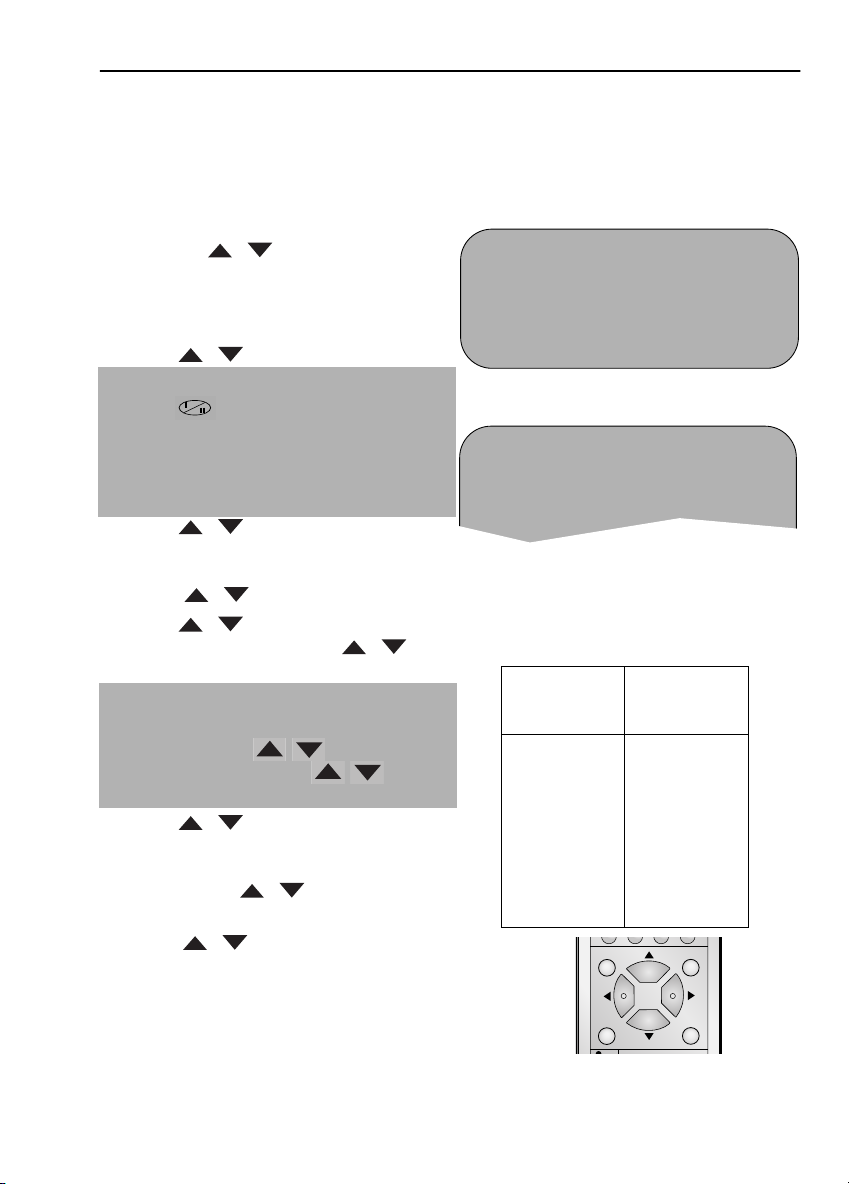
SET UP
CHANNEL PRESET
CHANNEL SORT
CLOCK
PRESET 1
CHANNEL CH 2 1
FINE TUNING
DECODER ON OFF
SKIP ON OFF
▲
CABLE RECEPTION
Station
Signals VHF
A
B
C
D
E
F
G
H
J
MENU SET
PLUSCODE
Real
Channel
Numbers
01
02
03
04
05
06
07
08
09
CLEAR
▲
If problems persist contact the SHARP Helpline on tel:08705-274277 (office hours)
or www.sharp.co.uk/support
35
Page 4
CUSTOMISED INSTALLATION
MANUALLY TUNING A CHANNEL
The VCR has 99 programmable channel positions each of which can be set to any of the
broadcast and CATV channels shown in the table. If you select CC on the menu, cable will
be tuned first. Note that both cable and non-cable will be tuned regardless of the setting.
SATELLITE RECEIVER INSTALLATION
If you wish to connect a satellite receiver to your VCR after auto-installation without a satellite
receiver it is not necessary to completely re-install all channels. Follow the procedure below:
1. Press MENU.
2. Press [ / ] to select SET UP. Press
SET to confirm.
3. CHANNEL PRESET will be
highlighted. Press
SET to confirm.
4. Press [ / ] to select SAT
RECEIVER. Press SET to confirm. The
satellite receiver screen will appear.
5. Follow points 10-15 in AUTO
INSTALLATION (satellite/cable box
control only).
6. Then press [ / ] to select SAT
PROG SEARCH. Press SET to confirm.
The satellite channels will be installed. (This
may take a few minutes).
7. Then press MENU.
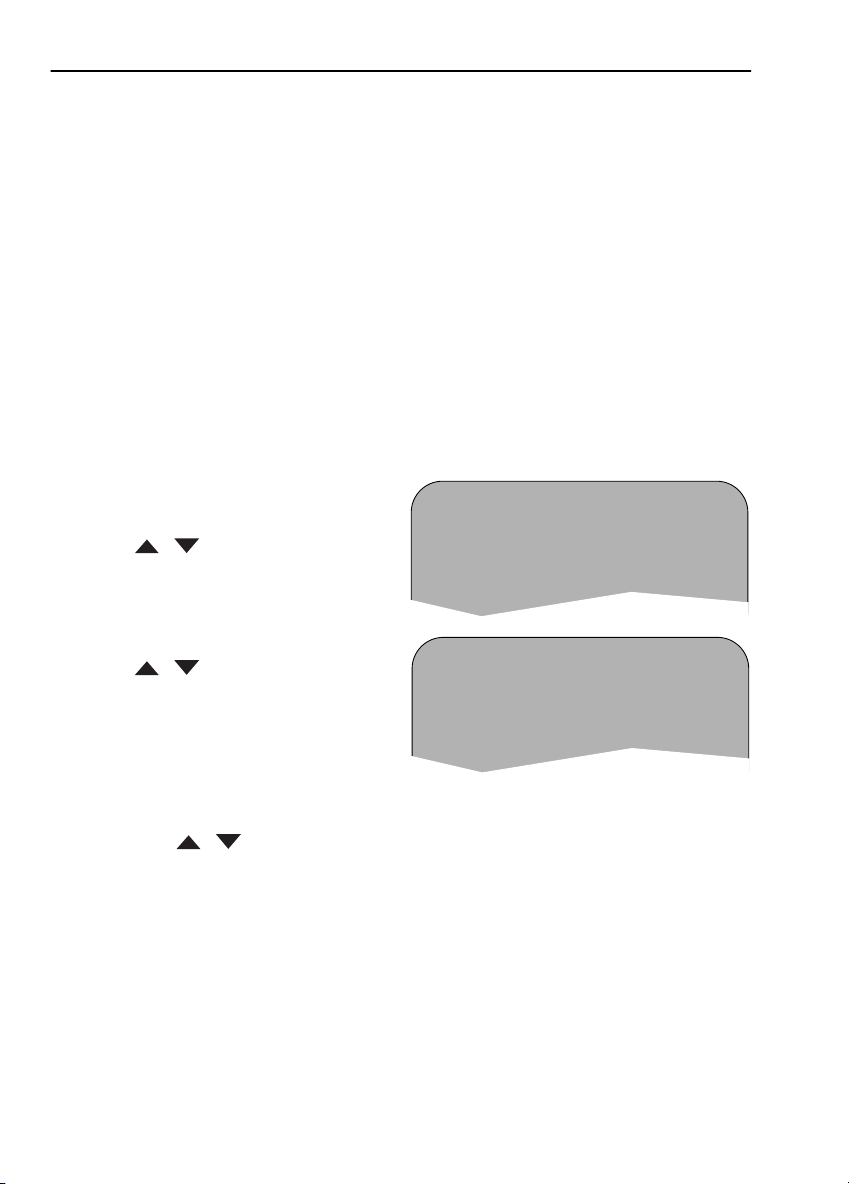
MAN U A L T U N I NG
SAT RECE IVER
SAT PROGRAM S EARCH
MAN U A L T U N I NG
SAT RECE IVER
SAT PROGRAM S EARCH
If problems persist contact the SHARP Helpline on tel: 08705-274277 (office hours)
or www.sharp.co.uk/support
36
Page 5

CUSTOMISED INSTALLATION
INSTALLATION OF A SKY DIGIBOX RECEIVER
1. Connect your Sky Digibox receiver to the VCR as shown in connecting the cables.
2. Place the receiver near the VCR (ideally on the top). This ensures that the reflected
infrared signals from the VCR which control the satellite receiver can reach it unimpeded.
3. Ensure the receiver is not in Standby or any special mode.
• The preset Sky channels can now be tuned in as part of the installation procedure.
INSTALLATION PROCEDURE
Turn the TV on and select the video channel . (As previously explained)
1.
Press STOP to switch on the VCR.
2.
Step through the on screen instructions by
pressing the
SET button.
3D-DNR/TBC
SUPER P.SKIP SEARCH
MENU SET
AUTO I NSTALLAT I ON
PRESS SET KEY TO START
SET :ENTER MENU : EX I T
Press the SET button.
PLEASE BE SURE THE
AER I A L / SCART CABL E I S
CONNECTED TO YOUR VCR .
SET :ENTER MENU : EX I T
NOTE:
• If the AUTO INSTALLATION screen doesn’t
appear when you switch on your VCR or
you wish to reset your VCR and start the
installation again, refer to
the back of the book.
If problems persist contact the SHARP Customer Helpline on tel: 08705-274277 (office hours)
VCR RESET at
or www.sharp.co.uk/support
37
Press the
SET button.
See next page to continue
Page 6

CUSTOMISED INSTALLATION
123
INSTALLATION OF A SKY DIGIBOX RECEIVER
SAT CONTROL WILL BE HIGHLIGHTED.
3.
Leave SAT CONTROL set to OFF and press
SET.
SAT CONTROL ON OFF
SAT RECE I VER
The VCR will attempt to copy the TV preset list
(NexTView, Smart Link, Easy Link and
Megalogic compatible TV’s only). During the
copying process the display will show the TV
presets that are being copied. If the VCR is
unable to copy the TV preset list the terrestrial
channels will be automatically installed. (Auto
install may take a few minutes.)
On completion, the MOVE MENU will appear
showing the standard channel order. By pressing
the MODE OSD button, the VCR will change to a
blue background. This may help you see which
channels your VCR has tuned in.
Press MENU to exit if you are happy with
4.
the channel order, if not and you wish to
change the order refer to
MANUALLY
SORTING CHANNELS.
The correct Time and Date should be
displayed on your TV screen for
approximately
automatically set, the clock screen will
appear, refer to
2 seconds. If the clock is not
MANUALLY SETTING
THE CLOCK for help on setting the time
and date.
: CHANGE
SET :ENTER MENU : EX I T
Press the SET button.
AUTOMATIC SORTING.
PLEASE WA I T .
SET :ENTER MENU : EX I T
1BBC 1 7 1 3
2BBC 2 8 1 4
3ITV 9 15
4CH4 1 0 16
5CH5 11 17
61218
S ELECTED : BBC1
: SELECTED
SET :ENTER MENU : EX I T
MOVE 1/5
1CH22
MODE OSD
45
6
DISPLAY
78
9
INPUT SELECT
AUDIO OUTAM/PM
If problems persist contact the SHARP Customer Helpline on tel: 08705-274277 (office hours)
or www.sharp.co.uk/supp;ort
38
Page 7

CUSTOMISED INSTALLATION
INSTALLATION OF A SKY DIGIBOX RECEIVER
SKY DIGIBOX INSTALLATION
Press MENU.
5.
6. Press [ / ] to select SET UP. Press
SET to confirm.
7. CHANNEL PRESET will be highlighted.
Press
SET to confirm.
8. Press [ / ] to select SAT RECEIVER.
Press
SET to confirm. The satellite receiver
screen will appear.
Press [ / ], to set SAT CONTROL to
9.
ON.
10. Press [ / ], to select INPUT. L2 will
be highlighted.
If
the VCR is not connected to the Digibox
as shown in
CONNECTING THE
CABLES.
i. Your satellite receiver should be connected
to the Antenna (RF in on the back of the
VCR) select RF IN using [ / ] You will need
to tune the VCR into the Digibox.
ii. Press [ / ] to select CHANNEL.
Press [ ]. The current channel will be
displayed as a background to the on-screen
display. If this is not a satellite channel press
[ ] again. Continue until you see a satellite
channel.
MAN U A L T U N I NG
SAT RECE I VER
SAT PROGRAM S EARCH
SAT RECE I VER
SAT CONTROL ON OF F
➔ INPUT RFIN L2
SAT NO. 001
PLEASE CONNECT-----
SAT L2 VCR
: SELECT
-----------
SET :ENTER MENU : EX I T
TV OPERATE
INPUT
SELECT
: CHANGE
CHANNEL
VOLUME
11. Press [ / ] to select SAT NO. Using
the
NUMBER BUTTONS enter 128.
TIMER
ON/OFF
123
12. When the arrows have moved from VCR to
SAT on the on screen display, press
confirm.
SET to
45
78
INPUT SELECT
If problems persist contact the SHARP Customer Helpline on tel: 08705-274277 (office hours)
or www.sharp.co.uk/support
39
MODE OSD
6
DISPLAY
9
AUDIO OUTAM/PM
Page 8

CUSTOMISED INSTALLATION
INSTALLATION OF A SKY DIGIBOX RECEIVER
13. Press [ / ] to select MANUAL
.
TUNE
14. Press SET to confirm
15. PRESET will be highlighted. Press
[ / ] to choose the required VCR
preset channel.
16. Press [ / ] to select SOURCE.
Then press [ / ] to select
SAT.
17. Then press [ / ] to select
CHANNEL. Using the channel guide on
the following page enter the satellite
channel using the
NUMBER
BUTTONS.
18. Wait for the VCR to display ST*** next to
the Preset channel number (This will take
a few seconds), Press
SET to confirm.
19. Repeat procedure from point 16 until all
desired satellite channels are stored in to
the VCR.
MAN U A L T U N I NG
SAT RECE I VER
SAT PROGRAM S EARCH
➔
PRESET ST106 1
SOURCE CH SAT
CHANNEL CH 2 1
FINE TUNING
DECODER ON OFF
SKIP ON OF F
▲
MENU SET
▲
20. Press MENU to exit
PLUSCODE
CLEAR
21. Please return to HOW TO PLAYBACK
A VIDEO TAPE, at the front of the
manual.
IMPORTANT NOTE:
• If there is no response from your Sky Digibox, try adjusting its position to improve the Infra
Red VCR to satellite receiver reception.
If problems persist contact the SHARP Customer Helpline on tel: 08705-274277 (office hours)
or www.sharp.co.uk/support
40
Page 9

CUSTOMISED INSTALLATION
INSTALLATION OF A SKY DIGIBOX RECEIVER
BSKYB DIGITAL CHANNEL MAPPING
PRESET NO:
101
102
103
104
105
106
109
110
112
115
118
121
124
127
130
133
136
139
142
145
148
151
160
178
181
301 - 305
308 - 312
315
316
324
401
402
403
410
413
416
440
443
446
CHANNEL
BBC1
BBC2
ITV
CH4
CH5
SKY ONE
UK GOLD
UK GOLD 2
LIVING
DISNEY
GRANADA PLUS
CHALLENGE TV
BRAVO
PARAMOUNT
SCI-FI
HOME & LEISURE
BREEZE
MEN & MOTORS
SKY SHOP
SKY TRAVEL
UK STYLE
UK ARENA
BBC CHOICE
TARA
TRAVEL
SKY PREMIER
SKY MOVIE MAX
SKY CINEMA
SKY CINEMA 2
FILM FOUR
SKY SPORTS 1
SKY SPORTS 2
SKY SPORTS 3
MUTV
SKY SPORTS NEWS
THE RACING
MTV
VH1
M2
PRESET NO:
449
452
501
504
507
508
510
513
533
534
535
550
551
552
558
559
561
564
570
601
602
604
607
610
630
633
636
700
701 - 758
964
965
966
977
980
998
CHANNEL
THE BOX
UK PLAY
SKY NEWS
BLOOMBERG
BBC NEWS 24
BBC PARLIAMENT
CNBC
CNN
TRAVEL & ADV
CIVILISATION
SCI-TREK
ANIMAL PLANET
DISCOVERY
DISCOVERY + 1 HR
NG
NG + 1
HISTORY
UK HORIZONS
ADVENTURE 1
CARTOON NETWORK
CARTOON 2
NICKELODEON
TROUBLE
FOX KIDS
QVC
TV TRAVEL SHOP
SHOP!
SKY BARKER
SKY BOX OFFICE
BBC CHOICE (S)
BBC CHOICE (W)
BBC CHOICE (N)
TELEVISION X
AFTER MIDNIGHT
SKY GUIDE INFO
If problems persist contact the SHARP Customer Helpline on tel: 08705-274277 (office hours)
or www.sharp.co.uk/support
41
Page 10

CUSTOMISED INSTALLATION
MANUALLY SORTING CHANNELS
SORTING THE CHANNELS INTO YOUR PREFERRED ORDER
When your VCR tunes in broadcast channels automatically it sorts them into a standard order
using teletext information. You can change the order of the channels with the following
procedure.
1. Press MENU.
MENU SCREEN2.
2. Press [ / ] to select SET UP. Press SET to
confirm.
3. Press [ / ] to select CHANNEL SORT. Press
SET to confirm.
4. The MOVE position will be highlighted. Press
SET to confirm.
5. Press [ / / / ] to highlight the
channel to be moved. Press
SET to confirm.
6. Press [ / / / ] to highlight the new
position for the channel. Press
SET to confirm.
7. If any more channels are to be moved, repeat
procedure from step 5.
8. When all the channels are in your preferred
order, press
function.
MENU to leave the MENU
MOD E
SET UP
5.
1BBC 1 7 1 3
2BBC 2 8 1 4
3ITV 9 15
4CH4 10 1 6
5 CH 5 11 17
61218
MOVE 1/6
6.
1 CH 5 713
2BBC 1 8 1 4
3BBC 2 9 1 5
4 I TV 10 16
5CH4 11 1 7
61218
MOVE 1/6
NOTES:
If, when moving channels the picture becomes unclear and the on-scrren display is
unreadable, the MODE OSD button can be used to toggle between a blue background and
the normal picture.
The blue background will be shown until either another channel is selected or the MODE OSD
button is pressed again.
If problems persist contact the SHARP Helpline on tel: 08705-274277 (office hours)
or www.sharp.co.uk/support
42
Page 11

CUSTOMISED INSTALLATION
MANUALLY SORTING CHANNELS
DELETING CHANNELS
If there is a channel you wish to delete from the VCR memory you can follow the procedure
below.
1. Press MENU.
MENU SCREEN2.
2. Press [ / ] to select SET UP. Press SET to
confirm.
3. Press [ / ] to select CHANNEL SORT. Press
SET to confirm.
4. Press [ / ] to select CANCEL. Press SET to
confirm.
5. Press [ / / / ] to highlight the
channel to be cancelled.
TIMER
MOD E
SET UP
5.
1BBC1 7 13
2BBC2 8 14
3 CH 5 9 15
4ITV 10 16
5CH4 11 17
6 12 18
CANCEL 1 / 6
6. Press SET twice to cancel the channel.
7. When all the channels you wish have been
cancelled, press
MENU.
6.
1BBC1 7 13
2BBC2 8 14
3ITV 9 15
4CH4 10 16
5 11 17
6 12 18
CANCEL 1 / 6
NOTES:
If, when deleting channels the picture becomes unclear and the on-scrren display is
unreadable, the MODE OSD button can be used to toggle between a blue background and
the normal picture.
The blue background will be shown until either another channel is selected or the MODE OSD
button is pressed again.
If problems persist contact the SHARP Helpline on tel: 08705-274277 (office hours)
or www.sharp.co.uk/support
43
Page 12

CUSTOMISED INSTALLATION
MANUALLY SORTING CHANNELS
RE-NAMING CHANNELS
When your VCR tunes in broadcast channels automatically, it names them using teletext
information. You can change the name of a channel with the following procedure.
1. Press MENU.
2. Press [ / ] to select SET UP.
Press
SET to confirm.
3. Press [ / ] to select CHANNEL SORT.
Press
SET to confirm.
4. Press [ / ] to highlight NAME.
Press
SETto confirm.
5. Press [ / / / ] to highlight the
channel to be named.
Press
SETto confirm.
6. Press [ / / / ] to rename the
channel.
Press
SET to confirm.
7. If any more channels are to be renamed,
repeat procedure from step 5.
8. When all the channels are named correctly,
press
MENU to leave the MENU function.
:
MENU SCREEN2.
MOD E
SET UP
5.
1BBC 1 7
2BBC 2 8
3ITV 9
4 CH 7 10
5CH5 11
612
:
6.
1BBC 1 7
2BBC 2 8
3ITV 9
4 CH 4 10
5CH5 11
612
NAME 1/6
NAME 1/6
NOTES:
If, when re-naming channels the picture becomes unclear and the on-scrren display is
unreadable, the MODE OSD button can be used to toggle between a blue background and
the normal picture.
The blue background will be shown until either another channel is selected or the MODE OSD
button is pressed again.
If problems persist contact the SHARP Helpline on tel: 08705-274277 (office hours)
or www.sharp.co.uk/support
44
Page 13

CUSTOMISED INSTALLATION
MANUALLY SETTING THE CLOCK
The clock will normally be set using teletext information when your VCR automatically tunes in
the broadcast channels. If for any reason teletext signals are not present your VCR will not be
able to set the clock. This procedure will allow you to set the clock manually.
1. Press MENU. Press [ / ] to select SET UP.
SET to confirm.
Press
2. Press [ / ] to select CLOCK. Press SET to
confirm.
MODE T I ME DATE YEAR
24H 0:00 1/04 00 *
CLOCK
3. Press [ / ] to select either 12 or 24 hour
clock.
MODE : 24H / 1 2H
: SELECT : CHANGE
SET :ENTER MENU : EX I T
4. Press [ / ] to select TIME. Enter the time
using the
[ / ]. If the minutes are less than 10, enter
the leading 0. If using the 12 hour clock enter
AM or PM by pressing on the remote
control.
NUMBER BUTTONS or
5. Press [ / ] to select DATE. Enter the date
using the
[ / ]. For example, for 1st April enter
01 04.
NUMBER BUTTONS or
6. Press [ / ] to select YEAR. Enter the last two
digits of the year using the
BUTTONS or [ / ]. For example, for
2000 enter
00. For the year 2001 enter 01.
NUMBER
7. Select * for AUTO CLOCK on/off
* is ON, - is OFF). Then press SET to confirm.
(
NOTE:
• If AUTO CLOCK is set to OFF (- is OFF) then you will need to update the clock for
daylight saving.
If problems persist contact the SHARP Helpline on tel:08705-274277 (office hours)
or www.sharp.co.uk/support
45
 Loading...