

Page 1
Date: May. 22, 1995
COPIER : SF-2014
No. : STE-001
PREVENTING THE “TONER LOW ” LAMP
FROM TURNING ON.
1.Model name: SF-2014/21 14/2214
Z-800, SN-1420/1430 (U.S. Version)
2.Genaral: Occasionally, the “Toner Low” lamp may go on although there is still toner in the
cartridge. This may be due to the “scrape off sheet”, which is affixed to the
supplementary toner feed in the toner hopper, rising too far up (reducing the angle of an
input lever) and causing the toner level in the hopper to drop.
3.Description: Because of strict quality control and thorough visual checks, this problem should not
occur in machines produced after November 1994. Some improvements have been
carried out in the shape and quality of the sheet and replacement should be carried out
on any machines produced previous to that date.
Scrape off sheet
(New)
R R
RR
Material PC
Toner hopper
(Old)
Material PET
<Items needed for the exchange of parts>
• Scrape-off sheet : PSHEP3756FCZ1
• Shutter : PSHT-0064FCZZ
Please prepare these in advance
<Procedure for changing the parts>
(1) Remove the toner cartridge from the toner holder in the developing unit.
(2) Remove the connector for the toner motor.
R
(3) Remove the four blue screws and take the cover off the DV Box as shown in Fig. 1, A.
lift the back portion of the frame slightly, and remove while turning the cover
clockwise around the point indicated by the triangle
SHARP CORPORATION Printing and Reprographic Supplies Division
1/4
Yellow
C
Page 2
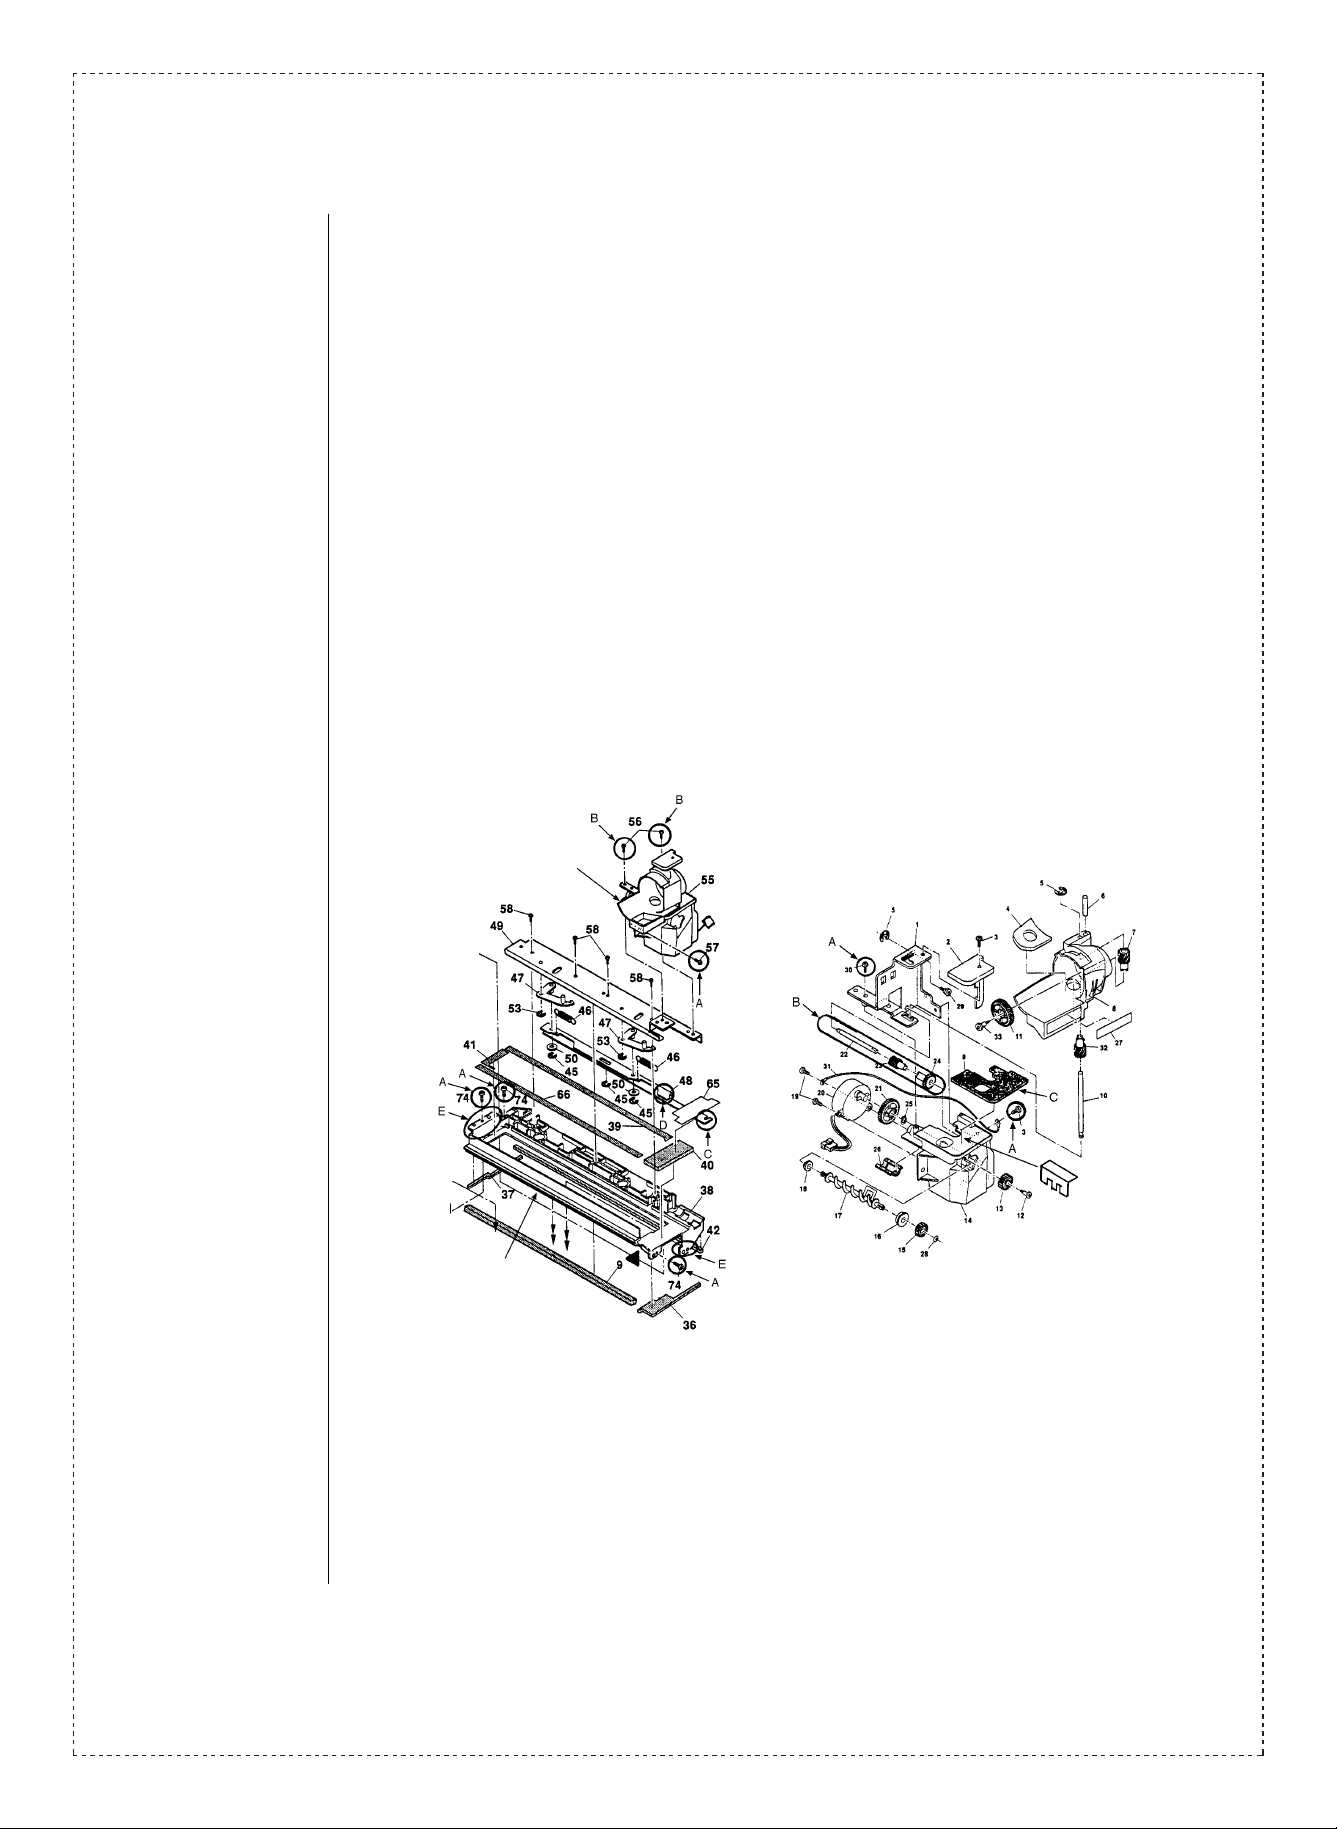
(4) Remove the 2 screws and remove the toner hopper unit from itUs cover as shown in
Fig. 1, B.
(5) Clean up any toner remaining in the unit.
(6) Remove the 2 screws and separate the toner hopper (No.14) from the toner holder
(No.8) as shown in Fig. 2, A.
(7) Draw the shafts and gears apart as shown in Fig. 2, B.
(Work can proceed without this being done, but there is a possibility that the shafts
and gears will come apart spontaneously later on)
(8) Peel off the “scrape-off sheet”, which is affixed to the supplementary toner feed, and
remove the shutter, as shown in Fig. 2, C.
(9) Peel the double sided tape off of the top of the toner hopper.
(Be careful not to allow any foreign particles to enter the toner hopper)
(10) Clean the affixing portions of the Rscrape-off sheetS and the shutter with alcohol.
Fig. 1
Toner hopper unit
Cover
Fig. 2
Connector
Scrape-off sheet
2/4
(11) Af fix the new sheet, being careful to match up A’, B’ on the sheet to the standard
A,B on the toner hopper.
(Press down firmly when affixing the sheet)
• As it is difficult to fix the front of the sheet to the convex portion of the screw unit
(No.17), it is preferable to affix the front of the sheet to the concave portion of the unit.
Page 3
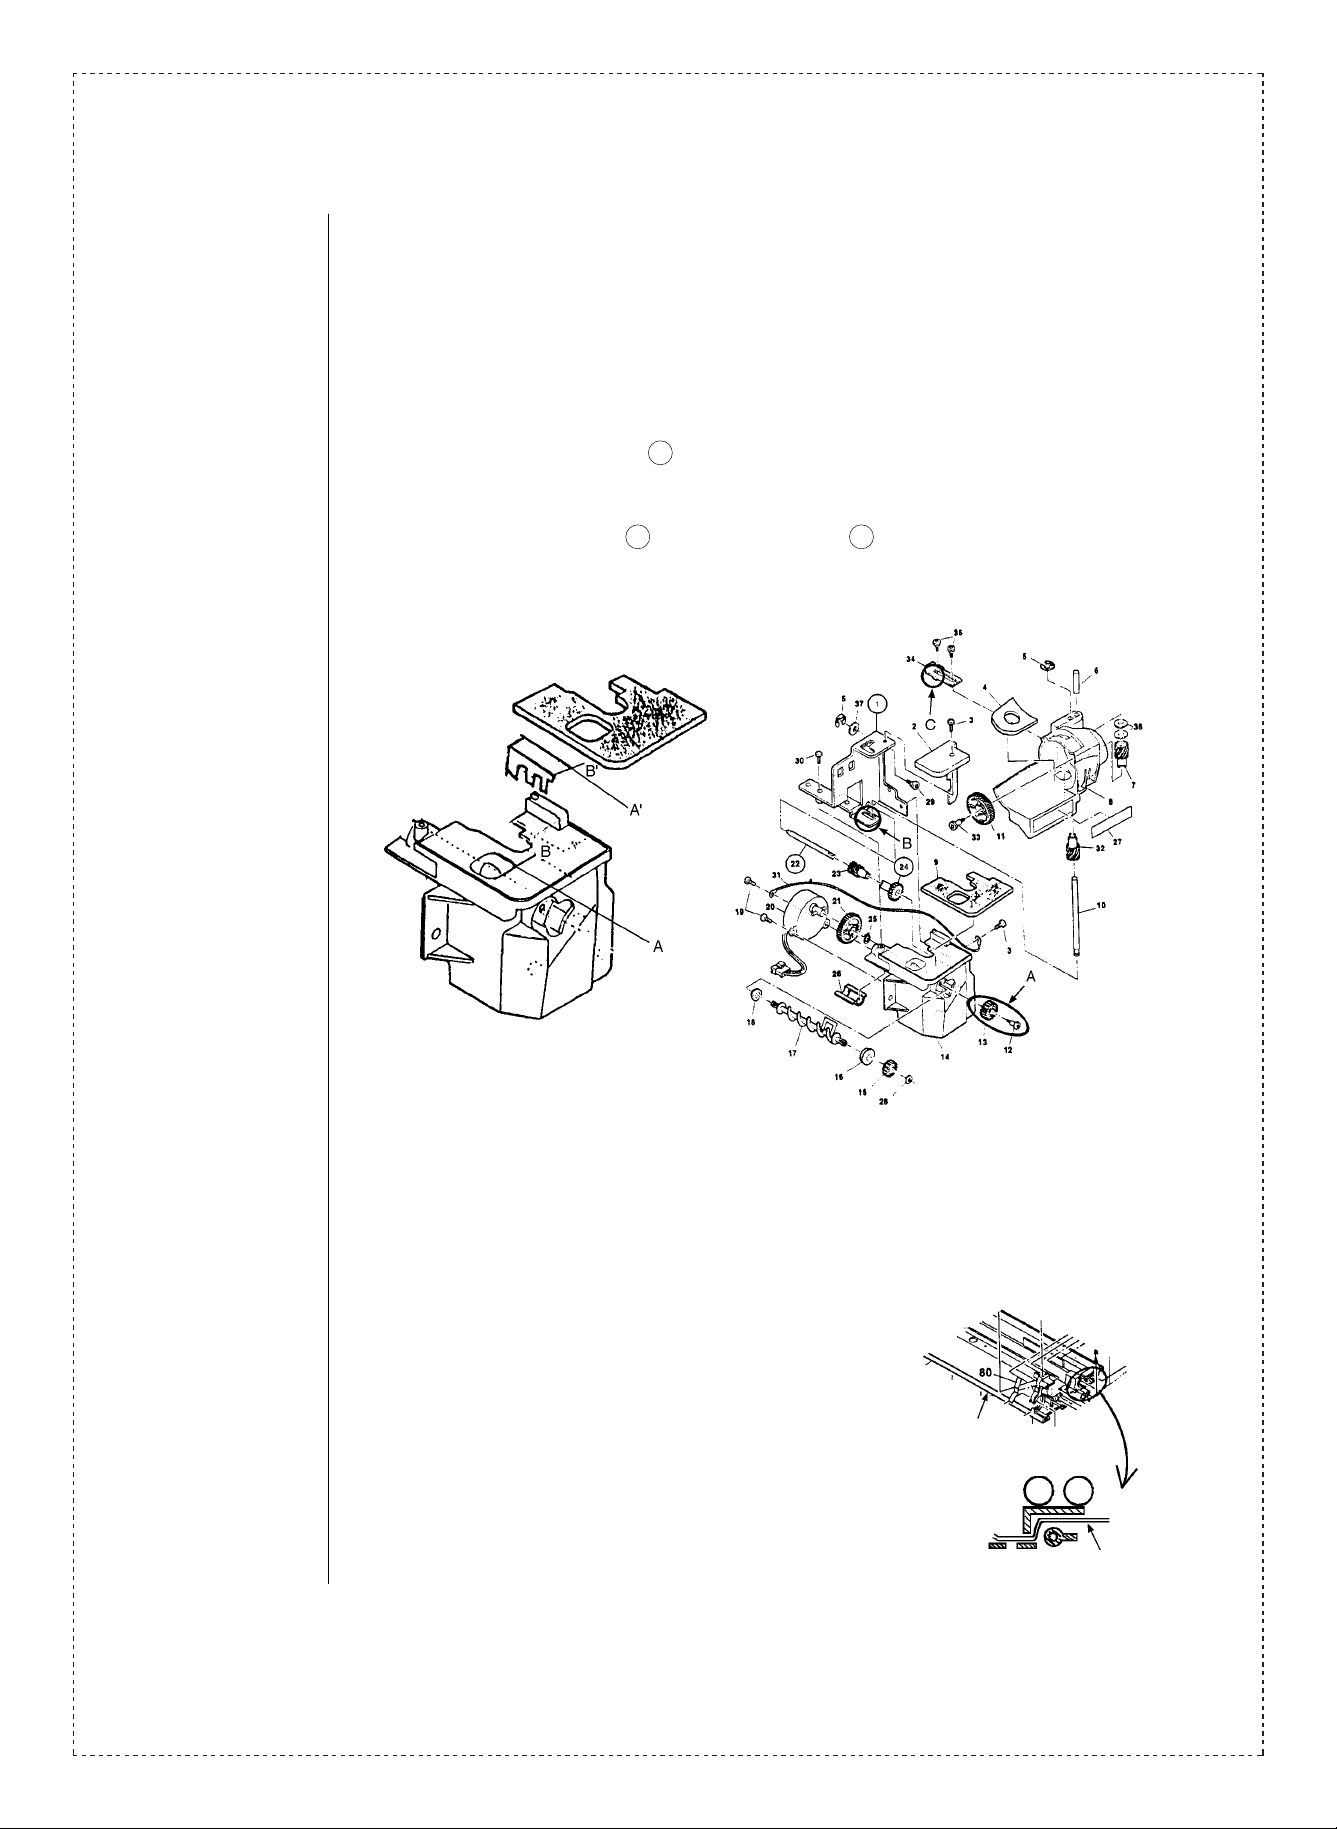
(In cases where the front of the sheet comes to the convex portion of the unit,
it is possible to remove the screws and gears and rotate the unit until the sheet
matches up with the concave portion)
(12) Affix the new shutter to the top of the toner hopper.
(Allow no foreign substances to fall in)
(13) Reinstall the gears and shafts removed in (11) and (7).
(Match up the toner gear 24 and the DV gear in the toner motor)
(14) Reconnect the toner hopper and toner holder which were disconnected in (6)
(Insert the toner shaft 22 into the toner bracket 1 , and then reinsert the screws)
Fig. 3 Fig. 4
(15) Reinsert the toner hopper into the developing unit cover, using the reverse of the
steps outlined in (4).
• Do this only after attaching the parts shown in diagram 1,C to the boss (No.10)
shown at the back of Fig. 4,B
• B e careful not to put the compression stopper shown in diagram 4,C onto the parts
shown in Fig. 1,D
(16) Reversing the steps described in (3), fix the cover
to the DV box.
• Insert the lead into the inside portion of the rib,
as shown in the Fig. to the right.
• Make sure that the parts shown in 1,E are
DV box
inserted into the ribs of the DV box.
(17) Connect the toner motor connector and insert the
connector into the inside of the toner hopper.
Lead cable
3/4
Page 4
The parts shown to the right and the
scrape-off sheet, known as the Assen L
THS Unit, are provided free of charge.
Please recycle or reuse any other parts
necessary. The unit is only to be used
when replacing the scrape off sheet, and
may not be used for any other purposes.
4.Action: Production started in mid-March, 1995
Production of these parts started in March, 1995, but the changes described should
be made to machines produced between August and November, 1994.
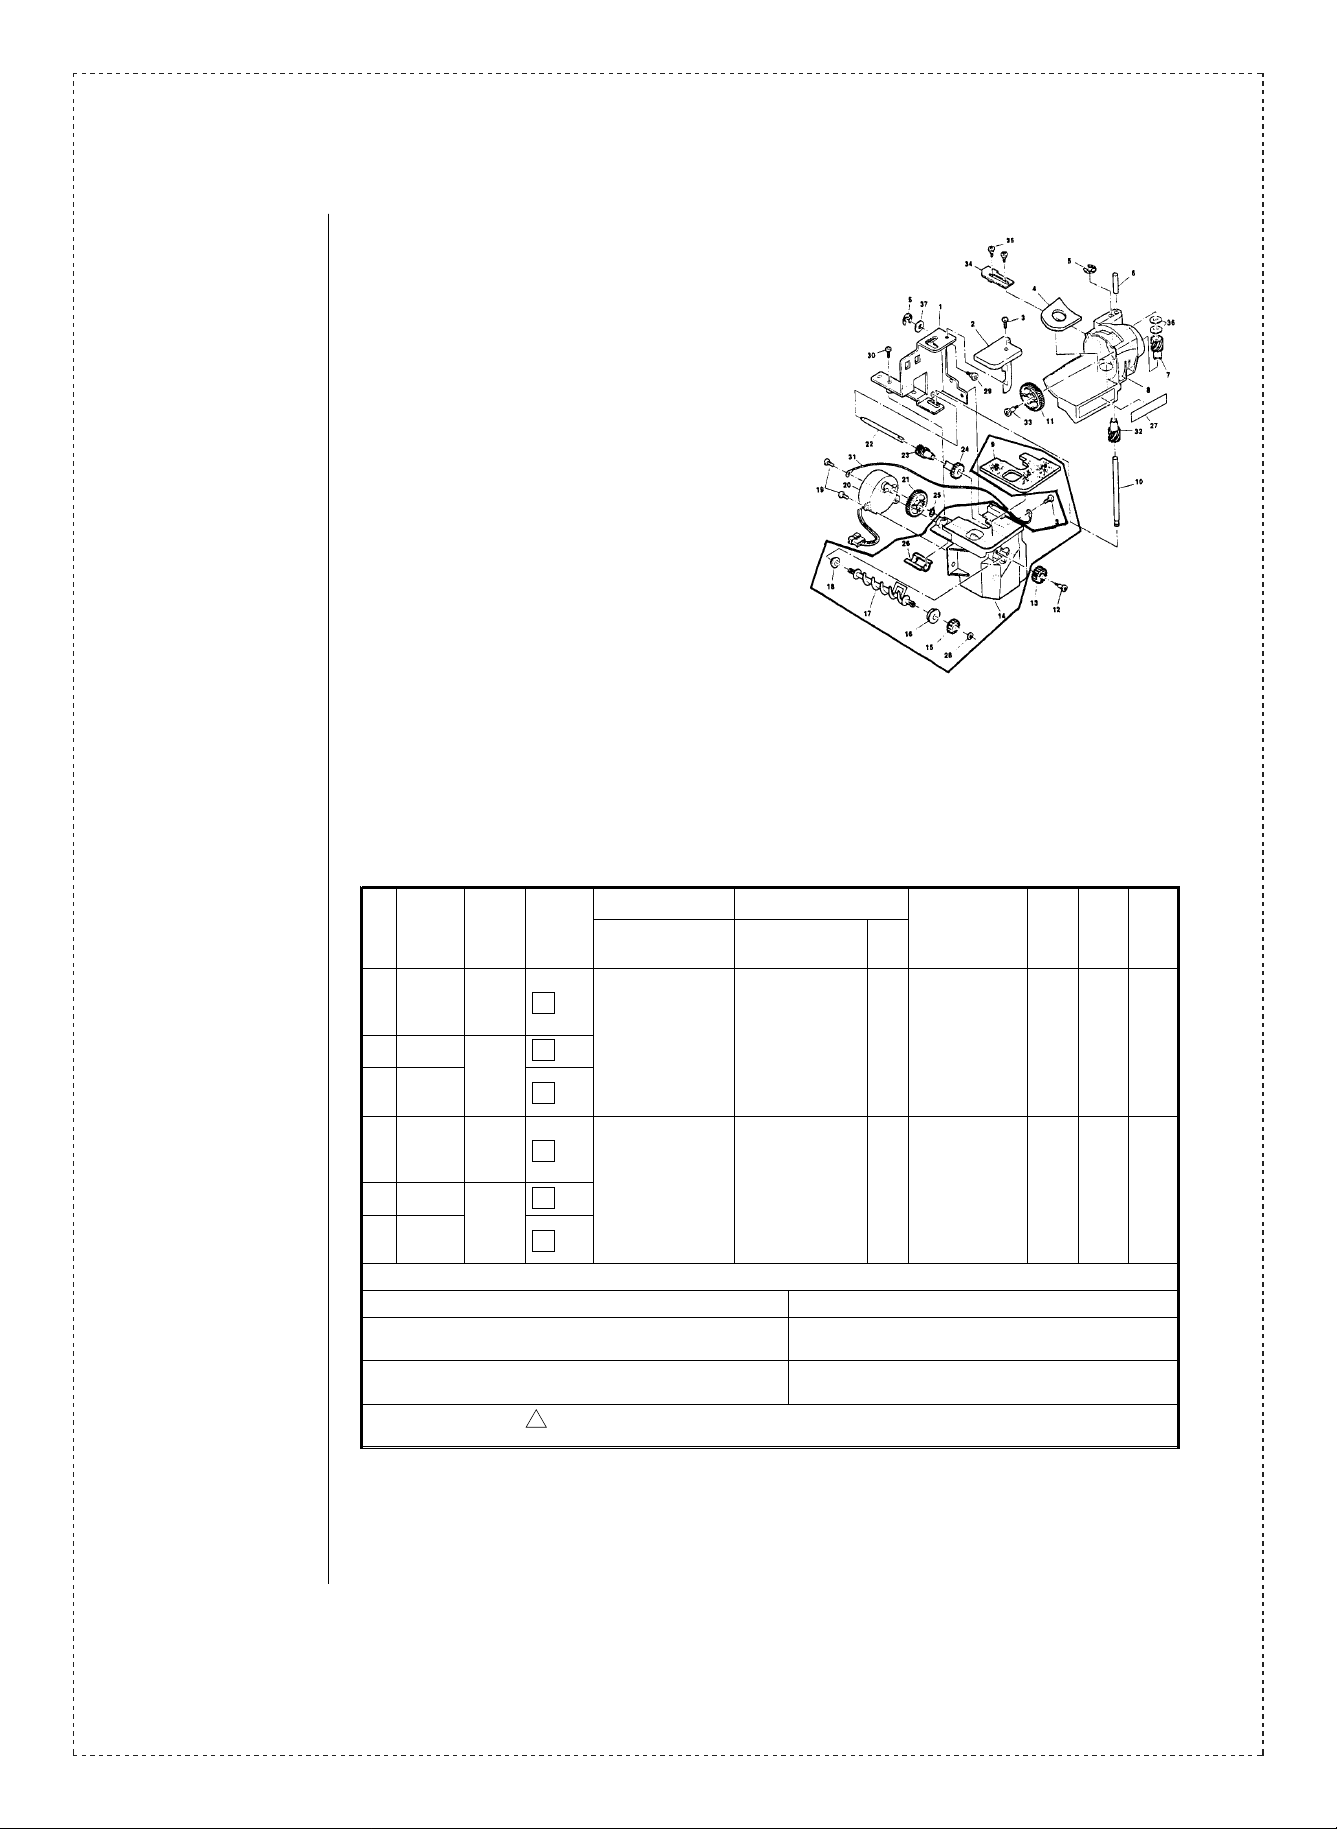
Ref.
Model
No.
SF-2014
SF-2114
SF-2214
Z-800
SN-1420
SN-1430
SF-2014
SF-2114
SF-2214
Z-800
SN-1420
SN-1430
<Interchange>
1. Interc ha ng ea bl e. 4. N ot i nt er ch an ge ab l e.
2. Current type can be used in place of new type.
New type cannot be used in place of current type.
3. Current type cannot be used in place of new type.
New type can be used in place of current type.
Parts marked with “ ” is important for maintaining the safety of the set. Be sure to replace these parts with
s p ec ifi e d on es fo r m aintaini ng t he s a fe ty an d pe r fo rma nc e o f th e s et .
name
Version P/G No.
10
All
only
All
only
9
10
10
9
10
!
U.S.A
U.S.A
Current parts New parts
Parts code Parts code
PSHEP3756FCZZ PSHEP3756FCZ1 AE Scrape off sheet
— CBOX-0097FC71 AV THS unitt — 6
Price
5. Interchangeable if replaced with same types of
relate d parts in use .
6. Others .
Parts name
rank
Effec-
tive
time
1st lot
’95/3
Inter-
change-
ability
3
Note
Service
parts
only
4/4
 Loading...