

Page 1
Troubleshooting
Please check the following before requesting repairs.
Problem
The power will not turn on.
No image
Distorted images
Blurred images
Images are offset vertically or
horizontally and are not correctly
displayed
The remote control does not work
The wireless mouse control does
not work
The STATUS indicator blinks
Flickering text or offset colors with
COMPUTER input terminal
Check
• Is the power plug connected to the power outlet?
• Is the lamp cover correctly installed?
• Is the internal temperature too high? A protective feature prevents the
power turning on when the internal temperature is too high.
• Has the lamp usage time exceeded 1100 hours? The power will not turn
on when 1100 hours have elapsed.
• Has the connected input been selected?
• Is the cables correctly connected to the input terminals?
• Are the brightness and contrast set to minimum?
• Is the sliding lens cap closed?
• Is the lamp blown?
• Has the lamp usage time exceeded 1100 hours?
• If a notebook type computer is being used, was the computer power
turned on after the projector was connected? Is the computer set to
disable output to the external COMPUTER input terminal?
In many cases, when a notebook type computer is connected to the
projector, a signal will not be output to the COMPUTER input terminal
unless the computer power is turned on.
• Does the STATUS indicator blink?
• Is installation correct?
• Was the Keystone adjustment performed correctly?
• Is the lens properly focused?
• Are the screen and projector positioned at the correct angle?
• Does the projection distance place the screen outside the focus range?
• Is there condensation, dirt, etc., on the lens?
Condensation on the internal optical system is possible when the
projector has been stored in a cool place and then is used in a warm
place. In such cases, wait several minutes for the condensation to
evaporate.
• Correctly adjust the horizontal and vertical position of the screen.
• Is the clock frequency correctly adjusted?
• Are the resolution and frequency correct for the input signal? Check the
resolution of the personal computer.
• Does the send indicator (LED) light? If it does not light, the batteries are
exhausted. In such cases, replace with fresh batteries.
• Is there any obstacle between the remote control and the remote sensors
of the main unit?
• Is the remote control being used outside its effective range?
• Is there a fluorescent light or other strong light source close to the remote
sensors?
• Is the MOUSE terminal of the main unit and the personal computer
correctly connected?
• Was the personal computer started after being connected to the MOUSE
terminal of the main unit?
• Check the STATUS indicator list.
• Manually adjust the clock frequency and phase.
• Press the AUTO SYNC button.
Reference page
18
37
36
29, 36, 37
18, 20
15, 16
26
18
37
29, 36, 37
16, 17
36
18
22, 32
19
18
13
—
28
28
27
9, 12
9
9
—
21
21
Others
36
28
35
Page 2
When the STATUS Indicator Illuminates or Flashes
Status Light Messages
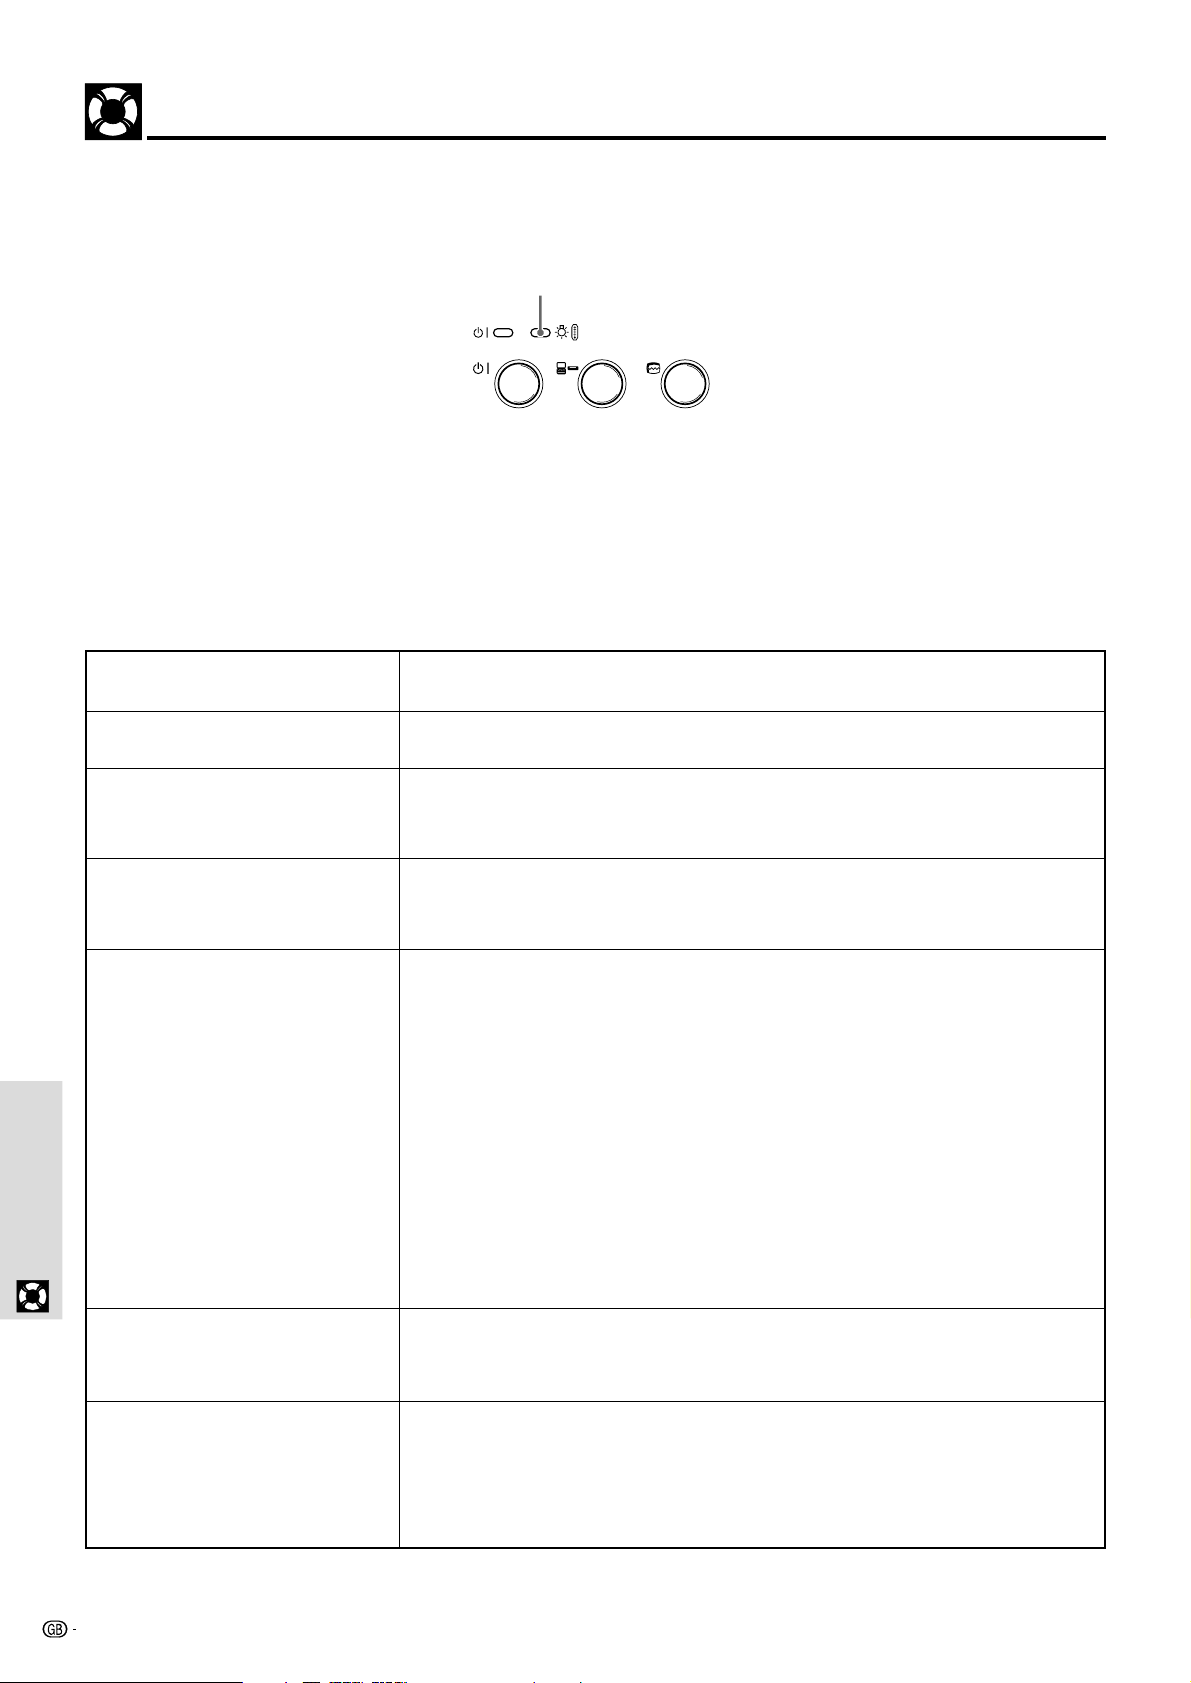
STATUS indicator
POWER STATUS
ON/OFF INPUT SELECT AUTO SYNC
Condition
OFF
On Continually
Flashing Very Rapidly (On and
off in a cycle of 1 sec.)
Flashing Rapidly
(On and off in a cycle of 4 sec.)
OthersOthers
Status
Normal
The lamp usage has exceeded 1000 hours of operation and should be
replaced.
• The lamp cover is not correctly attached. Replace it correctly.
• The temperature protector has been triggered. If the room temperature is
high, move the unit to a cool location. If the temperature within the unit is
high, check the cooling fan (exhaust vent) and the cooling fan (exhaust
vent) on the bottom of the unit. If any of the slots are blocked, remove
whatever is blocking them.
• The temperature protector has been triggered. If you try to turn on the
unit immediately after turning off, sometimes the power does not come
on. If this happens, wait at least one minute, then turn on the unit again.
• The lamp lighting voltage error detection protector has been triggered.
Wait at least one minute before turning on the unit again. If this does not
solve the problem, please contact your dealer.
Flashing Slowly (On and off in a
cycle of 8 sec.)
Flashing Very Slowly (On and off
in a cycle of 12 sec.)
36
The cooling fan has stopped. Contact your Sharp Authorized LCD Projector
Dealer or Service Center.
The lamp is not turned on.
• The unit was turned on immediately after being turned off. Turn off the
unit, wait at least one minute, then turn on the unit again.
• The lamp is dead. Replace the lamp cage. (See page 37.)
Page 3

Replacing the Projection Lamp
CAUTION:
• Potential hazard of glass particles if lamp has ruptured. Please have Sharp Authorized LCD Projector Dealer or
Service Center replace lamp if rupture occurs.
• Do not remove the lamp cage directly after operation of the projector. The lamp may be extremely hot. Wait at
least one hour after the power cord is disconnected to allow the surface of the lamp cage to fully cool before
removing the lamp cage.
The rated lamp life is about 1000 hours. The rated lamp life is the average life of the lamps produced and tested (under the
test conditions of our company). However, it may become shorter depending on the conditions of usage.
After the lamp has been operating for 1000 hours or longer, the STATUS indicator on the control panel will light and the “LAMP
USAGE” icon which shows hours of total lamp usage will be displayed on the screen. When this happens, turn off the unit and
replace the lamp cage with a new one. The unit will not turn on after 1100 hours. (It will go off if it is in use.)
Removing and installing the lamp unit
CAUTION
• Be sure to remove the lamp cage by the handle. Be sure not to touch the glass surface of the lamp cage or the inside of the projector.
• Do not loosen any screws except for those mentioned in the instructions below. There is danger of electric shock.
• To avoid injury to yourself and damage to the lamp, be sure to carefully follow the steps below.
Turn off the power.
1
Press the POWER ON/OFF button.
Wait until the cooling fan stops.
O
N
/
O
F
F
I
N
P
P
U
O
T
W
S
E
E
R
L
E
C
T
S
T
A
A
T
U
U
S
T
O
S
Y
N
C
X
0
1
M
-
G
P
ON/OFF
F
O
C
U
S
O
P
E
N
Disconnect the power
2
cord.
Unplug the power cord from the
AC socket. Wait at least one hour
after power cord is disconnected.
Open the lamp cage
3
cover.
Turn over the projector and unfasten the user service screw that
secures the lamp cage cover.
Then open the cover in the direction of the arrow.
or
User service screw
Others
MENU
R-CLICK/UNDO
PROJECTOR
COMPUTER
ON/OFF
Replace the lamp cage
5
(after changing the lamp).
Press the lamp cage firmly into
the lamp cage compartment.
Fasten the securing screws.
Close the lamp cage
cover.
Close the lamp cage cover in the
direction of the arrow. Then
fasten the user service screw.
MOUSE ON/OFF
VIDEO
DIGITAL MULTIMEDIA
Remove the lamp
46
cage.
Unfasten the three securing
screws on the lamp cage. Hold
the lamp cage by the handle and
pull it upward.
Securing
screws
User service
screw
• Reset the lamp usage timer after replacing the lamp. See page 29 for information.
• When the lamp usage timer reaches 1100 hours, it becomes impossible to turn on the power and menus are not displayed. In such a case,
see “When the lamp usage timer has exceeds 1100 hours and the unit will not turn on” on page 29.
• Obtain a replacement lamp cage at the store where the unit was purchased. Please specify the following information when ordering a
replacement lamp cartridge:
– Model name : BQC-PGM10X//-1
37
Page 4

Transporting the Projector
When transporting the unit, please slide the lens cap to the closed position and utilize the supplied carrying bag.
Avoid strong vibration and physical shock during transportation.
Using the Carrying Bag
A soft-side carrying bag is provided to transport the unit. Before placing the projector into the carrying bag, set up the inner
pad inside the bag as shown.
How to use the carrying bag
Packing the unit Packing the accessories
CAUTION
• The supplied carrying bag is made exclusively for the unit and its supplied accessories. Do not place other items into the carrying bag with
the unit or use the bag to transport items other than the unit and its accessories.
• This bag is provided merely to transport the unit and its accessories, not to protect these products from damage as a result of rough handling.
When carrying the unit around, please use the carrying bag that comes with it and, to protect lens from scratches, always shut the sliding lens
cap. Do not expose these products to shocks or impact when transported in the carrying bag.
• Always carry the unit in the carrying bag. Ensure that the power cord and other cables connecting to video sources are disconnected before
moving the unit. When moving the unit or when it is not in use, cover the lens with sliding lens cap.
• Wait until the unit has sufficiently cooled before placing it into the carrying bag. If the unit is placed into the bag while it is still hot, the heat
may damage the bag lining.
Attaching the shoulder strap to the carrying bag
OthersOthers
Take the shoulder strap
1
out.
The shoulder strap is stored in
the pocket located in front of the
carrying bag.
Fasten the shoulder strap
2
to the carrying bag.
Follow the same procedure for
the other end of the strap.
38
Page 5
Specifications
Product type
Model
Video system
Display method
DMD panel
Lens
Projection lamp
Contrast ratio
Video input signal
S-video input signal
Horizontal resolution
Audio output
Computer RGB input signal
Pixel clock
Vertical frequency
Horizontal frequency
Speaker system
Rated voltage
Input current
Rated frequency
Power consumption
Operating temperature
Storage temperature
Cabinet
I/R carrier frequency
Dimensions (approx.)
Weight (approx.)
Supplied accessories
Replacement parts
Digital Multimedia Projector
PG-M10X/PG-M10S
NTSC/NTSC4.43/PAL/PAL M/PAL N/PAL60Hz/SECAM
Single Chip Digital Micromirror Device™ (DMD™) by Texas Instruments
Panel size: 21.8 mm (0.7˝ ), 1 chip XGA DMD
No. of dots: 786,432 dots (1,024 [H] × 768 [V])/PG-M10X,
480,000 dots (800 [H] × 600[V])/PG-M10S
Manual focus fixed lens, F3.0, f = 23 mm
High Performance Compact lamp, DC130W
800:1
RCA Connector: VIDEO, composite video, 1.0 Vp-p, sync negative, 75 Ω terminated
3.5 φ mini jack: AUDIO, 0.4 Vrms more than 47 kΩ (stereo)
4-pin mini DIN connector
Y (luminance signal): 1.0 Vp-p, sync negative, 75 Ω terminated
C (chrominance signal): Burst 0.286 Vp-p, 75 Ω terminated
500 TV lines (video input)
0.5 W (monaural)
15-
PIN MINI D-SUB CONNECTOR:
RGB separate/sync on green type analog input: 0–0.7 Vp-p, positive, 75 Ω terminated
3.5 φ M
INIJACK: AUDIO, 0.4 Vrms, more than 47 kΩ (stereo)
HORIZONTAL SYNC. SIGNAL: TTL level (positive/negative)
V
ERTICAL SYNC. SIGNAL: Same as above
12–157 MHz
50–85 Hz
15–91 kHz
3.5 × 2 cm (1
3
⁄8˝ × 13⁄16˝ ) oval
AC 110–120/220–240 V
1.0 A/1.9 A
50/60 Hz
180 W (PG-M10X/PG-M10S)
41°F to 95°F (+5°C to +35°C)
14°F to 140°F (–10°C to +60°C)
Magnesium alloy (Terminal panel, Lamp cover and side vent cover constructed of plastic)
38 kHz
230 (W) × 48 (H) × 177 (D) mm (9
9
⁄16˝ × 1 7⁄8˝ × 6 15⁄16˝ ) (main body only)
231 (W) × 61 (H) × 177 (D) mm (9 1⁄8˝ × 2 3⁄8˝ × 6 15⁄16˝ ) (including adjustment feet and
projecting parts)
1.4 kg (3.1 lbs.)
Remote control, Two AAA size batteries, Power cord for Americas (1.8 m, 5´
cord for Europe (1.8 m, 5´ 15⁄16˝ ), Power cord for Australia, New Zealand and Oceania
(1.8 m, 5´
15
⁄16˝ ), Power cord for U.K., Hong Kong and Singapore (1.8 m, 5´ 15⁄16˝ ), Computer
15
⁄16˝ ), Power
RGB cable (1 m, 3´ 3˝ ), Audio cable (1 m, 3´ 3˝ ), Audio adapter (15 cm, 6 45⁄64˝ ), USB
mouse control cable (1 m, 3´ 3˝ ), PS/2 mouse control cable (1 m, 3´ 3˝ ), Video cable
(1 m, 3´ 3˝ ), S-Video cable (1 m, 3´ 3˝ ), Soft pouch, Carrying bag, Projector operation
manual, Projector quick reference
Remote control (9FU770823300), Two AAA size batteries (9FU770702000), Power cord for
Americas (9FU770726000), Power cord for Europe (9FU770727000), Power cord for
Australia, New Zealand and Oceania (9FU770729000), Power cord for U.K., Hong Kong
and Singapore (9FU770728000), Computer RGB cable (9FU770708000), Audio cable
(9FU770710000), Audio adapter (9FU770704000), USB mouse control cable
(9FU770707000), PS/2 mouse control cable (9FU770706000), Video cable
(9FU770703000), S-Video cable (9FU770709000), Soft pouch (9FU770823400), Carrying
bag (9FU770823200), Projector operation manual (9FU770822800), Projector quick
reference (9FU770822900)
Others
This SHARP projector uses a DMD panel. This very sophisticated
panel contains 786,432 (PG-M10X)/480,000 (PG-M10S) pixels. As
with any high technology electronic equipment such as large screen
TVs, video systems and video cameras, there are certain acceptable
tolerances that the equipment must conform to.
Specifications are subject to change without notice.
This unit has some inactive pixels within acceptable tolerances which
may result in inactive dots on the picture screen. This will not affect
the picture quality or the life expectancy of the unit.
If you have any questions about this matter, please call toll free
1-888-GO-SHARP (1-888-467-4277). U.S.A. ONLY
39
Page 6

D-Sub Pin Assignments
PC 15-Pin mini D-Sub
Dimensions
177 mm/6 15⁄16˝
Pin No.
1
2
3
4
5
6
7
8
9
10
11
12
13
14
15
Signal to be connected
Red
Green
Blue
GND
GND
Red GND
Green GND
Blue GND
No Connection
Digital GND
GND
SDA
Horizontal Sync
Vertical Sync
SCL
61 mm/2 13⁄32˝
48 mm/
1 7⁄8˝
11 mm/
7
⁄16˝
OthersOthers
˝
16
⁄
9
230 mm/9
ON/OFF INPUT SELECT AUTO SYNC
POWER STATUS
˝
16
⁄
1
27 mm/
1
˝
16
⁄
15
231 mm/9
40
 Loading...