

Page 1
~~
Introduction
O•
~~~~
Thank
you
for
purchasing
the
Sharp MZ-1
F10 Hard Disk Drive.
-r~'
For
proper
use
and
long service I ife, please
carP.
fully
read this
instruction
manual
and
fam
iliarize
yourself
with its
conte
nts
. Be sure
to
keep
the
manual
in a safe place
for
future reference
.
Page 2
Contents
Page
• Cautions . . . . . . . . . . . . . . . . . . . . . . . . . . . 3
• Notes
from
the manufacturer . . . . . . . . . . . . . 4
•
1.
Part
names
and functions . . . . . . . . . . . . . . 5
• 2. Connection . . . . . . . . . . . . . . . . . . . . . . . 6
• 3. Cautions on handling a hard disk card . . . . . . 7
• 4. Service
and
repair . . . . . . . . . . . . . . . . . . . 8
•
5.
Specifications . . . . . . . . . . . . . . . . . . . . . 9
'
-2-:.
Page 3
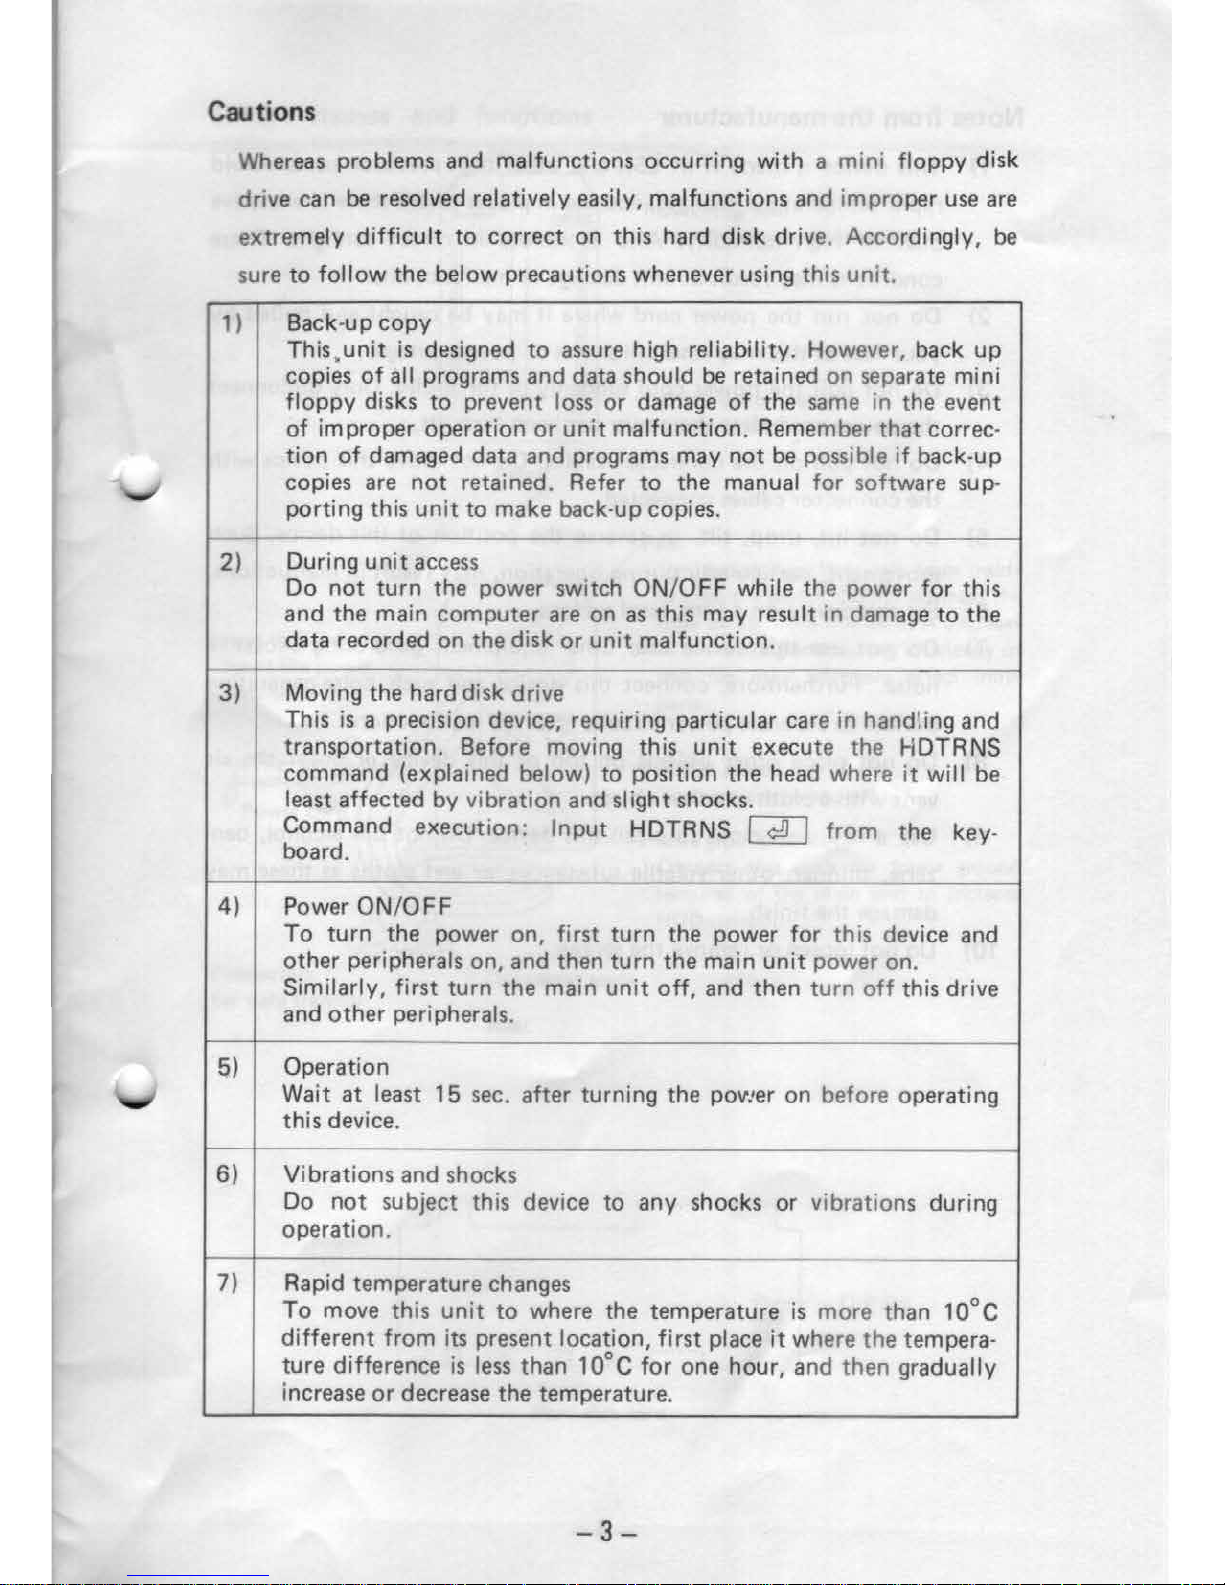
Cautions
Whereas
problems
and
malfunctions
occurring
with
a mini
floppy
disk
drive
can
be resolv
ed
relatively easily,
malfunctions
and
improper
use are
extremely
difficult
to
correct
on
this
hard
disk
drive. Accordingly, be
sure
to
follow
the
below
precautions
whenever
using this
unit.
1)
Back-up
copy
This.unit
is
designed
to
assure high reliability. However, back
up
copies
of
all programs
and
data
should
be
retained
on
separate
mini
floppy
disks
to
prevent
loss
or
damage
of
the
same in
the
event
of
improper
operation
or
unit
malfunction.
Remember
that
correc·
tion
of
damaged
data
and
programs
may
not
be possible
if
back-up
copies
are
not
retained.
Refer
to
the
manual
for
software
sup-
porting
this
unit
to
make
back-
up
copies.
2)
During
unit
access
Do
not
turn
the
power
switch
ON/OFF
while
the
power
for
this
and
the
main
computer
are
on
as
this
may
result in damage
to
the
data
recorded
on
the
disk
or
unit
malfunction.
3)
Moving
the
hard
disk drive
This
is
a precision device, requiring
particular
care
in
hand
ling
and
transportation.
Before moving
this
unit
execute
the
HDTRNS
command
(explained below)
to
position
the
head
where
it will
be
least
affected
by
vibration
and
si
ight shocks.
Command
execution:
Input
HDTRNS
m
from
the
key·
board.
4)
Power
ON/OFF
To
turn
the
power
on,
first
turn
the
power
for
this
device
and
other
peripherals
on,
and
then
turn
the
main
unit
power
on.
Similarly, first
turn
the
main
unit
off,
and
then
turn
off
this drive
and
other
peripherals.
5)
Operation
Wait
at
least
15
sec.
after
turning
the
pov!er
on
before
operating
this
device.
6)
Vibrations
and
shocks
Do
not
subject
this device
to
any
shocks
or
vibrations
during
operation.
7)
Rapid
temperature
changes
To
move
this
unit
to
where
the
temperature
is
more
than
10°
C
different
from
its
present
location,
first
place
it
where
the
tempera·
ture
difference
is
less
than
10°C
for
one
hour,
and
then
gradually
increase
or
decrease
the
temperature.
-3-
Page 4
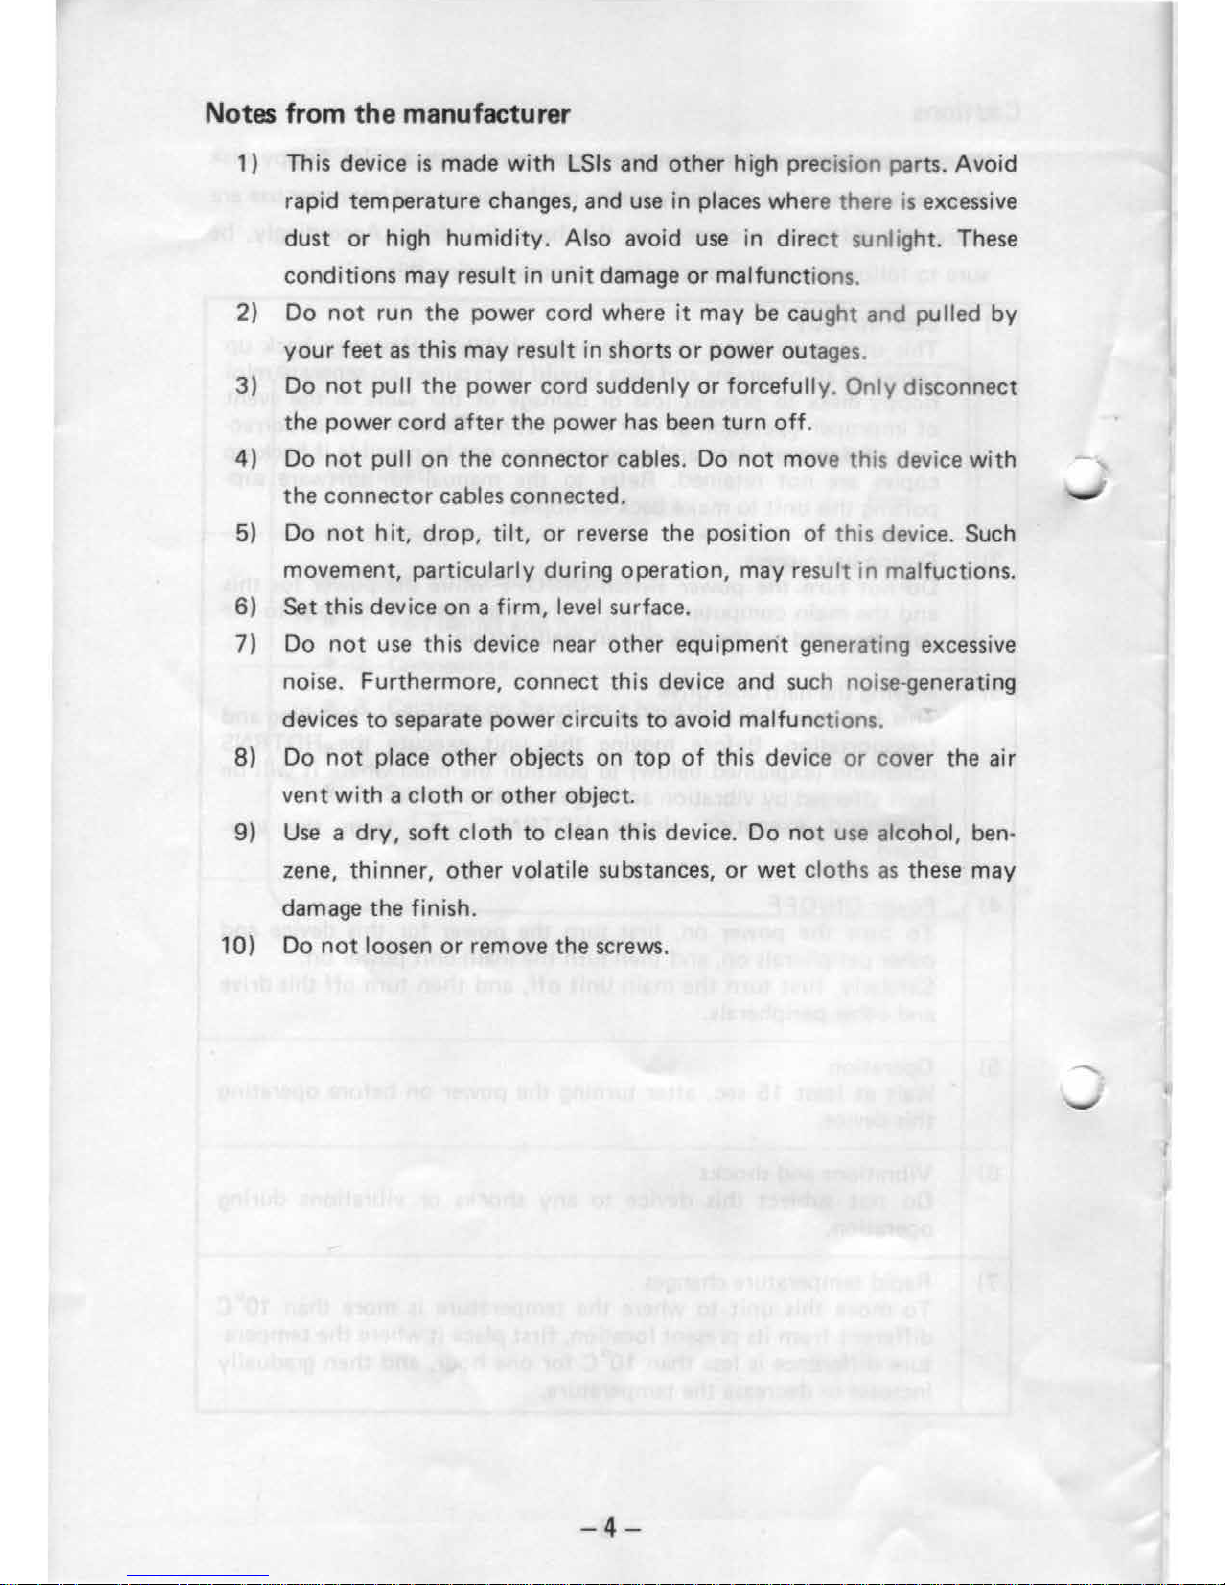
Notes from the manufacturer
1) This device
is
made
with
LSis and
other
high precision parts. Avoid
rapid
temperature
changes, and use
in
places where
there
is
excessive
dust
or
high
humidity.
Also avoid use in direct sunlight. These
conditions
may
result in
unit
damage
or
malfunctio
ns.
2) Do
not
run
the
power
cord
where
it
may be caugh t
and
pulled
by
your
feet
as
this may result
in
shorts
or
power outages.
3)
Do
not
pull
the
power
cord
suddenly
or
forcefully. Only
disconnect
the
power
cord
after
the
power has been
turn
off
.
4) Do
not
pull
on
the
connector
cables.
Do
not
move this devi
ce
with
the
connector
cables
connected.
5) Do
not
hit,
drop,
tilt,
or
reverse
the
position
of
this
device. Such
movement,
particularly during
operation,
may res
ult
in malfuctions .
6)
Set
this
device on a firm, level surface.
7) Do
not
use this device near
other
equipment generating excessive
noise.
Furthermore,
connect
this device and such noise-generating
devices
to
separate
power
circuits
to
avoid malfunctions.
8) Do
not
place
other
objects on
top
of
this device
or cover
the
air
vent
with a cloth
or
other
object.
9)
Use a dry,
soft
cloth
to
clean this device. Do
not
use alcohol, ben-
zene,
thinner,
other
volatile substances,
or
wet
cloths
as
these
may
damage
the
finish.
10) Do
not
loosen
or
remove
the
screws.
-4-
Page 5

1.
Part
names
and
functions
Power terminal
Insert
the
power
cord
here.
Connectors
for
data
transfer
f-.<;::H
:;;,..,.::;-,.---=
IS!!iiil
=:+
\ - POWER (green)
Illuminates
when
the
pow
er is on.
ID-
- ttH
--
ORIVE
lamp
(green)
~======::!l
Illuminates during
operation.
Front
Rear
Fan
V
ent
ilation fan. Vents air from inside
to cool
the
device.
Do
not
obstruct
the
fl
ow
of
air from
this
vent. A decrease
in
the
venting
and
cooling efficiency
of
th
is fan may adversely affect inner
parts.
--..'--'-
--
POWER switch
Turns power
on and
off
.
Frame
ground
term
inal
Connect
th
is
with
the frame
ground
terminal
of
the
main unit to increase
HOD
reliab
ility.
Hard disk card
-5-
Page 6

2. Connection
Hard
disk
connector
port
~
FRC-34)
~
A)
J
(FRC-26)
(B)
'--LJ..--r----,
Main
unit,
rear
MZ-1 F 10
hard disk drive
(Case
of
4-s lots.)
1)
First
turn
the
power
of
the
main
unit
and periphera
ls
off,
and
then
insert
the
hard disk
card
at
the add-on
port.
The
add-on
port
must
be
converted
to
a large
port
for
connection
of
the
hard disk
card.
Refer
to
the Owner's ManuaL
2)
Next,
connect
the
slot
angle .
Two
slot
angles are included; use
the
one
matching
the
size
of
the
add-on
unit
slot
cover.
3) When inserting
the
hard disk card
into
the
add-on
unit,
be sure
to
raise
the
center
of
the
card.
4)
Connect
the
connector
of
this HOD
to
tha
hard disk
connector
port
at
the
add-on
slot
on
the
rear
of
the
main
unit
on
which
the
hard
disk card
is
installed.
Connect
the
two
HOD
con
nectors
to
the
add-
on
slot
port
as shown below.
Add-on
slot
(main
unit)
(
1)
(3)
....
------+-
Connector
(MZ-1
F10)
(A)
(FRC
-34)
(B)
(FRC-26
)
(Refer
to this
figure.)
5) Secure
both
sides
of
the
connector
angles
with
screws
when
the
connection
is
completed.
Note
1:
Be
sure
to
turn
the
power
for
the
HOD, main unit, and
all
peripherals
off
before
connecting
or
disconn
ecting
any
connectors.
Connection/disconnection
with
the
power
on
may cause
the
unit
to
malfunction
.
Note
2:
Do
not
connect
the
HOD
connector
to
any
terminal
other
than
the
hard
disk card terminaL
Improper
connection
will
not
only
preven t
the
HOD from
functioning
properly, it
may
also result
in
serious damage
to
the
unit.
-6-
Page 7

1
3.
Cautions
on
handling
the
hard
disk
card
1) Beware
of
static
electricity when installing
the
hard disk card.
When using
thr
hard disk card
do
not
touch
the
pins
of
the
com-
ponents
or
the
traces
on
the board
directly
with
your
hands since
there
is
the
danger
of
static
electricity damaging
the
components.
2) Dipswitch settings
The
dipswitches
are
provided
for
service use only. Do
not
touch
them
under
any circumstances. These switches
should
be
set
as
below
during
use.
*All dispwitches
should
be
OFF
when
using the hard disk card.
3)
Ha
rd disk
card
storage
To
protect
the
ICs
from damage
due
to
static
electricity during
storage,
be
sure
to
enclose
the
hard disk card
in
its cover
or
wrap
it
in
aluminium
foil.
-7-
Page 8

4.
Service
and
repair
In the event
of
any malfunction
or
damage, immediately c
ease
operation,
unplug the power cord, and contact
your
local dealer
or
service outlet.
When
repairs
are
required, this hard disk drive should be repacked in its
original packing and shipped
to
the service outlet.
Before doing this ,
be
sure
to
perform step 3 (HDTR
NS
command
execution)
in
the cautions (p.
~)
before packing the HOD.
This
is
a precision device. You should
not
attempt
to
repair it yourself
as
this
can
be
dangerous,
as
can
operation when the
unit
is damaged.
-8-
Page 9

5. Specifications
Model:
Memory capacity:
Disk number:
Heads:
Cylinders:
Tracks:
Sectors:
Bytes:
AC line voltage:
Power consumption :
Operating temperature:
Operating
humidity
:
[When
used
with
CP/M-86 soft ware)
MZ-1
F10
approx. 5.3Mbytes x 2
[approx
. 5.3Mbytes x
2]
2
4
317 (excluding 3 system reservation
cylind
ers)
317 X 4 (673 X 2)
17
/track
512/sector
[ 16/track)
[51
2/sec
tor)
Local voltage AC,
50/60
Hz
65W
10°C
~
35°C
20% ~ 80%
(no dew)
Temperature variations:
less
than 10°C/hr
Dimensions:
118Wx331Dx189H(mm)
Weight:
Accessor
ies:
9.5
kg
hard disk card, power cord, Instr uction
manual
* Specifications
are
subject to change
without
notice.
-9-
Page 10

-
MEMO-
-10-
Page 11

This
apparatus complies with requirements of
BS
800 and
EEC
directive 82/499/EEC.
Dieses
Gerat stimmt mit den Bedingungen der
EG
-Richtlini
en
82/499/EWG uberein.
Cet appareil n!pond aux specifications de
la
direct
ive
CCE
82/
499/
CCE.
Dit apparaat voldoet
aan
de vereiste
EEG-reglementen 82 /
499/
EEG
.
Apparatet
opfylder kravene i
EF
direktivet 82/499/EF.
Questo apparecchio e stato prodotto
in
conformita alle direttive
CEE
82/499/CEE.
-11-
Page 12

SHARP CORPORATION
OSAKA, JAPAN
Pr~nted
1n Japan
Gedruc
kt
1n Japan
lmpr1me'
au
Japon
Stampato
1n Giappone
4G
0.1503-1
TI
NSE
1146ACZZ
 Loading...