

Page 1
Instructions for use
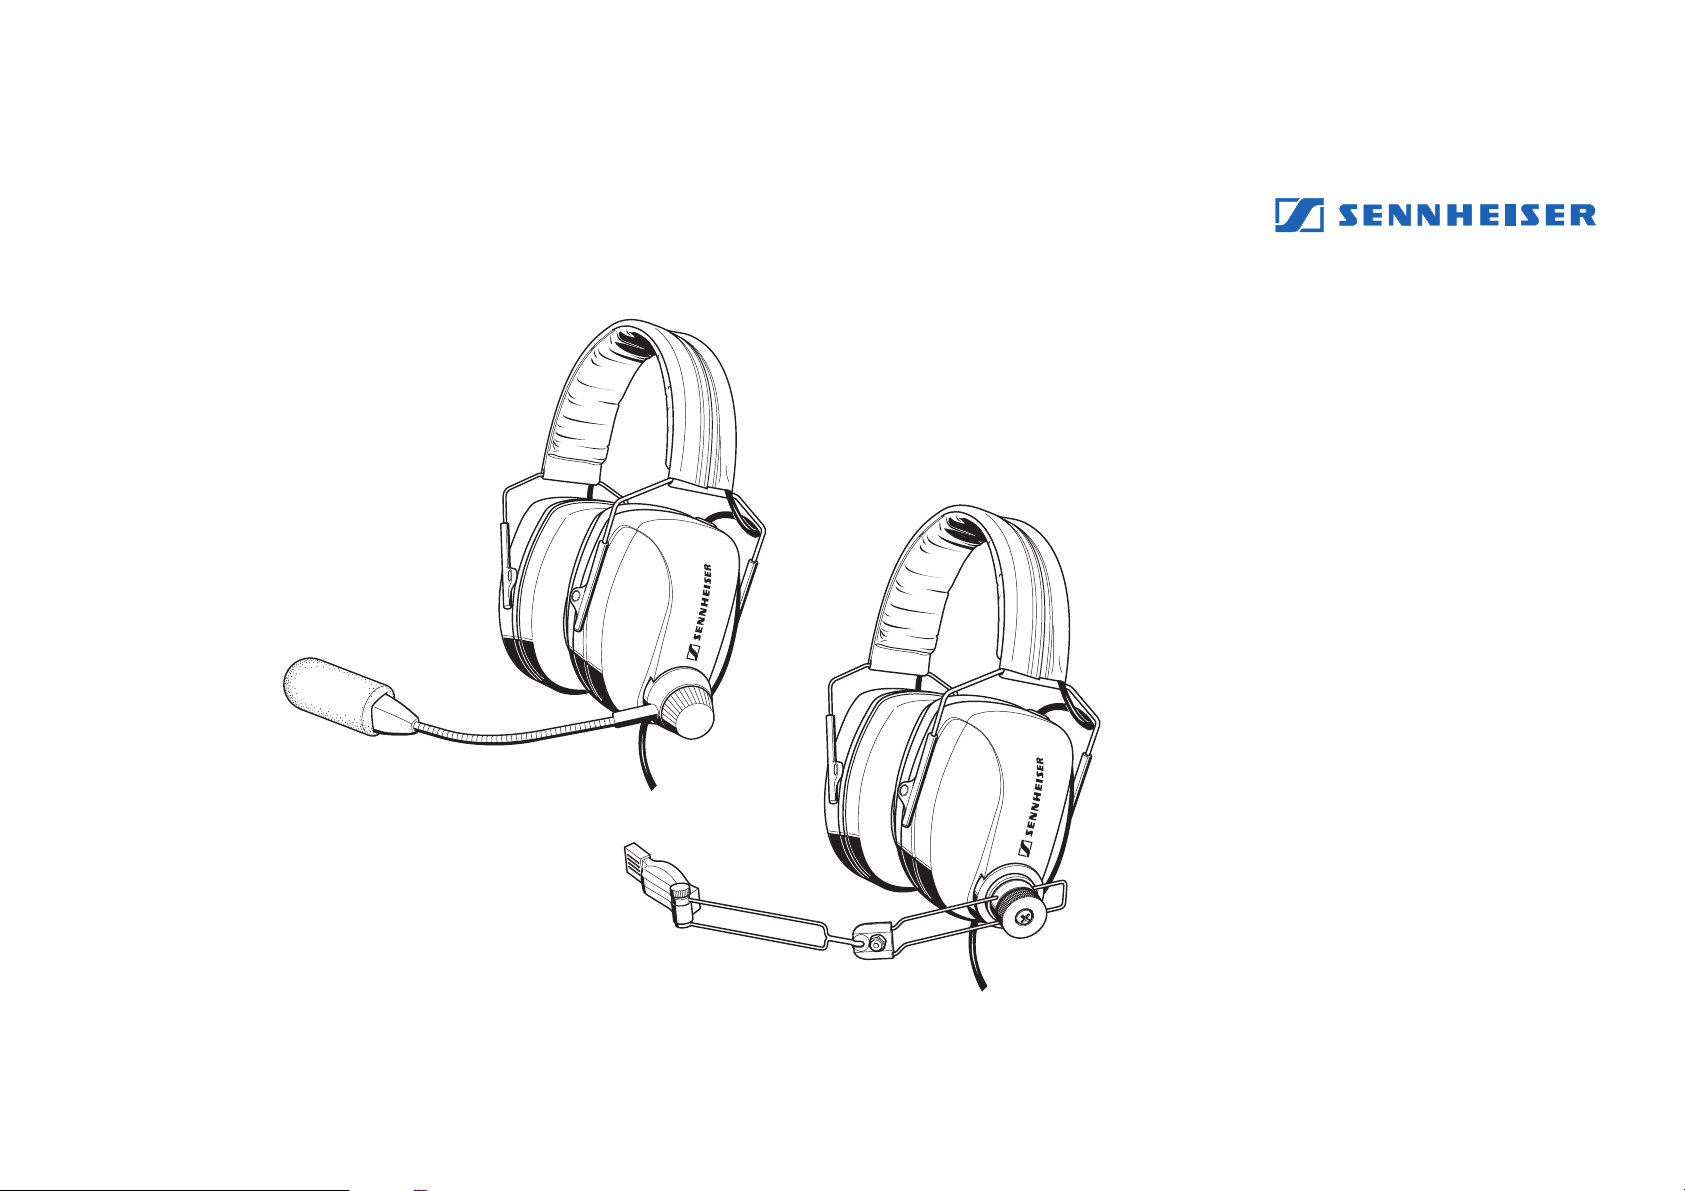
Headset
HME 100
HME 105
HME 120
HMD 120
25
Page 2

Contents
Safety tips ......................................................................................................27
Headset features ................................................................................................28
Product variants .........................................................................................................29
Delivery includes ................................................................................................31
Preparing the headsets for use ...........................................................................32
Connecting the headsets............................................................................................32
Adjusting the headband.............................................................................................34
Positioning the microphone........................................................................................35
Using the headsets.............................................................................................37
Mono/Stereo selection (HME 100 only) ......................................................................37
Adjusting the volume .................................................................................................37
Adjusting the microphone gain ..................................................................................38
Folding up the headphones........................................................................................38
Additional information for helicopter use of the HME 120 headset ...........................39
Spare parts.........................................................................................................40
Replacing the wind screen..........................................................................................40
Replacing the ear cushions .........................................................................................40
Connector assignment .......................................................................................41
Troubleshooting .................................................................................................42
Technical data ....................................................................................................44
26
Page 3

The HME 100, HME 105, HME 120 and HMD 120 are pilot headsets with closed ear
protector headphones for use in helicopters, propeller and turboprop aircraft.
Safety tips
• When using a headset, typical aircraft sounds (for example, those from engines,
propellers, warning alarms, etc.) may sound different to you. Before operating any
aircraft, make sure that, while wearing a headset, you can hear and recognize these
sounds. Set the volume to safe levels that do not interfere with your ability to hear
informational sounds and warning alarms.
• Do not attempt to repair the headset yourself. If problems occur, contact your
Sennheiser agent for assistance.
• Only replace parts of the headset whose replacement is described in this manual. All
other parts of the headset must be replaced by your Sennheiser agent.
• Do not immerse the headset in water! For information on how to clean the headset,
contact your Sennheiser agent.
27
Page 4

Headset features
HME 100 headset
• New passive headset with excellent noise attenuation
• Excellent comfort due to very low weight, soft ear cushions and padded headband
as well as best possible freedom of movement due to unilateral connecting cable
• Foldable headband for easy and space-saving storage
• Clear communications due to MKE 45-1 electret microphone with adjustable sensitivity
(sensitivity adjustment must be carried out by authorized personnel)
• Microphone can be easily positioned and worn on either left or right side due to
flexible microphone boom with quick-fixing device
• Optimum radio reception due to headphone systems with wide frequency response
• Integrated volume control
• Adaption to the aircraft intercom system via Mono/Stereo switch
• Made in Germany, two-year warranty
28
Page 5

Product variants
HME 105 headset
The HME 105 differs from the HME 100 in the following features:
• No Mono/Stereo switch
• Connection of headphones and microphone via XLR-5 plug
HME 120 headset
The HME 120 differs from the HME 100 in the following features:
• No Mono/Stereo switch
• Coiled cable
• Connection of headphones and microphone via U-174/U jack plug to a high impedance
interface in the helicopter
29
Page 6

HMD 120 headset
The HMD 120 differs from the HME 100 in the following features:
• No Mono/Stereo switch
• Coiled cable
• M-87/AIC dynamic microphone and low impedance headphones
• Connection of headphones and microphone via U-174/U jack plug to a low impedance
interface in the helicopter
30
Page 7

Delivery includes
HME 100, HME 105 and HME 120 headsets
• Headset
• Padded carry and storage bag with shoulder strap for headset and accessories
• Wind screen for microphone
• Cable clip MZQ 2002-1 (Cat. No. 4470)
HMD 120 headset
• Headset
• Padded carry and storage bag with shoulder strap for headset and accessories
• Cable clip MZQ 2002-1 (Cat. No. 4470)
Recommended Accessories
• Replaceable gel ear cushions (Cat. No. 83140)
31
Page 8

Connecting cable for HME 100
Preparing the headsets for use
Connecting the headsets
HME 100 headset:
1
1
1 PJ-068 jack plug for connecting the microphone
씰 Connect the
HME 105 headset:
1 XLR-5 plug for connecting the headphones and the microphone
씰 Connect the XLR-5 plug for the headphones and the microphone to the XLR-5 socket
/4” (6.35 mm) stereo jack plug for connecting the headphones
1
/4” (6.35 mm) stereo jack plug for the headphones and the PJ-068 jack
plug for the microphone to the corresponding jack sockets of your intercom.
of your intercom.
32
Connecting cable for HME 105
Page 9

Connecting cable for
HME 120 and HMD 120
HME 120 and HMD 120 headsets:
1 U-174/U jack plug for connecting the headphones and the microphone
씰 Connect the U-174/U jack plug for the headphones and the microphone to the
U-174/U socket of your intercom.
33
Page 10

Adjusting the headband
For good noise attenuation and best possible comfort, the headband has to be adjusted
to properly fit your head:
씰 Wear the headset so that the headband runs over the top of your head.
씰 Adjust the length of the headband so that
• your ears are completely inside the ear cushions,
• you feel even, gentle pressure around your ears,
• a snug fit is ensured.
Note:
Make sure not to squeeze any connecting cable when adjusting the headband.
Squeezing can damage the connecting cables.
씰 Final adjustment is best made in a noisy environment.
34
Page 11

Positioning the microphone
Relocating the microphone boom
The microphone boom can be worn on either side of the mouth.
씰 Loosen the quick-fixing device.
씰 Rotate the microphone boom by 180°.
씰 Tighten the quick-fixing device.
Positioning the microphone towards the corner of the mouth
The HME 100, HME 105 and HME 120 headsets feature a flexible microphone boom.
Bend the microphone boom so that the microphone is placed at the corner of the mouth.
Maintain a distance of approx. 2 cm between microphone and mouth.
35
Page 12

For positioning the microphone of the HMD 120 headset, proceed as follows:
씰 Adjust the length of the microphone boom so that the microphone is placed at the
corner of the mouth. To do so, loosen the quick-fixing device and adjust the
microphone boom in length.
씰 Pull the middle part of the microphone boom towards the mouth so that the distance
between microphone and mouth is approx. 2 cm.
씰 Tilt the microphone for final positioning.
36
Page 13

Using the headsets
Mono/Stereo selection (HME 100 only)
In general, you‘ll receive a mono sound source so that the Mono/Stereo switch can remain
set to ‘Mono’. When using a stereo intercom system, set the headset to stereo operation.
Remove the ear cushion (쏅 ‘Replacing the ear cushions’) from the earcup with the microphone boom attached and set the Mono/Stereo switch to ‘Stereo’.
Adjusting the volume
Exposure to loud sounds can cause hearing damage!
Set the volume control to a medium value. Make sure that you can hear critical sounds
such as warning alarms.
37
Page 14

Mic Gain Adjustment
Adjusting the microphone gain
According to JTSO approval C58a, the microphone output voltage is factory-preset to
400 mV. If the microphone output voltage is too high or too low for your intercom system,
it can be re-adjusted on the microphone. To do so, use a small slotted screwdriver and turn
the ‘Mic Gain Adjustment’ screw (see illustration on the left) until you have reached the
desired setting.
Folding up the headphones
For easy and space-saving transportation, the earcups can be folded up and tucked between
the headband.
Unfold the headphones by grasping both earcups and pulling them down and away from
the headband.
38
Page 15

Additional information for helicopter use of the HME 120 headset
The polarity of the microphone connection in helicopters is not standardized. If the
microphone of your headset does not work with the existing polarity, you can reverse the
polarity on the headset by simply rotating the microphone module. To do so, please
proceed as follows:
1. Pull the wind screen from the microphone.
2. Loosen the screws by approx. half a turn.
3. Pull the microphone module from the boom-arm.
4. Rotate the microphone module by 180°.
5. Put the rotated microphone module back into the boom-arm.
6. Now tighten the screws from the other side.
7. Slide the windscreen over the microphone.
Rotating the microphone module does not change its acoustic properties. Due to its noise-
compensating pick-up pattern, the microphone can be used from either side.
39
Page 16

Spare parts
The following spare parts are available from your Sennheiser agent:
• Wind screen for MKE 45-1 electret microphone
• Cable clip
• Carry and storage bag with shoulder strap
• Ear cushions
Replacing the wind screen
If the wind screen for the electret microphone shows signs of wear such as tears or holes,
replace the wind screen. Pull the wind screen from the microphone. Gently slide-on the
new wind screen and ensure that it fits securely over the microphone.
40
Replacing the ear cushions
Replace the ear cushions if they are damaged. Grasp behind the ear cushions and pull
them up and away from the earcups. Slide the new ear cushions onto the earcups.
For best results replace the ear cushions after 100 hours of use or two years.
Page 17

4
2
1
3
solder side
5
Connector assignment
1
2
3 4
U174/U jack plug
1 Microphone Lo
2 Audio Hi
3 Microphone Hi
4 Audio Lo
31 2
1
/4” (6.35 mm) stereo jack plug
1 Audio Hi left
2 Audio Hi right
3 Audio Lo
XLR-5 connector
1 Audio Hi
2 Audio Lo
3 Microphone Hi
4 Microphone Lo
5—
23
1
PJ-068 jack plug
1 Not assigned!
2 Microphone Hi
3 Microphone Lo
41
Page 18

In case of difficulty
If problems occur that are not listed in the below table, please contact your Sennheiser
agent.
Problem
Communications in one ear only
(HME 100 only)
Very low volume communication
Reduced intelligibility
Possible cause and what to do
You are using a stereo intercom system but the headset is set to mono operation.
씰 Set the Mono/Stereo switch to ‘Stereo’.
You are receiving a mono source but the headset is set to stereo operation.
씰 Set the Mono/Stereo switch to ‘Mono’.
The volume control is set too low.
씰 Check the volume setting of the headset.
The headphone connection has been pulled out.
씰 Check to see if the headphone jack plug is correctly connected.
The microphone connection has been pulled out.
씰 Check to see if the microphone jack plug is correctly connected.
42
Page 19

Problem
Possible cause and what to do
Microphone output voltage too
high or too low
Re-adjust the output voltage on the microphone.
씰 To do so, use a small slotted screwdriver and turn the ‘Mic Gain Adjustment’ screw
(see illustration on page 38) until you have reached the desired setting.
43
Page 20

Technical data
HME 100 HME 105 and HME 120 HMD 120
Headphones
Transducer principle dynamic
Ear coupling circumaural, closed
Frequency response 45–15,000 Hz
Nominal impedance 150 Ω, mono, 300 Ω, stereo 150 Ω, mono 16 Ω, mono
Attenuation > 10–40 dB
Contact pressure approx. 10 N
Microphone incl. preamplifier
Transducer principle electret mic capsule, electret mic capsule, dynamic,
noise-compensated noise-compensated noise-compensated
MKE 45-1 MKE 45-1 M-87/AIC
Frequency response 300–5,000 Hz 300–5,000 Hz 500–4,000 Hz
Sensitivity – – 1.8–4 µV/74 dB bei 5 Ω
Max. sound pressure level 120 dB 120 dB –
Min. terminating impedance 150 Ω 150 Ω –
Output voltage 400 mV ± 3dB 400 mV ± 3dB –
at 114 dB at 114 dB
(as per RTCA/DO 214) (as per RTCA/DO 214)
44
Page 21

HME 100 HME 105 HME 120 HMD 120
Supply voltage typ. 16 V DC typ. 16 V DC typ. 16 V DC –
(8–16 V DC, (8–16 V DC, (8–16 V DC,
approx. 8–25 mA approx. 8–25 mA approx. 8–25 mA
as per RTCA/DO 214) as per RTCA/DO 214) as per RTCA/DO 214)
General Data
Connecting cable 1.5 m, coiled cable,
unilateral unilateral
Weight without cable 350 g
Connectors 6.35 mm stereo jack plug XLR-5 for U-174/U jack plug for U-174/U jack plug for
for headphones, headphones and headphones and headphones and
PJ-068 jack plug for microphone microphone microphone microphone
Controls Mono/Stereo switch – – –
Volume control for headphones
Temperature range Operation -15°C ... + 55°C
Storage -55°C ... + 55°C
45
Page 22

Certificate of Conformity
Sennheiser electronic GmbH & Co. KG declare that this device conforms to the applicable CE standards and regulations.
For up-to-date information on Sennheiser products, you can also visit the Sennheiser Web site at “http://www.sennheiser.com”.
46
Page 23

Sennheiser electronic GmbH & Co. KG Telefon 05130/600-0
D-30900 Wedemark Telefax 05130/600-300
Printed in Germany Publ. 01/03 83566 / A02
136
 Loading...