

Page 1
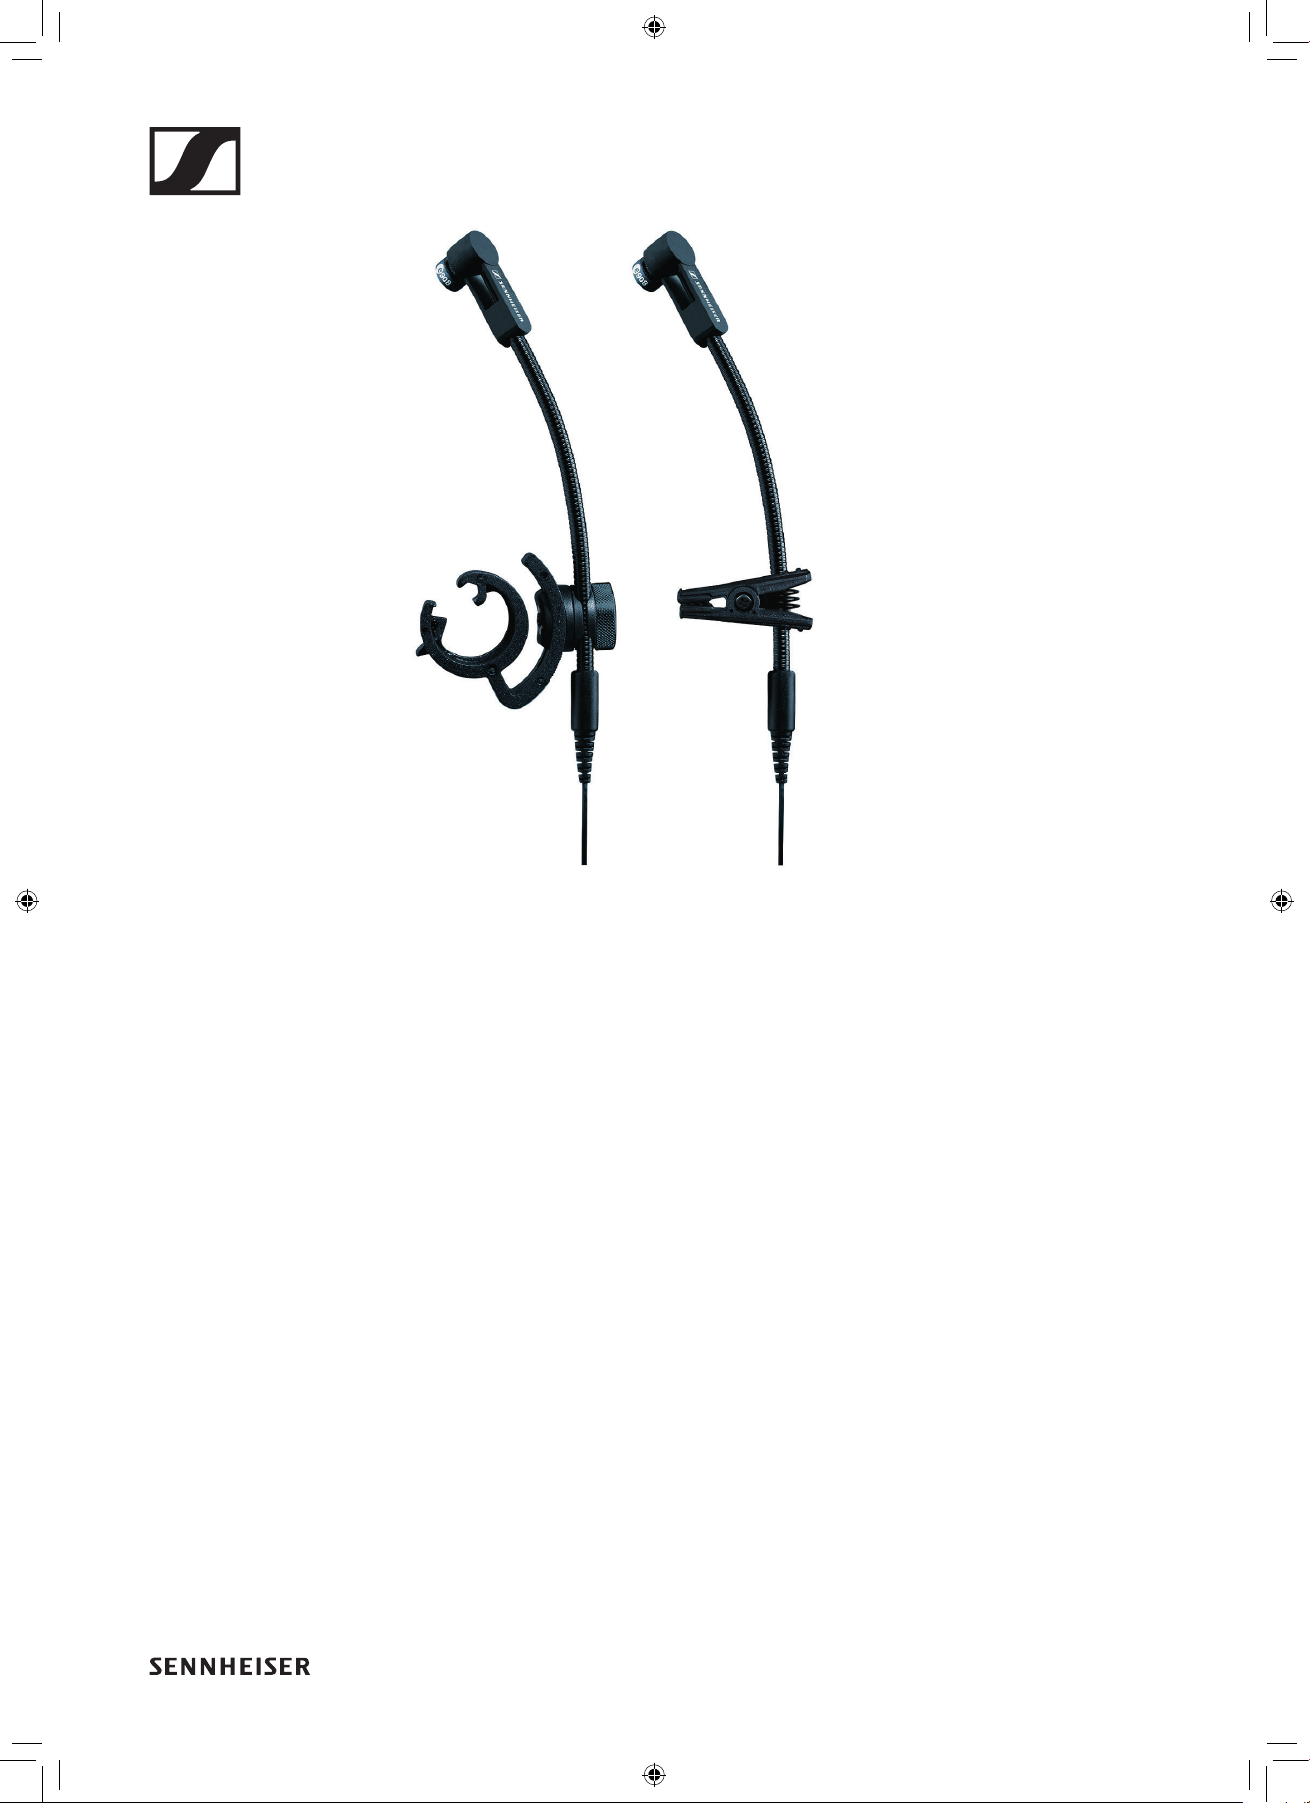
e 908
Instruction manual
e908_Manual_01_2019_EN.indd 1 26.02.2019 13:58:51
Page 2

Delivery includes
Delivery includes
e 908 D e 908 B e 908 B ew
• e 908 D microphone • e 908 B microphone • e 908 B ew microphone
• MZA 900 P phantom power
adapter
• MZH 908 D microphone
clamp
• Pouch • Pouch • Pouch
• Quick guide • Quick guide • Quick guide
• Safety guide • Safety guide • Safety guide
• MZA 900 P phantom power
adapter
• MZH 908 B microphone
clamp
• MZH 908 B microphone
clamp
Product overview
1
2
3
1
2
3
5
44
e 908 D e 908 B / e 908 B ew
1. Microphone head
2. MZH 908 D microphone clamp
3. Gooseneck
4. XLR-3 connector
5. Knurled screw
1. Microphone head
2. MZH 908 B microphone clamp
3. Gooseneck
4. e 908 B: XLR-3 connector
e 908 B ew: 3.5 mm jack
e 908 | 2/8
e908_Manual_01_2019_EN.indd 2 26.02.2019 13:58:52
Page 3

Installation
Attaching the microphone
Carefully bend the flexible goose neck.
Installation
Connecting the microphone
Plug the 3.5 mm mini jack plug into the 3.5mm jack socket of the MZA 900 P phantom power adapter (included with e 908 B and e 908 D).
Tighten the coupling ring.
Plug the XLR cable into the XLR output of the MZA 900 P phantom power adapter.
e 908 | 3/8
e908_Manual_01_2019_EN.indd 3 26.02.2019 13:58:52
Page 4

Using the windshield
Place the MZW 908 (optional accessories) windshield over the microphone head.
Installation
e 908 | 4/8
e908_Manual_01_2019_EN.indd 4 26.02.2019 13:58:53
Page 5

Operation
Operation
Positioning the microphone e 908 B/e 908 B ew on a wind instrument
Use the microphone clamp to attach the e 908 to the bell of the instrument.
It is vital to observe the following notes:
Position Resulting sound Commentary
A Reduced ambient noise Directed into the bell of the instrument.
B Clear, powerful sound
C Balanced, natural sound Directed partly towards the bell and partly towards
the body of the instrument.
A B C
Positioning the microphone e 908 D on a drum
Attach the drum clamp to the rim of the drum by putting the upper part of the clip onto the rim
and clipping it on by pushing down the drum clamp in a rotating action until it snaps into place.
Loosen the knurled screw.
Insert the gooseneck from the side into one of the two slots.
Tighten the knurled screw.
It is vital to observe the following notes:
Position Resulting sound Commentary
D More fundamental
Little overtones
E Less fundamental
Many overtones
F Pronounced proximity effect Optional: tangential position of the gooseneck in
Position on the drum: 3–5 cm above the drumskin,
directed towards the center of the drumskin, the
fundamental to overtones ratio can be adjusted by
changing the angle of the microphone.
The most balanced results are obtained at an angle
of 30–60°.
order to reduce the distance to the drumskin.
D E F
You can attach two microphones to the drum clamp (e.g. for picking up two toms in cramped space
conditions). To do so, use both slots of the drum clamp.
The various adjustment possibilities of the MZH 908 D and MZH 908 B clamps together with the
flexible gooseneck enable the microphone to be optimally positioned on the sound source.
e 908 | 5/8
e908_Manual_01_2019_EN.indd 5 26.02.2019 13:58:53
Page 6

Cleaning and maintaining the e 908
Positioning the monitor loudspeakers
To prevent feedback and crosstalk, postion your monitor loudspeakers in the angle area of the
highest cancellation of the microphone (approx. 180°).
180°
Cleaning and maintaining the e 908
CAUTION
LIQUIDS CAN DAMAGE THE ELECTRONICS OF THE PRODUCT!
Liquids entering the housing of the product can cause a short-circuit and damage the electronics.
Keep all liquids away from the product.
Do not use any solvents or cleansing agents.
Disconnect the products from the power supply system and remove rechargeable batteries and
batteries before you begin cleaning.
Clean all products only with a soft, dry cloth.
e 908 | 6/8
e908_Manual_01_2019_EN.indd 6 26.02.2019 13:58:54
Page 7

Specifications
Specifications
Transducer principle pre-polarised condenser microphone
Frequency response 40 - 20,000 Hz
Pick-up pattern cardioid
Sensitivity (free field, no load) 4.0 mV/Pa
Nominal impedance (at 1 kHz) 100 Ω (balanced)*
Min. terminating impedance 2 kΩ*
Max. sound pressure level (active)
e 908 B, e 908 D
e 908 B ew
Phantom powering 12 - 48 V*
Connector
e 908 B, e 908 D
e 908 B ew
Dimensions ⌀ 47 x 193 mm
Weight 140 g
* with MZA 900 P (e 908 B/e 908 D); e 908 B ew for direct connection to ew transmitters
35 dB(A)
30 dB(A)
XLR-3*
3.5 mm jack
Polar pattern
0°
30°
60°
90°
120°
150°
180°
Frequency response
dBV
-40
-50
-60
-70
10
15
20
25
dB
0°
0
5
180°
30°
150°
60°
120°
90°
125 Hz
250 Hz
500 Hz
1,000 Hz
2,000 Hz
4,000 Hz
8,000 Hz
16,000 Hz
-80
-90
50
100
200
0°, 1 m
500
1,000
2,000
5,000
10,000
20,000
Hz
e 908 | 7/8
e908_Manual_01_2019_EN.indd 7 26.02.2019 13:58:54
Page 8

Connector assignment
••
••
••
••
••
••
••
e 908 B/e 908 D
3.5 mm3.5 mm
Overview of applications
+
2
1
3
e 602 II
e 604
e 608
e 609
e 614
e 835
e 908 B ew
+
3.5 mm
Overview of applications
Primary application
Secondary application
•••• •
• •••
• ••
silver
• • ••• •
•• • •• • • •
•• •
e 845
e 865
e 901
e 902
e 904
e 906
e 908
e 914
e 935
e 945
e 965
•• •
•• •
• • •
•• •
• •••
• • ••• •
• • • •• • • •
• •
• •
• ••
••• •
e 908 | 8/8
e908_Manual_01_2019_EN.indd 8 26.02.2019 13:58:55
 Loading...