

Schlage SENSE Installation Instructions Manual
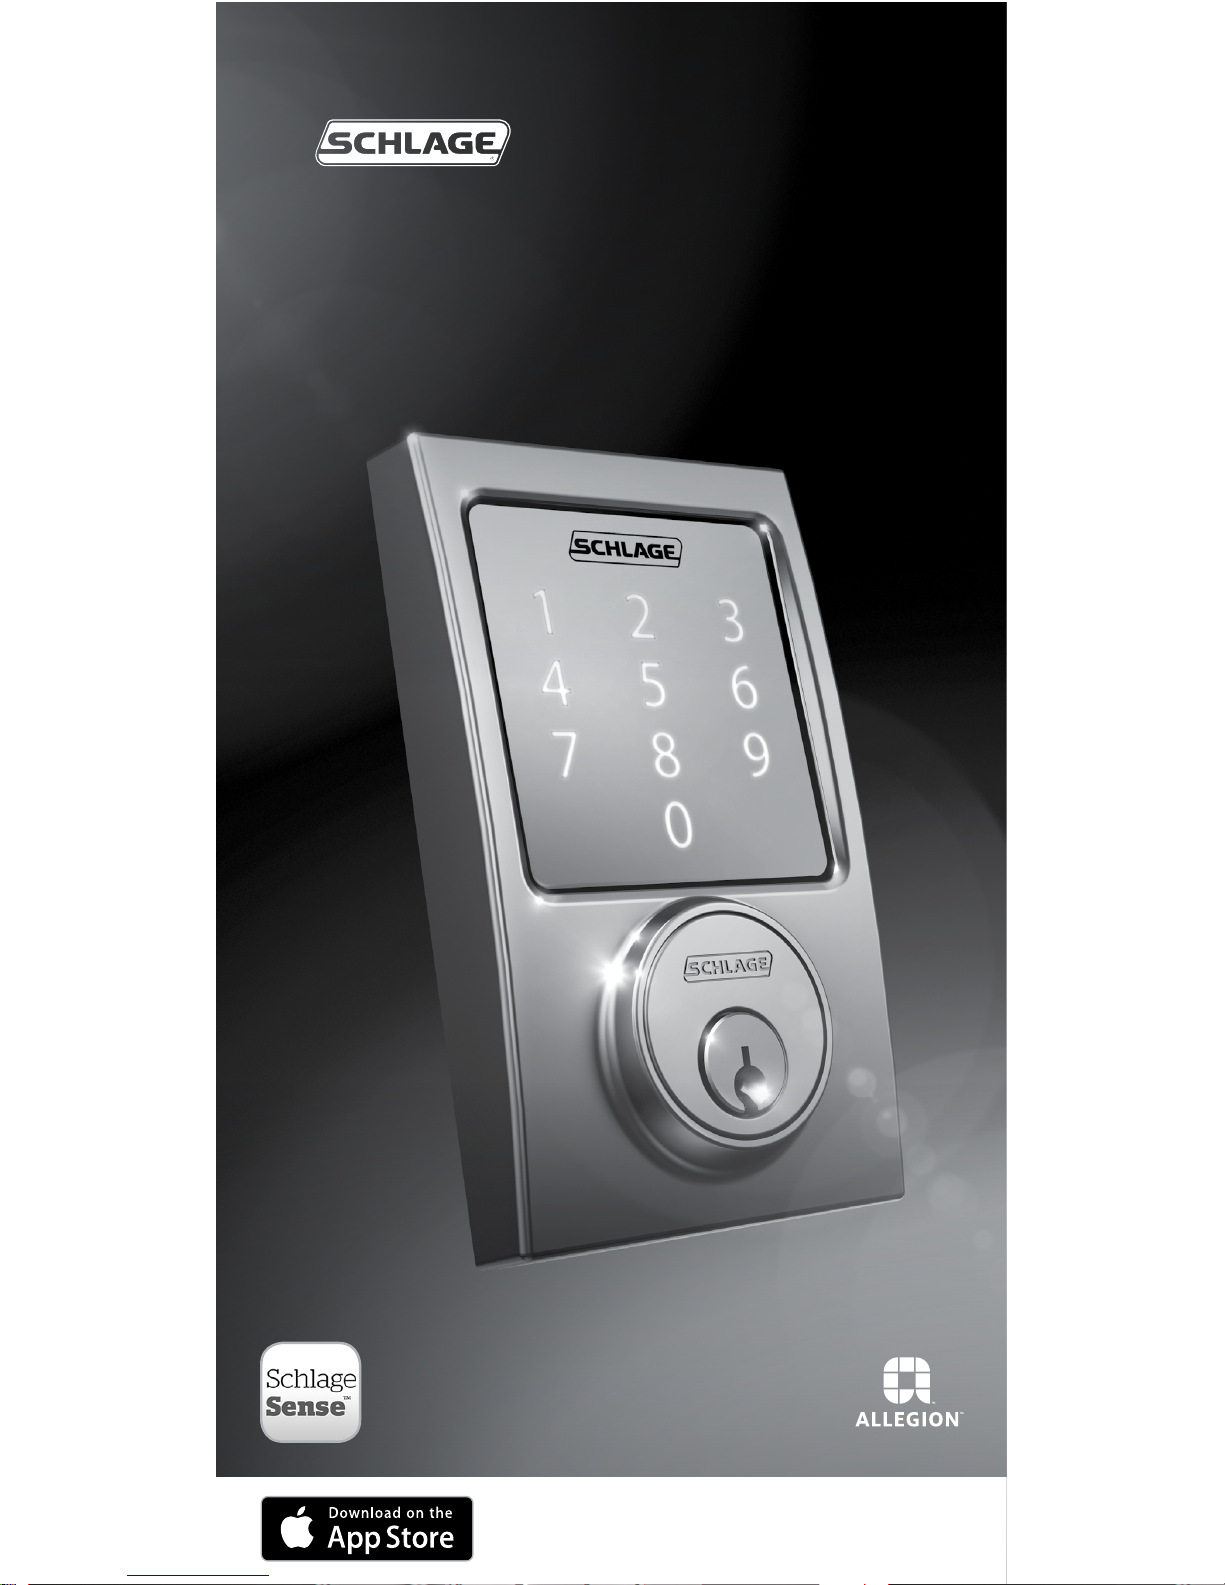
SCHLAGE SENSE™
Smart Deadbolt
Installation Instructions
Download the
Schlage Sense
app to get started!
2
ENGLISH
2
Schlage Sense
™
Installation Instructions
Package Contents
Camelot Style shown throughout guide.
Need Help?
For technical documents and
videos, visit schlage.com
U.S.A.: 888-805-9837
Canada: 800-997-4734
Mexico: 018005067866
Touchscreen
Assembly
Battery Cover
Reinforcement
Plate
Reinforcement
Screws (2)
Strike
Bolt/Strike
Screws (4)
Bolt
Set Screw
Backup Key
Alarm
Assembly
Support Plate
Support Plate
Screws (2)
Alarm Assembly
Screw

3
ENGLISH
Let’s get started!
Once you have all your tools together, please follow each step carefully and in order.
Because this is an electronic lock, the order of steps is very important. If you skip a
step, you may have to perform a factory default reset and start over.
You will definitely need this tool:
• Phillips screwdriver
You can use a manual or electric
screwdriver, but please DO NOT use a
power drill!
You may also need these tools:
• Tape Measure
• Flathead Screwdriver
• Pencil
• Wood Block
• Hammer
INSTALLATION NOTES! PLEASE READ!
• DO NOT use a power drill for installation! This could damage the lock.
• Please read all the instructions before calling customer support.
• DO NOT install the batteries before installing the lock! Follow the instructions
in order!
• If you have previously installed this lock on another door, you MUST perform a
Factory Default Reset FIRST! See the User’s Guide for more information.
• This lock is designed for the following operating temperatures:
• Outside Lock Body (exterior mounted): -31˚F (-35˚C) to 151˚F (66˚C)
• Inside Lock Body (interior mounted): 14˚F (-10˚C) to 120˚F (49˚C)
Steps at a Glance
1 Check current door/frame alignment. ............................................................................4
2 Remove the current deadbolt from the door. ............................................................... 4
3 Watch the online video. .......................................................................................................4
4 Check door/frame dimensions. .........................................................................................5
5 Locate programming and User Codes. ...........................................................................5
6 Install bolt and strike. ........................................................................................................... 6
6a Adjust bolt length, if necessary. ............................................................................................... 6
6b Change the faceplate, if necessary. .......................................................................................6
6c Install the bolt into the door. ..................................................................................................... 7
6d Install the strike into the frame. ...............................................................................................7
6e Test bolt alignment. ...................................................................................................................... 8
7 Install the Touchscreen Assembly. ..................................................................................8
7a Install the Touchscreen on the outside of the door. .....................................................8
7b Install the Support Plate on the inside of the door........................................................ 9
8 Install the Alarm Assembly. ...............................................................................................9
8a Remove the battery cover from the Alarm Assembly. ................................................. 9
8b Connect the cable to the Alarm Assembly. ..................................................................... 10
8c Install the Alarm Assembly. .................................................................................................... 10
8d Secure the Alarm Assembly to the Support Plate. ........................................................11
9 Install the Batteries. ..............................................................................................................11
9a Install the batteries into the battery tray. ...........................................................................11
9b Install the battery cover. ............................................................................................................ 12
10 Set up the Lock. .....................................................................................................................12
11 Test the Lock. .........................................................................................................................12
11a Extend the bolt (lock) using the inside thumbturn. .....................................................12
11b Extend the bolt (lock) using the Touchscreen. ............................................................... 13
11c Retract the bolt (unlock) using the Touchscreen. .........................................................13
11d If the lock failed to lock or unlock: .........................................................................................13
12 Continue to the User’s Guide. ...........................................................................................15
UPDATE

4
ENGLISH
1 Download the app.
Download the Schlage Sense app from the App Store. Just search for
“Schlage Sense” to find the app.
Apple HomeKit™ technology provides an easy, secure way to control your home’s
lights, doors, thermostats, and more from your iPhone�, iPad�, or iPod touch�.
HomeKit requires an iPhone, iPad, or iPod touch with iOS 8.1 or later.
2 Watch the installation video.
You can access installation videos in the app! The videos will give you a good
overview of the installation process.
Alternatively, please visit answers.schlage.com and then click on Schlage Sense.
Watch the video Installing the Schlage Sense.
3 Check current door/frame alignment.
Because the bolt on this lock is extended automatically, it is important that the door
and frame are aligned. Use this checklist to determine if your current alignment will
work without any adjustment.
I can lock the door without pushing, pulling or liing the door.
My door alignment—the ability to lock the door easily and smoothly—stays the
same with changing seasons.
When the door is closed, there is space for the deadbolt to extend 1” into the
frame when locked.
If you could not check every box in the checklist, you will need to adjust your door
and/or frame. Please visit answers.schlage.com for more information.
4 Remove the current deadbolt from the door.
Remove the entire deadbolt, including the bolt. You may also want to remove the
strike.
»
In order to maintain BHMA Grade 1, you must install the included reinforcement
plate and strike (see step 7d on page 7).
»
A standard Schlage deadbolt is shown. Check with your specific deadbolt
manufacturer if you need help.

5
ENGLISH
5 Check door/frame dimensions.
• Measure the dimensions shown. If your door
dimensions do not match, you will need to
change your door preparation. Go to answers.
schlage.com
for drilling instructions.
»
If your door is thicker than 1C\v”, you will need a
thick door kit. Please call Customer Service:
»
Mark your crossbore and backset measurements on this page. You will need
these measurements for installation. Either measurement is normal.
Backset
2C\,” (60 mm)
OR
2C\v” (70 mm)
Minimum 5"
(127 mm)
This lever represents
your current knob or
lever, which may be
already installed.
Door Thickness
1C\,” to 1C\v”
Crossbore
Diameter
2Z\,” (53 mm)
OR
1Z\x" (38 mm)
If your crossbore is
1Z\x”, se e
Removing Spacer
on page 14.
1” (25 mm)
Hole
Door Stop
Hole at least
1” (25 mm)
deep.
6 Locate programming and access codes.
Codes are located on the stickers on the front of the User’s Guide. You will need
these codes to operate the lock. They are also located on the back of the Alarm
Assembly.
»
Do NOT remove these stickers from the back of your lock! If you lose your codes,
you can reset your lock back to these default codes.
»
The HomeKit setup code is used to connect your lock to your iPhone, iPad, or
iPod touch.
SCHLAGE
00000000
BE469
Firmware Ver.: xxx-x
Programming Code: 000000
User Code A: 0000
User Code B: 0000
0000000-000
00000000
FCC ID: xxxxxxxx
One label has
your default
Programming
and Access
codes. The other
label has your
HomeKit setup
code.
SCHLAGE
00000000
BE469
Firmware Ver.: xxx-x
Programming Code: 000000
User Code A: 0000
User Code B: 0000
0000000-000
00000000
FCC ID: xxxxxxxx
SCHLAGE
00000000
BE469
Firmware Ver.: xxx-x
Programming Code: 000000
User Code A: 0000
User Code B: 0000
0000000-000
00000000
FCC ID: xxxxxxxx
SCHLAGE
00000000
BE469
Firmware Ver.: xxx-x
Programming Code: 000000
User Code A: 0000
User Code B: 0000
0000000-000
00000000
FCC ID: xxxxxxxx
Toll-Free Calling From:
U.S.A.: (888) 805-9837
Canada: (800) 997-4734
Mexico: 018005067866
THIS IMAGE DOES NOT
REFLECT THE CURRENT STATE
OF THE CODE LABELS.
 Loading...