

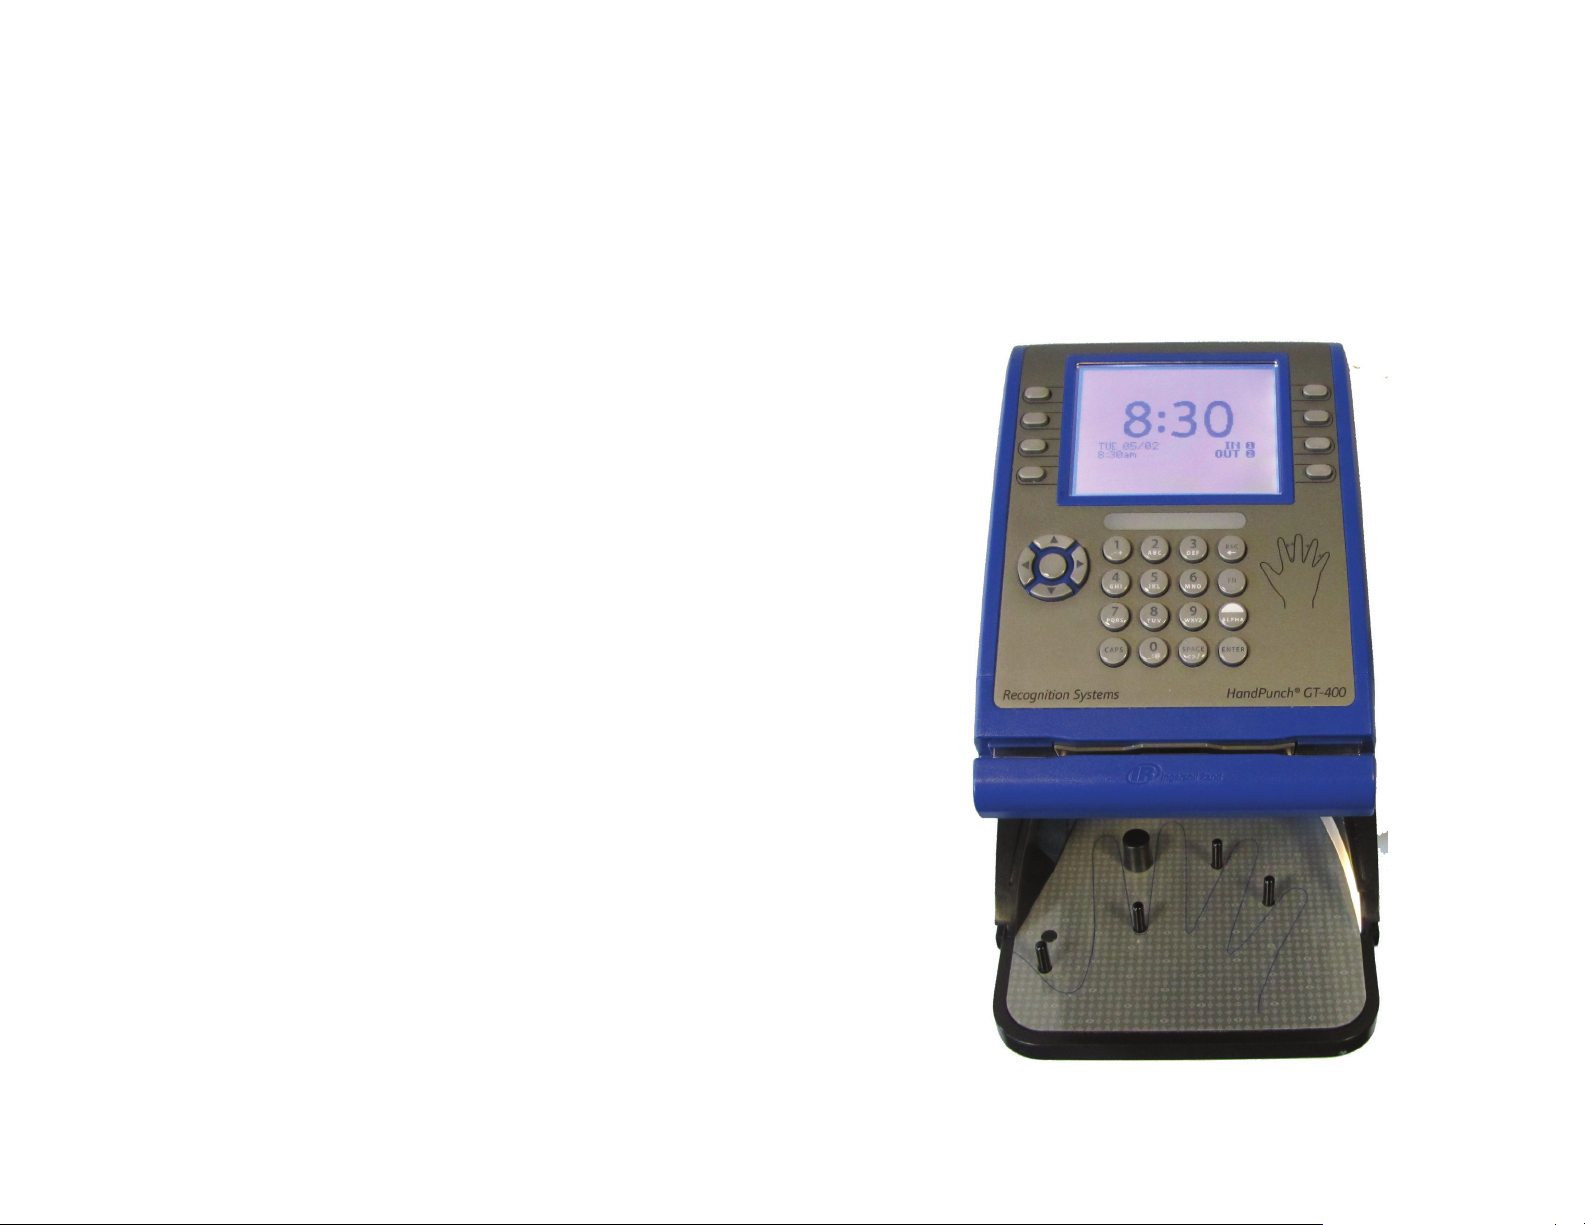
Schlage HandPunch GT-400,FlexClock Setup Manual
®
FlexClock
HandPuncH® GT-400
Hand Geometry Time Clock Setup Guide

SETUP
USE CAUTION when making connections to the back board to avoid damage.
Be aware of possible damage due to electrostatic discharge (ESD). ESD is of
particular concern when working on carpeted surfaces and in dry environments.
Use a ground strap to minimize ESD concerns.
DO NOT apply power until you are ready to congure the terminal!
If using the optional backup battery, connect backup battery BEFORE main
power has been supplied!
1. Connect the earth ground. The earth ground connection is made to the
ground pin on the terminal. Bundle all ground connections into one crimp
lug and attach the lug to the ground pin with an 8-32 nut.
2. Connect the Ethernet cable to the Ethernet connection socket inside the
terminal casing.
3. DO NOT apply power until you are ready to congure the terminal!
Connect power using the barrel connector.
4.
If using the optional backup battery, locate the backup battery relay.
Connect backup battery BEFORE the main power has been connected (step 3).
5. Make other back board connections as necessary. Use the diagram on the
next page as a reference.
ADDITIONAL QUESTIONS
If you have any additional questions regarding the installation or use of your
FlexClock, please contact your service provider.
Need More?
For a video walk-through visit the following website:
http://www.payrollservers.us/shareddocs/training/source/gt-400/setup.htm
Follow this QR
code to nd the
video on your
mobile device.
 Loading...