

Schlage GT-400 Technical Note
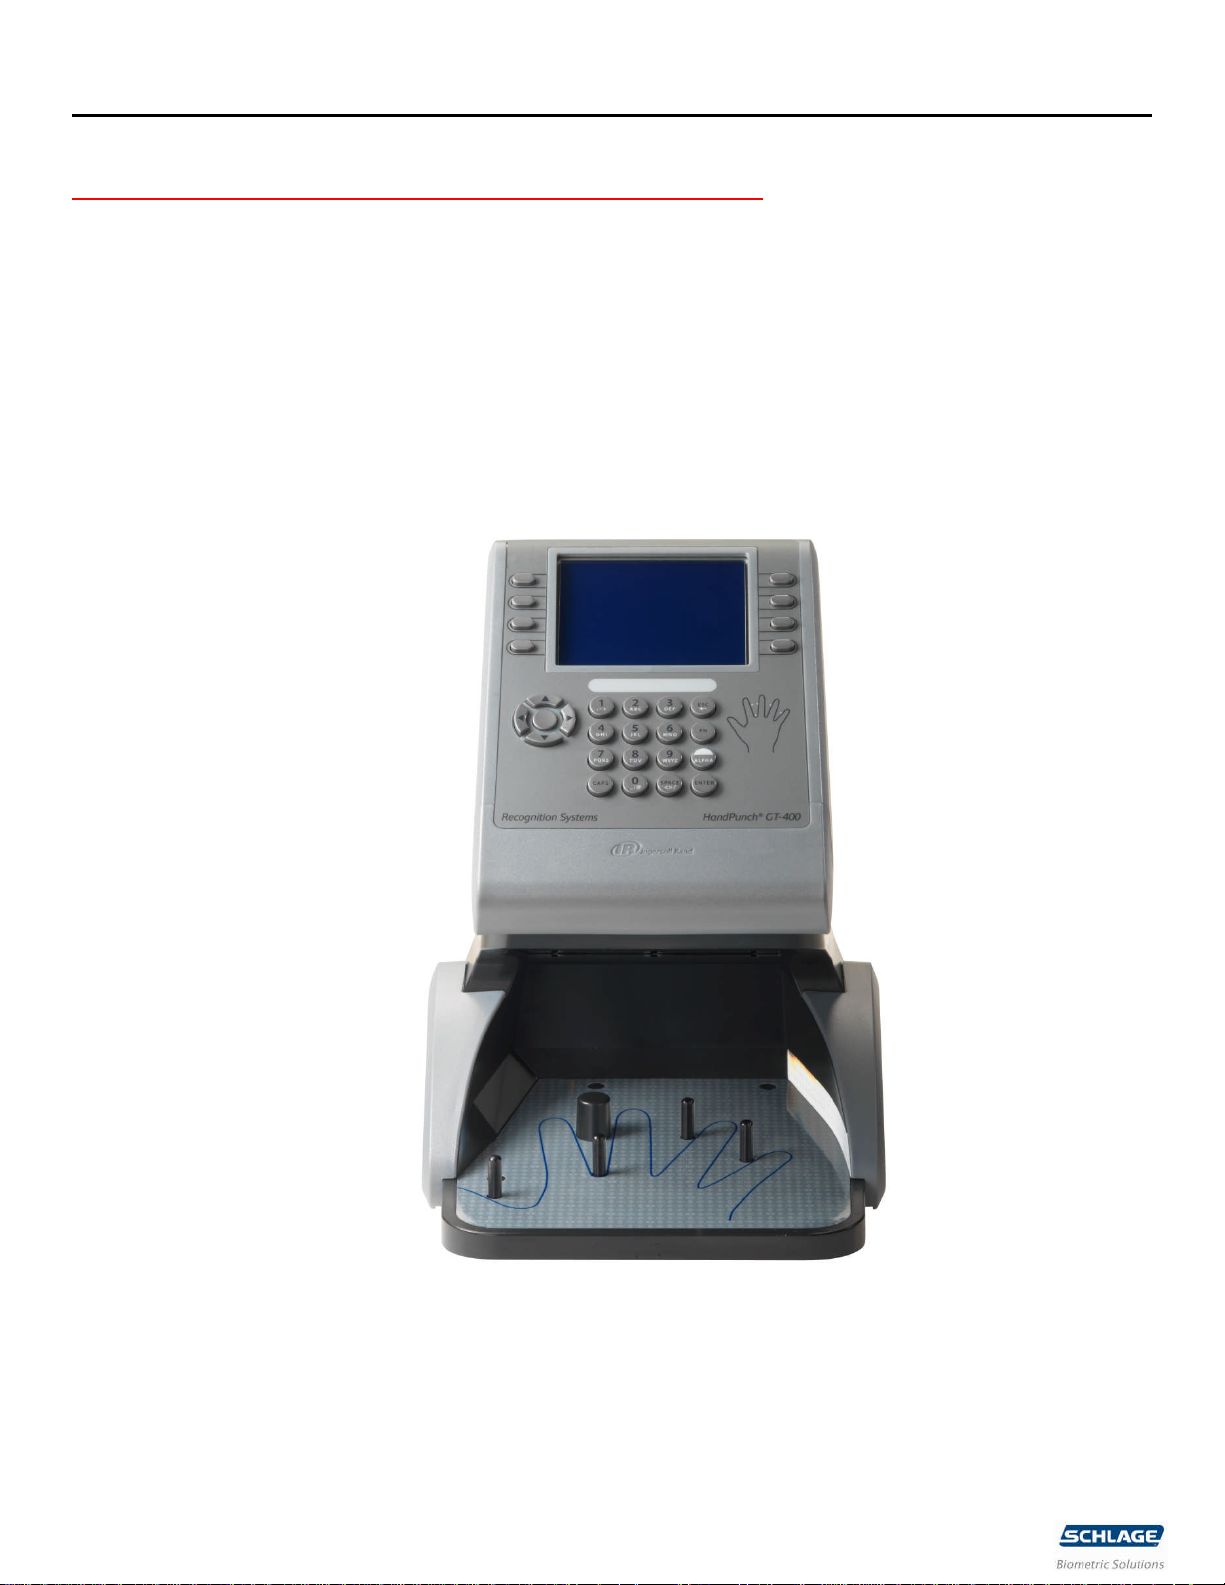
GT-400 Lithium Battery Replacement TECHNICAL NOTE
Graphic guide to the replacement of the lithium battery in the GT-400
Tools needed
ESD Grounding Strap worn at all times
Antistatic mat clear of debris to protect the terminal from scratches
#2 Philips Screwdriver for the disassembly of theGT-400
Small flat Jeweler’s type screwdriver
Torque screwdriver must be used for the reassembly of the GT-400 set to 10.0 in-lbs
Rev. A 1
08/2011 70200-0096_A_GT-400_Lithium _Battery_Replacement
GT-400 Lithium Battery Replacement TECHNICAL NOTE
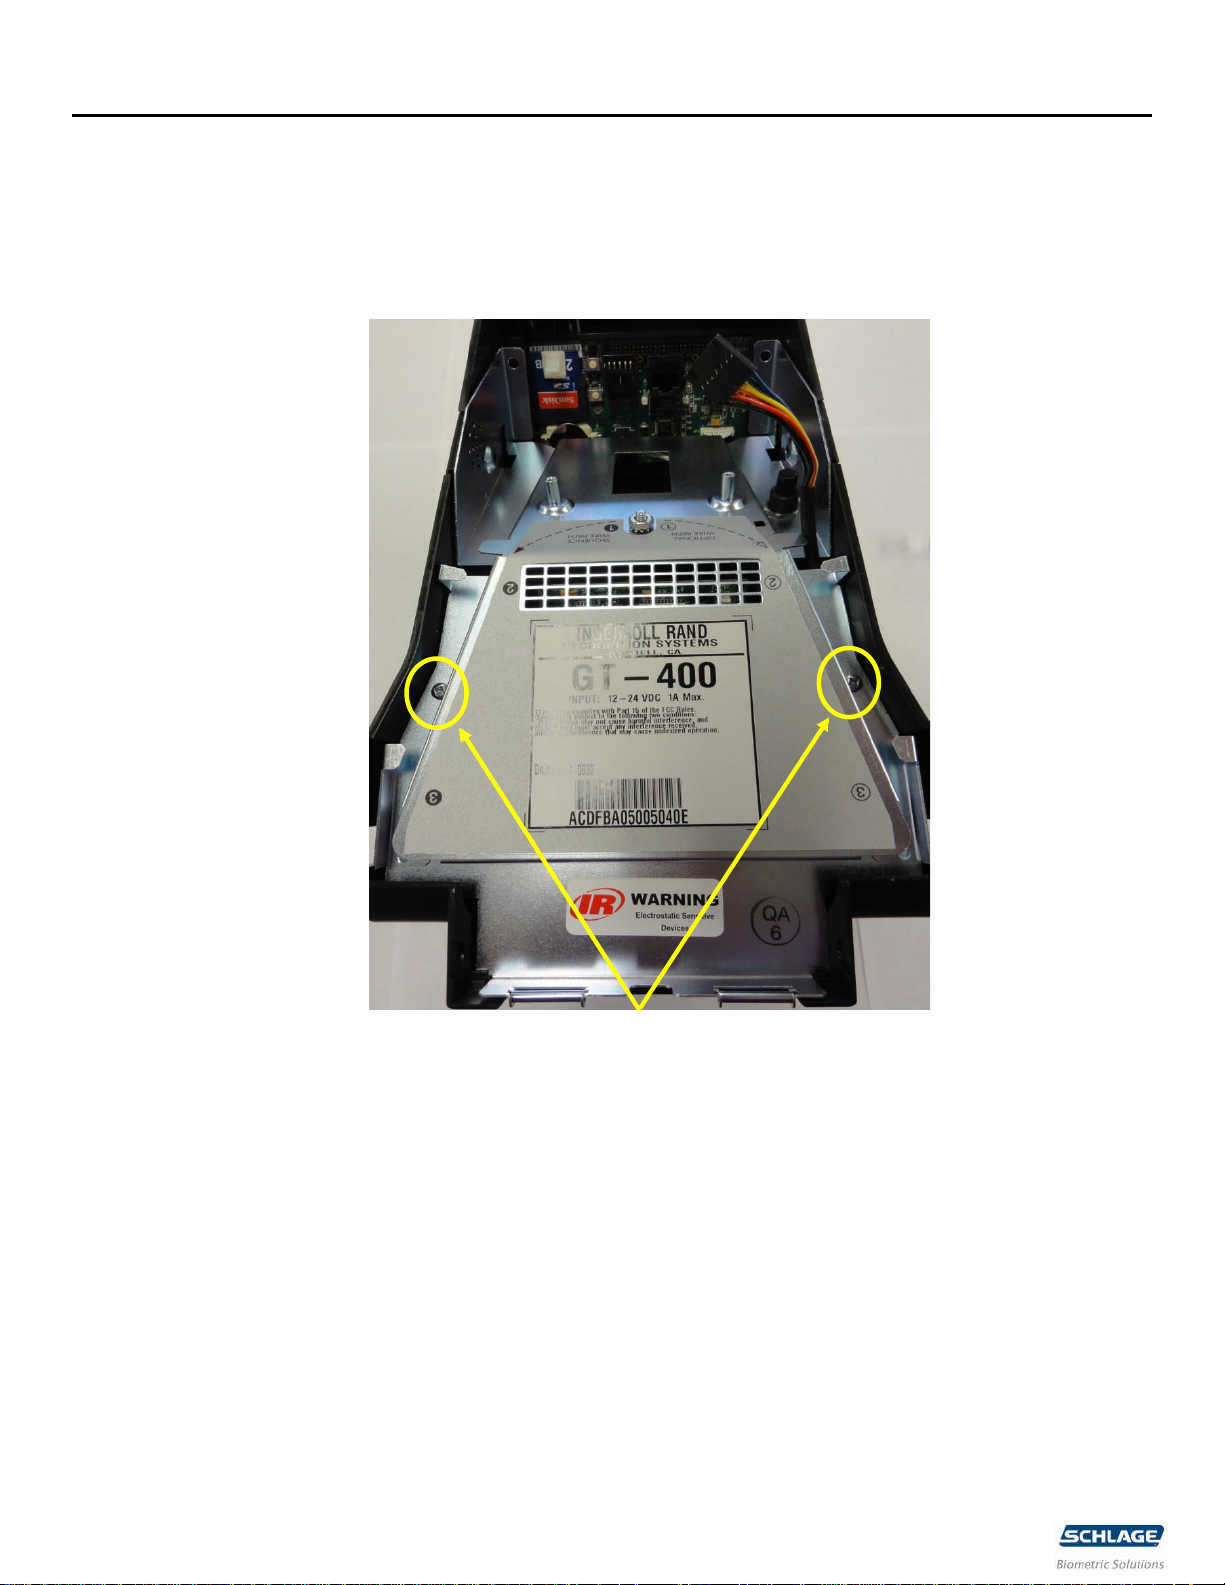
Removal of the back plate
Lay the GT-400 terminal face down of a clean antistatic mat to protect the surface from scratches and the
PCBs from ESD damage. Remove the two screws highlighted and set aside for reuse.
Rev. A 2
08/2011 70200-0096_A_GT-400_Lithium _Battery_Replacement

GT-400 Lithium Battery Replacement TECHNICAL NOTE
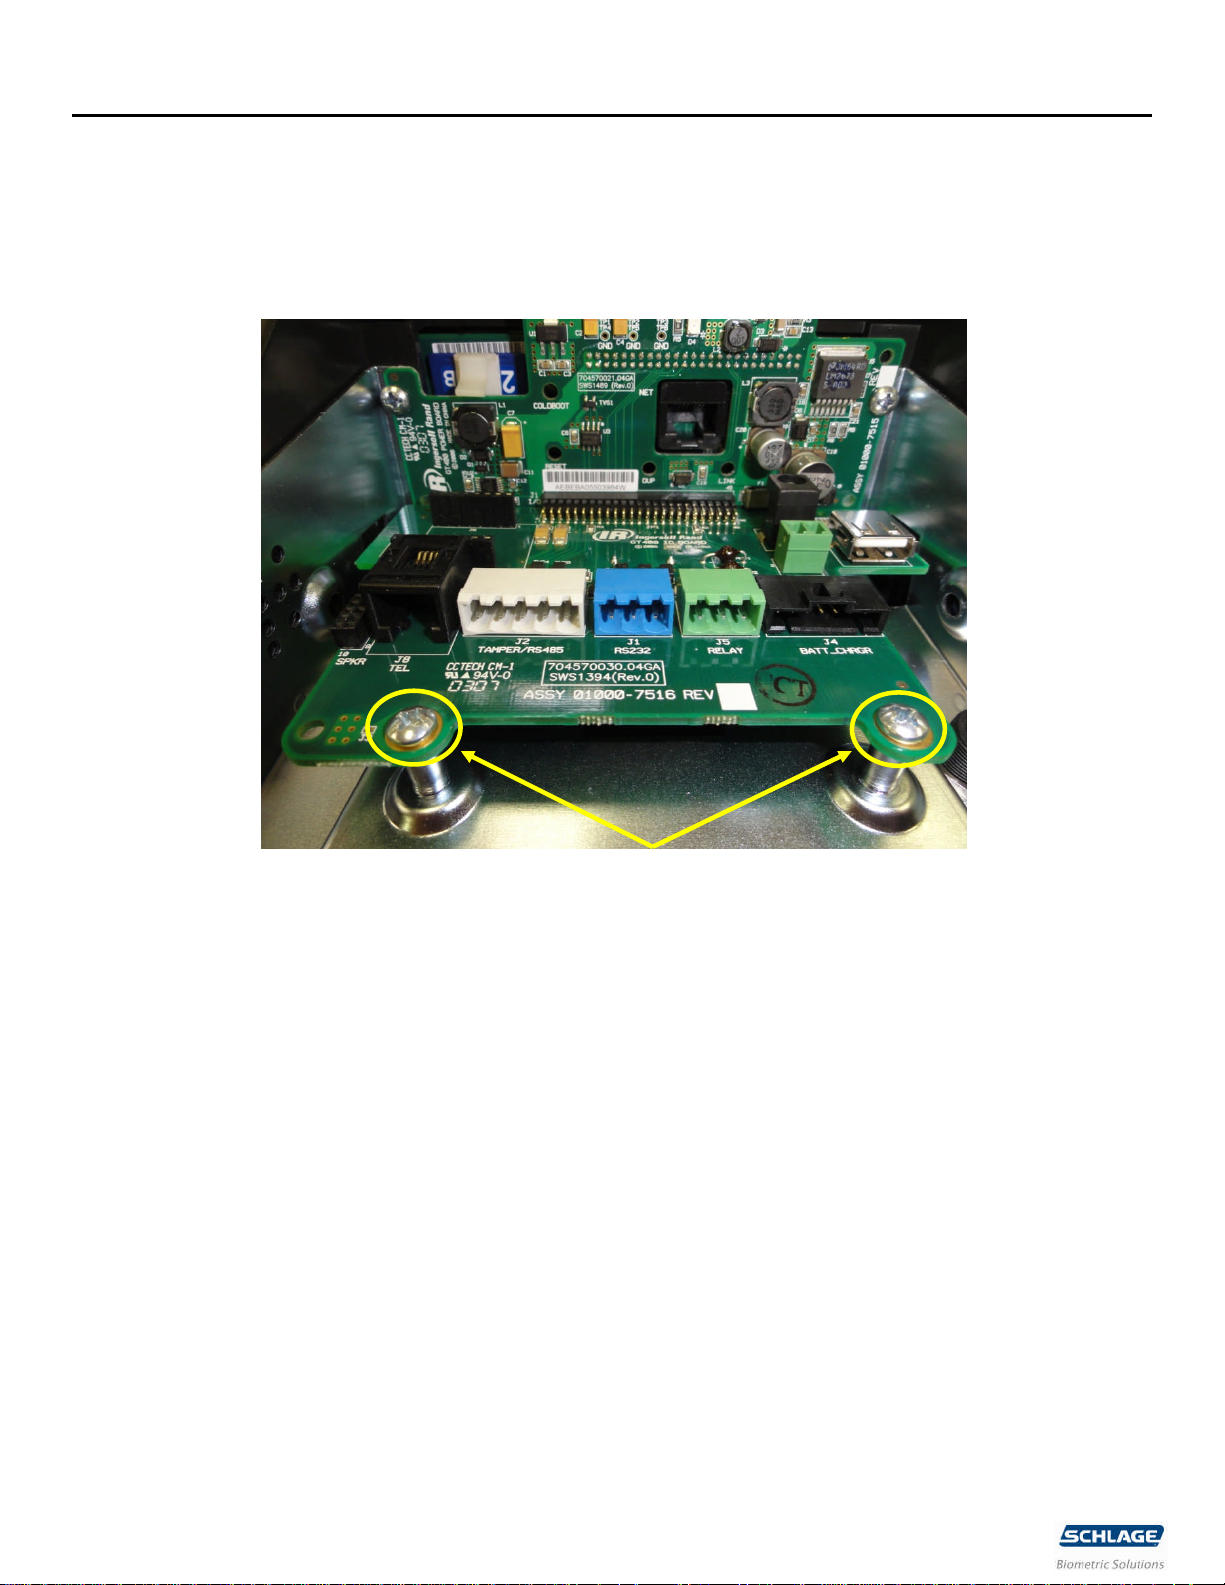
Removal of the IO board
With the terminal still laying face down and while wearing the ESD ground strap hold the IO board by the
edges and gently pull the board towards you and set aside.
Rev. A 3
08/2011 70200-0096_A_GT-400_Lithium _Battery_Replacement

GT-400 Lithium Battery Replacement TECHNICAL NOTE
Removal of the Power board
Remove the two screws highlighted and set aside for reuse. Hold the power board by the edges and gently pull
the board towards you and set aside.
Rev. A 4
08/2011 70200-0096_A_GT-400_Lithium _Battery_Replacement
GT-400 Lithium Battery Replacement TECHNICAL NOTE
Removal of the back plate
Remove the two screws highlighted and set aside for reuse. Rotate the top of the back plate towards
you
Rev. A 5
08/2011 70200-0096_A_GT-400_Lithium _Battery_Replacement
 Loading...