

Page 1
Removing the radiator
WARNING!
1
2
1
200 671
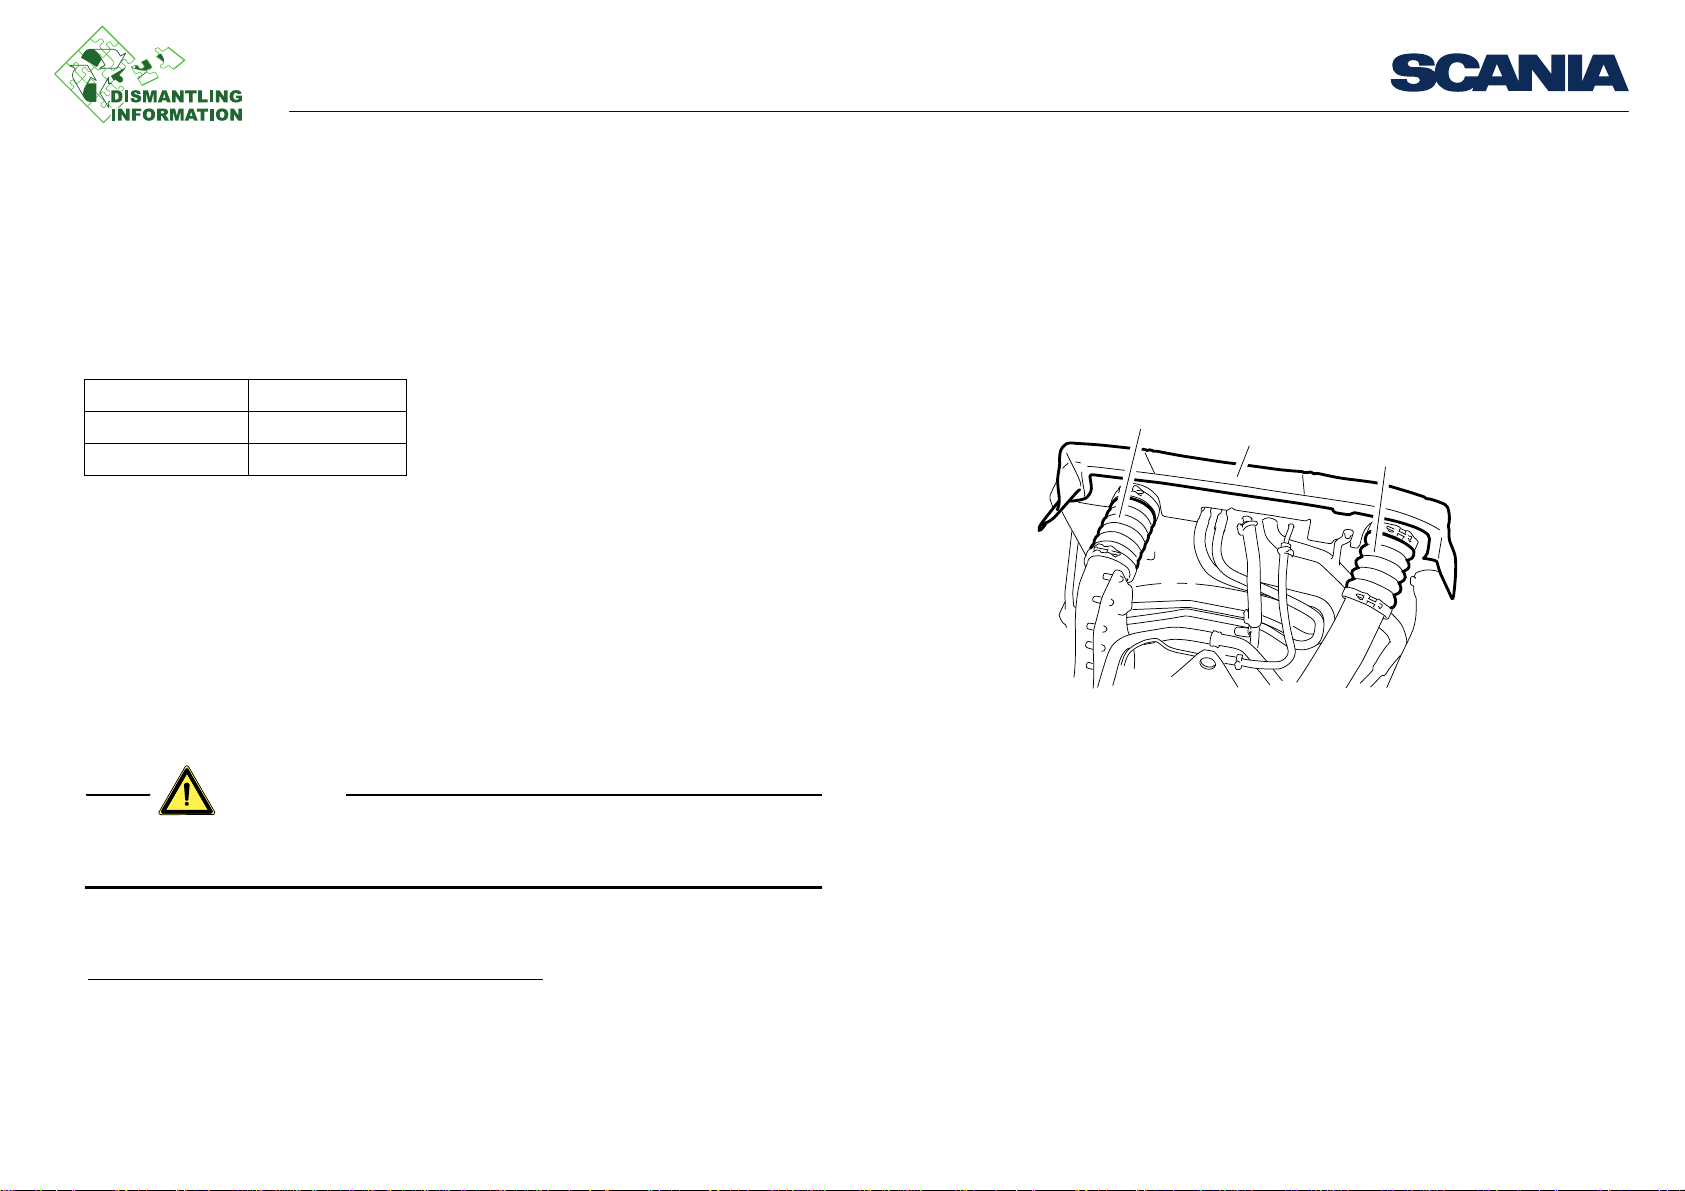
1. Charge air hoses
2. Upper recirculation shield
General
Applies to G and R series with fuel system PDE or HPI.
Tools
Examples of suitable tools from Scania:
Part number Designation
99 242 Cab lifting tool
99 431 Cab strut
Work description
1. Drain the cooling system.
2. Drain the air system.
3. Open the front grille panel. Remove the lower front grille panel and its hinges.
4. Tilt the cab. Secure with cab strut 99 431 or tool with corresponding function.
5. Remove the charge air hoses from the charge air cooler (1).
6. Remove the upper recirculation shield (2).
1
General
Do not open the AC circuit or undo any connections since they contain pressurised
refrigerant.
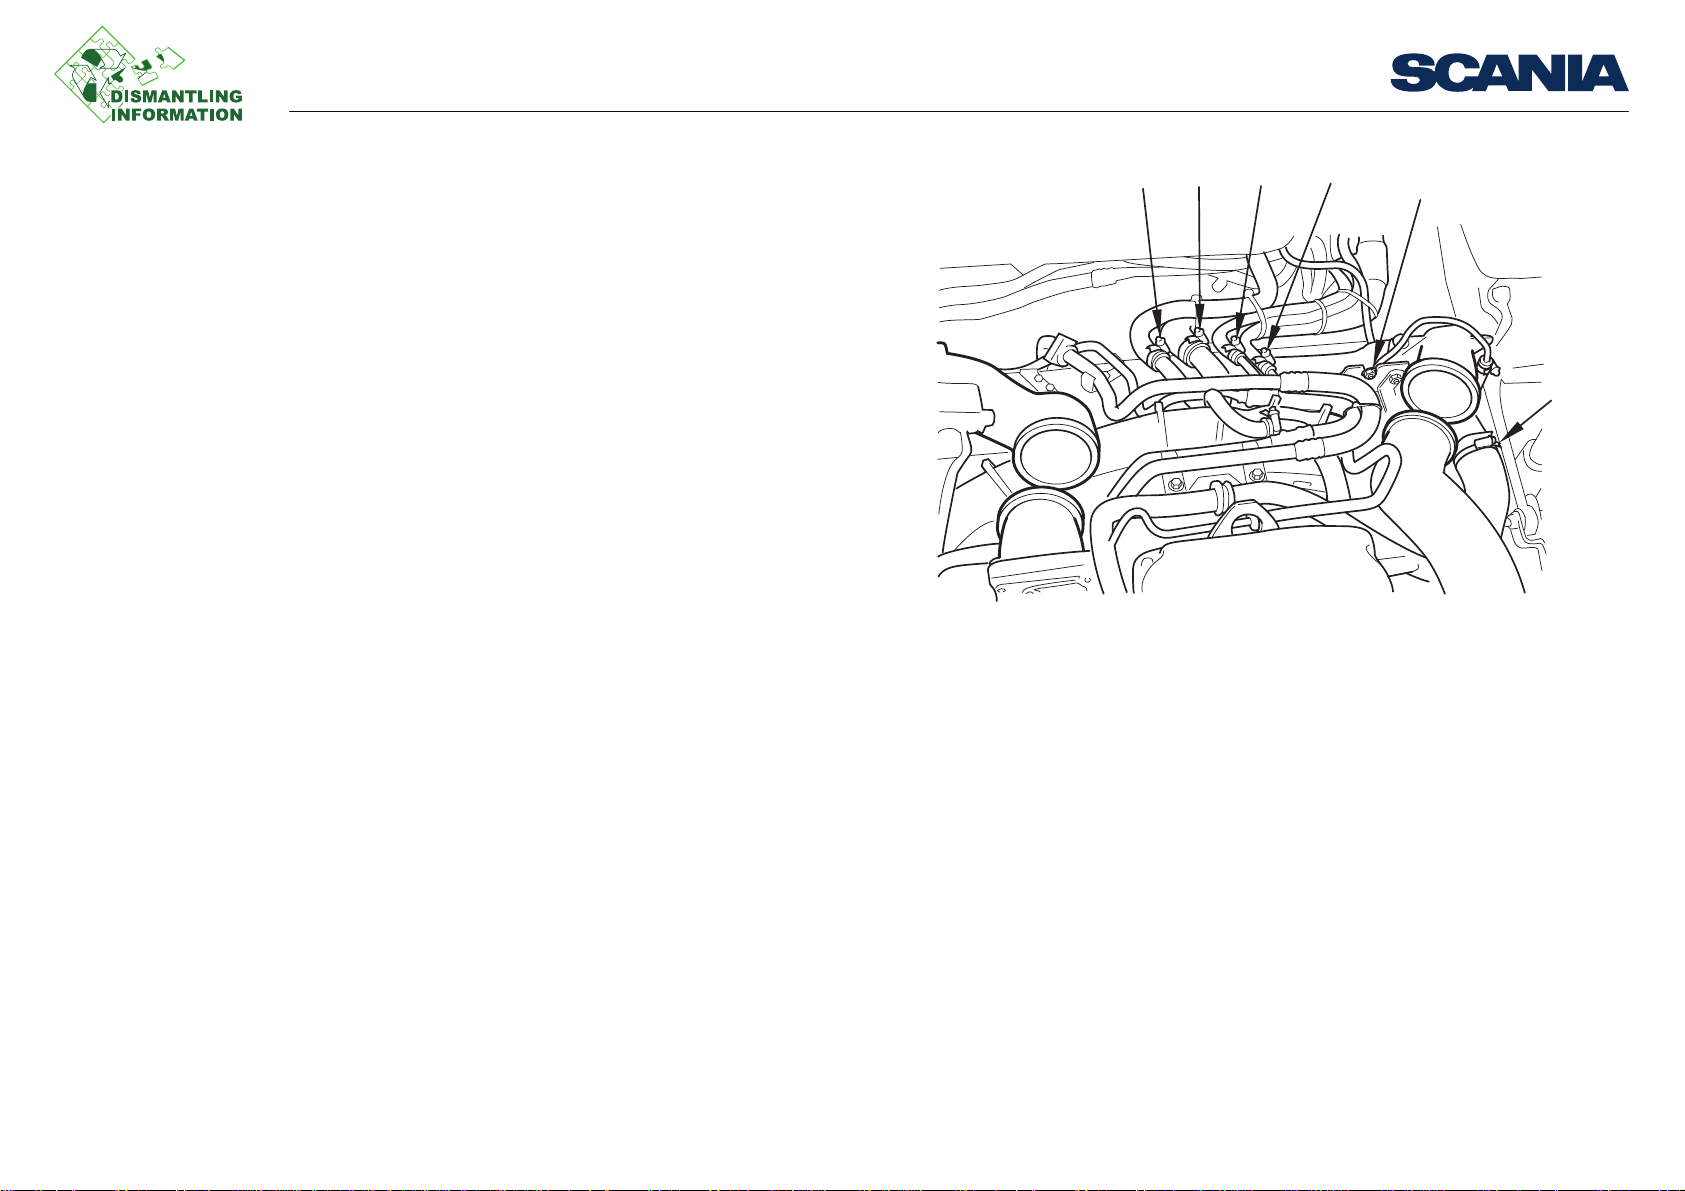
7. Undo AC pipe brackets
1. Vehicles with air suspension.
2. Vehicle with AC.
03:10-00 Issue 1 en-GB 1 (5)
2
and the clamp on one of the AC pipes.
©
Scania CV AB 2012, Sweden
Page 2
Removing the radiator
8. Detach the upper coolant hoses between the engine and the cooling package.
9. Remove the cab strut and tilt the cab back into position.
10. Remove the plate in the radiator grille.
11. Gather together the coolant hoses and suspend them with cable ties so that they
are not in the way when working on the radiator.
12. Detach the lower coolant hose between the engine and radiator from below.
Work description
333 269
03:10-00 Issue 1 en-GB 2 (5)
©
Scania CV AB 2012, Sweden
Page 3

Removing the radiator
Work description
13. Undo the link (1) for the levelling valve lever on the left-hand side and empty the
suspension air bellows.
1
3
2
1. Vehicles with air suspension.
03:10-00 Issue 1 en-GB 3 (5)
©
Scania CV AB 2012, Sweden
1
333 268
Page 4

Removing the radiator
The illustration shows a vehicle with an air-cooled EGR cooler but is also applicable
to other vehicles.
Work description
14. Undo the hydraulic hose as illustrated.
15. Fit cab lifting tool 99 242. Lift the cab at the front edge. It is only necessary to
1
raise the cab slightly to remove the anti-roll bar and the radiator.
16. Detach the compressed air line to the right-hand air bellows and cut the cable ties
off the anti-roll bar.
17. Remove the nut for the lower cab spring attachment, then the anti-roll bar caps
2
and finally the screws for the cab attachment (2).
18. Remove the anti-roll bar.
19. Undo the torque rod screws (3).
333 261
1. Vehicles with hydraulic clutch control.
2. Vehicles with a cab with air suspension.
03:10-00 Issue 1 en-GB 4 (5)
©
Scania CV AB 2012, Sweden
Page 5

Removing the radiator
20. Remove the recirculation shields from the cooling package.
21. Undo the clamps securing the pipes to the condenser.
22. Detach the condenser and remove it.
23. Undo the quick release couplings of the gearbox oil cooler.
24. Detach the cooling package brackets from the chassis and make sure that it is free
from all pipes. Use the radiator attachments as handles and lift out the radiator by
hand. If it is hard to lift out, make sure that all attachments and connections really
are detached and not in the way. Lift out by angling the radiator at the top and
then pull it straight out. Make sure that it does not touch the lower engine cover
attachment. Position the radiator at an angle if necessary.
25. Dismantle the cooling package by first removing the fan cover (3) from the radi-
ator (2), and then removing the radiator from the charge air cooler (1).
Work description
333 267
03:10-00 Issue 1 en-GB 5 (5)
©
Scania CV AB 2012, Sweden
 Loading...