

Samsung sv-201X, sv-203X, SV-A20XK-SEC Disassemble
Samsung Electronics 4-1
4. Disassembly and Reassembly
4-1 Cabinet Assembly
Note : Disassemble in the order shown.
Reassemble in reverse order.
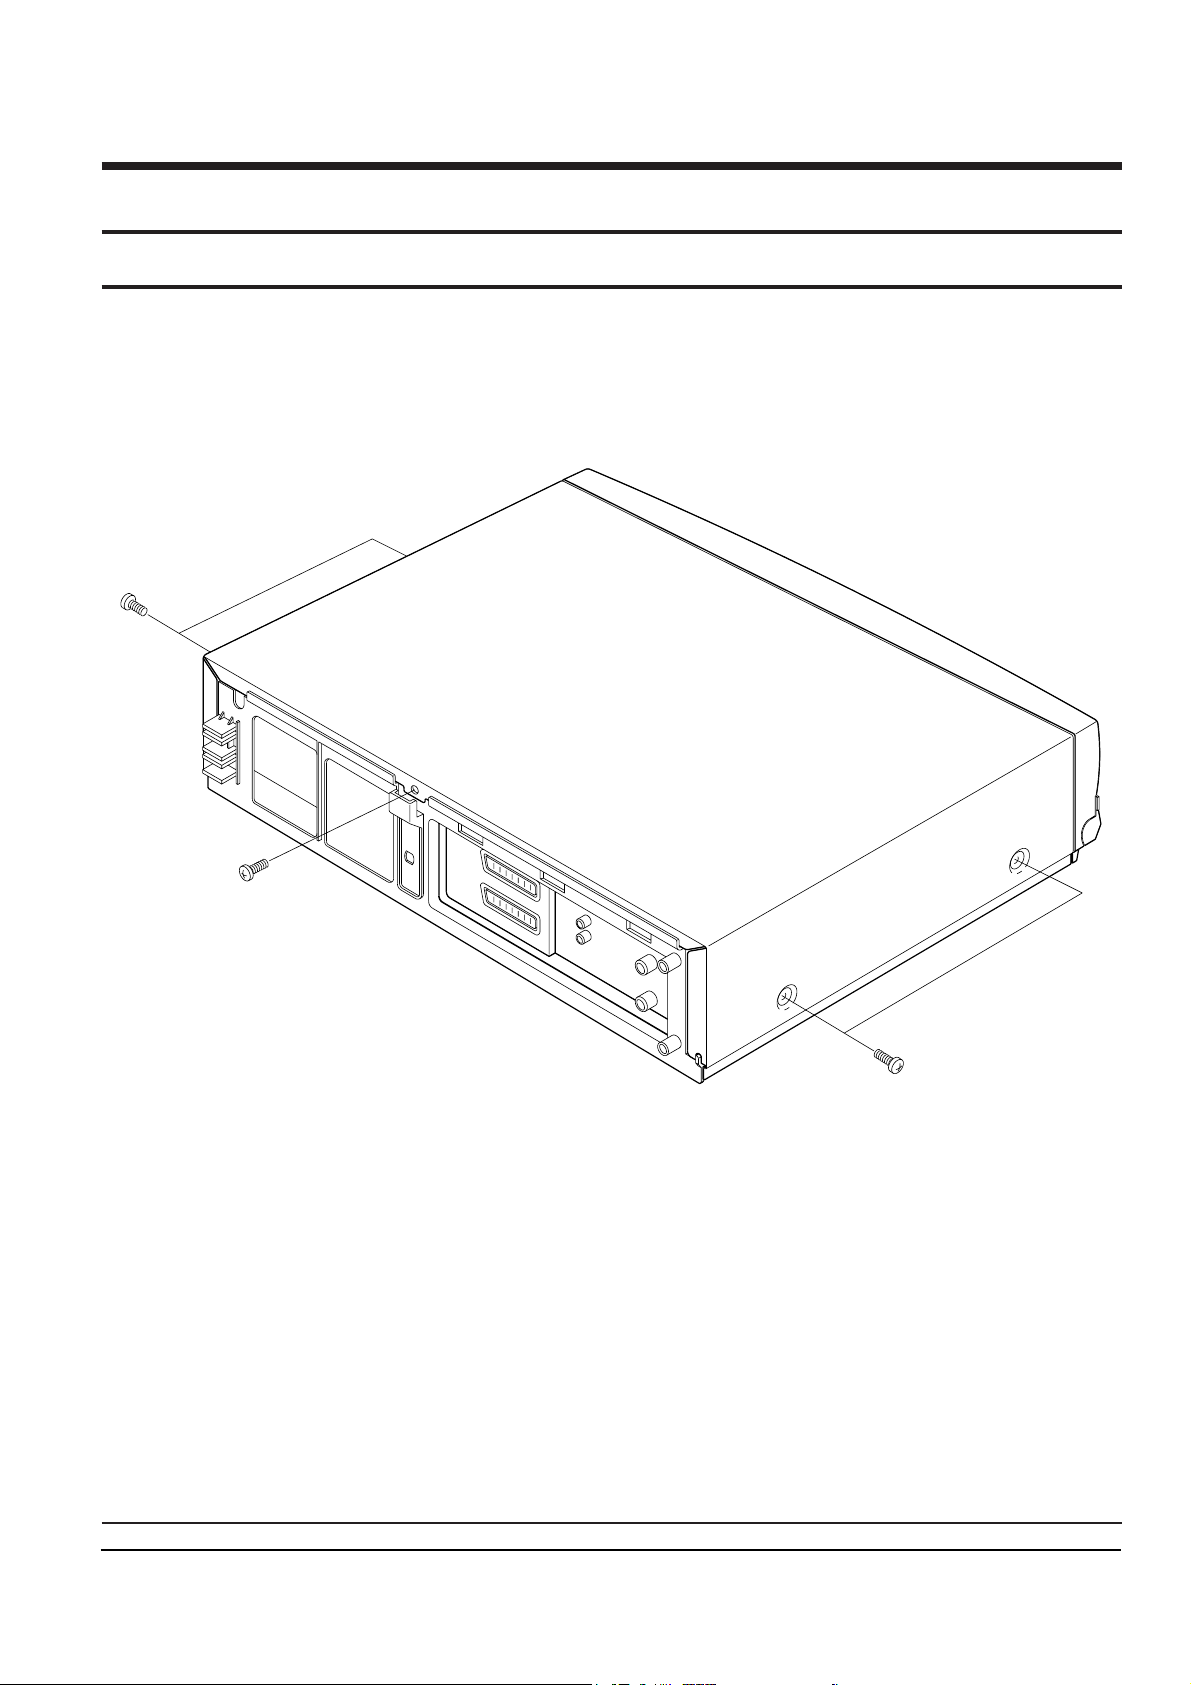
4-1-1 Cabinet Top removal
REMOVE 5 SCREWS
1. Remove 5 screws and slide the top cabinet to the rear to remove.
Fig. 4-1 Cabinet Top removal
Disassembly and Reassembly
4-2 Samsung Electronics
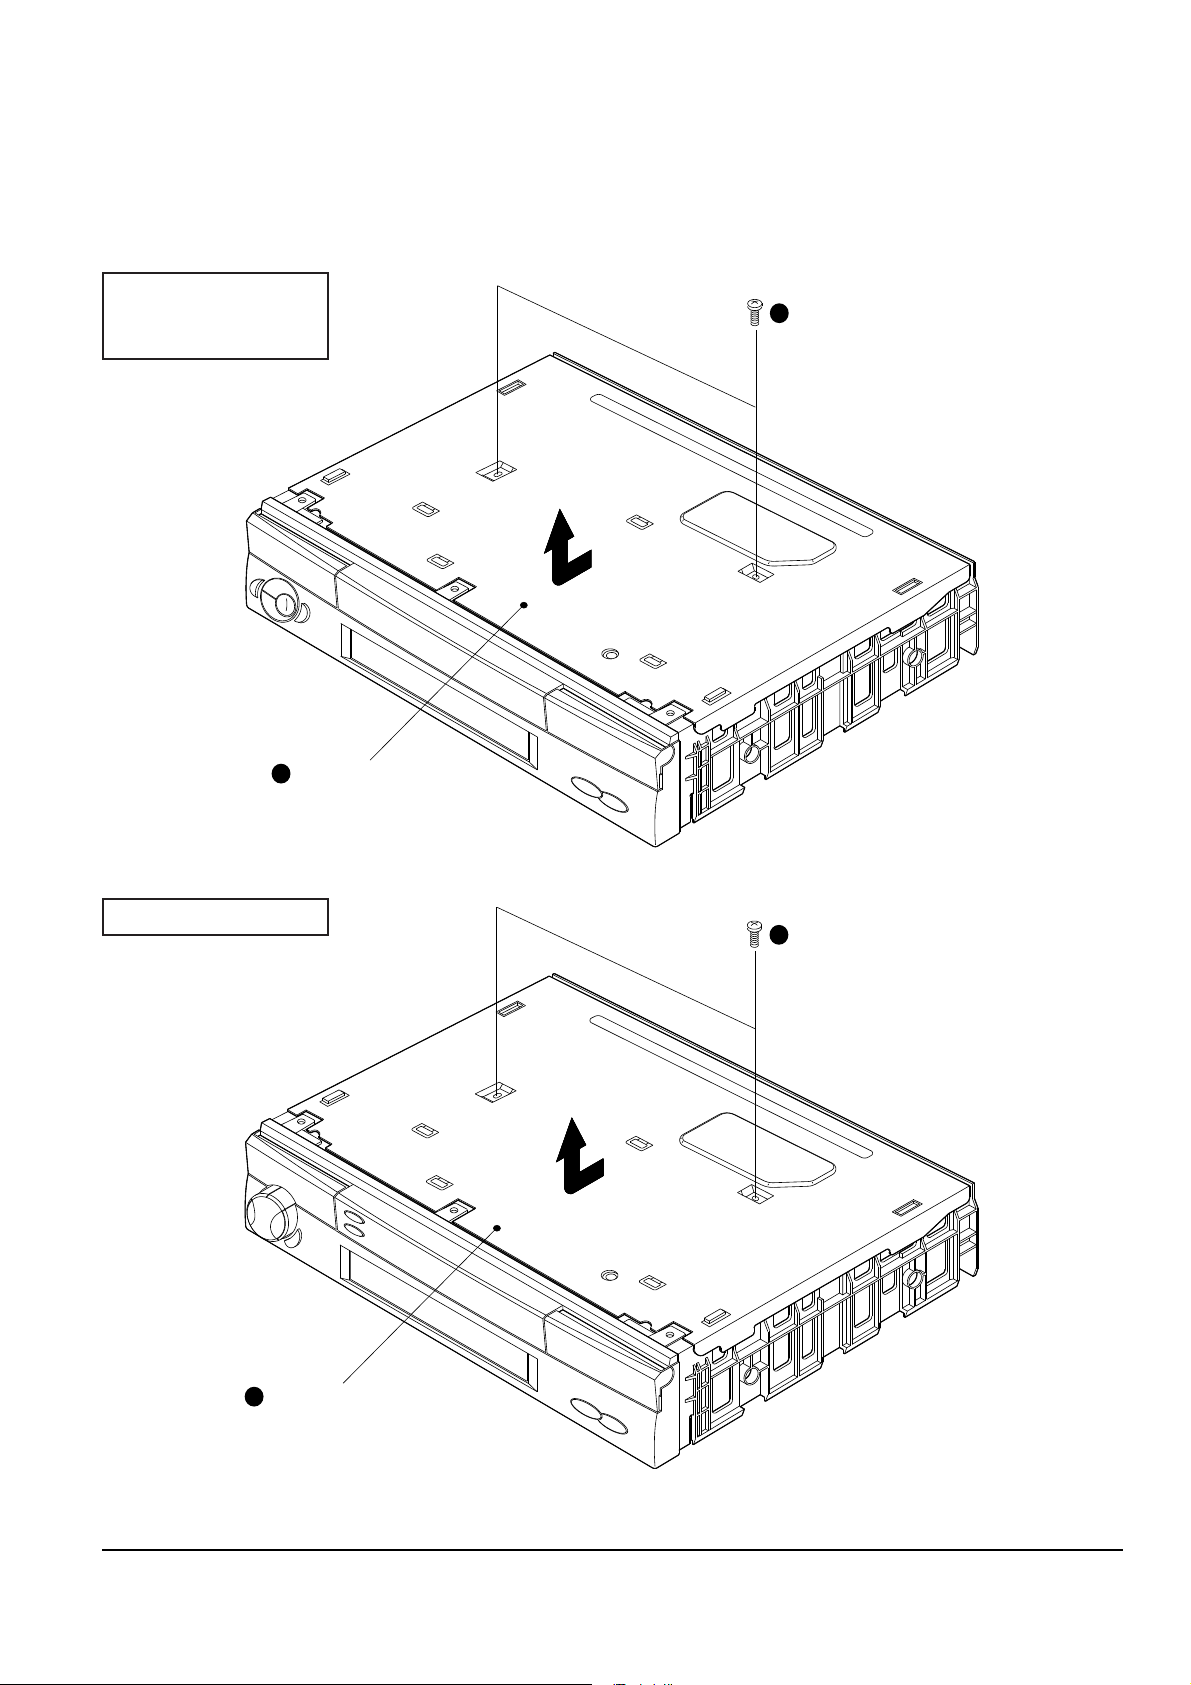
4-1-2 Bottom cover removal
1. Remove 2 screws.
2. Lift up the bottom cover toward arrow ÒAÓ.
Fig. 4-2 Bottom Cover removal
"A"
REMOVE 2 SCREWS
(BH;1-3X12 YELLOW)
1
2
Lift up the bottom cover
in the direction of arrow "A".
REMOVE 2 SCREWS
(BH;1-3X12 YELLOW)
1
"A"
2
Lift up the bottom cover
in the direction of arrow "A".
SV-A20XK/SV-200X
SV-A21XK/SV-201X
SV-A30XK/SV-203X
SV-A40XK/SV-205X
Disassembly and Reassembly
Samsung Electronics 4-3
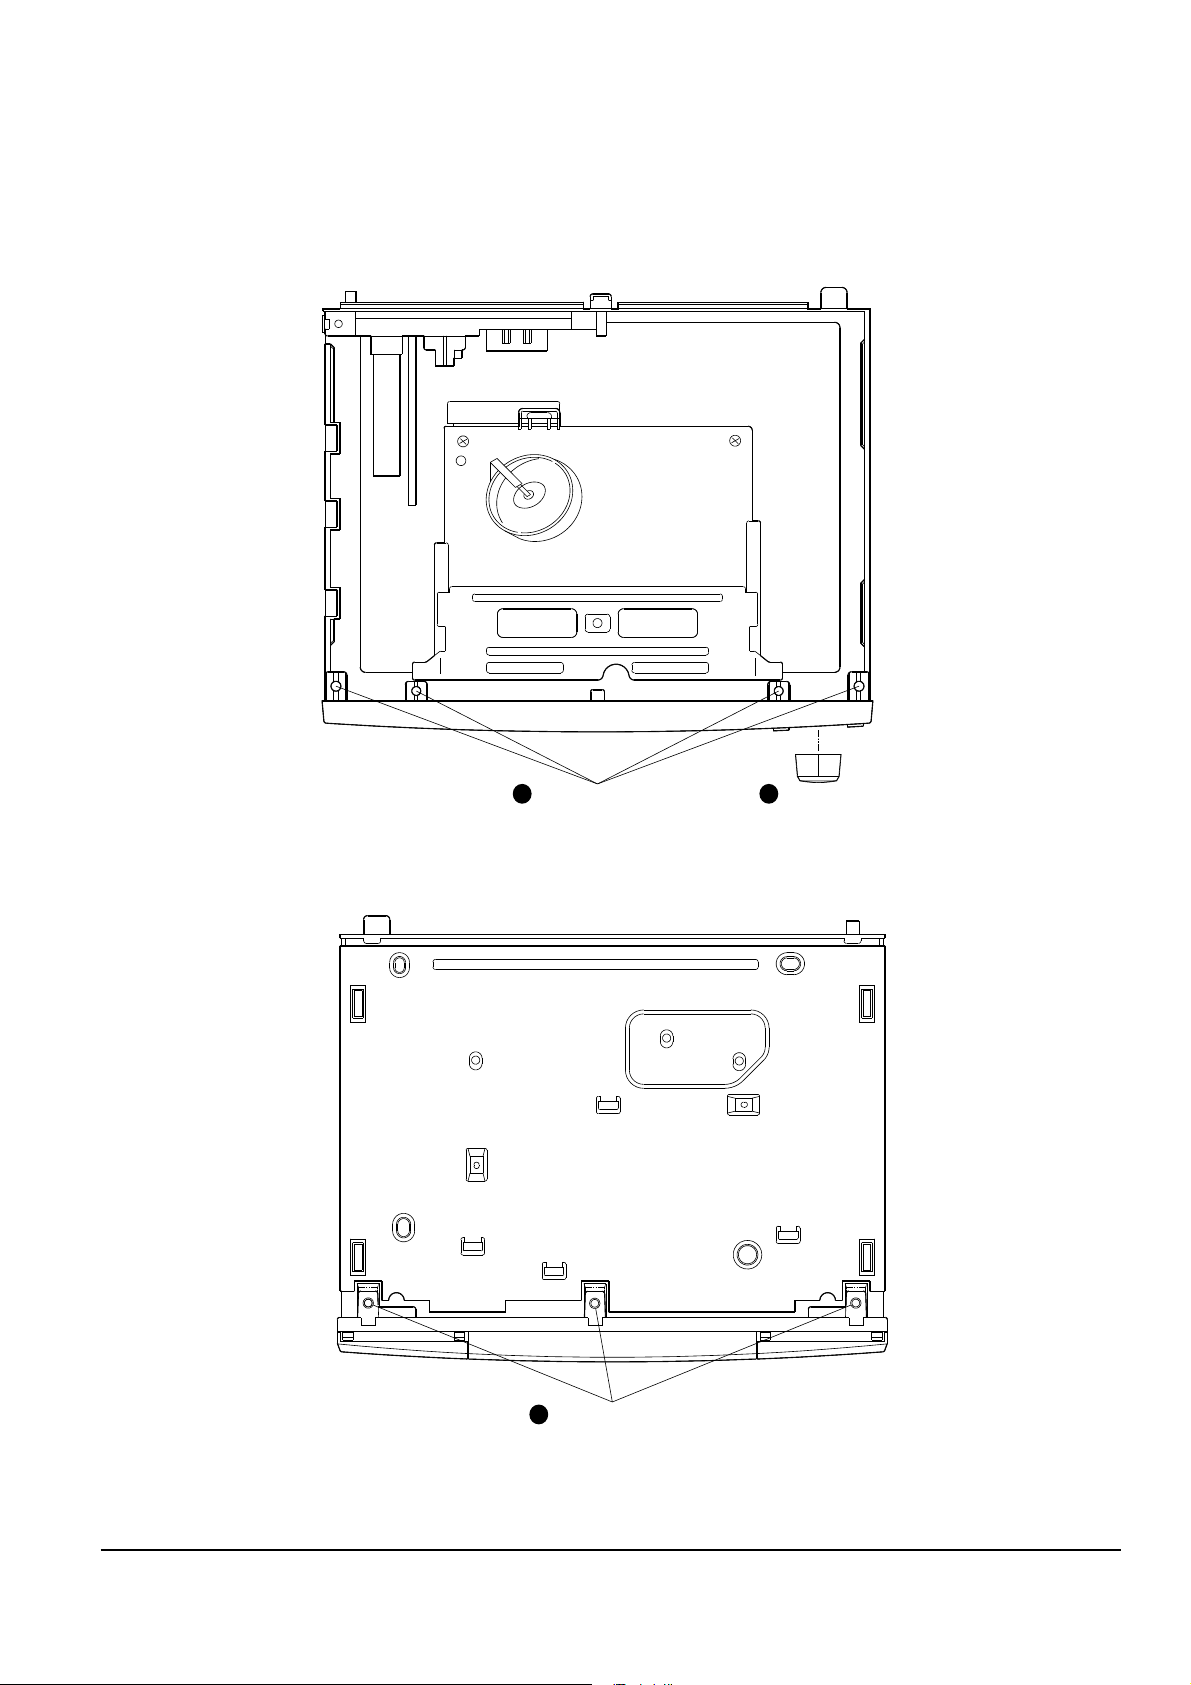
4-1-3 Ass’y Front Panel removal
(Bottom view)
RELEASE 4 HOOKS
REMOVE
KNOB-SHUTTLE
12
RELEASE 3 HOOKS
3
1. Remove the knob-shuttle.
2. Release 4 hooks on the top side and 3 hooks on the bottom side and then, pull the assÕy front panel to remove.
(Top view)
Fig. 4-3 Ass’y Front Panel removal
 Loading...