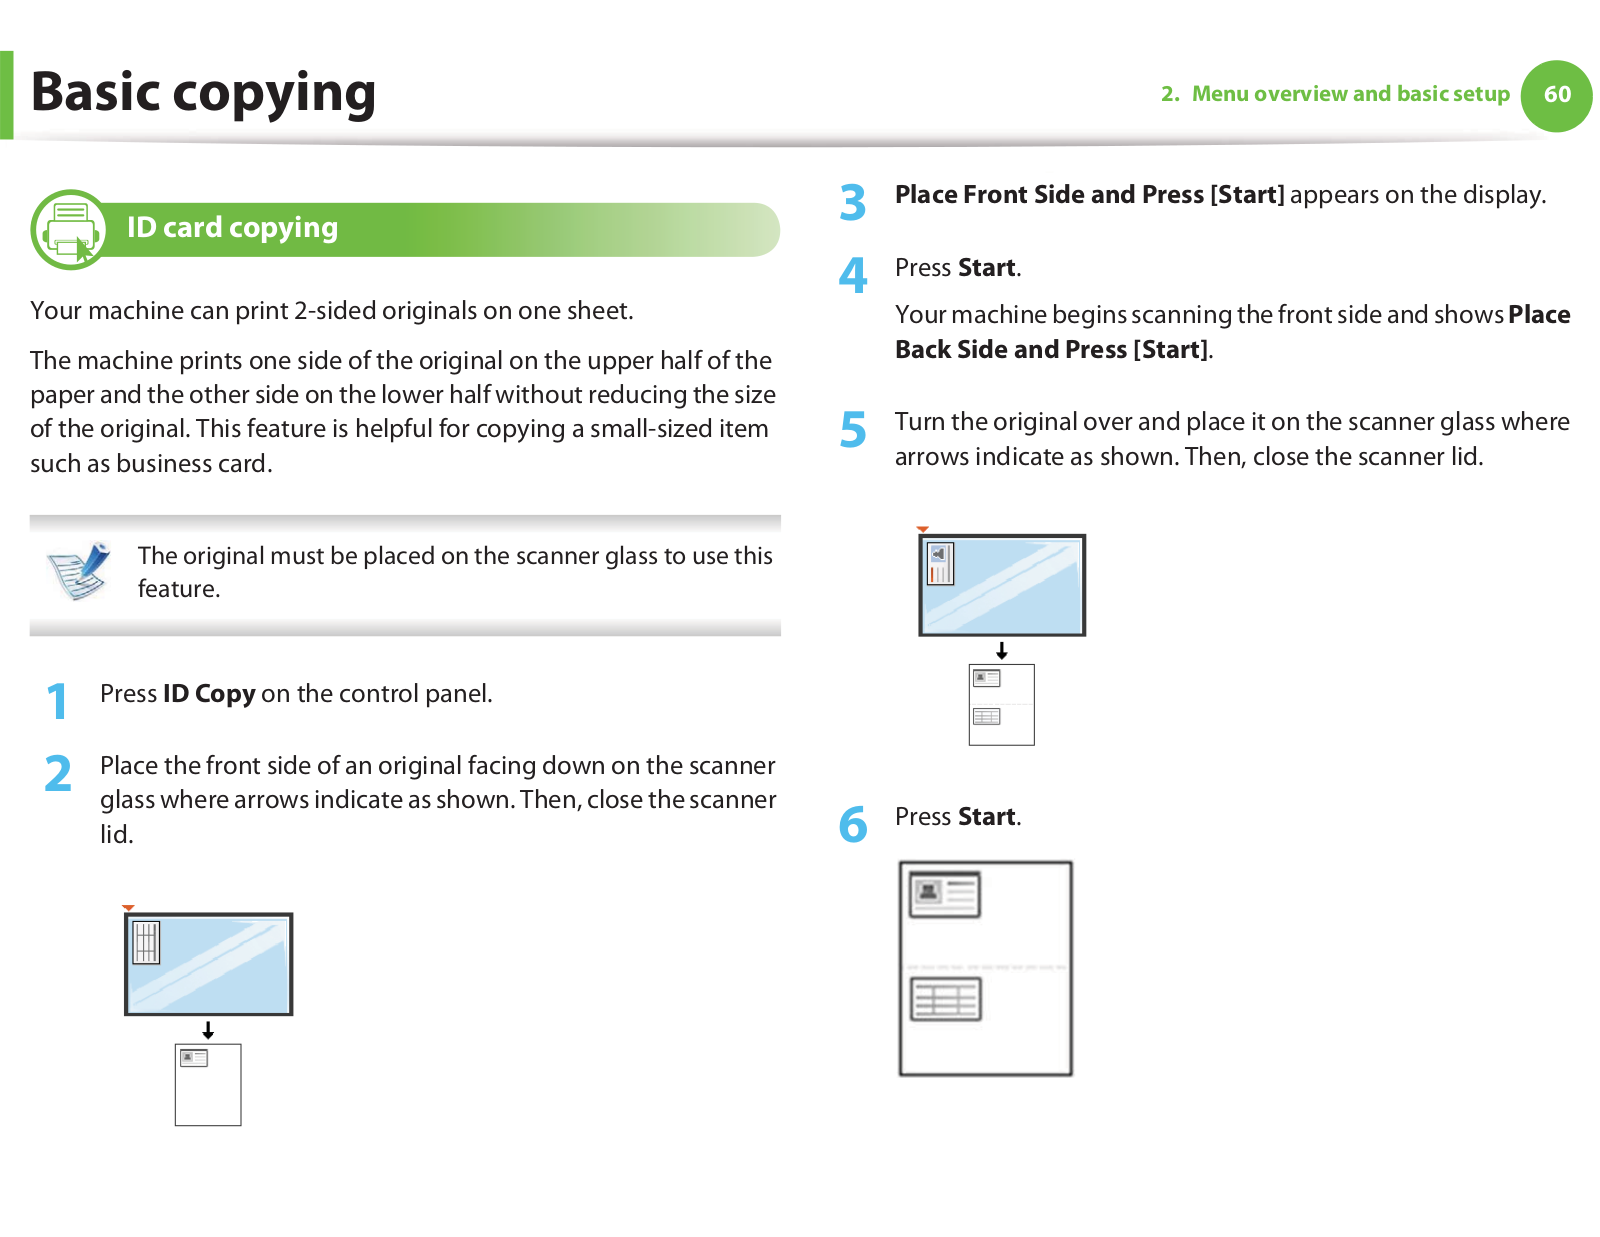
How it Works
Log In / Sign Up
Buy Points
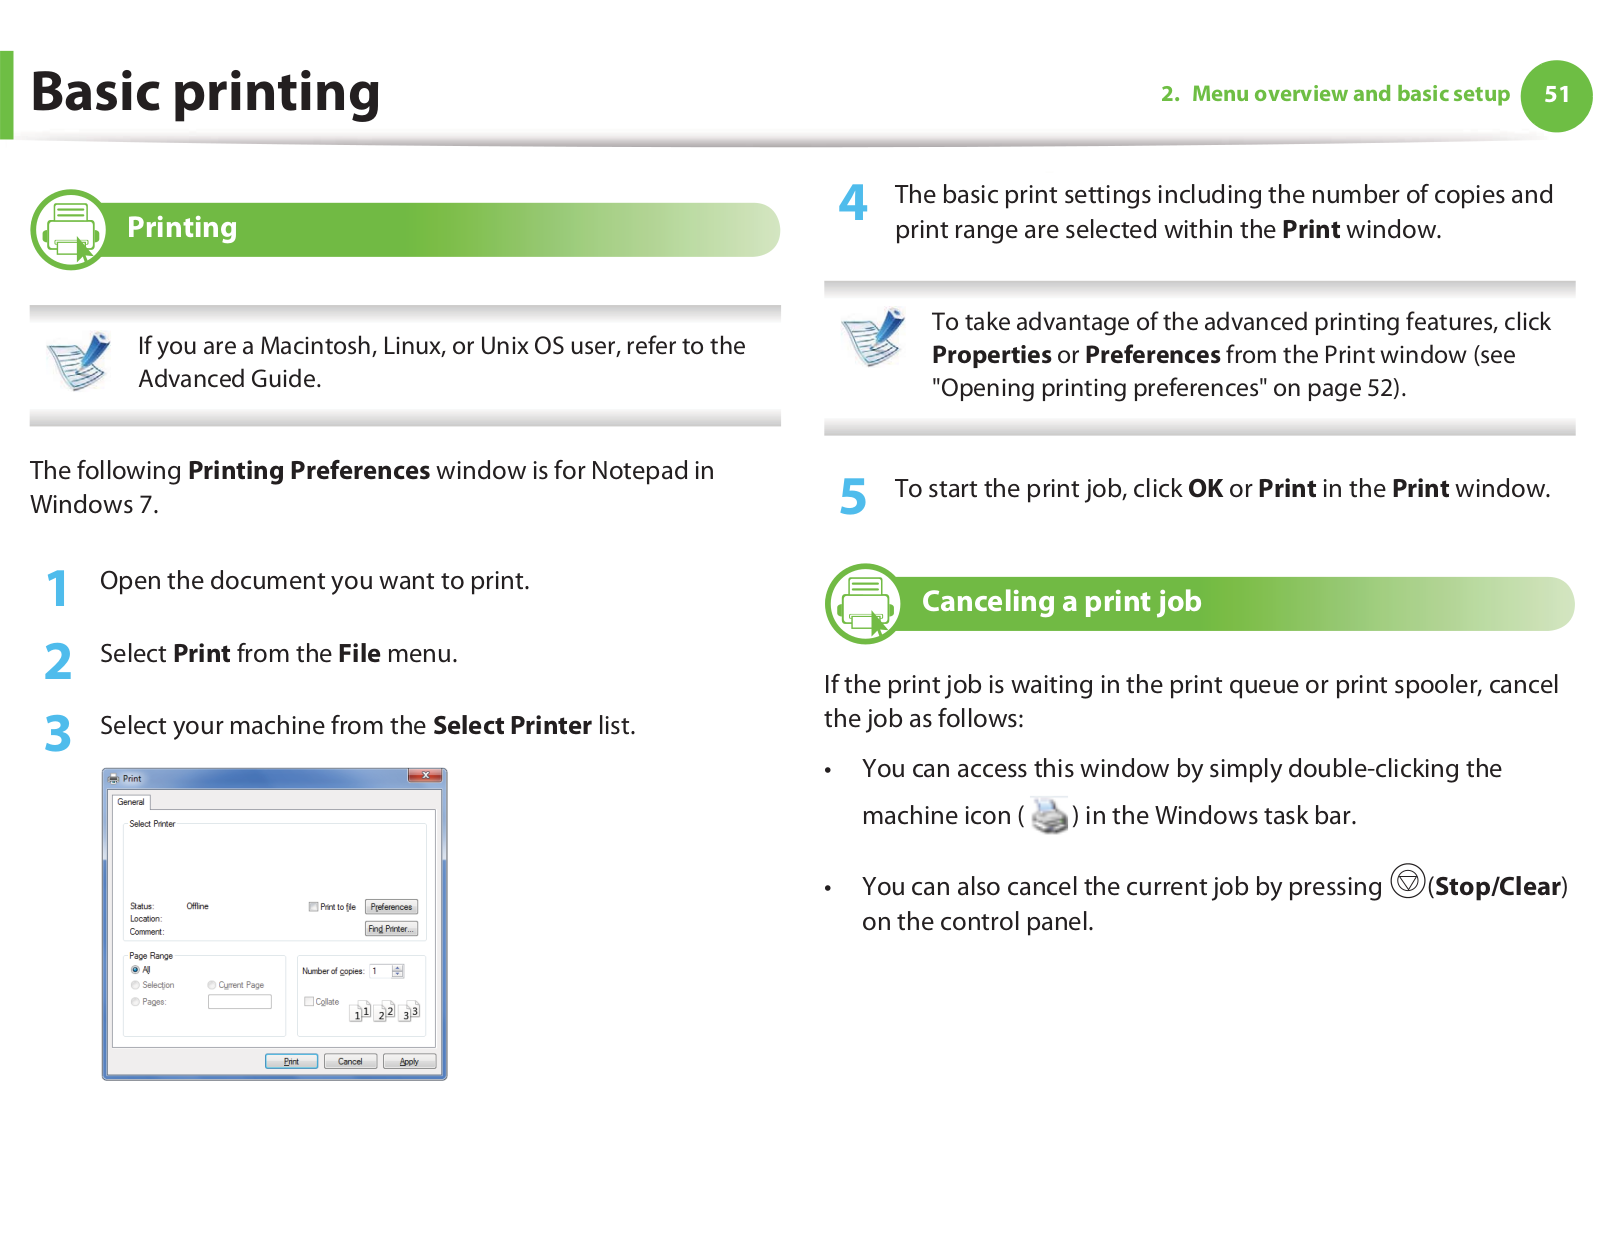
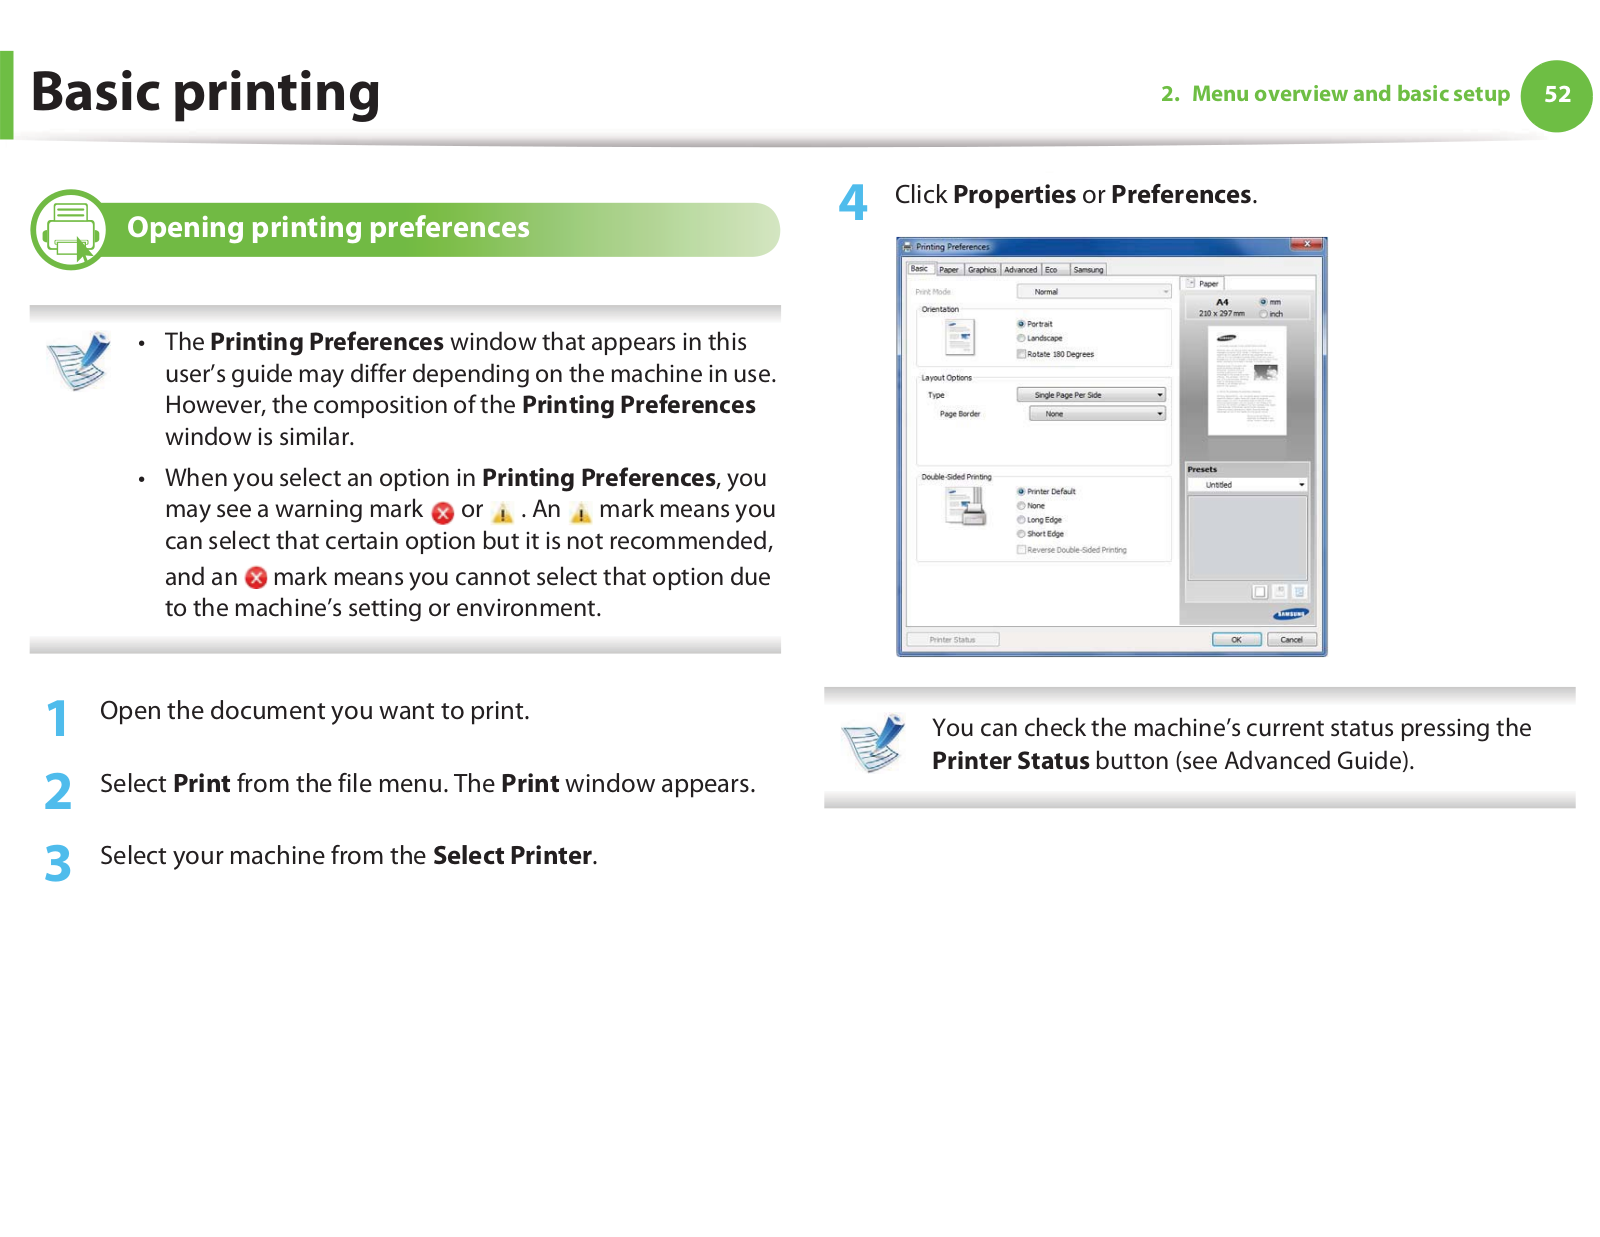
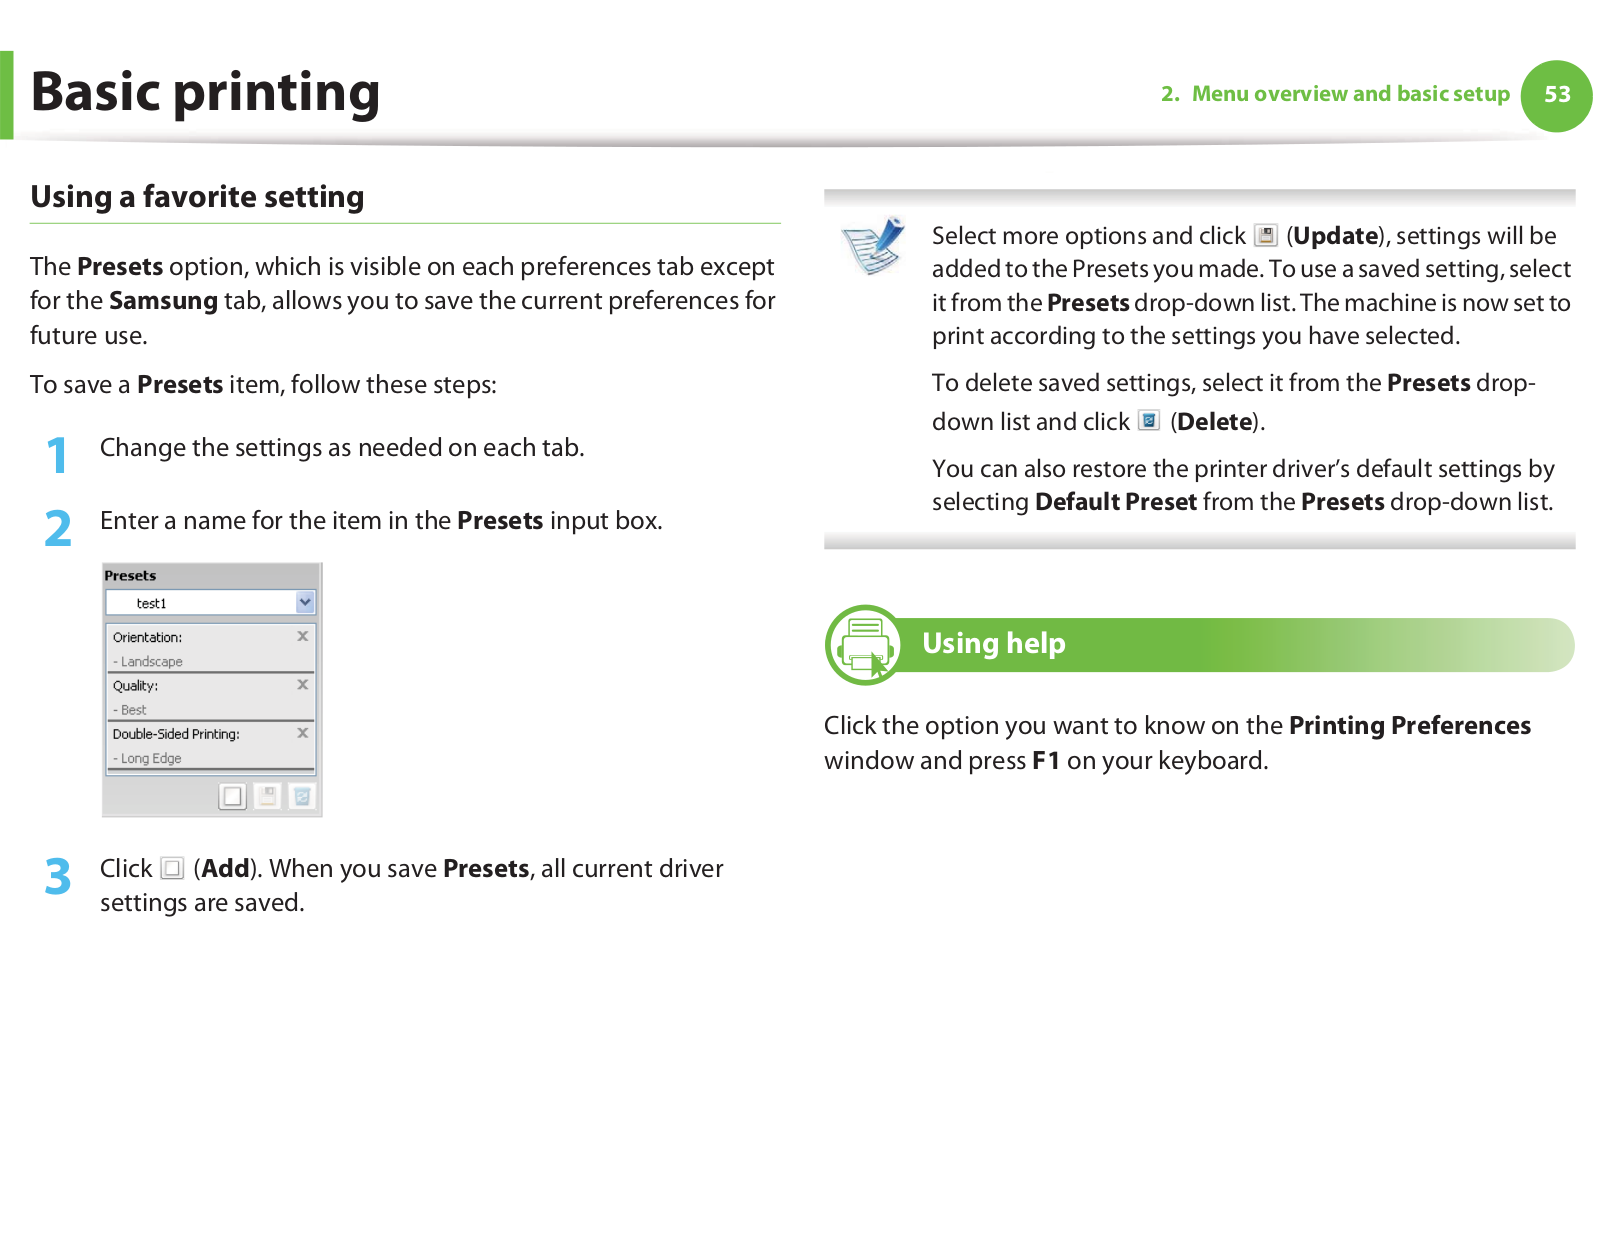
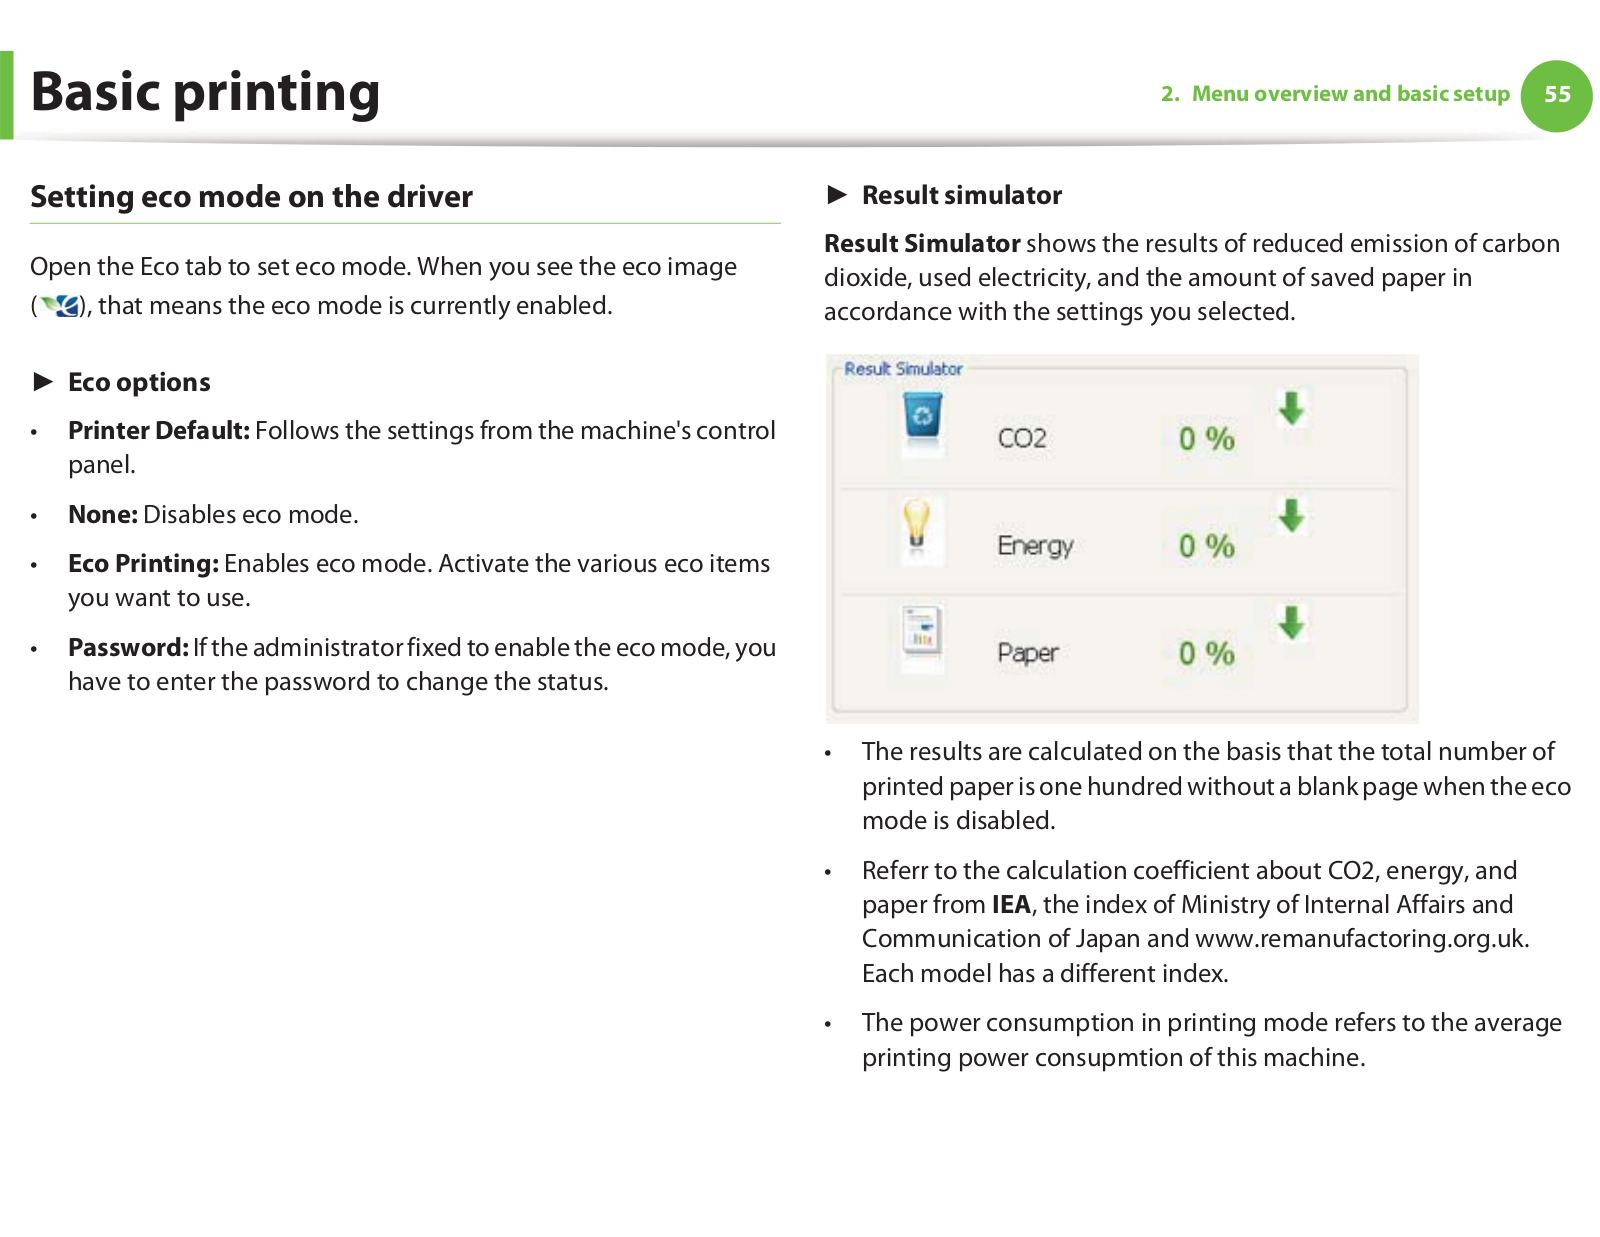
How it Works
FAQ
Contact Us
Questions and Suggestions
Users
Samsung
Loading...
S
SC_140
3
SC_140FE
SC_148BE
11
SC_A30
3
SC_L300-l980
SCX4726FN
5
SCX4833FR
11
SCX4x16
13
SCX5737FW
10
SCX-7145
4
SCX-7145AG
4
SCX-7145G
4
SCX-7323
SCX-7328
SCX-7400
4
SCX-7400P
6
SCX-7400PG
5
SCX-7423
2
SCX-7423P
5
SCX-7428
9
SCX-7428G
SCX-7428P
6
SCX-747KM
SCX-747KM-N
SCX-7535
SCX-7545
SCX-7600
2
SCX-7600P
7
SCX-7600PG
7
SCX-7610
2
SCX-7610P
6
SCX-7610PG
7
SCX-7635
4
SCX-7635G
SCX-7635P
6
SCX-7645
7
SCX-7645P
3
SCX-8025ND
SCX-8030ND
4
SCX-8038ND
SCX-8040ND
6
SCX-8048ND
SCX-8123
2
SCX-8123NA
5
SCX-8123ND
SCX-8128
2
SCX-8128NA
4
SCX-8128NA-XAA
3
SCX-8128ND
SCX-8230NA
2
SCX-8240NA
4
SCX-8240NA-CAS
SCX-8240NA-XAA
2
SCX-D4725A
4
SCXFIN20S
SCX-RD100
3
SCX-RD100-N
SCZ-2250
2
SCZ-2273
3
SCZ-2370
3
SCZ-2373
3
SCZ-3370
2
SCZ-3430
3
SD604
3
SD604F
sd606
12
sd608
12
SD616
SD-616B
SD-616E
11
SD-616EEPS
SD-616F
2
SD-616Q
10
SD-616QEP
SD-616T
SD-816
SD-816B
4
SD-8550
9
SD-9420
2
SD-9420S32
SD-9421
3
SD9422
2
SD9450
2
SD-9451
SD9452
2
SD-9480
SD-9480H3W
SD9481
2
SDB-100
SDC-007
11
SDC-100
11
SD-C21809
4
SDC-241
SDC-311
SDC-313
SDC - 33
14
SDC-415
SDC-435
2
Sdc-80b
SDC-80T
10
Loading...
Loading...
Nothing found
SCX5737FW
Quick Installation Guide
2 pgs
8.08 Mb
0
User Guide
351 pgs
51.5 Mb
0
User Manual
362 pgs
47.65 Mb
0
Users Manual
45 pgs
5.63 Mb
0
Users Manual
104 pgs
5.57 Mb
0
Brochure & Specs
8 pgs
2.9 Mb
0
User Manual
351 pgs
49.43 Mb
0
Using a Printer on the TV
9 pgs
849.76 Kb
0
User Manual [cz]
347 pgs
17.16 Mb
0
User Manual [es]
368 pgs
48.44 Mb
0
User Manual [nl]
355 pgs
47.33 Mb
0
User Manual [pt]
356 pgs
49.99 Mb
0
Table of contents
Loading...
Samsung SCX5737FW Users Manual
...
Samsung Users Manual
Download
Specifications and Main Features
Frequently Asked Questions
User Manual
Download
Loading...
+
74
hidden pages
Unhide
You need points to download manuals.
1 point = 1 manual.
You can buy points or you can get point for every manual you upload.
Buy points
Upload your manuals
 Loading...