

Samsung SCH-A105 Service Manual

SERVICE
CDMA Cellular Phone
SCH-A105
Manual
CDMA Cellular Phone CONTENTS
1. General Introduction
2. Specification
3. Installation
4. NAM Programming
5. Product Support Tools
6. Troubleshooting
7. Exploded view and its Part List
8. Electrical Parts List
9. Block diagram
10. PCB diagrams
11. Circuit diagrams
M
E
N
U
O
K
/
2
3
1
. ‘
6
4
5
8
7
9
0

©Samsung Electronics Co.,Ltd. July. 2000
Printed in Korea.
Code No.: GH68-01246A
BASIC.
ELECTRONICS

1. General Description
The SCH-A105 cellular phone functions as both analog cellular phone working in AMPS (Advanced Mobile
Phone Service) mode and digital cellular phone working in CDMA (Code Division Multiple Access) mode.
CDMA type digital mode applies DSSS (Direct Sequential Spread Spectrum) mode which first came to be used
in the military.
The DSSS reduces channel cross talk and allow to use one frequency channel by multiple users in the same
specific area, resulting in increase of channel capacity to about ten times compared to that of analog mode
currently used.
Soft/Softer Handoff, Hard Handoff, and Dynamic RF Power Control technologies are combined into this phone
to reduce the call drop while usage.
CDMA digital cellular network consists of MSO (Mobile Switching Office), BSC (Base Station Controller),
BTS(Base Station Transmission System), and MS (Mobile Station). MS meets the specifications of the below:
• IS-95A : Mobile Station-Base Station Compatibility Standard for Dual-Mode Wideband Spread Spectrum
Cellular System
• IS-96A : Speech Service Option 1 Standard for Dual-Mode Wideband Spread Spectrum Cellular System
• IS-98A : Standards for Dual-Mode Wideband Spread Spectrum Cellular Mobile Station
• IS-126 : Mobile Station Loopback Service Options Standard
SAMSUNG Proprietary-Contents may change without notice
1-1

SAMSUNG Proprietary-Contents may change without notice
2-1
2. Specification
2-1 General
Frequency Range Digital Mode Analog Mode
Transmitter : 824.64 ~ 848.37 MHz 824 ~ 849 MHz
Receiver : 869.64 ~ 894.37 MHz 869 ~ 894 MHz
Channel Spacing : 1.23 MHz 30 kHz
Number of Channels : 20 EA 832 CHs
Duplex Spacing : 45 MHz 45 MHz
Frequency Stability : ±2.5 ppm (-20˚C ~ +50˚C, -4˚F ~ +122˚F)
Operating Temperature : -20˚C~+50˚C (-4˚F ~ +122˚F)
Operating Voltage
HHP : 3.6V DC (±10%)
Hands-free : 13.7V DC (±10%)
Operating Time
(Digital Mode)
Item Size (mm) Weight (g)
Including slim battery 80 x 42 x 22 93
Including standard battery 80 x 42 x 24 116
Item Standby Time Talk Time
Slim battery up to 100 hours up to 150 min
Standard battery up to 170 hours up to 250 min
SAMSUNG Proprietary-Contents may change without notice
2-2
Specification
2-2 Digital Mode
Waveform Quality 0.944 or more
Time Reference ±1uS or less
Rx Sensitivity and Dynamic Range -104 dBm, FER=0.5 % or less
-25 dBm, FER=0.5 % or less
Tx Output Power 280 mW (24.5 dBm)
Tx Frequency Deviation ±300 Hz or less
Occupied Band Width 1.32 MHz
Tx Conducted Spurious Emission 900 kHz : -42 dBc / 30 kHz below
1.98 MHz: -54 dBc / 30 kHz below
Minimum Tx Power Control below -50 dBm
-25 dBm: -57.0 dBm ~ -38.5 dBm
Open Loop Power Control -65 dBm: -17.5 dBm ~ + 1.5 dBm
-104 dBm: +18.0 dBm ~ +30.0 dBm
Standby Output Power below -61 dBm
Test1: ±24 dB or less
Test2: 0 mS ~ 2.5 mS
Closed Loop Tx Power Control Range Test3: ±24 dB or more
Test4: ±24 dB or more
Test5: ±24 dB or more

SAMSUNG Proprietary-Contents may change without notice
2-3
Specification
2-3 ANALOG MODE
TRANSMITTER
RF output power
Carrier ON/OFF conditions
“ON” Condition
“OFF” Condition
Compressor
Compression Rate
Attack Time
Recovery Time
Reference Input
Preamphasis
Maximum Freqency Deviation
F3 of G3
Supervisory Audio Tone
Signaling Tone
Wideband Data
Post Deviation Limiter Filter
3.0 ~ 5.9KHz
5.9 ~ 6.1KHz
6.1 ~ 15KHz
Over 15KHz
Spectrum Noise Suppression
For all modulation
f0+20KHz ~ f0+45KHz
For modulation by voice and SAT
f0 +45KHz
For modulation by WBD(without SAT)
and ST (with SAT)
f0+45KHz ~ f0+60KHz
f0+60KHz ~ f0+90KHz
f0+90KHz ~ 2f0
Harmonic and conducted Spurious Emissions
0.6W (+2/-4dB)
within ±3dB of specification output (in 2mS)
below-60dBm (in 2mS)
2:1
3mS
13.5mS
Input level for producing a nominal ±2.9KHz
peak freqency deviation of transmitted carrier
6dB/OCT within 0.3 ~ 3KHz
±12KHz
±2KHz (±10%)
±8KHz (±10%)
±8KHz (±10%)
above 40 LOG (F/3000) dB
above 35 dB
above 40 LOG (F/3000) dB
above 28 dB
above 26 dB
above 63 +10 LOG (PY) dB
above 45 dB
above 65 dB
above 63 +10 LOG (PY) dB
(where f0=carrier frequency
PY=mean output power in watts)
below 43 + 10 LOG (PY) dB
SAMSUNG Proprietary-Contents may change without notice
2-4
Specification
RECEIVER
De-Emphasis
Expander
Expander Rate
Attack Time
Recovery Time
Reference Input
Sensitivity
Intermodulation Spurious Response Attenuation
RSSI Range
Protection Against Spurious Response
Interference
In Band Conducted Spurious Emission
Transmit Band
Receive Band
Other Band
Radiated Spurious Emission
Frequency Range
25 ~ 70 MHz
70 ~ 130MHz
130 ~ 174 MHz
174 ~ 260 MHz
260 ~ 470 MHz
470 ~ 1GHz
-6dB / OCT within 0.3 ~3KHz
1:2
within 3mS
within 13.5mS
output level to a 1000Hz tone from a carrier
within ±2.9KHz peak frequency deviation
12dB SINAD / -116dBm
avove 65dB
above 60dB
above 60dB
below -60dBm
below -80dBm
below -47dBm
Maximum Allowable EIRP
-45dBm
-41dBm
-41 ~ -32dBm
-32dBm
-32 ~ -26dBm
-21dBm
SAMSUNG Proprietary-Contents may change without notice
2-5
Specification
2-4 CDMA Debug Display Information (menu 8)
IN IDLE MODE
IN CONVERSATION MODE
1 : Sxxxxx : SID (System ldentification) toggle
Nxxxxx : NID (Network Identification) toggle
2 : SIx : Slot cycle index (lowest between the system and the phone will be used)
3 : Handset Status : 0 - Acquisition
1 - Synchronization
2 - Paging (Idle)
3 - Traffic Initialization
4 - Traffic Mode
5 - Exit
4 : T-xx : Tx adjust, Value ranges from +63 ~ -63dB
5 : Dxxx : sector power in dBm
6 : -xx : Ec/Io
7 : Pxxx : PN offset
8 : CHxxxx : channel number
9 : TEx : Tx vocoder rate (8 is full rate, 1 is 1/8th rate)
E : EVRC
V : 13k or 8k
10 : REx : Rx vocoder rate (8 is full rate, 1 is 1/8th rate)
11 : xx : Walsh code used in traffic channel
1253
64
Sxxxx
TEx
T-xx Dxxx -xx
CHxxxxPxxx
REx xx x
T-xx Dxxx -xx
CHxxx
Pxxx
SIx x
7
8
91011
3
SAMSUNG Proprietary-Contents may change without notice
3-1
3. Installation
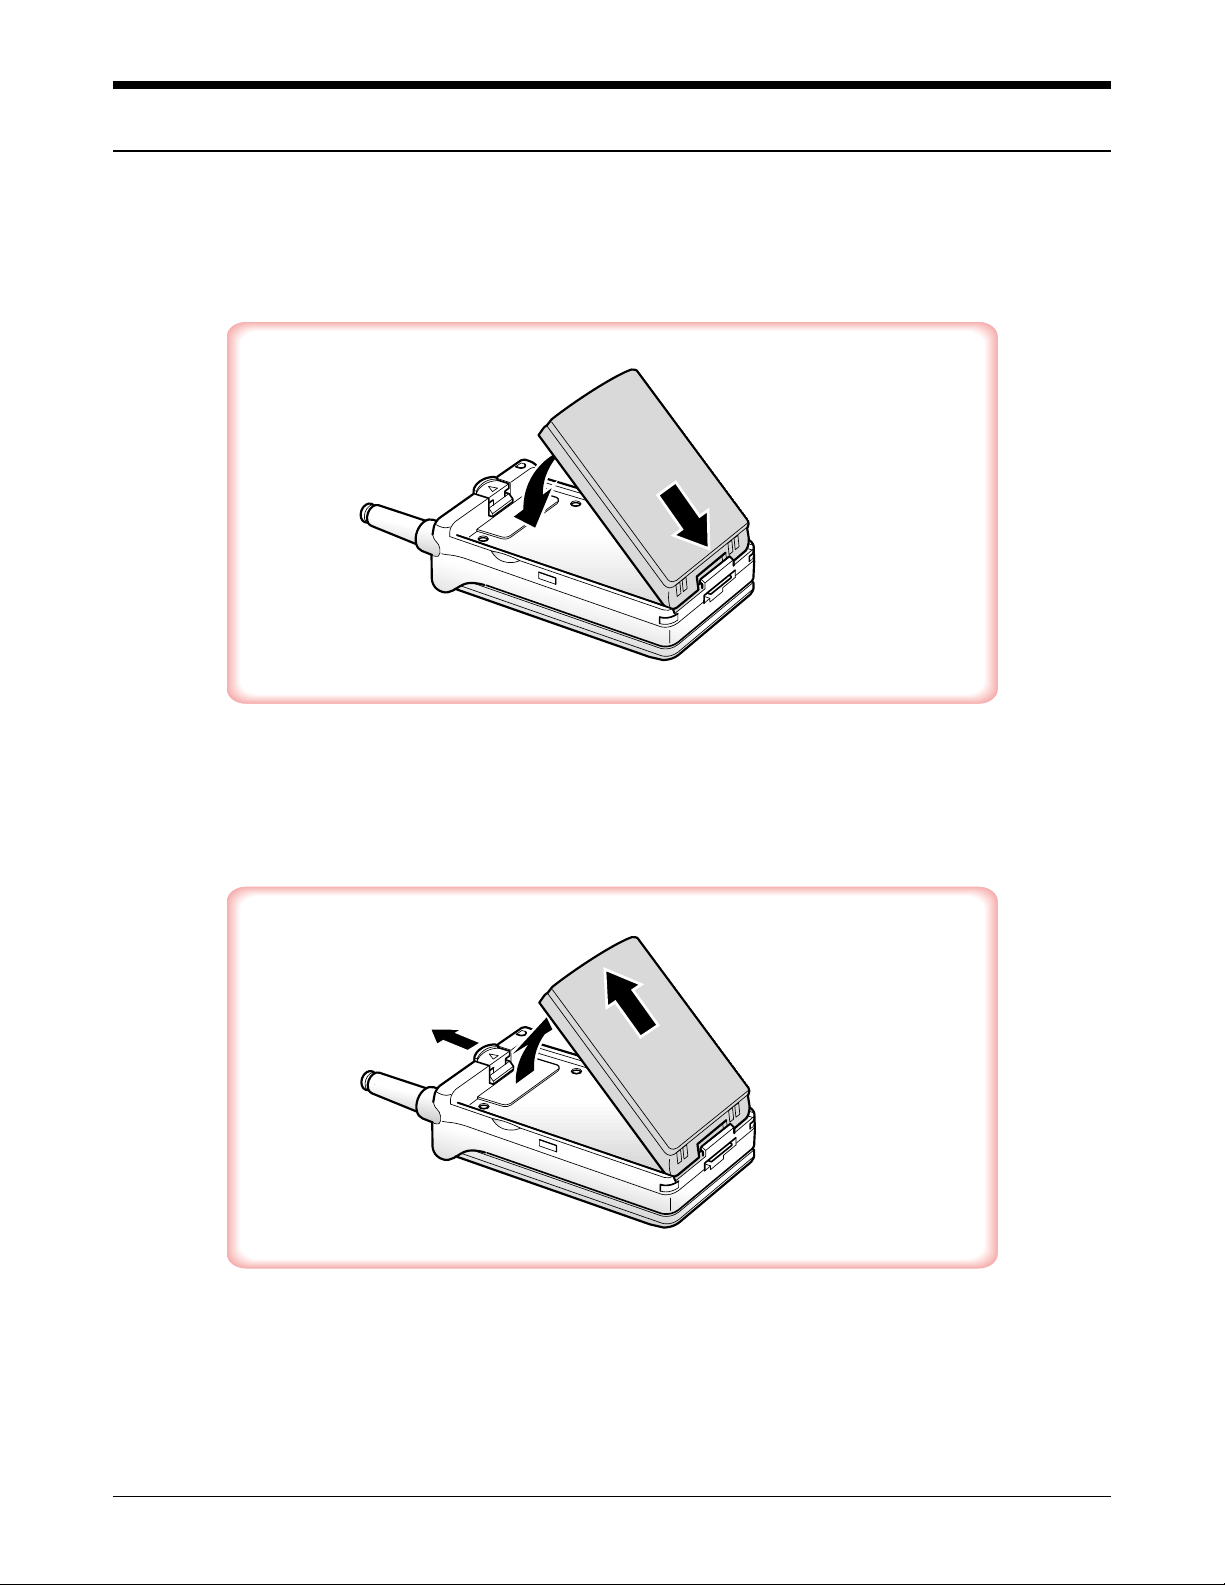
3-1 Installing a Battery Pack
Push up and hold the catch above the battery on the back of
the phone (➀) and lift the battery away. (➁ ~ ➂)
Insert the saw-toothed end on the bottom of the battery into the slots
on the bottom of the phone (➀), then slide the battery down (➁).
➀
➁
➂
➁
➀
SAMSUNG Proprietary-Contents may change without notice
3-2
Installation
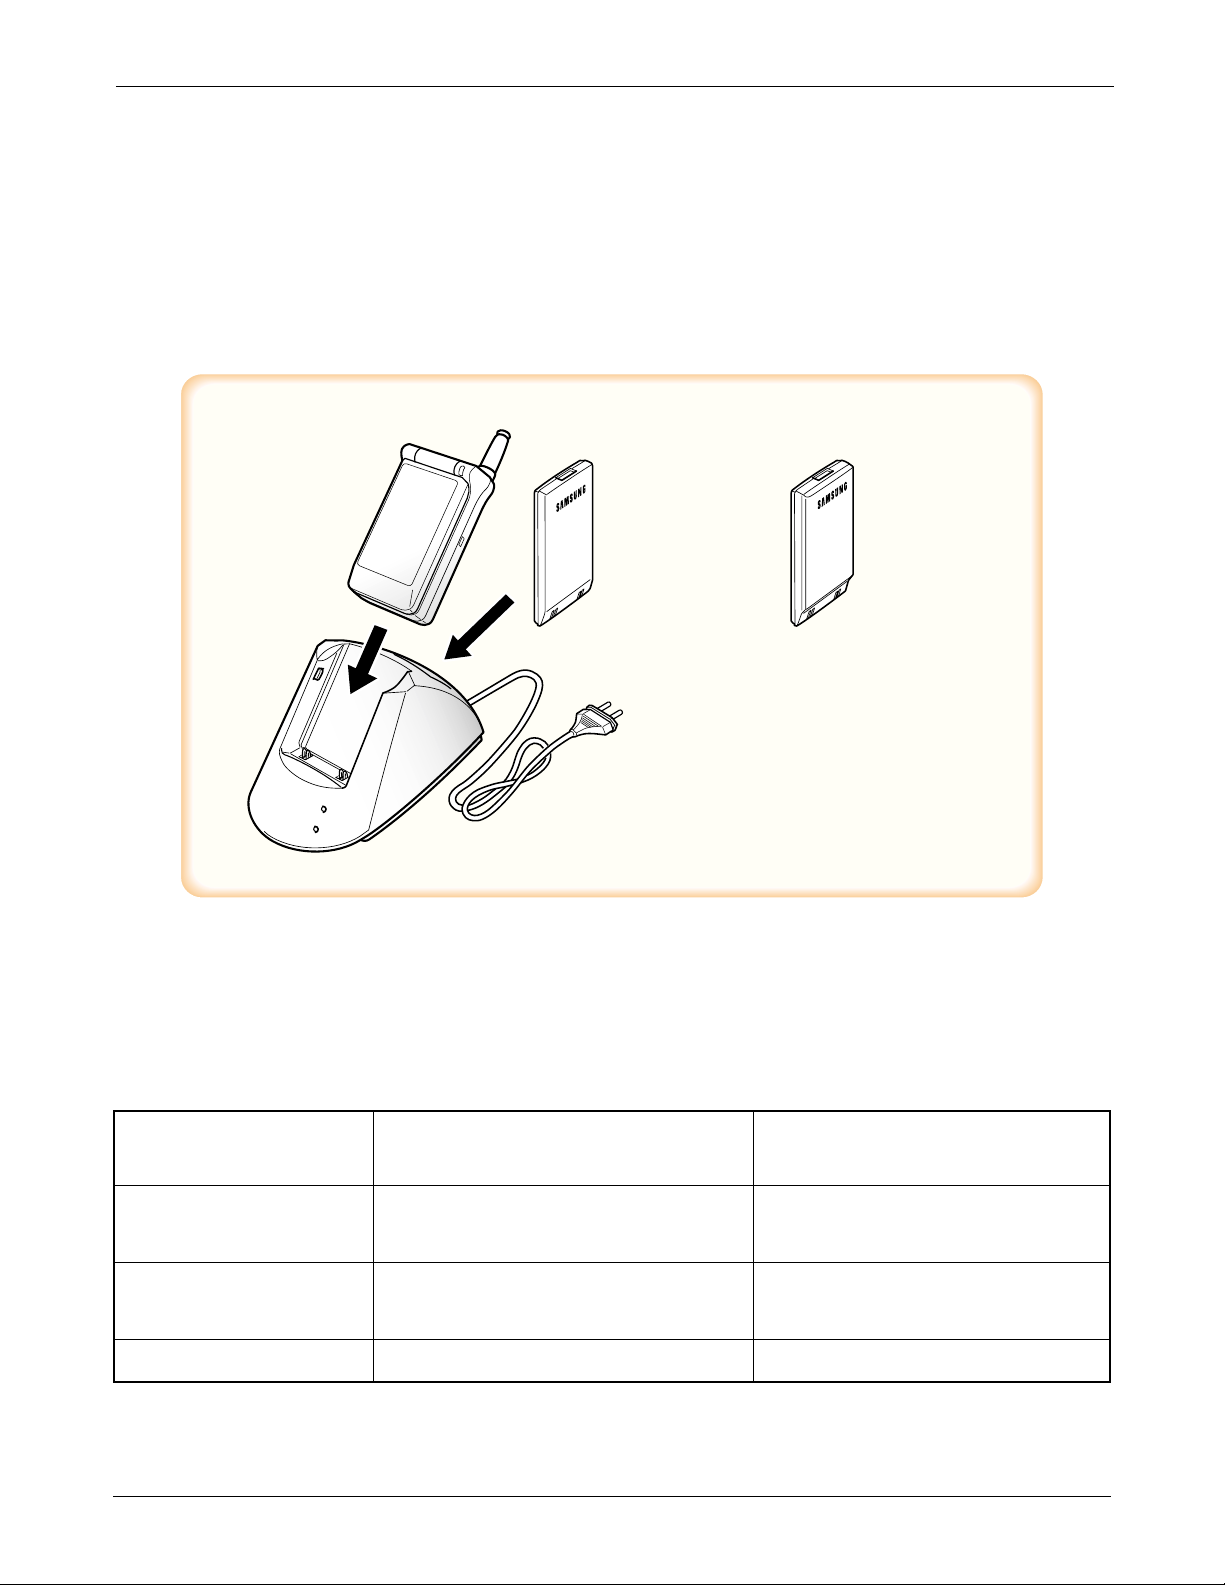
3-2 For Desk Top Use
1. Choose a proper location to install the charger for Desk Top use.
2. Plug the power cord of the charger into an appropriate wall socket. When the power is connected correctly,
the lamps turn on briefly.
3. To charge the battery pack, insert the battery pack into the rear slot of the charger. The lamp marked BAT on
the front panel of the charger lights up red.
4. If you do not wish to use the phone while charging the battery, insert the phone with the battery pack
attached into the front slot of the charger. The lamp marked PHONE on the front panel of the charger lights
up red.
Figure 3-1 Charging the Phone and Battery
SPECIFICATIONS USING “DTCA10”
Battery Type Slim Battery Standard Battery
(Li-ion, 500 mAh) (Li-ion, 1000 mAh)
Model Name BTIA10AA BTSA10AA
BTIA10AD BTSA10AD
SEC Code GH43-00173B GH43-00174B
GH43-00179B GH43-00180B
Charging Time 4 hours 4 hours
STANDARD
BATTERY
SLIM
BATTERY
SAMSUNG Proprietary-Contents may change without notice
3-3
Installation
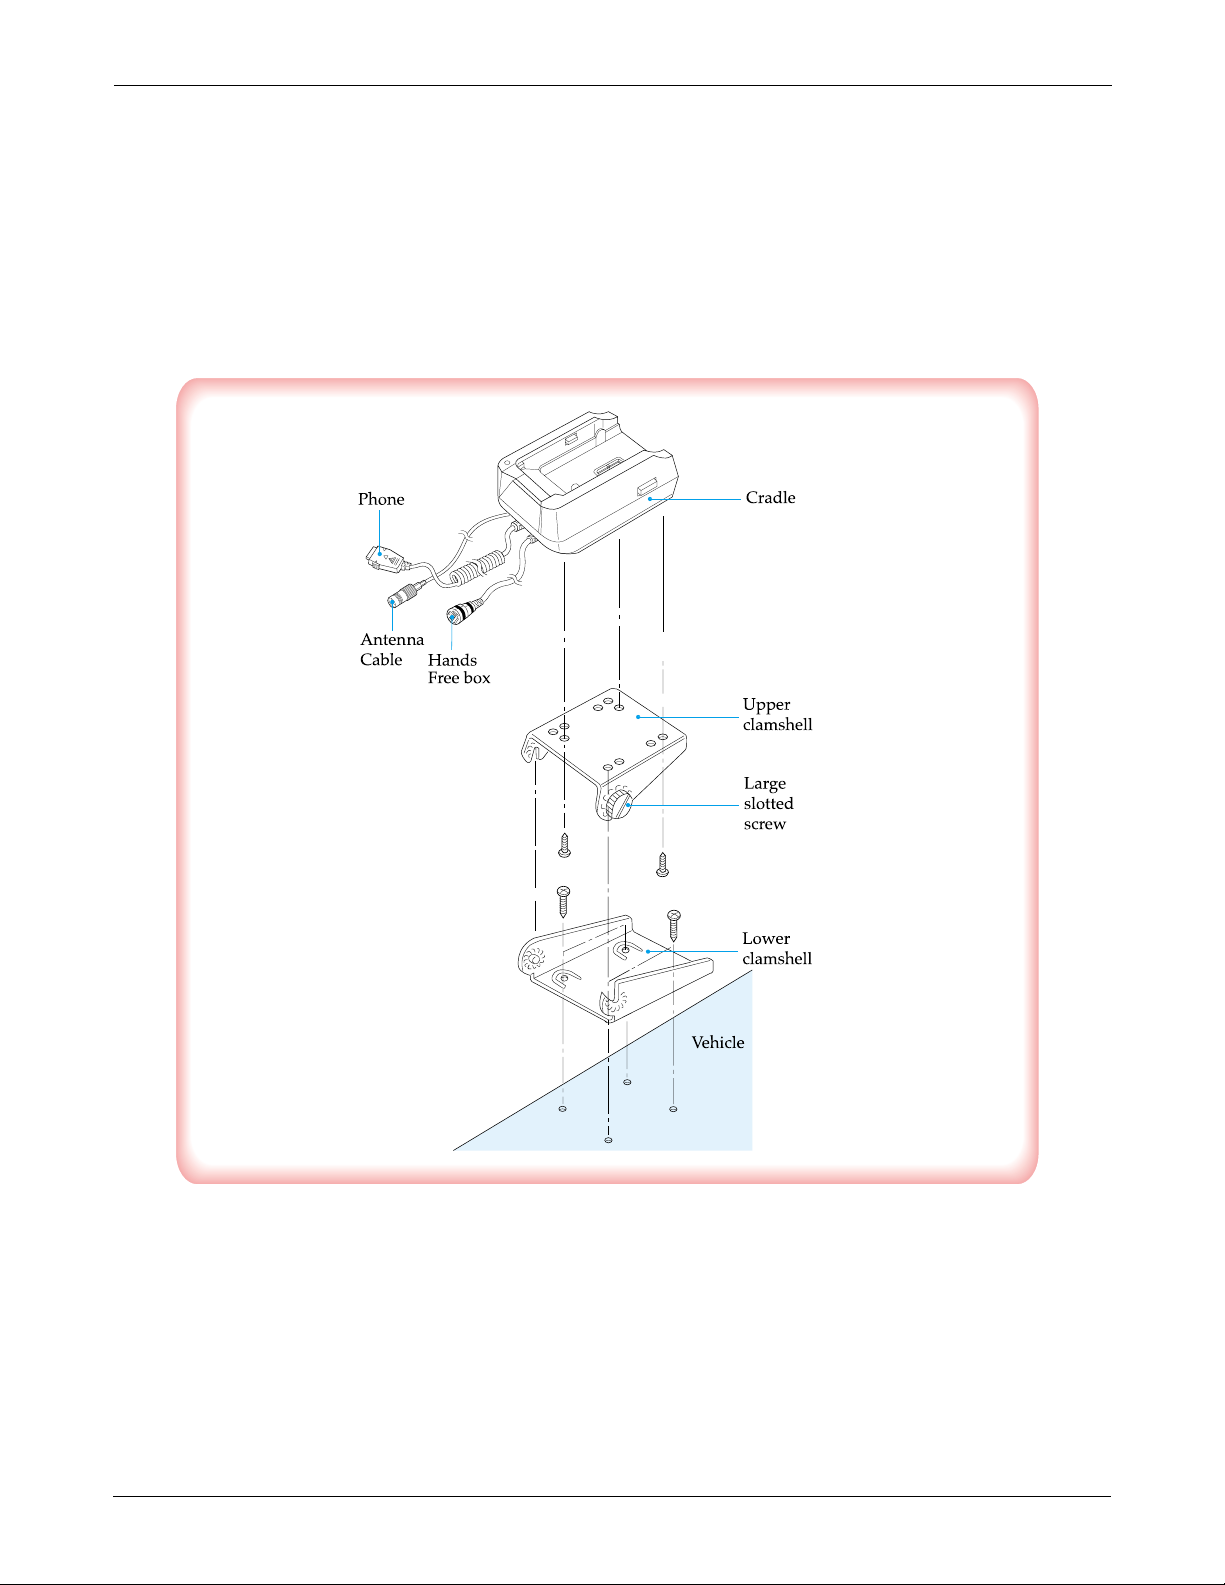
3-3 For Mobile Mount
3-3-1 Cradle
1. Choose a location where it is easy to reach and does not interfere with the driver’s safe operation of the car.
2. Separate the two halves of the clamshell by removing the two large slotted screws. See the figure 3-2.
3. Drill holes and mount the lower half of the clamshell by using the screws.
4. Place the cradle onto the remaining half of the clamshell and assemble them by using the screws.
5. Reassemble the two halves of the clamshell together. Adjust the mounting angle and tighten the two slotted
screws.
Figure 3-2 Cradle Installation
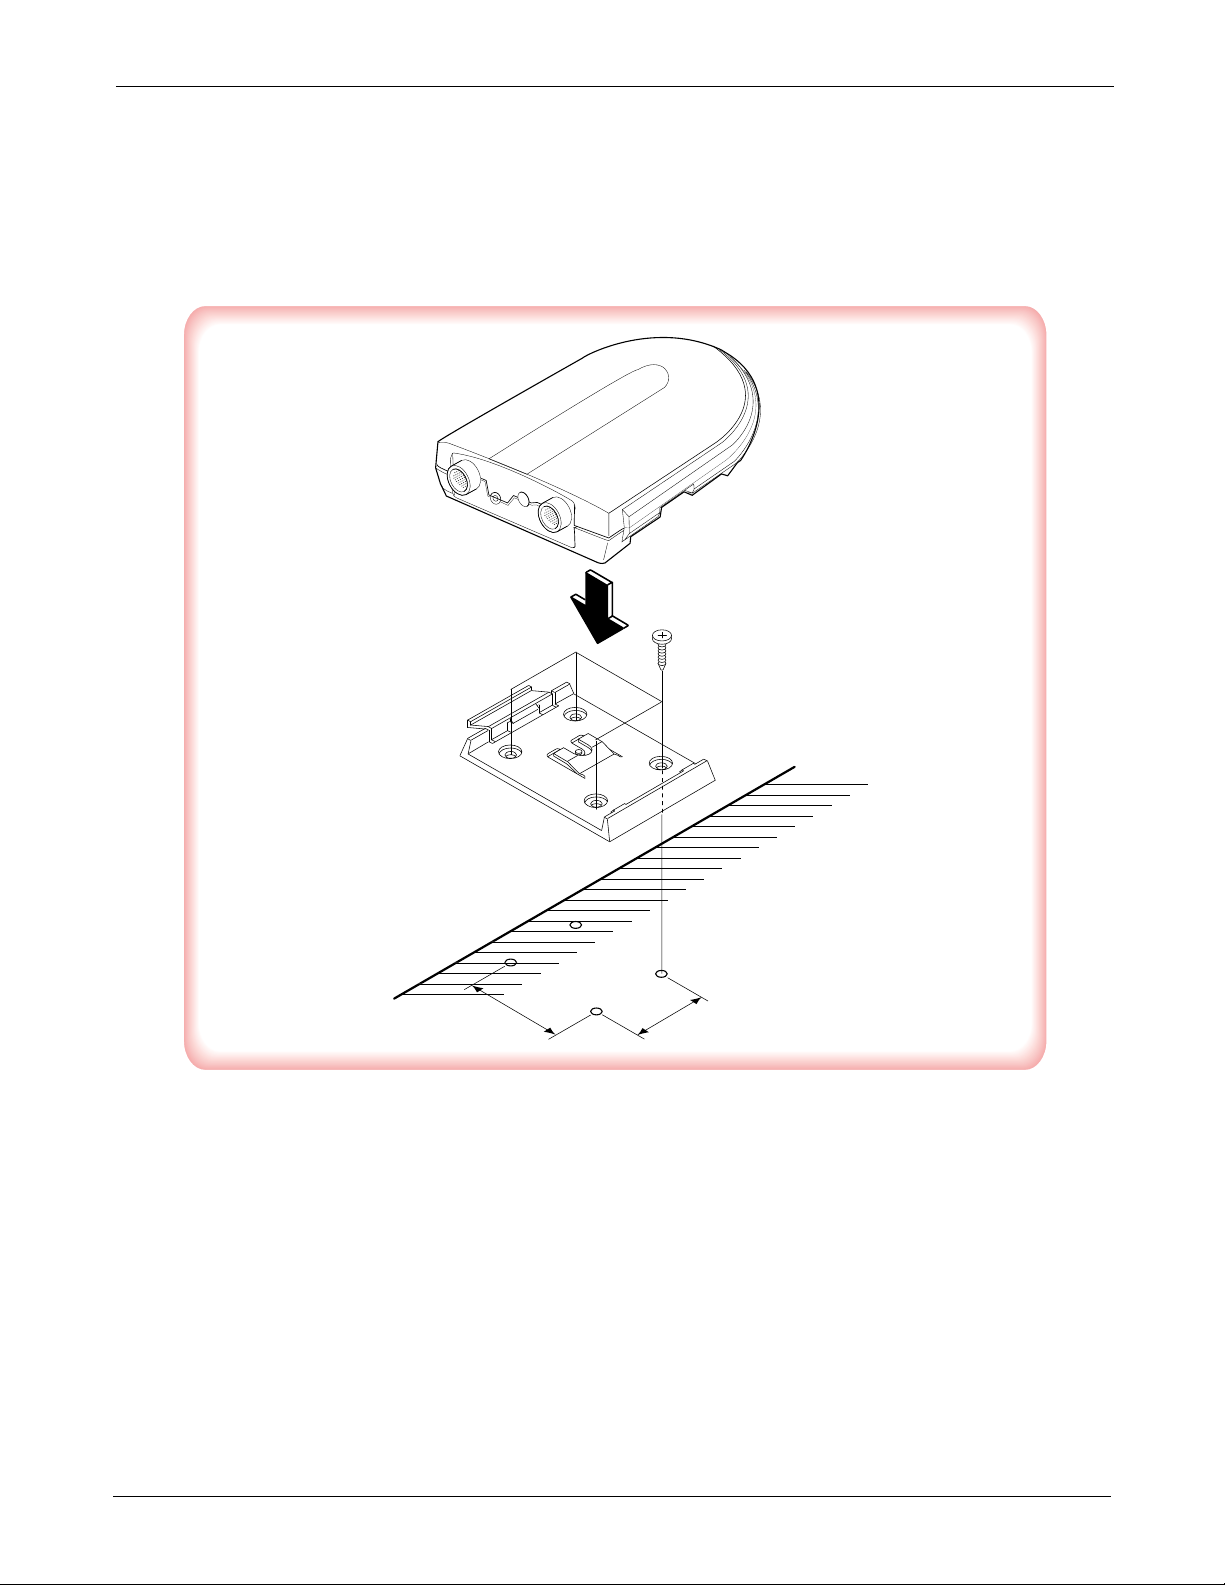
3-3-2 Hands-Free Box
1. Drill holes in a proper location for the hands-free box, attach the mounting bracket by using the screws. See
the figure 3-3.
2. Install the hands-free box into the bracket.
SAMSUNG Proprietary-Contents may change without notice
3-4
Installation
3-3-3 Hands-Free Microphone
1. It is recommended to install the microphone where it is 30-45 cm (12-18inch away from the driver. Choose
the location where is least susceptible to interference caused by external noise sources, ie, adjacent windows,
radio speakers, etc. Normal place is the sun visor.
2. Once the microphone has been correctly positioned, connect the microphone wire to the MIC jack on the
hands-free box.
Figure 3-3 Hands-Free Box 1 Installation
MOUNTING BRACKET
CAR
40
55
SAMSUNG Proprietary-Contents may change without notice
3-5
Installation
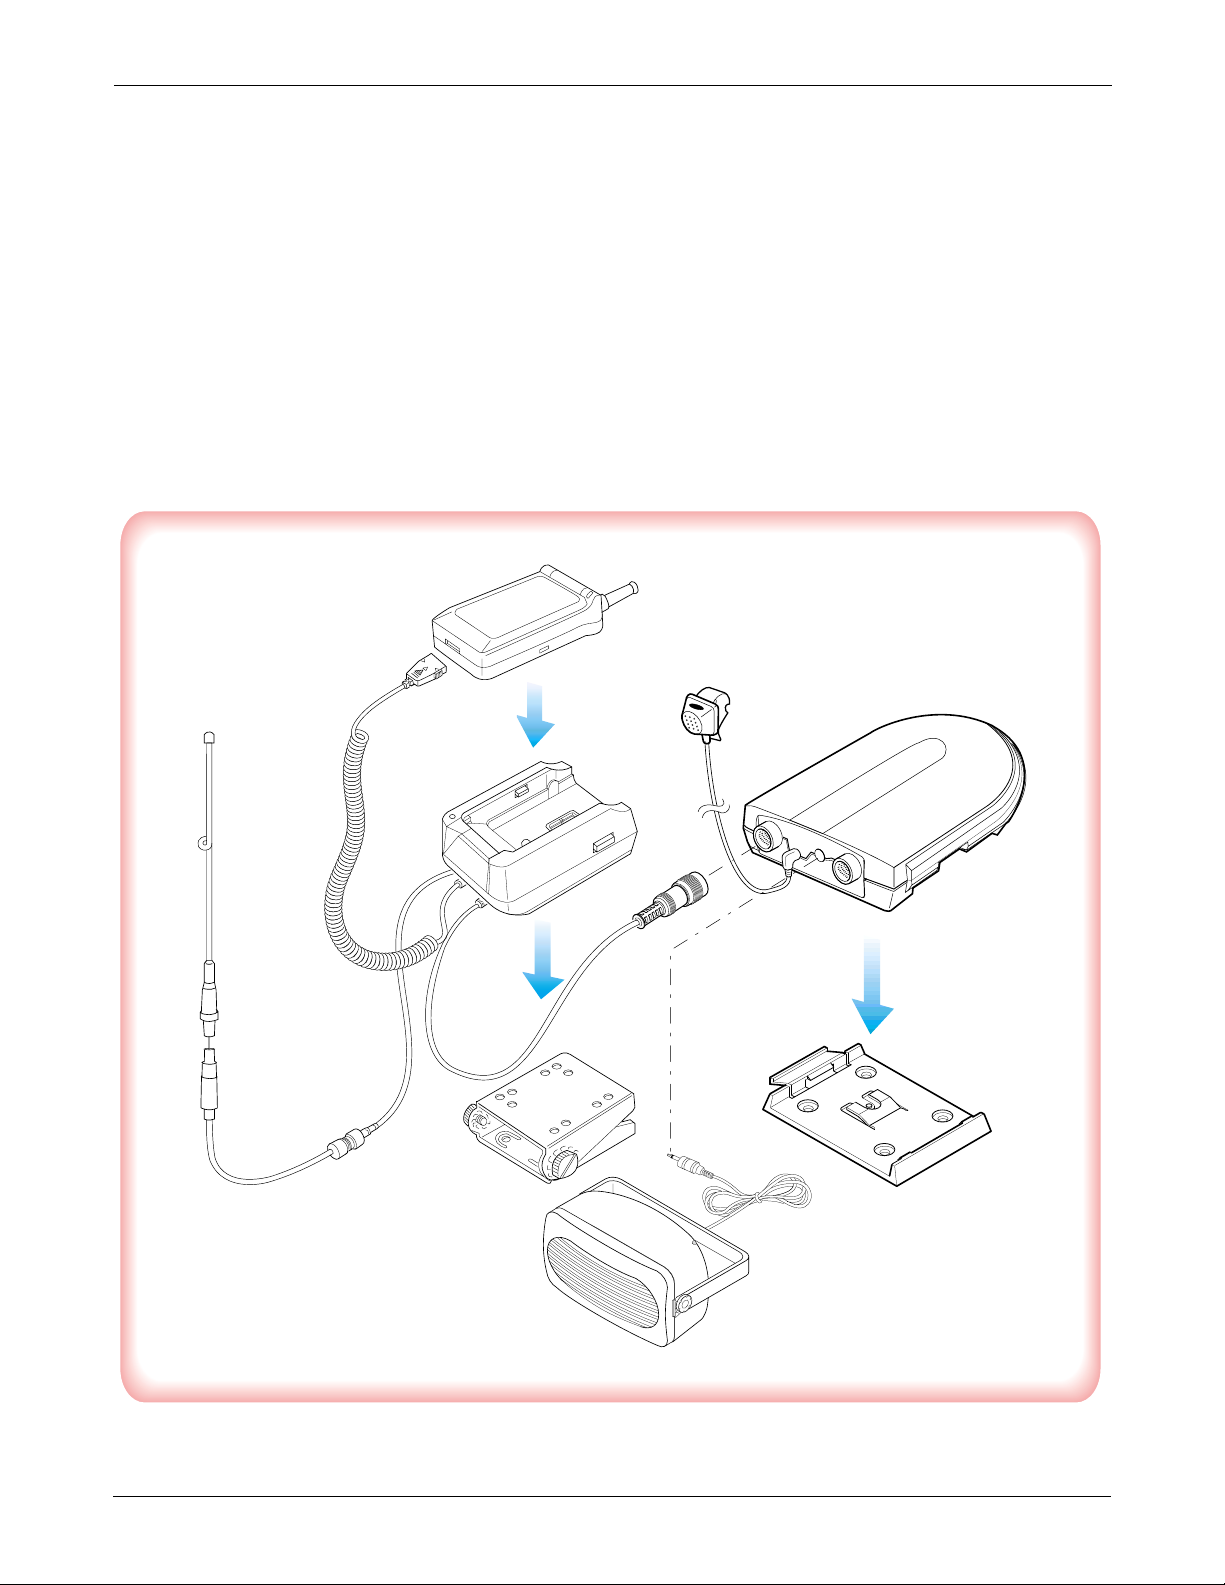
3-3-4 Cables
1. Connect the cradle and the hands-free box with the data cable. See the figure 3-4.
2. Connect the antenna cable to the RF jack of the cradle.
3. Connect the power cable as follows:
Connect the red wire to the battery (+) terminal, black wire to the vehicle chassis. Then connect the battery (-)
terminal to the vehicle chassis. Connect the yellow wire to the switched side of the ignition switch, and then
connect the white to the stereo mute wire from your vehicle stereo.
4. Connect the other end of the power cable to the PWR jack of the hands-free box.
Notes:
It is recommended to connect the power cable directly to the battery to avoid power noise.
Make sure the connection, in the vehicle, between the battery (-) terminal and vehicle chassis is made correctly.
Make sure the fuse having a proper capacity is used on the power cable.
Make sure the cables do not pass over any sharp metal edge that may damage it.
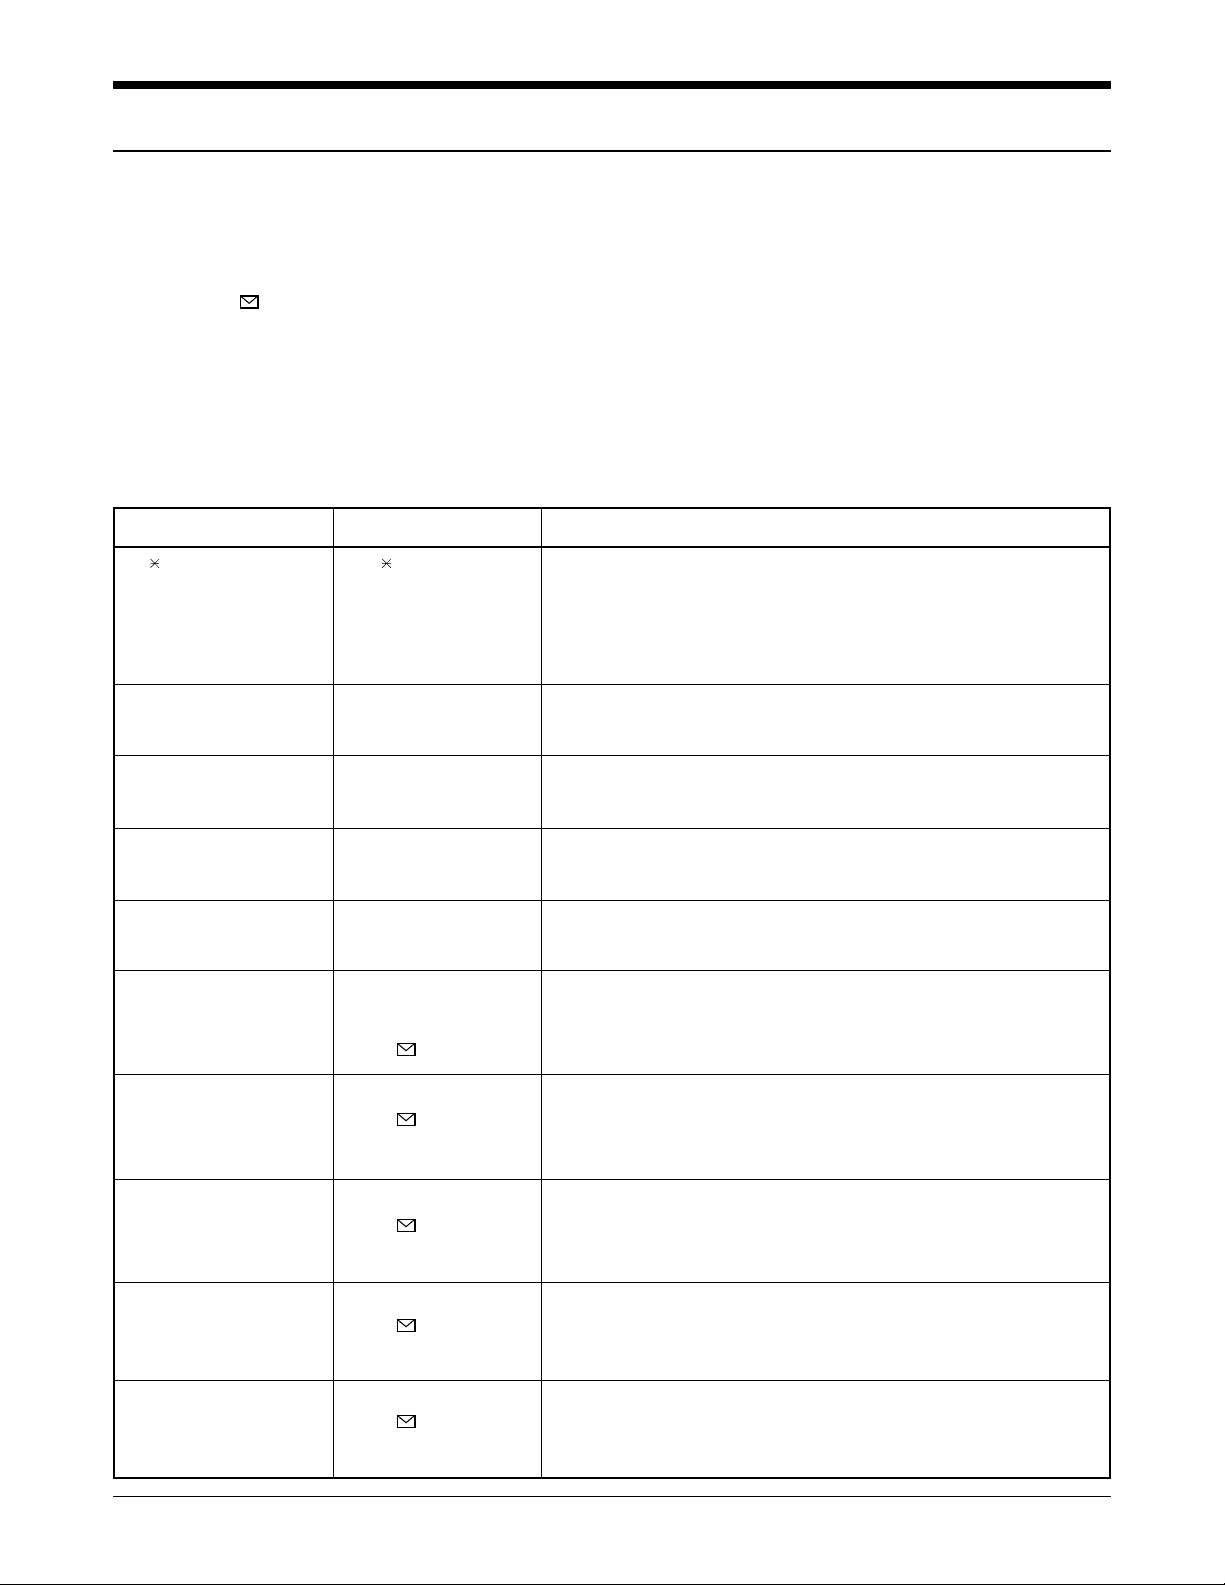
4. NAM Programming
NAM features can be programmed as follows:
Notes:
- If you enter the NAM program mode, each item shows the currenly stored data. Go to the next item by
pressing .
- You can modify the data by entering a new data.
- If you enter a wrong digit, press CLR to delete the last digit. Press and hold CLR to delete all digits.
- To scroll items backwards or forwards, press the VOLUME button on the left side of the phone.
4-1 General Setup
LCD Display Key in Function
47 869#08#9 47 869#08#9 -selects NAM programming
NAM program 1 -choose ‘GENERAL’
1:General
2:Setup NAM1
3:Setup NAM2
ESN Volume ▼ -Electronic Serial Number of the phone
B0000000
CAI version Volume ▼ -The version of Common Air Interface supported by
3 the mobile
VOC8/13/EVRC Volume ▼
SO_VOIC_13K -evrc, voice08k, voice13k
SCM Volume ▼ -Station Class Mark displays the power class(bit0~1),
01101010 transmission(bit2), slotted class(bit5), dual mode(bit6).
Lock Code (0000) -Lock code, current ststus is displayed
0000 4-digit code to change, enter new code.
-stores it
Slot Mode <or> -Slot mode. ‘Yes’ indicates the slot mode.
Yes changes the status.
-stores it.
Slot Index 0-7 -Slot mode index. The higher, the longer sleeping time
2 to change, enter new one.
-stores it.
Pref NAM1... -Preferred system selection for NAM1
Digital pref changes the system.
-stores it.
Pref NAM2... -Preferred system selection for NAM2
Digital pref changes the system.
-stores it.
SAMSUNG Proprietary-Contents may change without notice
4-1
OK/
OK/
OK/
OK/
OK/
OK/
SAMSUNG Proprietary-Contents may change without notice
4-2
NAM Programming
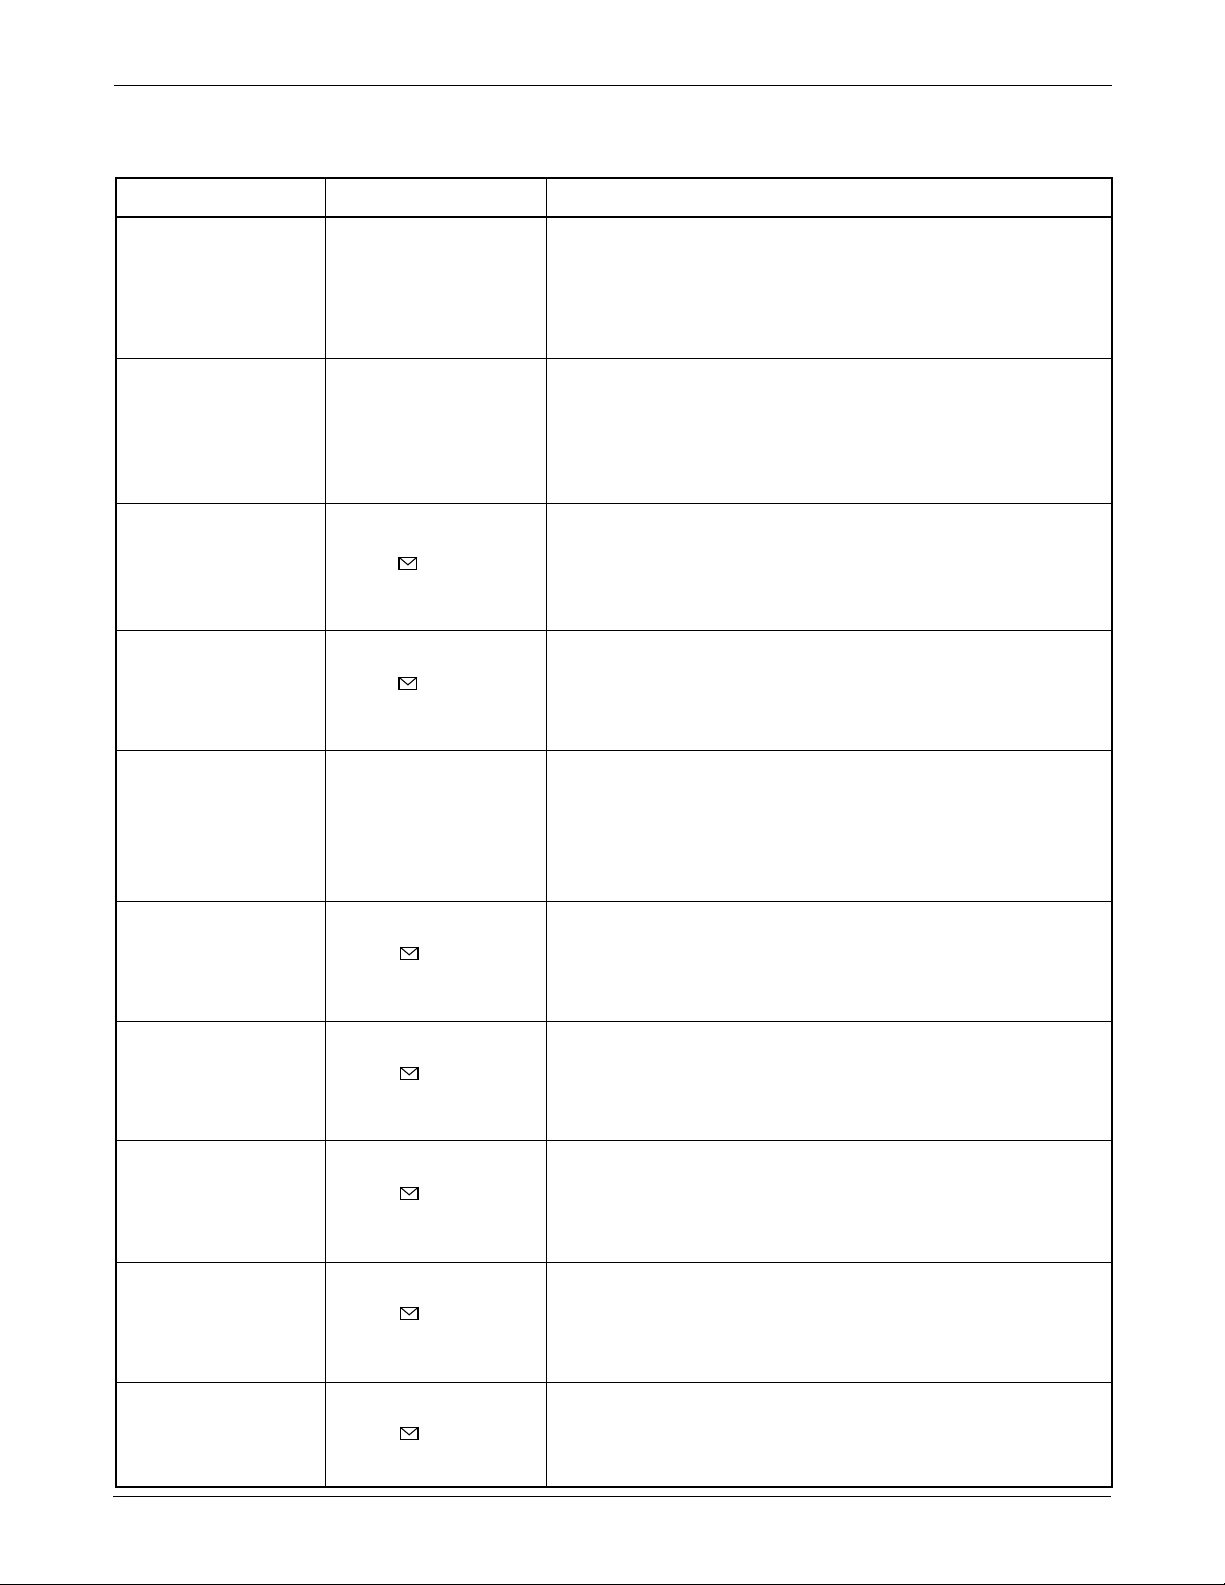
4-2 Setting Up NAM1
LCD Display Key in Function
NAM Program 2 -Choose ‘Setup NAM1.’
1:General
2:Setup NAM1
3:Setup NAM2
Setup NAM1 1 -Choose ‘Phone #’
1:Phone #
2:FM
3:CDMA
Phone # Phone number -CDMAcurrent number is displayed.
3003003000 to change, enter new one
-stores it.
Mobile ID # Phone number -CDMA current number is displayed.
3003003000 to change, enter new one
-stores it.
Setup NAM1 2 -Choose ‘FM’
1:Phone #
2:FM
3:CDMA
FM Home SID ID number System ID for home, current status is displayed.
20 - to change, enter new one.
- store it.
FM 1st Chn Channel number Current 1st paging channel.
334 - to change, enter new one.
- store it.
FM Acq SID1 ID number Acquisition system ID 1, Current status is displayed.
20 - to change, enter new one.
- store it.
FM Acq SID2 ID number Acquisition system ID 2, Current status is displayed.
0 - to change, enter new one.
- store it.
FM Acq SID3 ID number Acquisition system ID 3, Current status is displayed.
0 - to change, enter new one.
- store it.
OK/
OK/
OK/
OK/
OK/
OK/
OK/
SAMSUNG Proprietary-Contents may change without notice
4-3
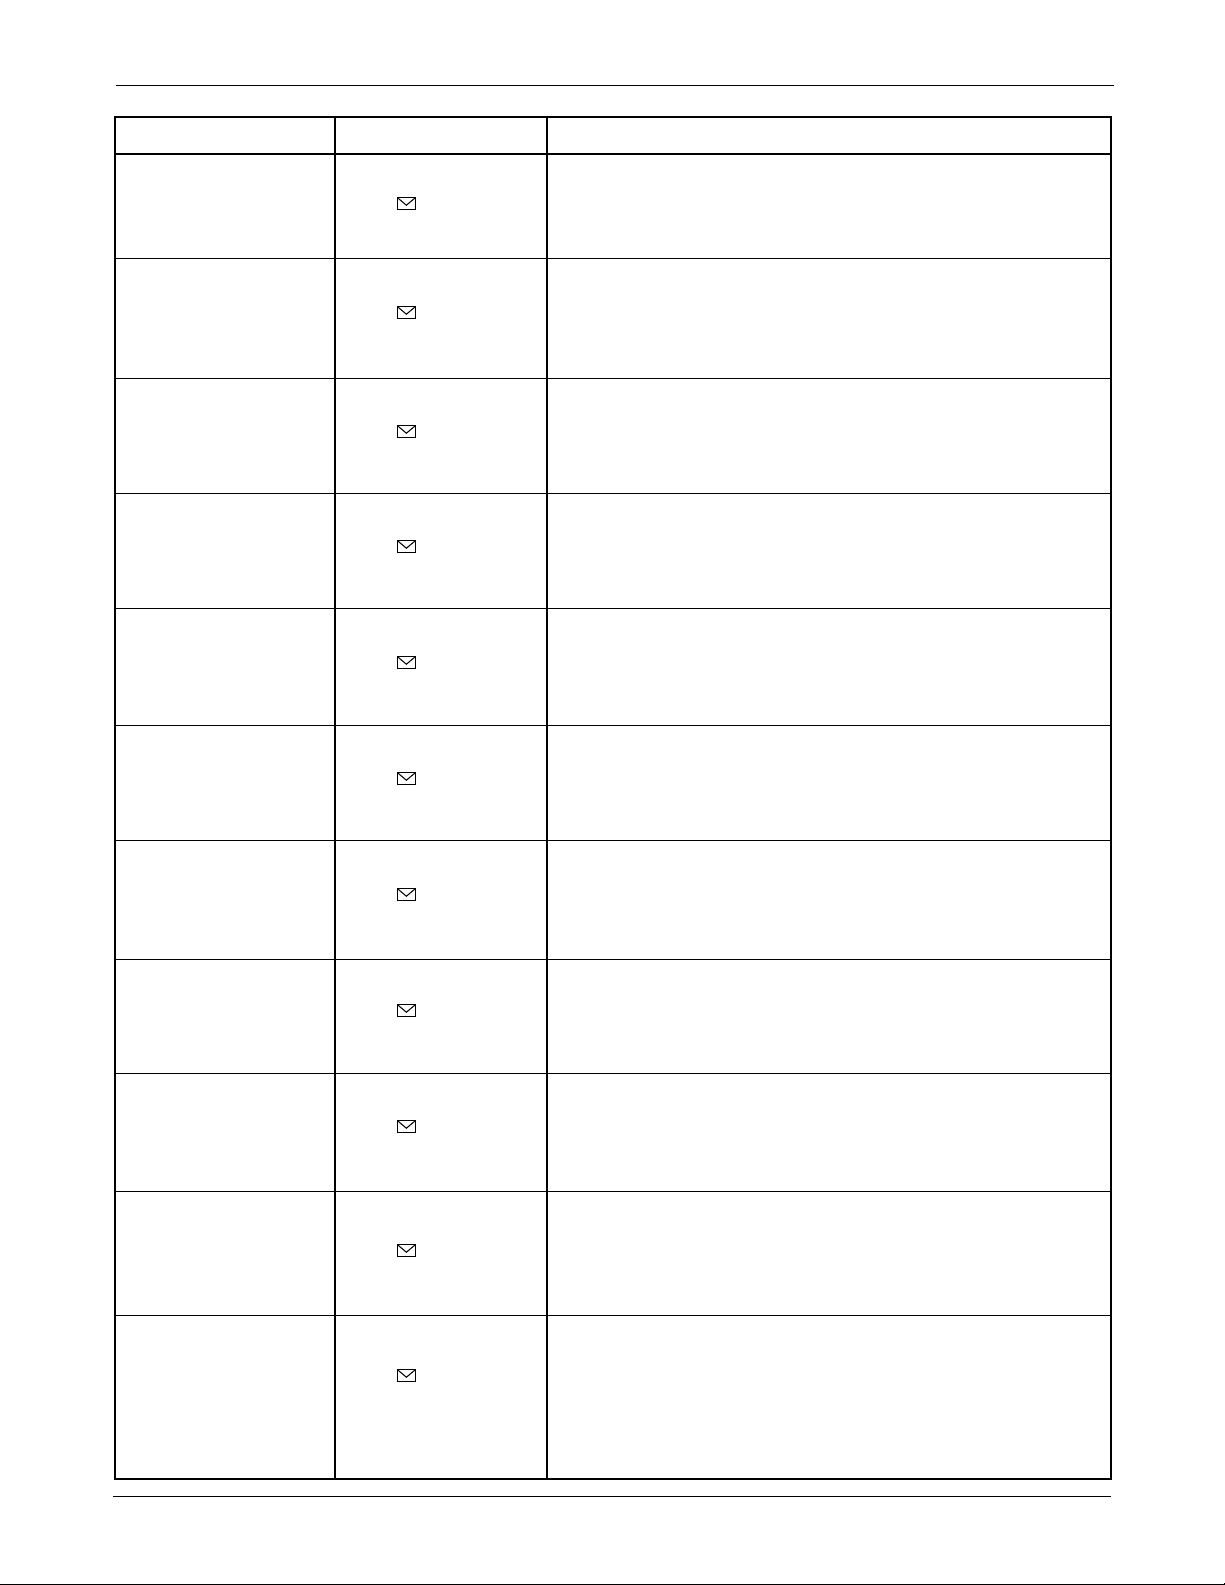
NAM Programming
LCD Display Key in Function
FM Acq SID4 ID number Acquisition system ID 4, Current status is displayed.
0 - to change, enter new one.
- store it.
FM Acq SID5 ID number Acquisition system ID 5, Current status is displayed.
0 - to change, enter new one.
- store it.
FM Acq SID6 ID number Acquisition system ID 6, Current status is displayed.
0 - to change, enter new one.
- store it.
FM LockSID 1 ID number Lock system ID 1, current status is displayed.
0 - to change, enter new one.
- store it.
FM LockSID 2 ID number Lock system ID 2, current status is displayed.
0 - to change, enter new one.
- store it.
FM LockSID 3 ID number Lock system ID 3, current status is displayed.
0 - to change, enter new one.
- store it.
FM LockSID 4 ID number Lock system ID 4, current status is displayed.
0 - to change, enter new one.
- store it.
FM LockSID 5 ID number Lock system ID 5, current status is displayed.
0 - to change, enter new one.
- store it.
FM LockSID 6 ID number Lock system ID 6, current status is displayed.
0 - to change, enter new one.
- store it.
FM LockSID1 ID number Lock system ID 6, current status is displayed.
0 - to change, enter new one.
- store it.
Auto Reg * or # FM Registration, current status is displayed.
Yes - changes the status
‘YES’ to enable, ‘NO’ to disable
- store it.
OK/
OK/
OK/
OK/
OK/
OK/
OK/
OK/
OK/
OK/
OK/
SAMSUNG Proprietary-Contents may change without notice
4-4
NAM Programming
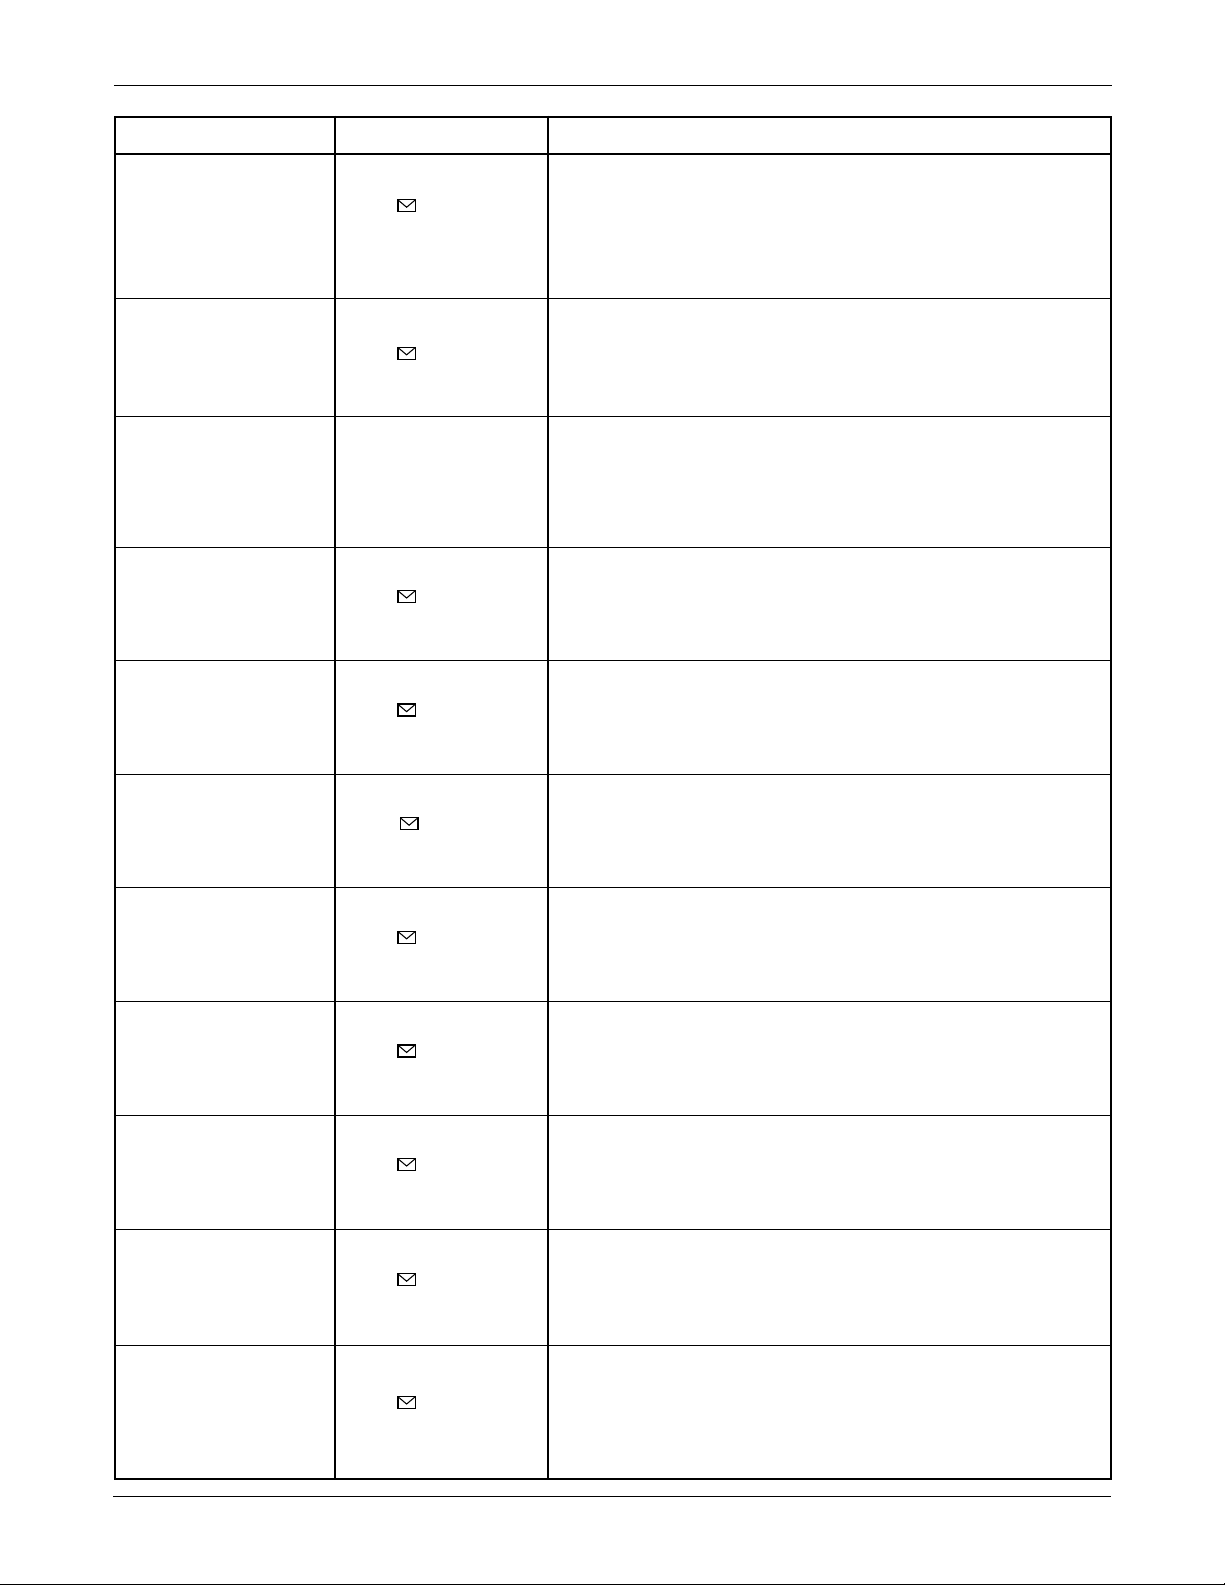
LCD Display Key in Function
FM pref. * o r # Preferred system selection, current status is displayed.
B pref - changes the status
‘YES’ to enable, ‘NO’ to disable
- store it.
FM ACCOLC * or # Current Access Overload Class.
0 - change the status.
- store it.
Setup NAM1 - Choose ‘CDMA’
1:Phone #
2.FM 3
3:CDMA
IMSI_MCC number -IMSI Moble Country Code, current code is displayed.
000 to change, enter new one.
-stores it.
IMSI_MNC number -IMSI Mobile Network Code, current code is displayed.
00 to change, enter new one.
-stores it.
CDMA pref.. <or> -Preferred system selection, current system is displayed.
B pref changes the system.
-stores it.
CDMA ACCOLC. class number CDMA Access Overload Class, current status is displayed.
0 -to change, enter new one.
-stores it.
Pchn Sys A channel number -Preferred channel currently used under system A
283 to change, enter new one.
-stores it.
Pchn Sys B channel number -Preferred channel currently used under system B
384 to change, enter new one.
-stores it.
Schn Sys A channel number -Second channel currently used under system A
691 to change, enter new one.
-stores it.
Schn Sys B channel number -Second channel currently used under system B
777 to change, enter new one.
-stores it.
OK/
OK/
OK/
OK/
OK/
OK/
OK/
OK/
OK/
OK/
LCD Display Key in Function
CD Acq SID 1 ID number 1~ 6 -1st Acquisition system ID, current status is displayed.
20 to change, enter new one.
-stores it.
CD Acq SID 2 ID number 1~ 6 -2nd Acquisition system ID, current status is displayed.
0 to change, enter new one.
-stores it.
CD Acq SID 3 ID number 1~ 6 -3rd Acquisition system ID, current status is displayed.
0 to change, enter new one.
-stores it.
CD Acq SID 4 ID number 1~ 6 -4th Acquisition system ID, current status is displayed.
0 to change, enter new one.
-stores it.
CD Acq SID 5 ID number 1~ 6 -5th Acquisition system ID, current status is displayed.
0 to change, enter new one.
-stores it.
CD Acq SID 6 ID number 1~ 6 -6th Acquisition system ID, current status is displayed.
0 to change, enter new one.
-stores it.
CD lockSID 1 ID number -1st lock system ID,current status is displayed.
0 to change, enter new one.
-stores it.
CD lockSID 2 ID number -2nd lock system ID,current status is displayed.
0 to change, enter new one.
-stores it.
CD lockSID 3 ID number -3rd lock system ID,current status is displayed.
0 to change, enter new one.
-stores it.
CD lockSID 4 ID number -4th lock system ID,current status is displayed.
0 to change, enter new one.
-stores it.
CD lockSID 5 ID number -5th lock system ID,current status is displayed.
0 to change, enter new one.
-stores it.
CD lockSID 6 ID number -6th lock system ID,current status is displayed.
0 to change, enter new one.
-stores it.
CDMA Home SID <or> -CDMA Home system ID, current status is displayed
Yes changes the status.
-stores it.
SAMSUNG Proprietary-Contents may change without notice
4-5
NAM Programming
OK/
OK/
OK/
OK/
OK/
OK/
OK/
OK/
OK/
OK/
OK/
OK/
OK/
SAMSUNG Proprietary-Contents may change without notice
4-6
NAM Programming
LCD Display Key in Function
CDMA fSID <or> -CDMA foreign SID, current status is displayed.
Yes changes the system.
-stores it.
CDMA fNID <or> -CDMA foreign NID, current status is displayed.
Yes changes the system.
-stores it.
SID #1 number -first SID written in the list, current status is displayed.
20 to change, enter new one.
-stores it.
NID #1 number -first NID written in the list, current status is displayed.
65535 to change, enter new one.
-stores it.
SID #2 number -2nd SID written in the list, current status is displayed.
20 to change, enter new one.
-stores it.
NID #2 number -2nd NID written in the list, current status is displayed.
65535 to change, enter new one.
-stores it.
SID #3 number -3rd SID written in the list, current status is displayed.
20 to change, enter new one.
-stores it.
NID #3 number -3rd NID written in the list, current status is displayed.
65535 to change, enter new one.
-stores it.
SID #4 number -4th SID written in the list, current status is displayed.
20 to change, enter new one.
-stores it.
NID #4 number -4th NID written in the list, current status is displayed.
65535 to change, enter new one.
-stores it.
4-3 Setting Up NAM 2
LCD Display Key in Function
NAM Program 3 -Choose ‘Setup NAM2’
1:General
2:Setup NAM1
3:Setup NAM2
The NAM2 setup program is the same as ‘NAM1’
OK/
OK/
OK/
OK/
OK/
OK/
OK/
OK/
OK/
OK/
 Loading...