

samsung S85, D85 Adjustment

34
Ⅲ.ADJUSTMENT
1. FIRMWARE
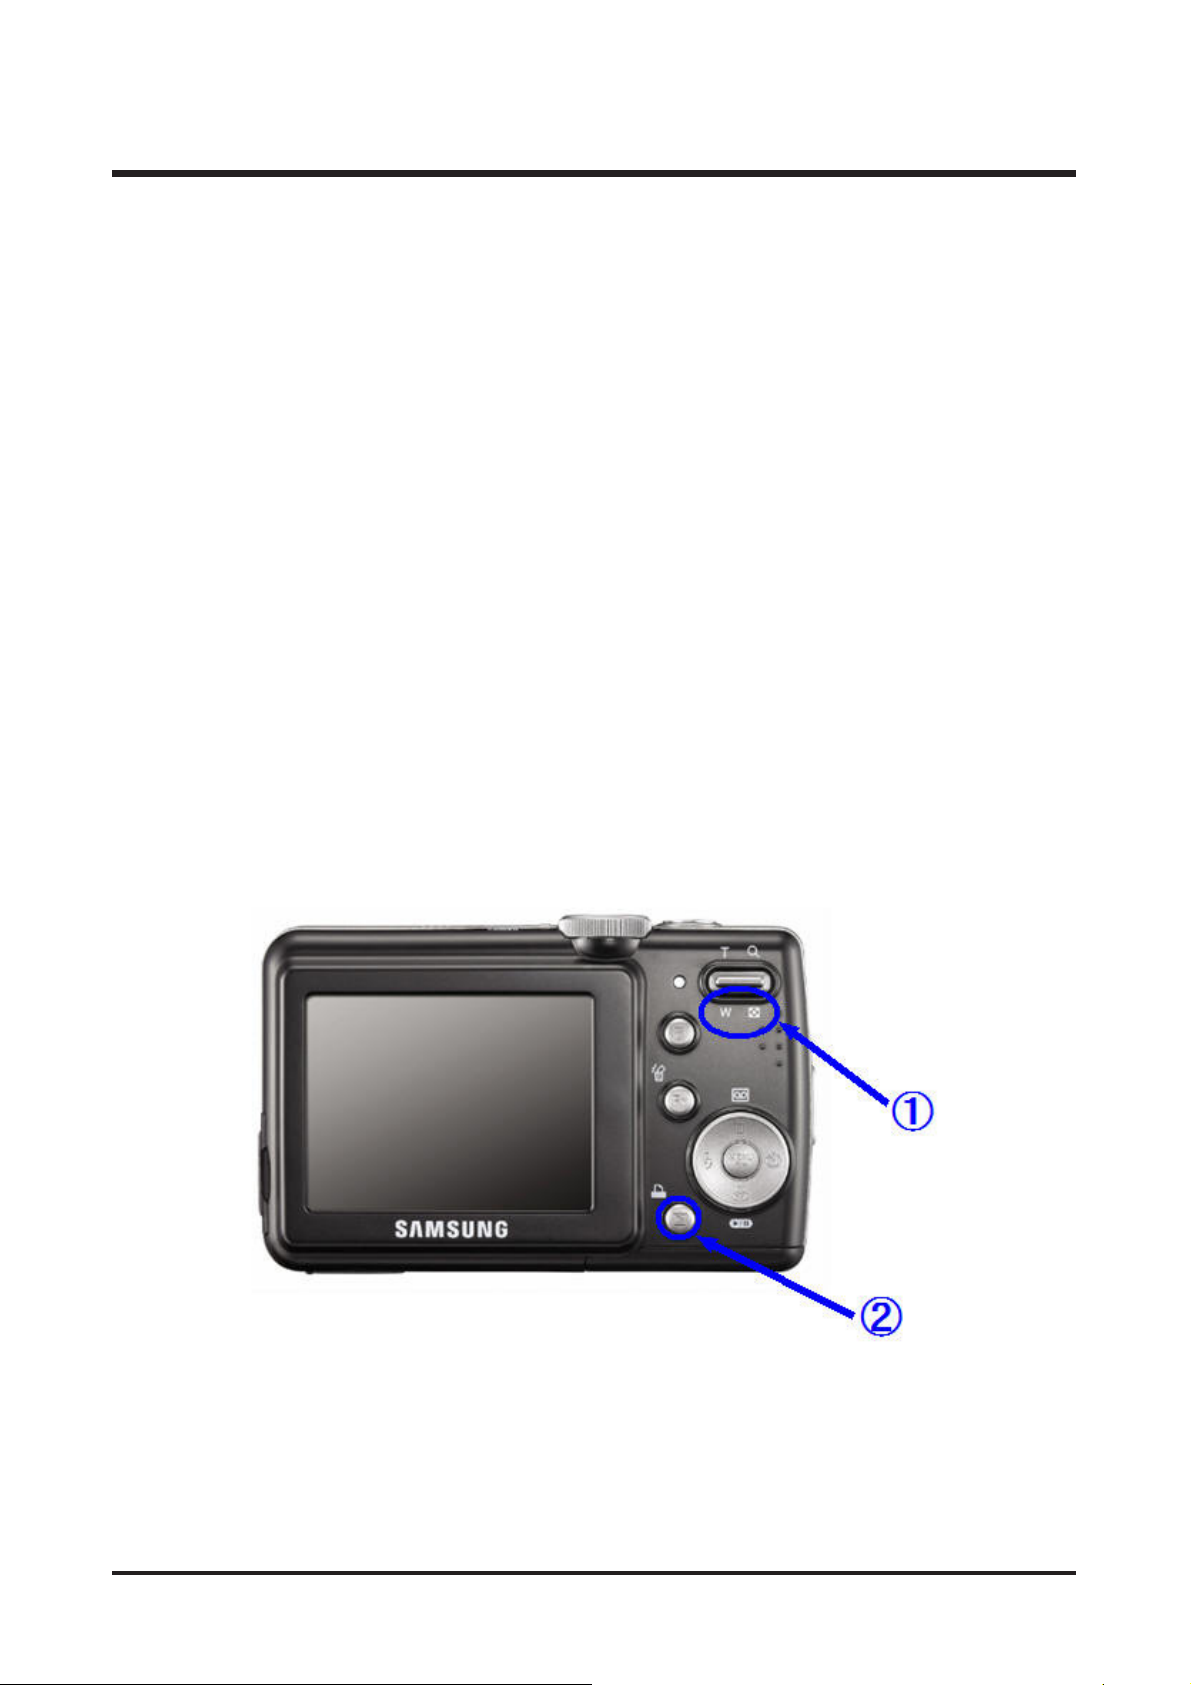
1) Checking version
1. Remove the memory card from the camera.
2. Connect the AC adapter or a fully charged battery.
3. Turn the camera off.
4. Press and hold the PLAY button for approximately 2 seconds while holding down the TELE button and
the OK button simultaneously.
5. The power is automatically turned on displaying the firmware version on the LCD screen.
35
Ⅲ.ADJUSTMENT
2) Upgrading the Firmware
1. Insert the SD card containing the firmware file into the camera.
※ Updating the firmware will delete all the data in the Flash memory. Be sure to back up all the data onto
your PC before updating the firmware.
The file name must be "s385n.elf". (Copy the file to the root directory of the SD card.)
2. Connect the AC adapter or a fully charged battery.
※ To upgrade the firmware, the battery level indicator on the LCD monitor must be full (level three).
3. Turn the camera off.
4. Press and hold the PLAY button for approximately 2 seconds while holding down the WIDE button.
36
Ⅲ.ADJUSTMENT
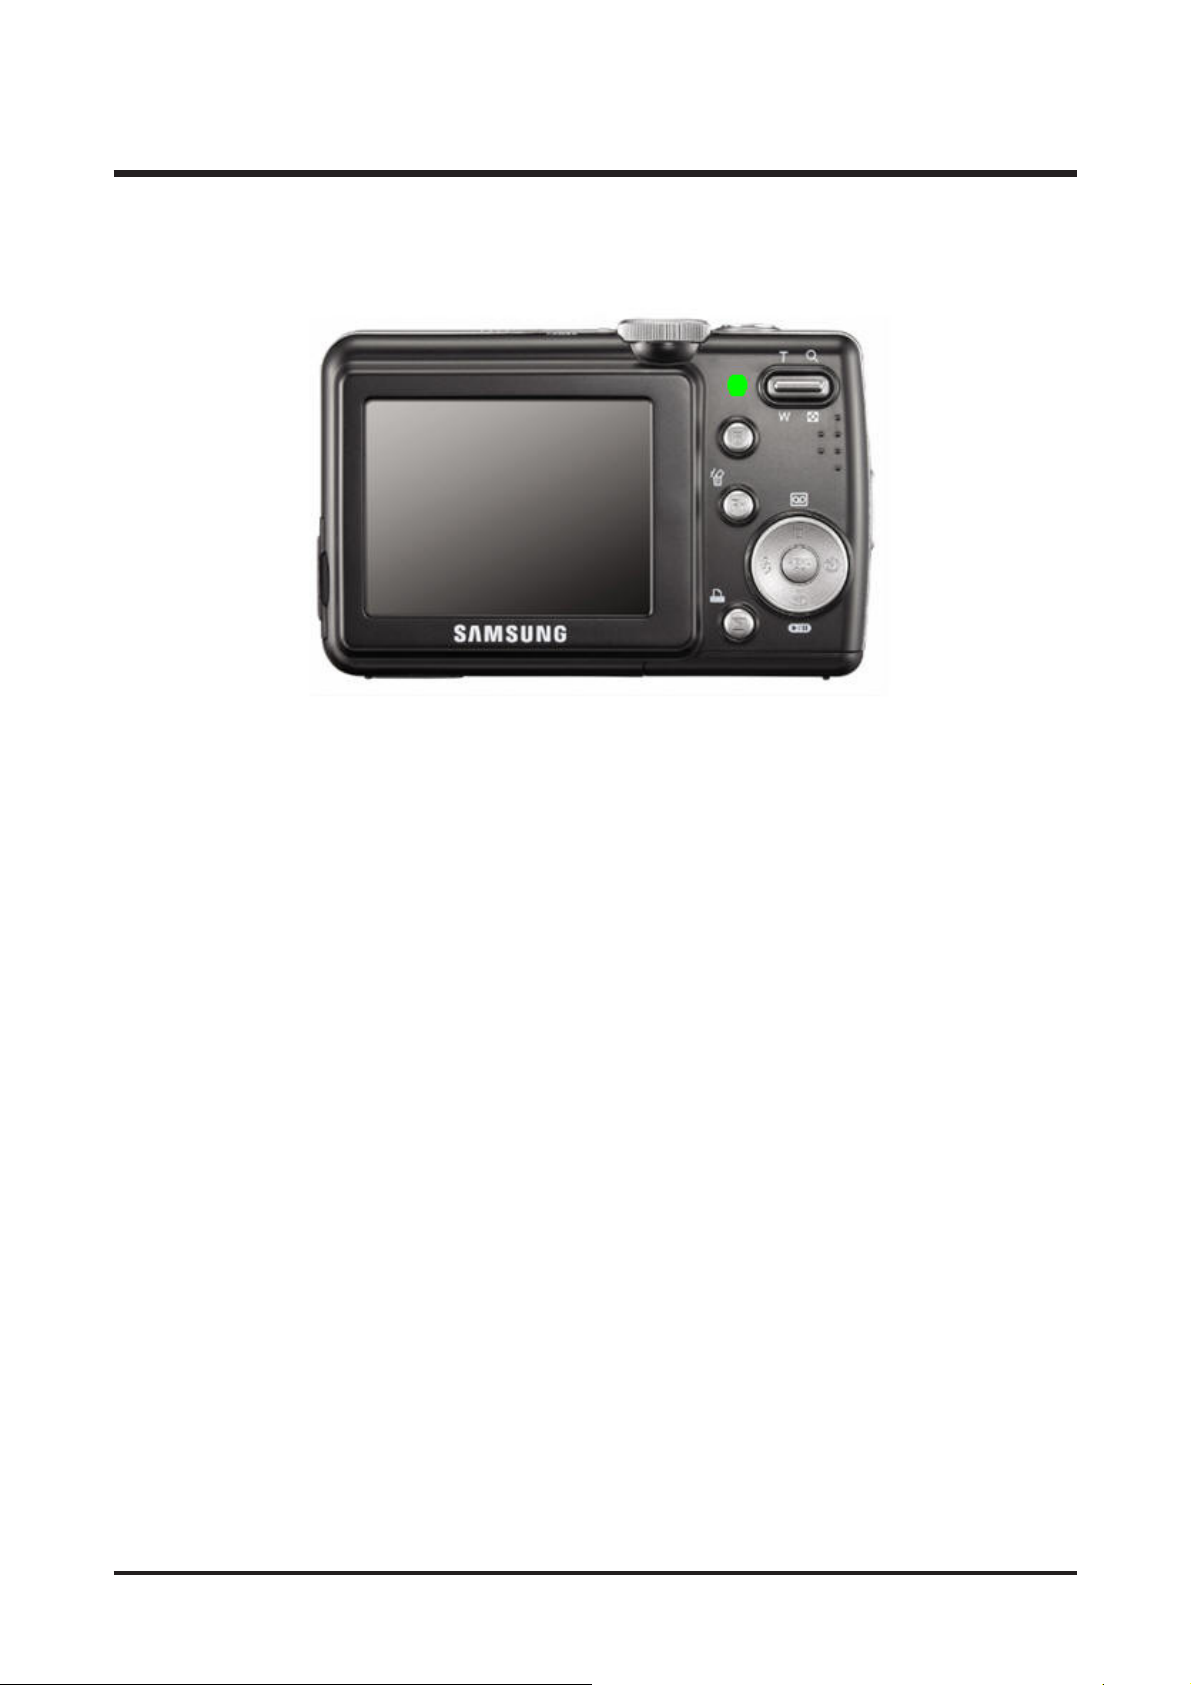
5. Upgrade is progressed and the Status LED (Green) of the camera blinks during upgrade.
When the upgrade is complete, the Power button LED is automatically turned off.
6. Turn the camera on again and run RESET in the SETUP menu.
37
Ⅲ.ADJUSTMENT
2. Adjustment Procedures for Each Feature
1) Reading EEPROM
You can read data from the EEPROM according to the procedures below.
< Requirements >
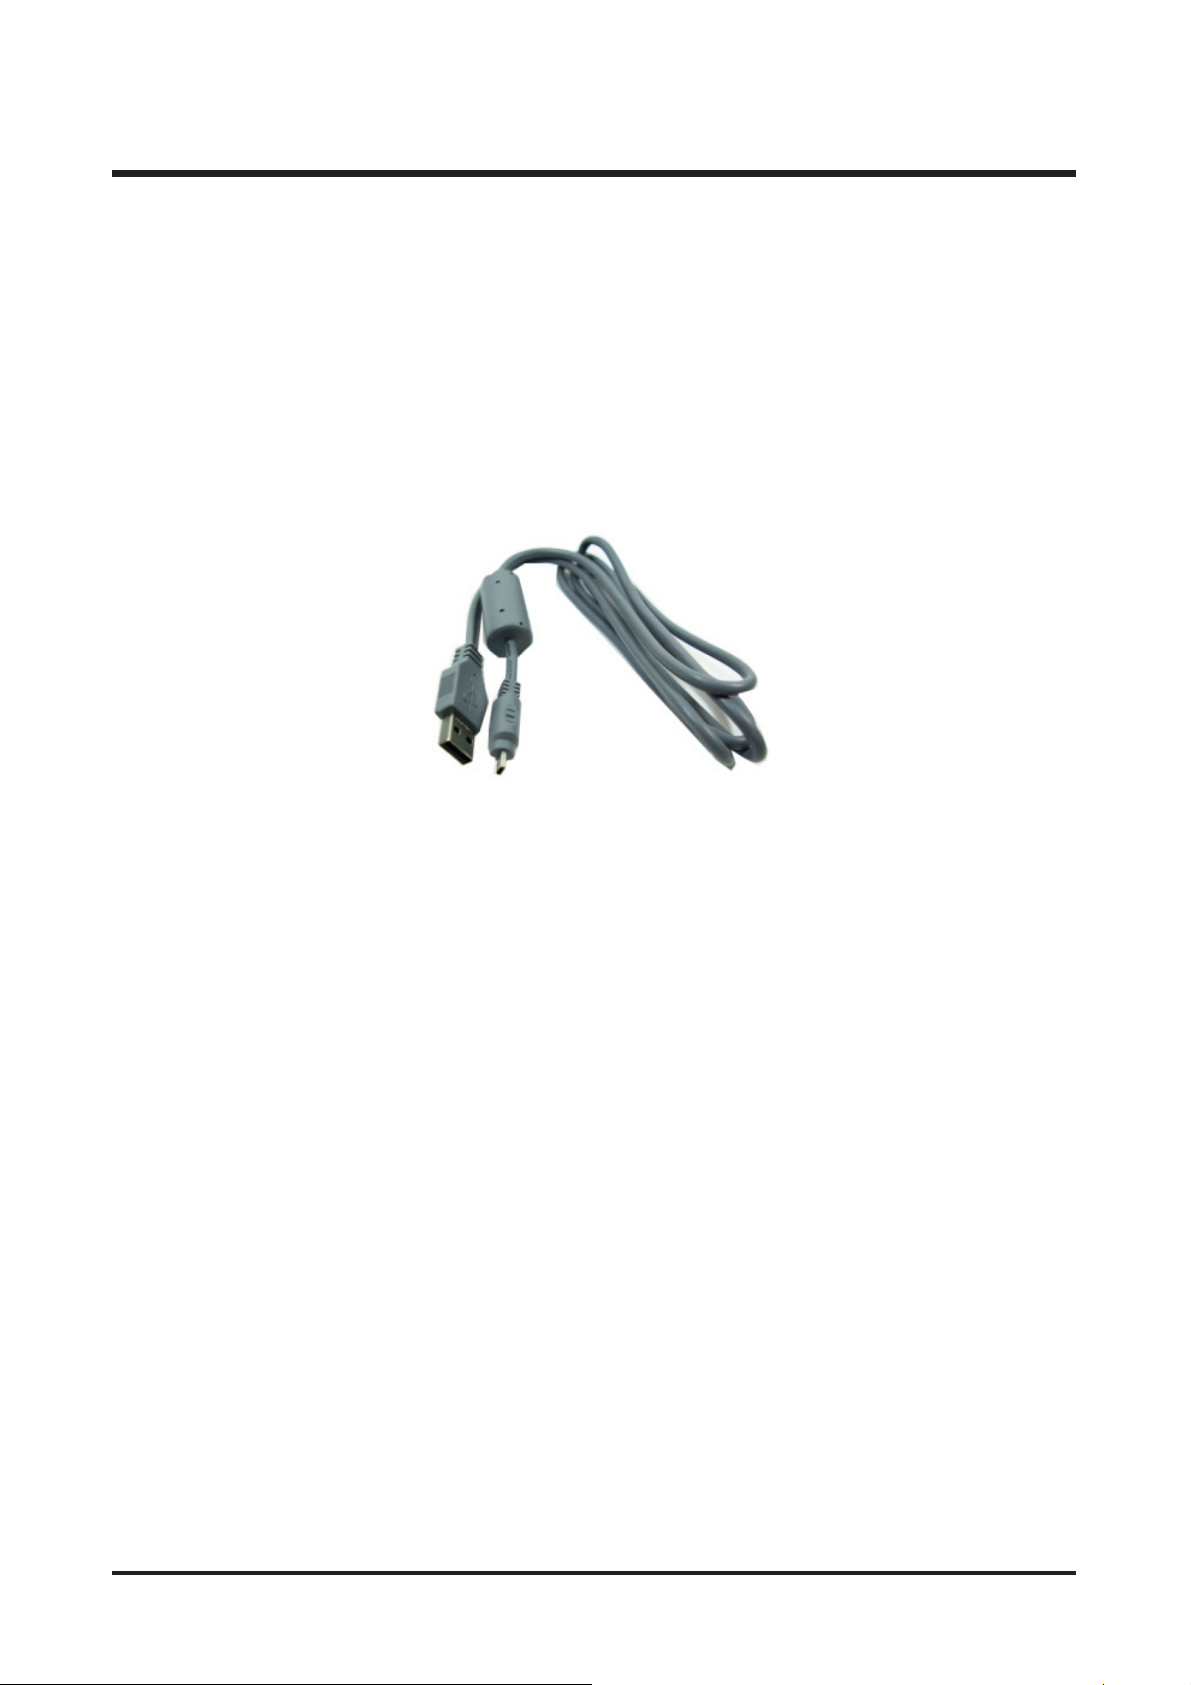
① Special Cable (USB)
② EEPROM TOOL Program
③ Test Mode Recognition Driver
④ Camera to extract standard data
38
Ⅲ.ADJUSTMENT
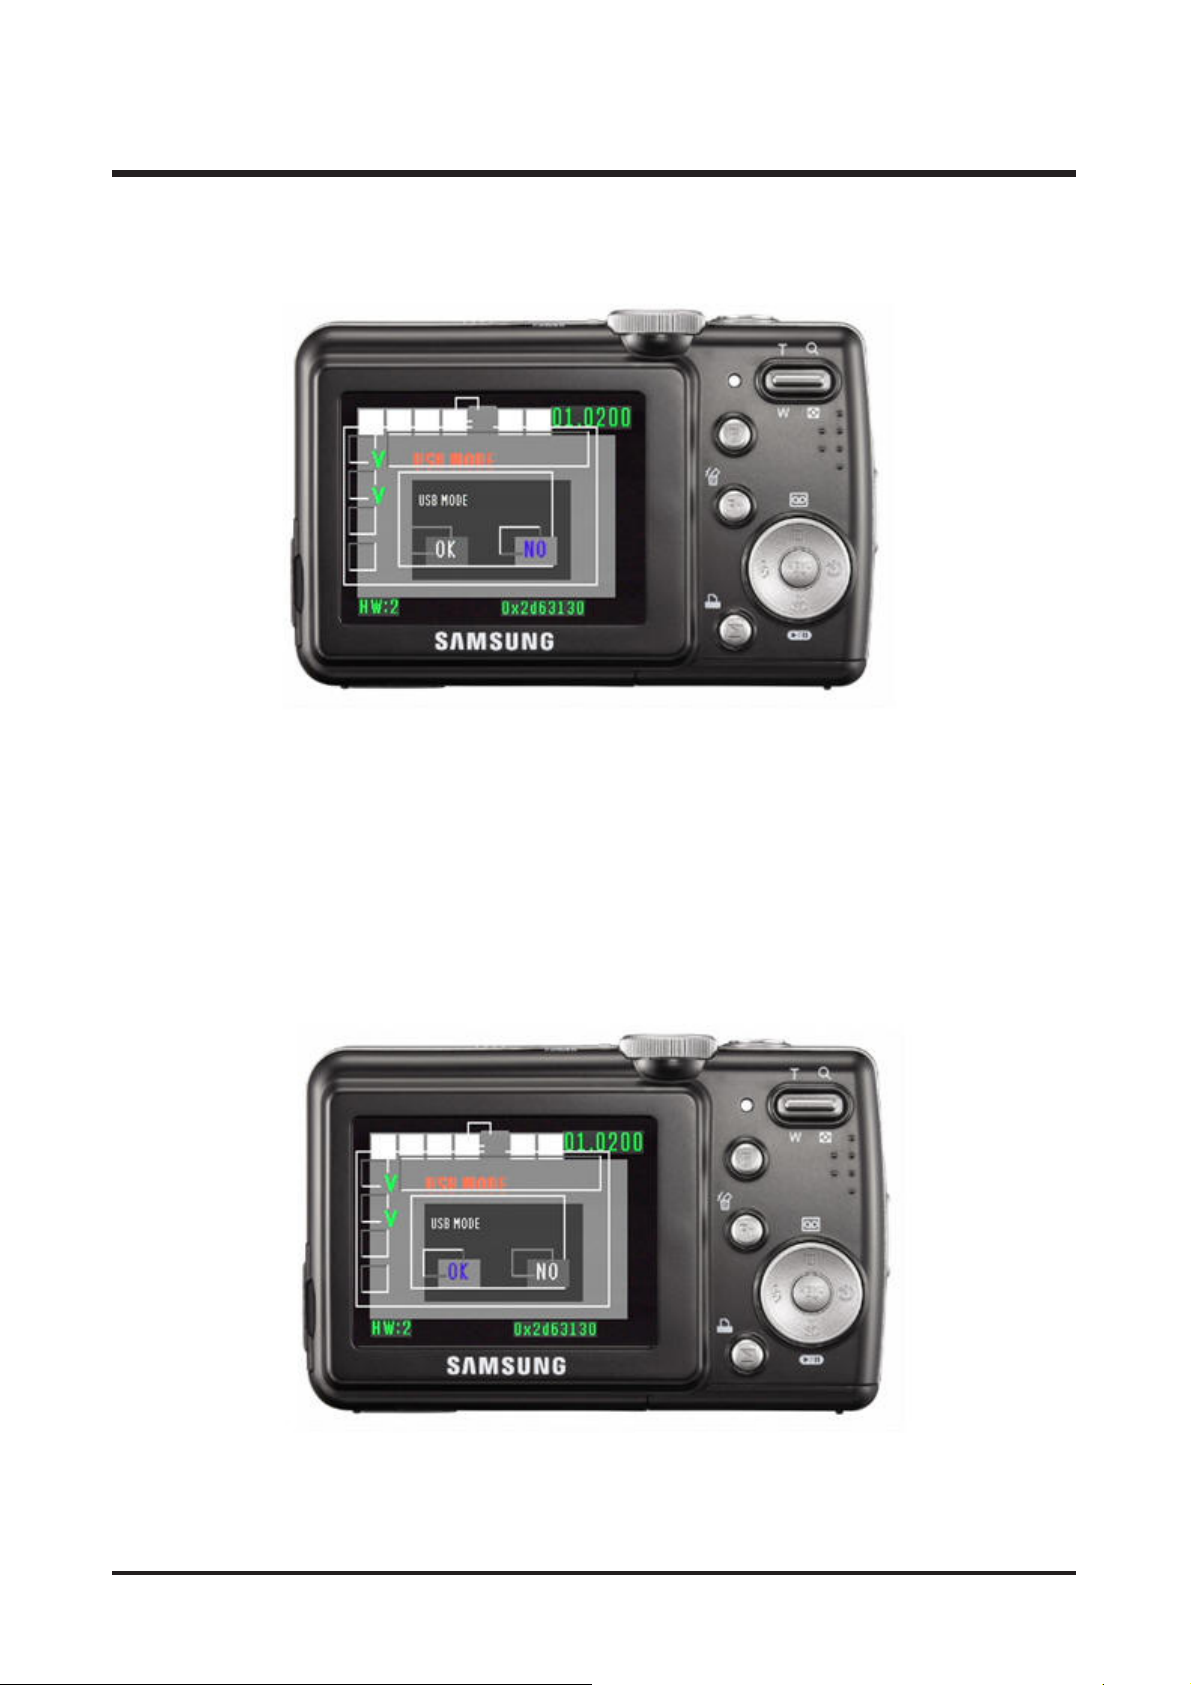
5. Set the USB MODE to NG according to the procedures below.
① Move to the USB MODE item using the Right direction button.
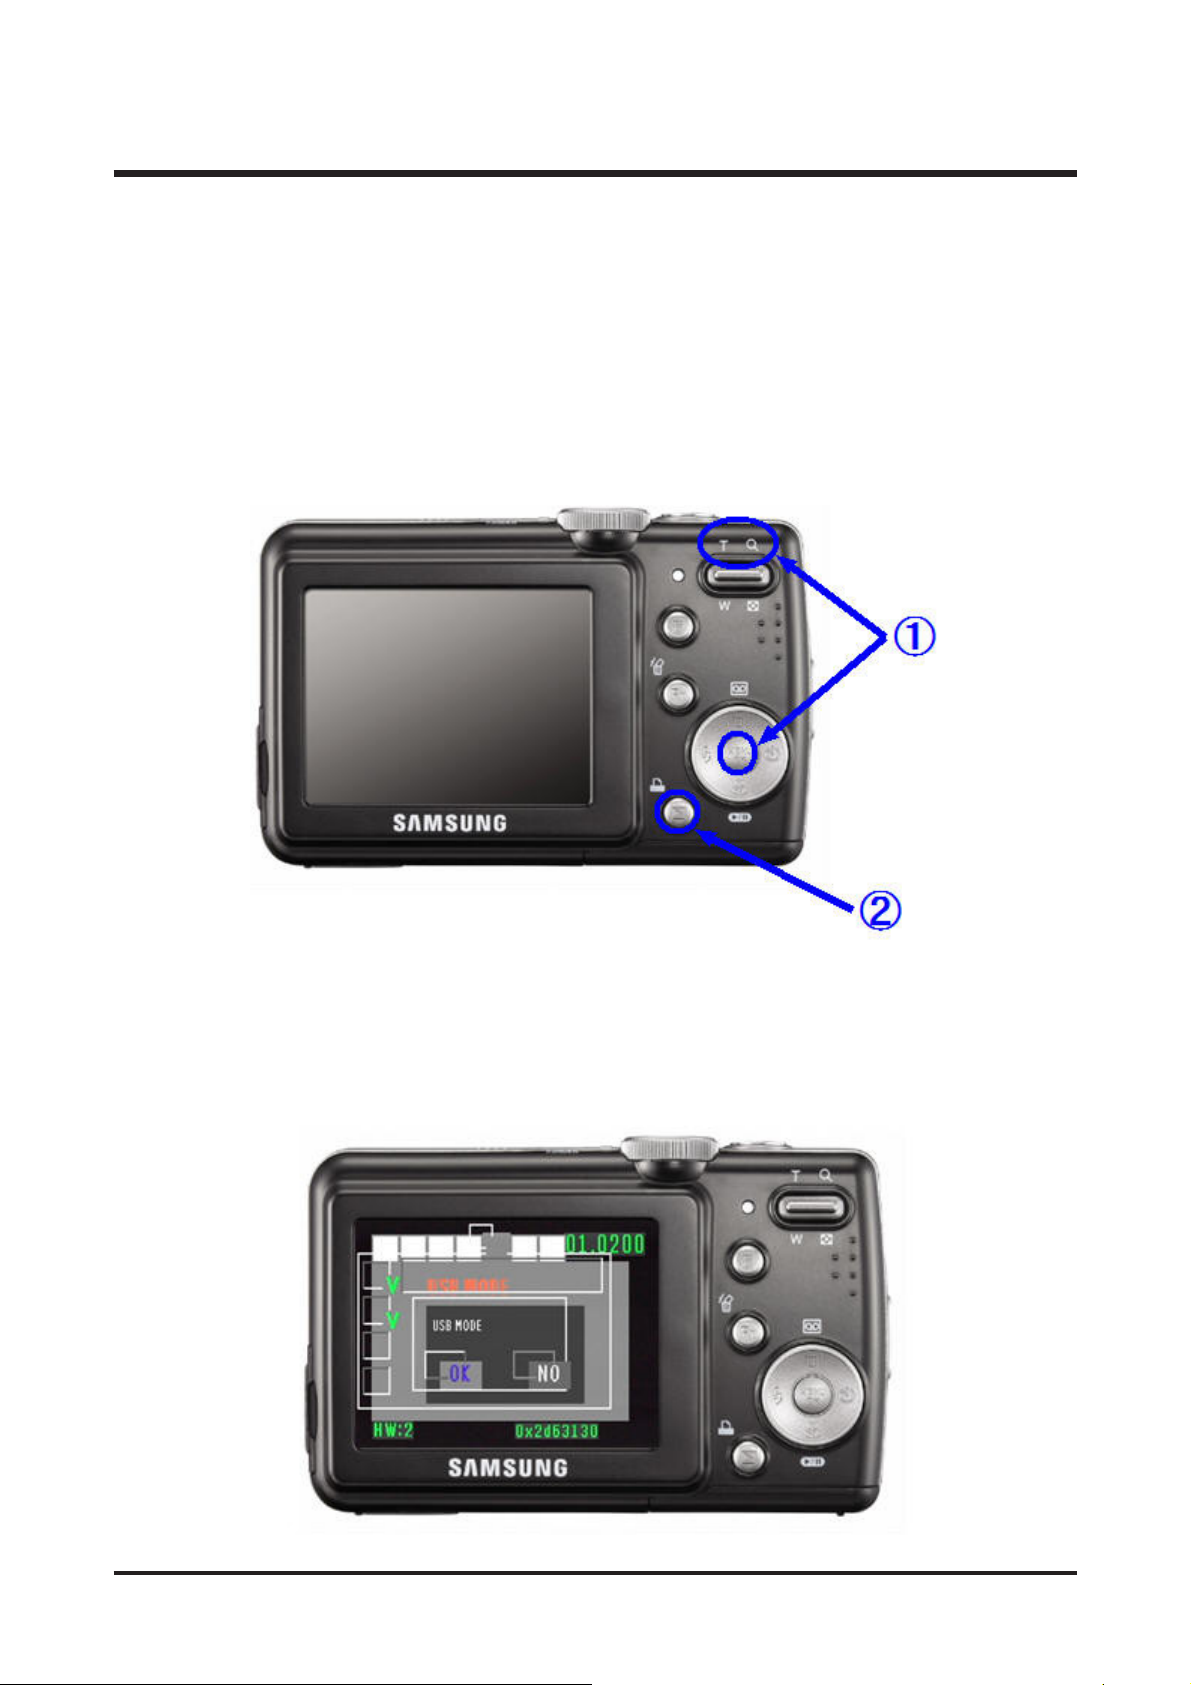
1. Remove the memory card from the camera.
2. Connect the AC adapter or a fully charged battery.
3. Turn the camera off.
4. Press and hold the PLAY button for approximately 2 seconds while holding down the TELE button and
the MENU button simultaneously.
39
Ⅲ.ADJUSTMENT
② Press the MENU button to show the sub menu of the USB MODE.
③ Select OK for the USB MODE using the Left direction button and then press the MENU button.
40
Ⅲ.ADJUSTMENT
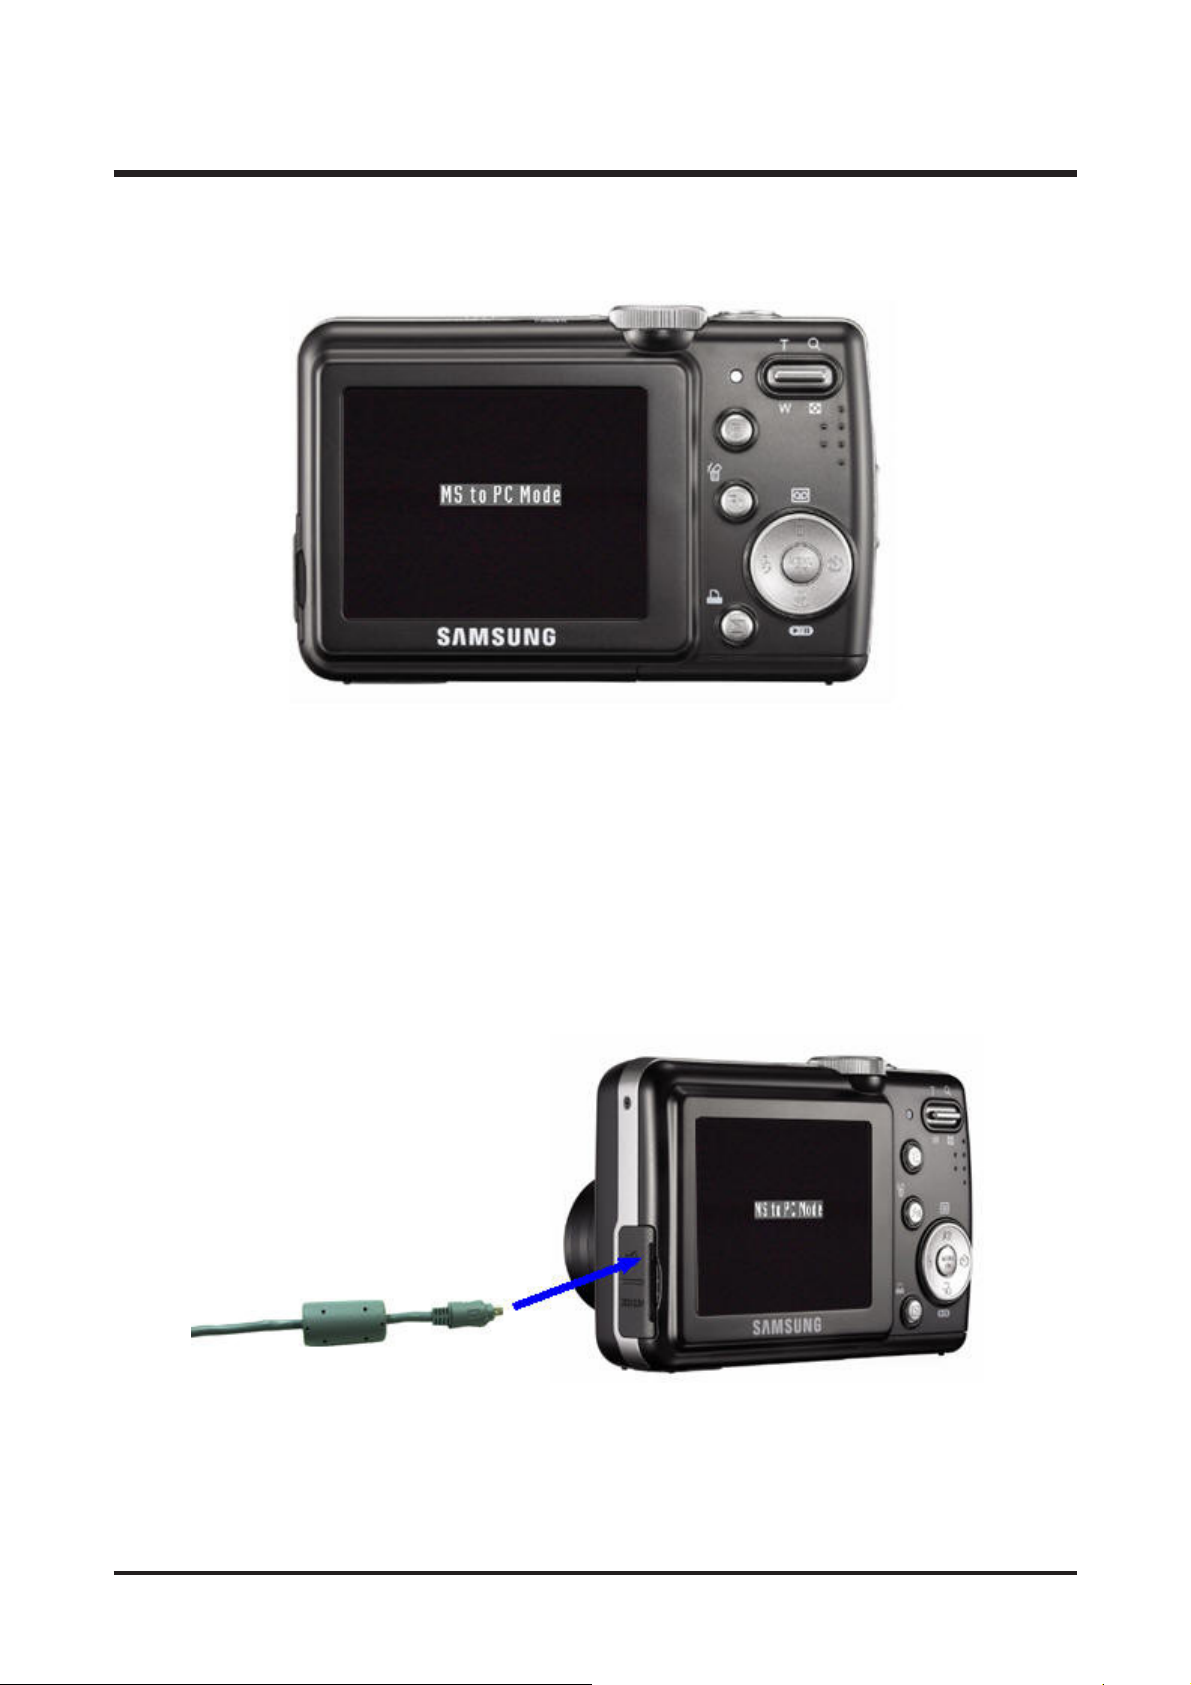
④ The “MS to PC Mode" message appears on the LCD screen of the camera.
6. Connect the camera with the PC using the Adjustment Jack Board when the camera is in the MS to
PC Mode.
 Loading...