How it Works
Log In / Sign Up
Buy Points
How it Works
FAQ
Contact Us
Questions and Suggestions
Users
Samsung
Loading...
R
RF34H9960S4/AA-05
RF410
RF411
RF4267HA
3
RF4267HABP
2
RF4267HABP/XAA-00
RF4267HARS
3
RF4267HARS/XAA-00
RF4267HARS/XAA-01
RF4267HARS/XAA-02
RF4267HARS/XAA-03
RF4267HARS/XAA-04
RF4267HARS/XAA-05
RF4267HARS/XAC
RF4267HAWP
2
RF4267HAWP/XAA
3
RF4267HAWP/XAA-00
RF4287
2
RF4287HA
9
RF4287HABP
7
RF4287HABP-XAA
3
RF4287HABP/XAA-00
RF4287HABP/XAA-01
RF4287HABP/XAA-02
RF4287HABP/XAA-03
RF4287HABP/XAA-04
RF4287HAPN
7
RF4287HAPN/XAA
2
RF4287HAPN/XAA-00
RF4287HAPN/XAA-01
RF4287HARS
9
RF4287HARS-XAA
2
RF4287HARS/XAA-00
RF4287HARS/XAA-01
RF4287HARS/XAA-02
RF4287HARS/XAA-03
RF4287HARS/XAC
RF4287HAWP
8
RF4287HAWP-XAA
2
RF4287HAWP/XAA-00
RF4289HA
4
RF4289HAR
RF4289HARS
3
RF4289HARS-XAA
RF4289HARS/XAA-00
RF4289HARS/XAA-01
RF4289HARS/XAA-02
RF4289HARS/XAA-03
RF4289HB
2
RF4289HBRS
3
RF4289RSG309
RF4402D D1A
RF44A5002B1
RF44A5002S9
RF4500A
RF50A5002S9EO
RF50K5920S8
3
RF50K5920S8-EO
2
RF50K5920S8/WT
RF50K5960B1/EG
RF50K5961DP
RF50K Series
RF50N5861B1
RF50N5861FG
RF50N5861FG/WT
RF510
RF511
RF5500
RF56J9040SG
RF56J9040SR
5
RF56J9041SR
2
RF56J9041SR-EO
RF56K9540
RF56K9540SR
RF56M9380SG
RF56M9540
RF56M9540SR
3
RF56N9740
RF56N9740SR
RF60J9070SR/TC
RF61K90407F
RF62DE
RF62HEPN
4
RF62HERS1-XEO
RF62HEVB
RF62NE
RF62QEPN
6
RF62TBPN
RF62UBPN
2
RF62UBPN1
RF62UBRS
2
RF62UBRS1
RF62WB
RF62WBPN
RF62WERS
RF65A93T0SR
RF67DE
RF67DEPN
RF67VBPN
2
RF710
Loading...
Loading...
Nothing found
RF4289RSG309
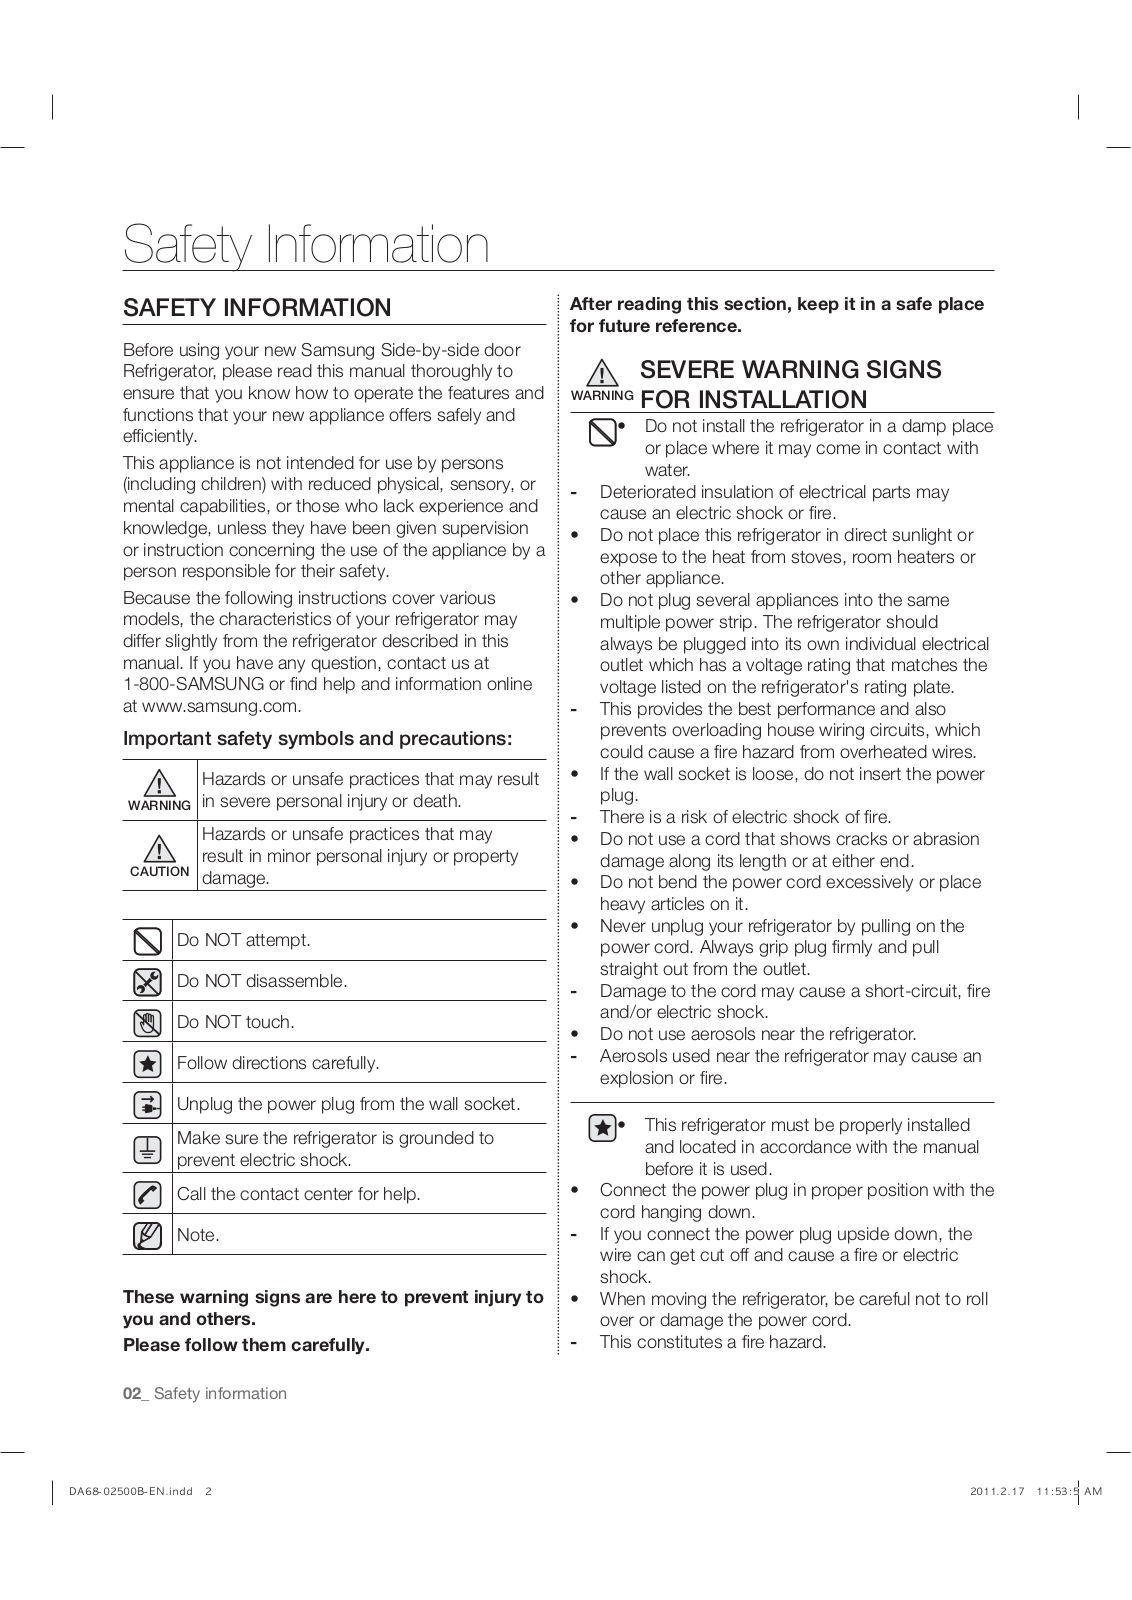
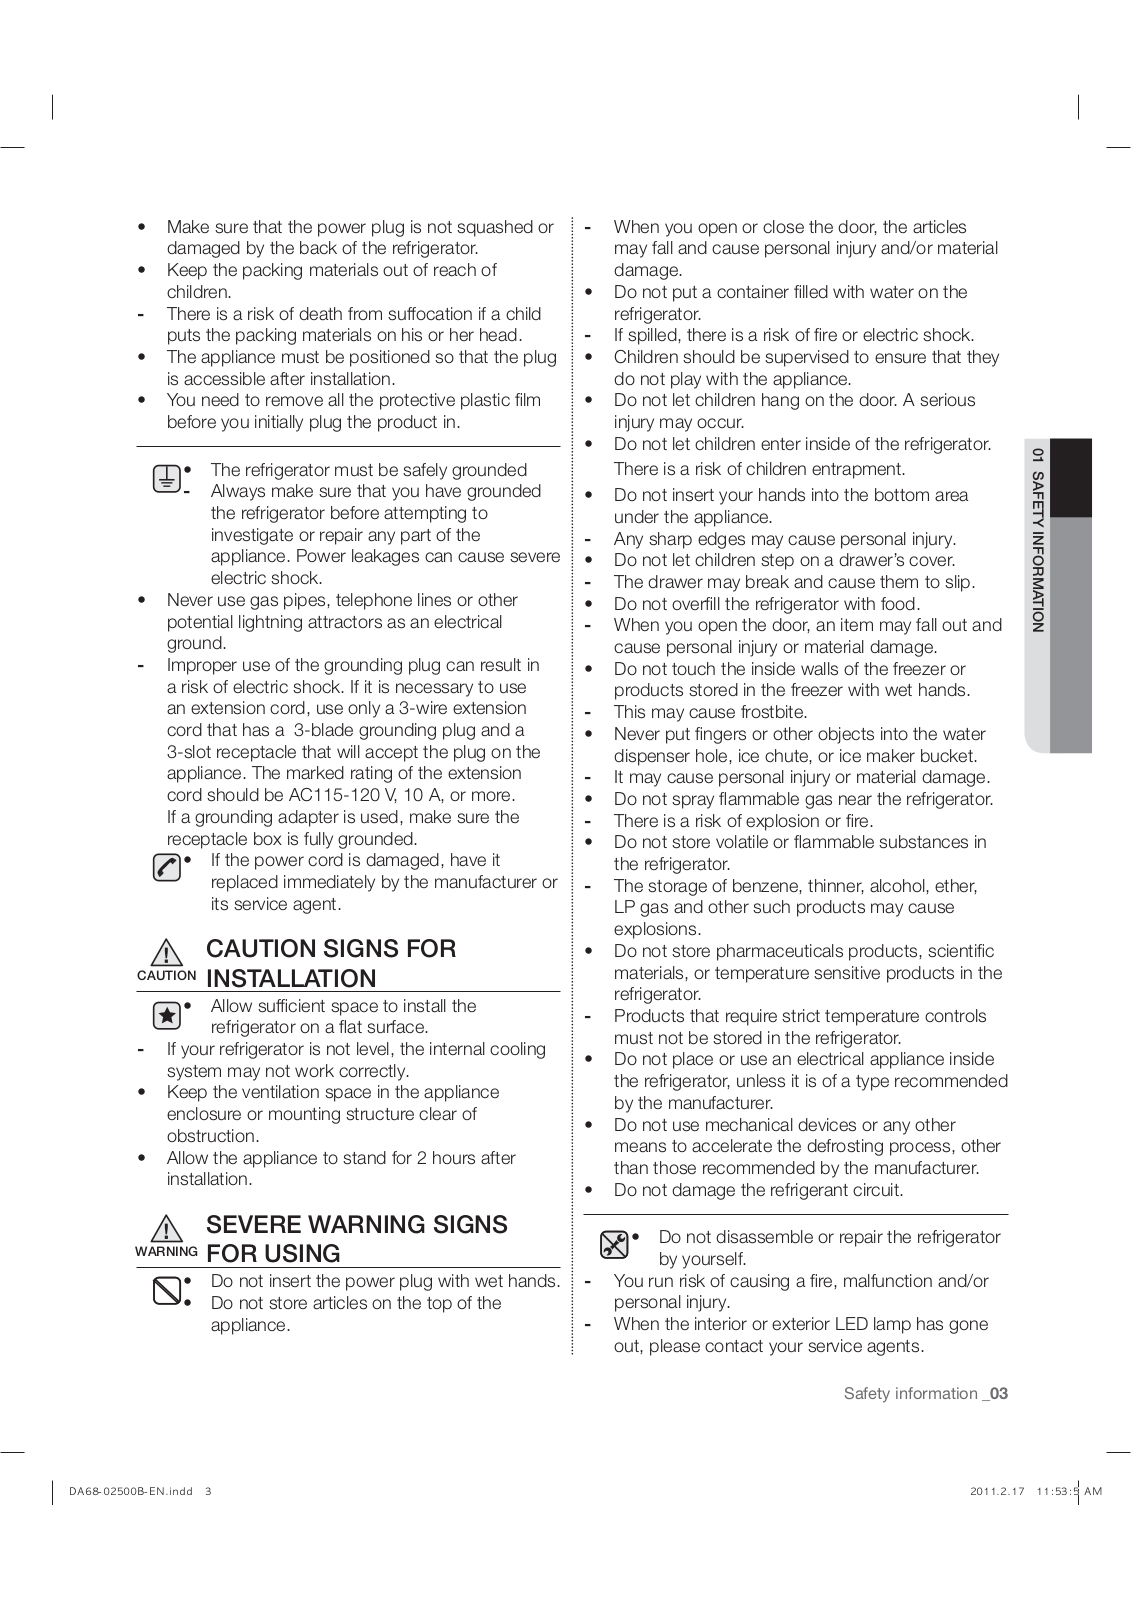
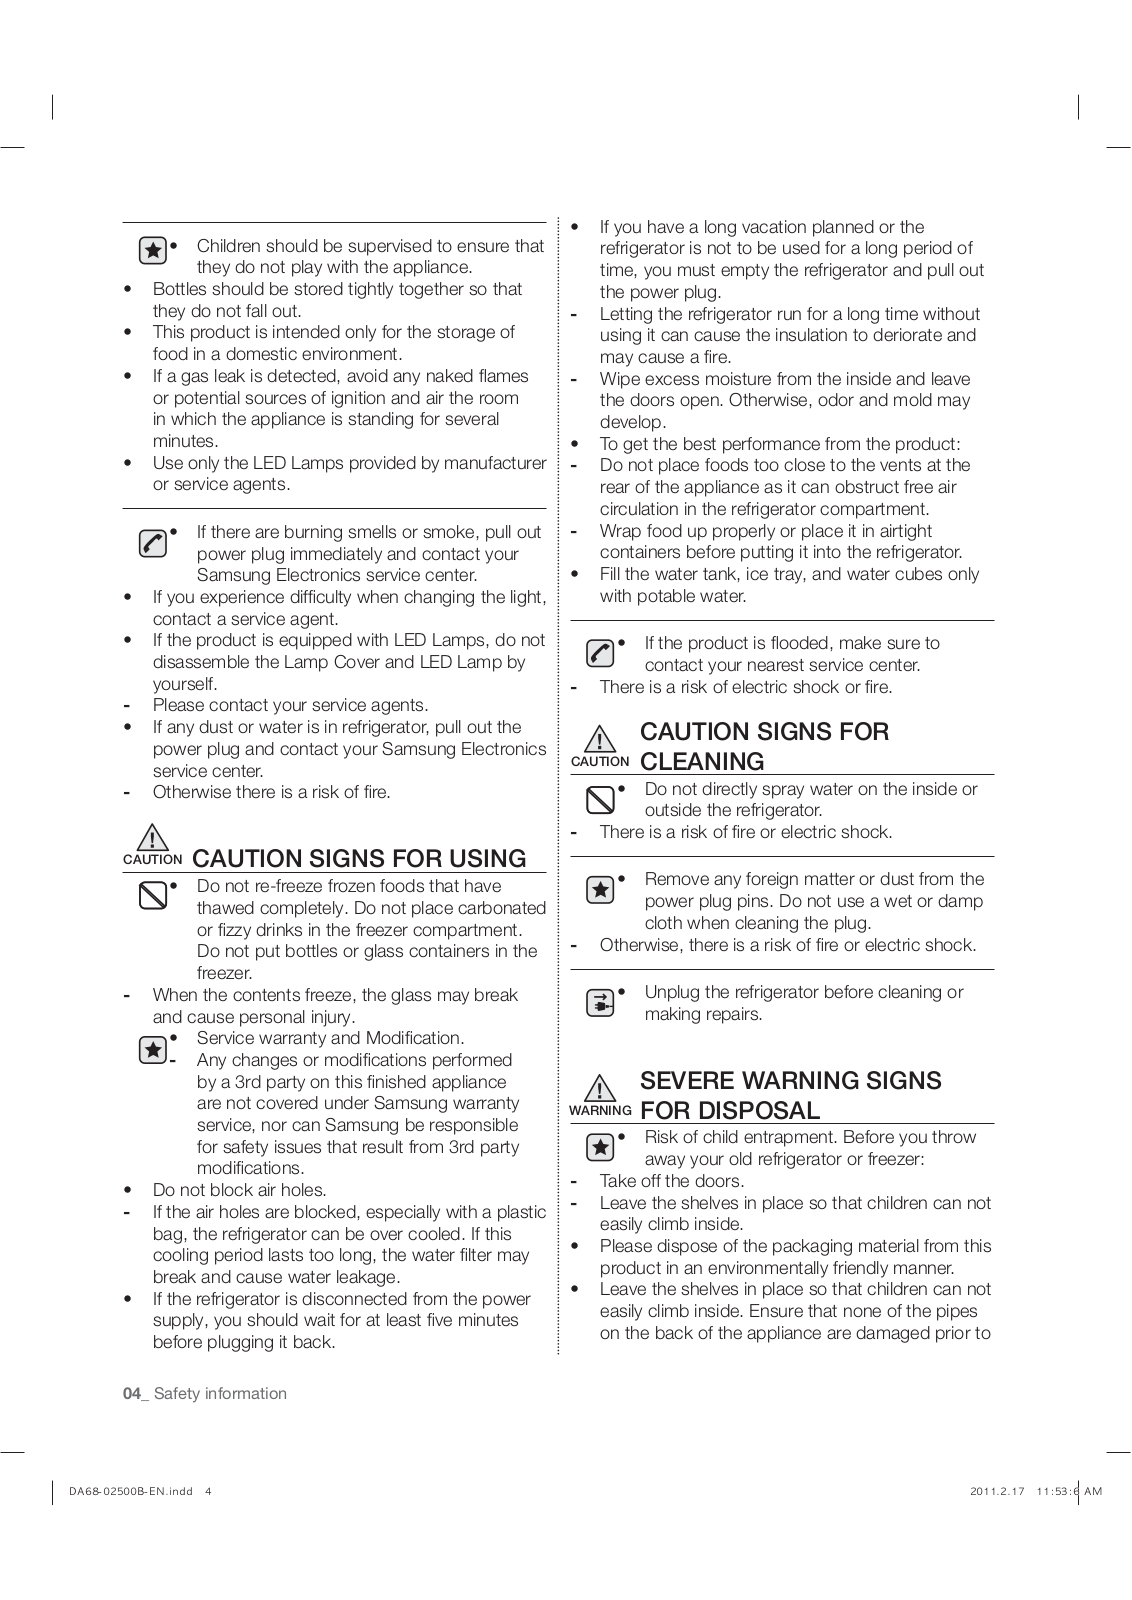
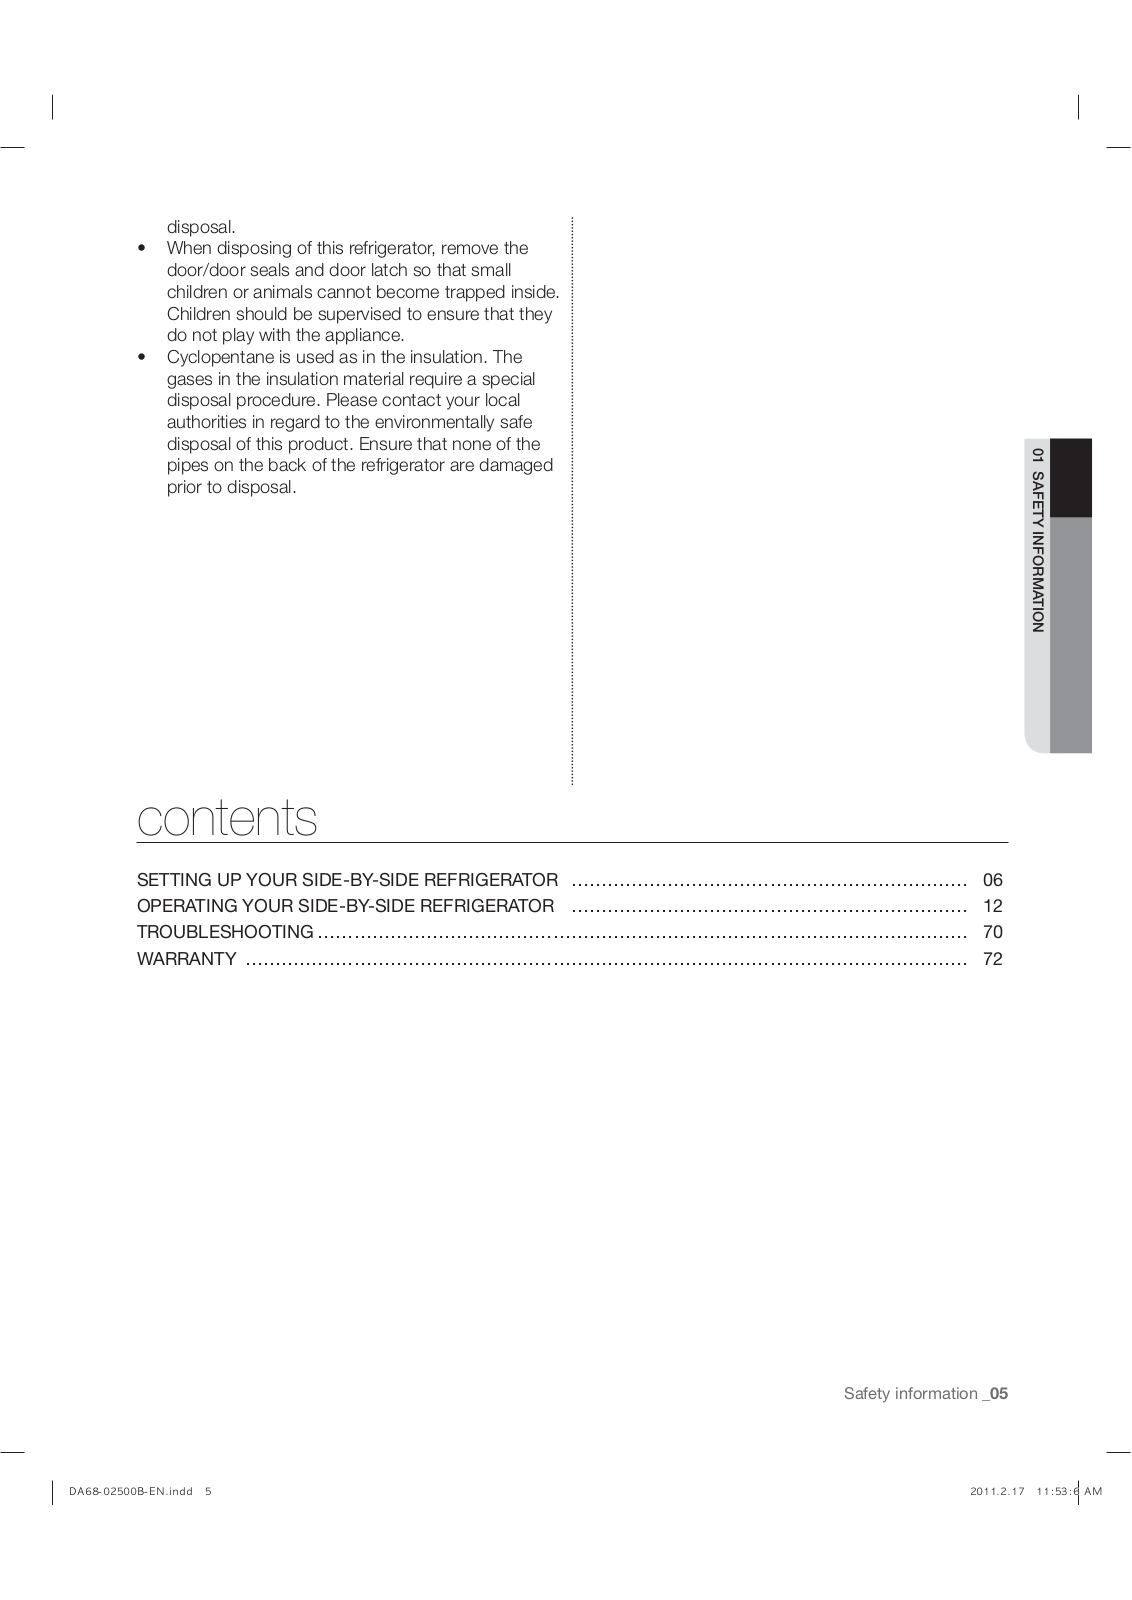
User Manual
76 pgs
3.34 Mb
0
Table of contents
Loading...
Samsung RF4289RSG309 User Manual
...
Samsung User Manual
Download
Specifications and Main Features
Frequently Asked Questions
User Manual
Download
Loading...
+
53
hidden pages
Unhide
You need points to download manuals.
1 point = 1 manual.
You can buy points or you can get point for every manual you upload.
Buy points
Upload your manuals
 Loading...