

Page 1
Customize settings
Customize general settings
Settings
Category
Photos
Clock
Alarm
General
Bluetooth
Support
Option
Quick Setup
Language
Brightness
Button Sound
Auto Picture On/Off
Startup Mode
Frame Memory Copy
Screen Saver
: English
: 70
: Off
: Home
: Original Size
: Slideshow
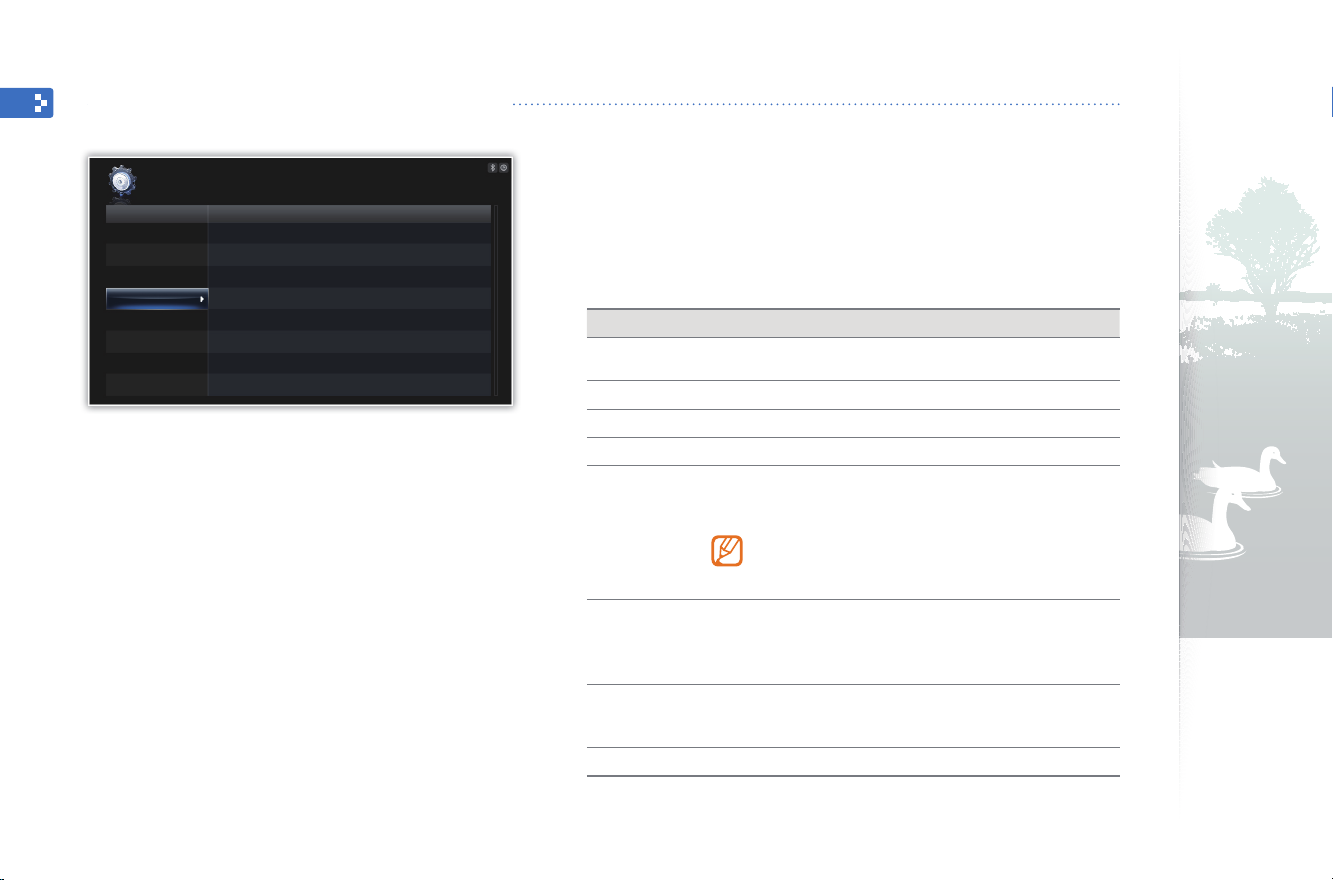
From the Main menu screen, scroll to 1 Settings
e
.
Scroll to
2
Scroll to one of the following options and touch
3
Option Description
Quick Setup
Language
Brightness
Button Sound
Auto Picture
On/Off
Startup Mode
Frame Memory
Copy
Screen Saver
General
and touch e.
Set up basic settings, including the language for your
frame (p. 11)
Select a language to display (p. 11)
Adjust the brightness of the screen
Set the button sound
Set the time for the screen to turn on or off automatically
(for example, you can set the screen to turn off when you
go to sleep or turn on when you wake up in the morning)
When you set this options and the screen is off,
touch any button except for
again.
Select a mode to activate when the frame turns on
Home• : Start with the Main menu
Last Mode• : Start with the mode you used last
Slideshow• : Start with a slideshow
Original Size• : Copy photos in their original size
Resized• : Copy photos in reduced sizes for optimal
resolution on the screen
Select a screensaver (Slideshow or Clock)
and touch
e
.
p
to turn it back on
39
Page 2
Customize settings
Customize Bluetooth settings
Settings
Category
Photos
Clock
Alarm
General
Bluetooth
Support
Option
Bluetooth Mode
Password
Device Information
: On
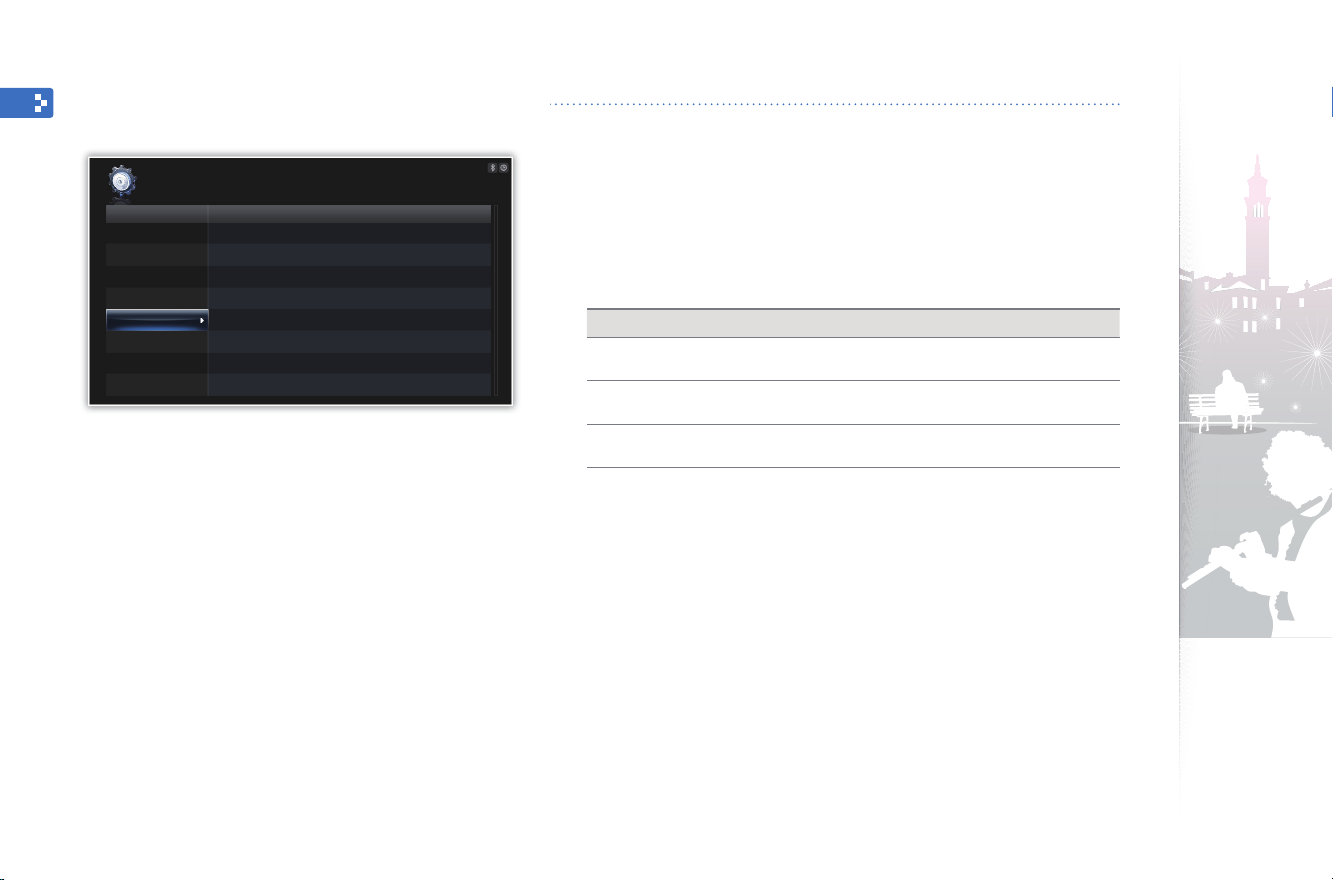
From the Main menu screen, scroll to 1 Settings
e
.
Scroll to
2
Scroll to one of the following options and touch
3
Option Description
Bluetooth
Mode
Password
Device
Information
Bluetooth
and touch e.
Turn on or off the Bluetooth wireless feature
Set a password for the Bluetooth wireless feature
The frame’s default PIN is 0000•
View device information or rename the frame
and touch
e
.
40
Page 3
Customize settings
Update or reset the frame
Settings
Category
Photos
Clock
Alarm
General
Bluetooth
Settings
Option
Upgrade Software
Reset
Product Guide
Product Information
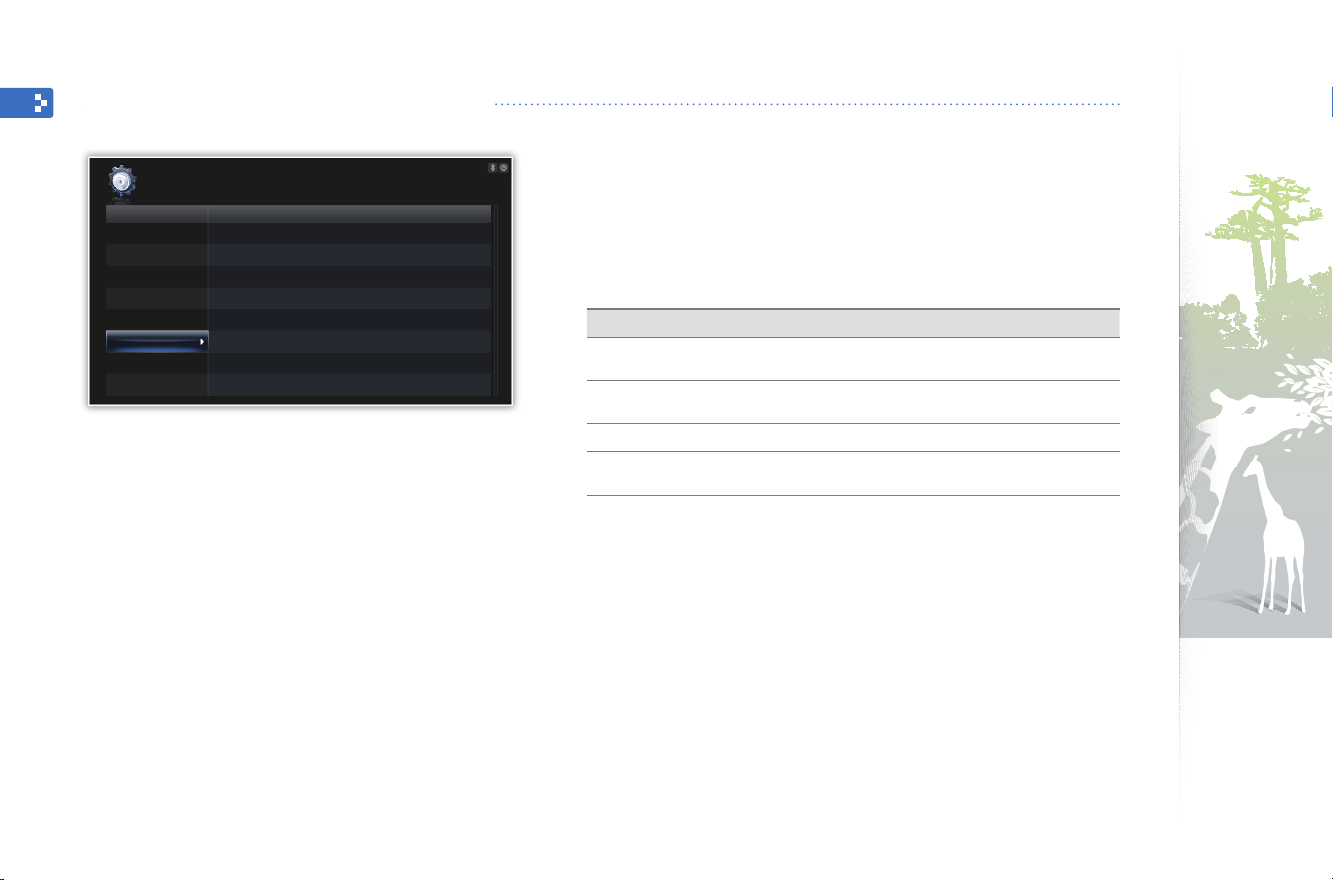
From the Main menu screen, scroll to 1 Settings
e
.
Scroll to
2
Scroll to one of the following options and touch
3
Option Description
Upgrade
Software
Reset
Product Guide
Product
Information
Support
and touch e.
Update the frame with the latest firmware (p. 44)
Reset all settings and options to their factory defaults
(except for the time and language settings)
View basic instructions for using your frame
View product information, such as model name, firmware
version, memory usage, or copyright
and touch
e
.
41
Page 4
Appendix
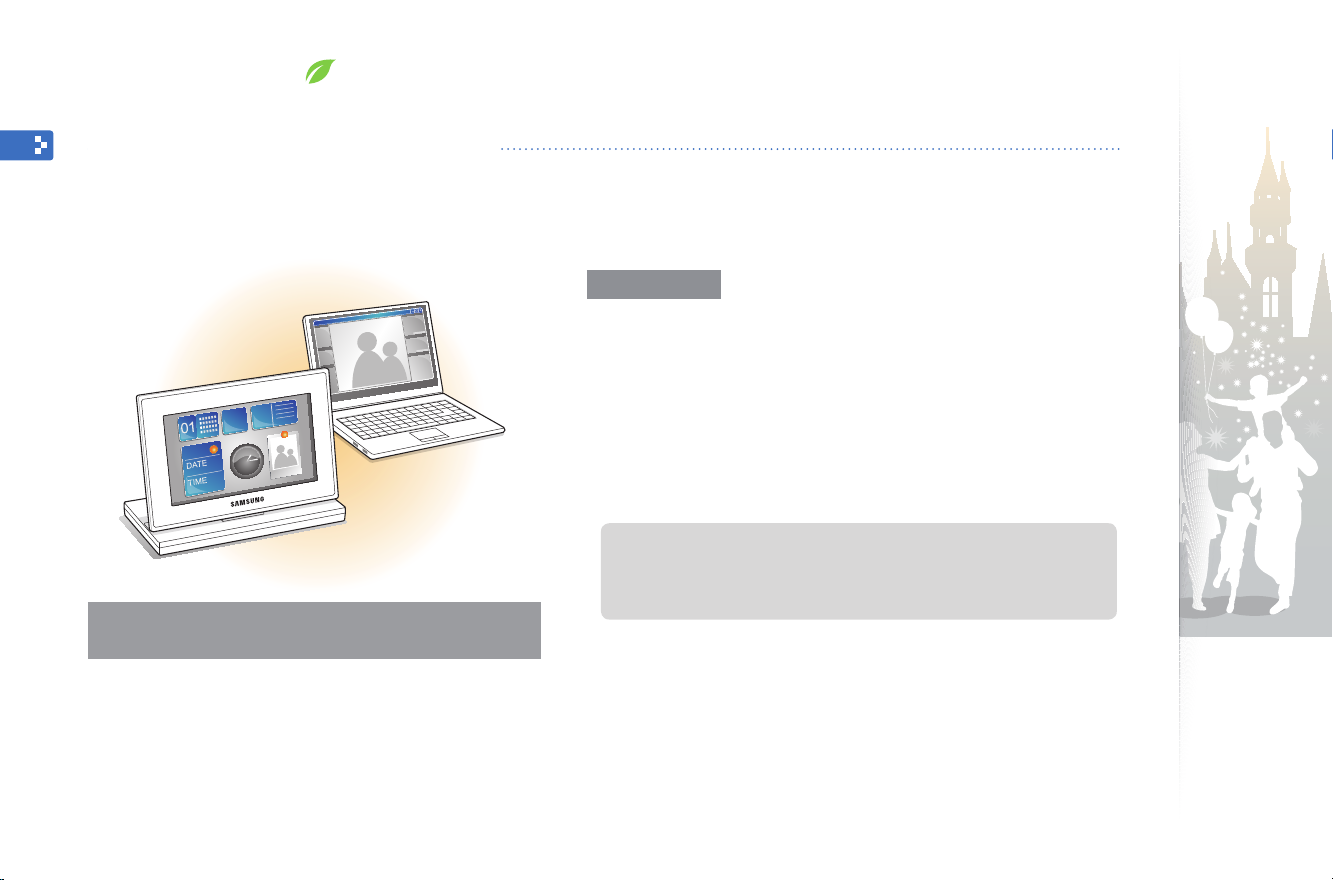
Use as a PC mini-monitor
You can use the frame as a mini-monitor (supplementary monitor) for a PC. Install the Frame Manager program on your
PC and connect the frame to the PC with the USB cable. For more information, visit the Samsung Electronics webpage
(http://www.samsung.com) and search for “800P” or “1000P”.
Before use
Read the Frame Manager User Manual to install the program properly.
•
Use the USB cable provided with the frame.
•
Do not use the frame as a primary monitor. The screen may not work
•
properly.
d
System requirements for using the frame
as a mini-monitor
OS: Windows XP (SP2/SP3), Vista (32bit)
•
USB: Extended Host Controller (EHCT) for USB 2.0
•
RAM: 512 MB or more
•
CPU: 2.4 GHz or more
•
Touch
•
mini-monitor.
If you have moved a program icon or window to the secondary monitor,
•
move it back to the primary monitor after use.
The frame may not function properly with some video cards. In this case,
•
try setting the hardware acceleration to None.
For Windows Vista, the Aero 3D effect may not function while using the
•
frame as a mini-monitor and some videos may not play on the frame.
The frame does not function as a Windows Presentation Foundation
•
application.
or u to adjust the brightness when you use the frame as a
To set the hardware acceleration to None,
1. Right-click on the Windows desktop, and select Properties.
2. When the Display Properties window appears, select Settings → Advanced →
Troubleshoot → Hardware acceleration and drag the indicator to None.
42
Page 5
Appendix
Use the PhotoActiva program
Use this program to view photos and videos, edit them with various effects, or create media files. You can also manage your
schedule. Download the PhotoActiva program from the Samsung Electronics webpage (http://www.samsung.com).
Visit http://www.samsung.com, search for “800P” or
1
“1000P”, and download the PhotoActiva program.
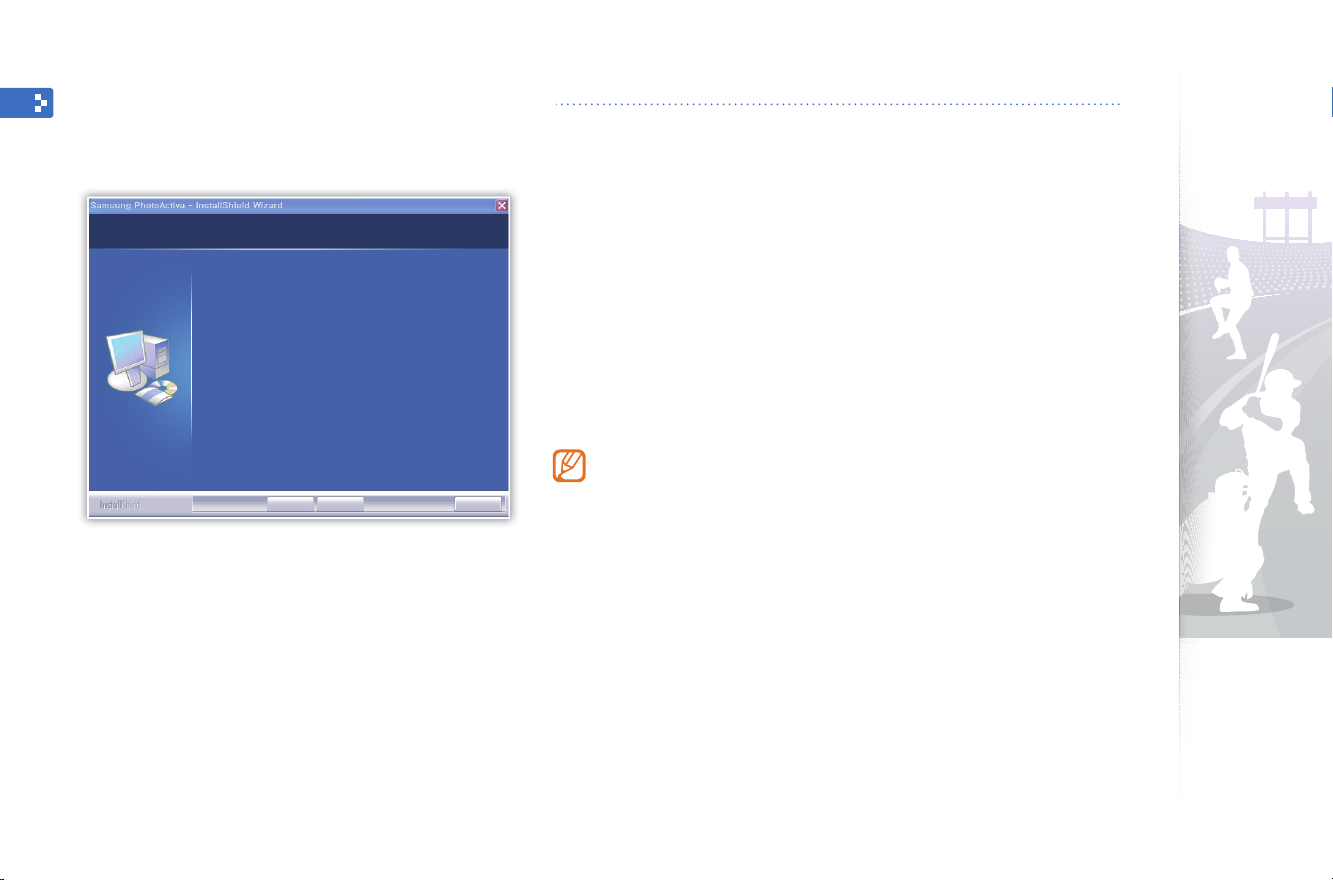
Welcome to the InstallShield Wizard for Samsung
PhotoActiva
The installShield Wizard will install Samsung PhotoActiva
on your computer. To continue, click Next.
Next>
Cancel< Back
Install the program on a PC by following the on-screen
2
instructions.
When the installation is complete, connect the frame to a
3
PC using the USB cable and use the PhotoActiva program.
For more details about the PhotoActiva program, refer to the Help •
provided with the program.
When you view or browse files created or edited with the PhotoActiva
program, some effects applied to the file may not display depending on
your frame.
43
Page 6

Appendix
Update Firmware
Download and install the latest firmware from the Samsung Electronics web page (http://www.samsung.com).
Connect the external memory device (SD memory card or
1
USB memory device) to the PC (p. 14).
Upgrade Software
Getting upgrade files now.
Do not remove the storage device.
Upgrading…
Back up your files (photos, videos, or music) •
before updating the firmware to prevent losing
them.
While the update is in progress, •
Do not disconnect the external device (SD memory card or USB memory device) from the frame.
Do not touch any buttons. Do not insert any other memory cards. Do not turn the frame off . -
You can verify that the firmware is updated to the •
latest version by accessing Product Information
in Settings → Upgrade Software.
Copy the latest firmware you have downloaded to the
2
external memory device.
Copy the firmware to the root folder on the memory device.•
Disconnect the external memory device from the PC, and
3
then connect it to the frame.
From the Main menu screen, scroll to
4
e
.
Scroll to
5
Scroll to
6
Select the external memory device.
7
When the update is complete, turn the frame off , remove
8
the external memory device (SD memory card or USB
memory device), and turn the frame on.
Support
Upgrade Software
The firmware will be updated.•
and touch e.
and touch e.
Settings
and touch
44
Page 7

Appendix
Troubleshooting
Try the following if you have trouble using the frame.
Issue Resolution
The frame will not turn on. Verify that the power cable is connected properly.
When connecting the frame to a PC with
the USB connector, the screen blinks and
the frame turns off automatically.
There is light leaking along the border of
the clock screen.
The time setting is not correct.
It takes time for a photo to display when
the frame turns on or during a slideshow.
Even though there is free space left on the
internal memory, photos will not copy there.
External devices (USB memory device or
SD memory card) do not function properly.
JPEG photos do not play.
Some photos will not display in a
slideshow.
The proportion of a photo is not correct. From the Main menu screen, select Settings → Photos → Aspect Ratio → Original Fit.
There may be a problem with the USB port of the PC.
If the screen is black, there may be light showing through due to the characteristics of the LCD
panel. This is normal.
When the power adapter is disconnected for a long period of time, the current time settings may
be lost. Connect the power adapter at all times.
If the resolution of a photo is high or the file size is large, it may take longer to display.
If the FAT section of the internal memory is damaged, photos may not copy there.•
Make a folder inside the internal memory to copy photos.•
Verify that the devices are connected properly.•
Verify that the photos stored in the external memory devices are in JPEG format. Corrupted or •
damaged files will not display.
The device may not be supported by the frame. Try another device.•
JPEG photos saved in CMYK modes will not display.•
JPEG photos edited by image editors (e.g., Photoshop or Paintshop) may not display properly. •
Save photos in JPEG format after editing on a PC and play the slideshow again.
Your frame can read up to 10,000 photos. Photos exceeding this limit will not display in a
slideshow.
The preview plays slowly. When there are many photos or large file sizes, the preview may be slow.
45
Page 8

Appendix
Troubleshooting (continued)
Issue Resolution
Even when there is only one photo on the
memory card or Slideshow Mode is set to
One photo, the slideshow effect is applied
to the photo.
In what order are the photos displayed on a
memory card?
The slideshow will not start automatically. Verify that Startup Mode is set to Slideshow in Settings → General (p. 39).
I activated the Auto Picture On/Off
feature, but the screen does not turn on
automatically.
I want to reset the frame.
The effect is applied to protect the panel.
The photos are arranged by file names, in the order of number – upper case letter – lower case
letter.
Verify that the current time is set correctly.•
p
If you have touched •
activated, the screen does not turn on automatically. The screen turns on automatically only
when the screen was turned off automatically via the Off Time setting.
Select Reset in Settings →Support to their factory default, but the time and language settings
will not be reset.
to turn the frame off when the Auto Picture On/Off feature is
46
Page 9

Appendix
Specications
Digital frame
Model name 800P 1000P
Panel
File formats
Built-in memory
USB
Type
Resolution
Photo
Music
Video
8” TFT LCD 10” TFT LCD
800 x 480 1024 x 600
BMP
JPEG (CMYK formats not supported)
Support the maximum resolution of 16,000 X 16,000•
Support the maximum ratio from 1:6 to 6:1•
MP3 (Frequency: 8 ~ 48 Khz, Bit Rates : 8 ~ 320 Kbps)
Video Codec Format Combination Capability
Container Video Audio
M-JPEG(*.MOV, *.AVI)
MPEG-1(*.MPG)
MPEG-4(*.AVI, *.MP4)
2GB
Host (USB 2.0) / Device (USB 2.0)
MOV
AVI
* PCM : PCM, ADPCM, ALAW, MULAW
Container Video Audio
MPG MPEG-1 MP2
* MP2 : MPEG-1 Layer II
Container Video Audio
AVI
MP4
* MPEG-4 : MPEG-4 ASP
* AVI : DivX 4.x / 5.x / 6.x, XviD
* DivX 3.x (DIV3) is not supported
* AAC: AAC-LC
* AMR: NB and WB
JPEG
MJPG
MPEG-4
mp4v
PCM
PCM
MP3/PCM/AC-3
AAC/AMR
VGA(640 X 480),
30 Fps, 15000 Kbps
D1(720 X 480), 30 Fps,
2000 Kbps CBR
D1(720 X 480), 30 Fps,
2000 Kbps CBR
47
Page 10

Appendix
Specications (continued)
Power
General
* The design of the product may vary according to the model. Specifications are subject to change without notice.
* This device is a class B digital apparatus.
Rating
Consumption
Dimension (W x H x D)
Weight
External DC 12V
On: 11 W / Off: less than 1 W On: 11 W / Off: less than 1 W
228.0 mm X 167.4 mm X 118.0 mm (When the
frame is set up)
228.0 mm X 27.0 mm X 193.4 mm
670 g 750 g
272.0 mm X 197.4 mm X 118.0 mm (When the
frame is set up)
272.0 mm X 27.0 mm X 223.6 mm
Bluetooth
Emission Type
RF power
Transmission Power
Transmission Frequency
Number of channels
Modulation System
Communication System
* RF power may differ depending on user environment.
F1D
CLASS II
0.1 mW
2402 ~ 2480 MHz
79 channels
GFSK / 8D PSK
Half-duplex operation
Oscillation System
Specifications Version Supported
Bluetooth QD ID
Module
Temperature
Humidity
Correct disposal of the frame
Dispose of the product according to local regulations and applicable laws.
Crystall Oscillation System
2.0+EDR
B015915
BTM0605C4NA
0 °C ~ +40 °C
0 % ~ 95 %
48
Page 11

Appendix
Contact information of Samsung Worldwide
If you have any questions or comments relating to Samsung products, please contact.
Region Contact Center Web Site
CANADA 1-800-SAMSUNG (726-7864) www.samsung.com/ca
North America
Latin America
MEXICO 01-800-SAMSUNG (726-7864) www.samsung.com/mx
U.S.A 1-800-SAMSUNG (726-7864) www.samsung.com/us
ARGENTINA 0800-333-3733 www.samsung.com/ar
BRAZIL 0800-124-4214004-0000 www.samsung.com/br
CHILE 800-SAMSUNG (726-7864) www.samsung.com/cl
COLOMBIA 01-8000112112 www.samsung.com.co
COSTA RICA 0-800-507-7267 www.samsung.com/latin
ECUADOR 1-800-10-7267 www.samsung.com/latin
EL SALVADOR 800-6225 www.samsung.com/latin
GUATEMALA 1-800-299-0013 www.samsung.com/latin
HONDURAS 800-7919267 www.samsung.com/latin
JAMAICA 1-800-234-7267 www.samsung.com/latin
NICARAGUA 00-1800-5077267 www.samsung.com/latin
PANAMA 800-7267 www.samsung.com/latin
PUERTO RICO 1-800-682-3180 www.samsung.com/latin
REP. DOMINICA 1-800-751-2676 www.samsung.com/latin
TRINIDAD &
TOBAGO
VENEZUELA 0-800-100-5303 www.samsung.com/latin
1-800-SAMSUNG (726-7864) www.samsung.com/latin
Region Contact Center Web Site
AUSTRIA
BELGIUM 02 201 2418
CZECH REPUBLIC
DENMARK 8 - SAMSUNG (7267864) www.samsung.com/dk
EIRE 0818 717 100 www.samsung.com/ie
FINLAND 30 - 6227 515 www.samsung.com/fi
FRANCE 01 4863 0000 www.samsung.com/fr
GERMANY
Europe
HUNGARY 06-80-SAMSUNG (726-7864) www.samsung.com/hu
ITALIA 800-SAMSUNG (726-7864) www.samsung.com/it
LUXEMBURG 02 261 03 710 www.samsung.com/lu
NETHERLANDS
NORWAY 3 - SAMSUNG (726-7864) www.samsung.com/no
POLAND
PORTUGAL 80820-SAMSUNG (726-7864) www.samsung.com/pt
SLOVAKIA 0800-SAMSUNG (726-7864) www.samsung.com/sk
SPAIN
SWEDEN 075 - SAMSUNG (726-7864) www.samsung.com/se
SWITZERLAND
U.K 0845 SAMSUNG (726-7864) www.samsung.com/uk
0810 - SAMSUNG (726-7864)
(€ 0.07/min)
800 - SAMSUNG
(800-726786)
SamsungZrt.,českáorganizačnísložka,OasisFlorenc,
Sokolovská394/17,18000,Praha8
01805 - SAMSUNG (726-7864)
(€ 0,14/Min)
0900-SAMSUNG
(726-7864) (€ 0,10/Min)
0 801 1SAMSUNG
(1-726-78)022-607-93-33
902 - 1 - SAMSUNG
(902-1726-678)
0848 - SAMSUNG (726-7864)
(CHF 0.08/min)
www.samsung.com/at
www.samsung.com/be
(Dutch)
www.samsung.com/be_fr
(French)
www.samsung.com/cz
www.samsung.de
www.samsung.com/nl
www.samsung.com/pl
www.samsung.com/es
www.samsung.com/ch
49
Page 12

Appendix
Contact information of Samsung Worldwide (continued)
Region Contact Center Web Site
ESTONIA 800-7267 www.samsung.com/ee
KAZAKHSTAN 8-10-800-500-55-500 www.samsung.com/kz_ru
KYRGYZSTAN 00-800-500-55-500
LATVIA 8000-7267 www.samsung.com/lv
CIS
Asia Pacific
LITHUANIA 8-800-77777 www.samsung.com/lt
RUSSIA 8-800-555-55-55 www.samsung.ru
TADJIKISTAN 8-10-800-500-55-500
UKRAINE 8-800-502-0000 www.samsung.ua
UZBEKISTAN 8-10-800-500-55-500 www.samsung.com/kz_ru
AUSTRALIA 1300 362 603 www.samsung.com/au
CHINA
HONG KONG 3698-4698 www.samsung.com/hk
INDIA
INDONESIA 0800-112-8888 www.samsung.com/id
800-810-5858
400-810-5858
010-6475 1880
3030 8282
1800 110011
1800 3000 8282
www.samsung.com/cn
www.samsung.com/in
Soware License
This product uses parts of the software from the Independent JPEG Group.•
This product uses parts of the software from the Mozilla Public License.•
This product uses parts of the software owned by the Freetype Project (www.freetype.org).•
This product uses some software programs which are distributed under the GPL/LGPL license.•
Accordingly, the following GPL and LGPL software source codes that have been used in this product can be provided after asking to vdswmanager@samsung.com.•
GPL software: Linux Kernel, Busybox, Binutils, u-boot, wireless-tools / LGPL software: Glibc, Ffmpeg, libusb•
To see more details, click Software License on the main screen of the CD-ROM.
Region Contact Center Web Site
JAPAN 0120-327-527 www.samsung.com/jp
Asia Pacific
(Continued)
Middle East &
Africa
MALAYSIA 1800-88-9999 www.samsung.com/my
NEW ZEALAND
PHILIPPINES
SINGAPORE 1800-SAMSUNG (726-7864) www.samsung.com/sg
TAIWAN 0800-329-999 www.samsung.com/tw
THAILAND 1800-29-323202-689-3232 www.samsung.com/th
VIETNAM 1 800 588 889 www.samsung.com/vn
MIDDLE EAST &
AFRICA
TURKEY 444 77 11 www.samsung.com/tr
U.A.E
0800 SAMSUNG
(0800-726-786)
1-800-10-SAMSUNG
(726-7864)
1-800-3-SAMSUNG
(726-7864)
02-5805777
0860-SAMSUNG (726-7864) www.samsung.com/za
800-SAMSUNG (726-7864)
8000-4726
www.samsung.com/nz
www.samsung.com/ph
www.samsung.com/ae
50
Page 13

Appendix
Index
A
alarm
creat, 37
stop, 38
aspect ratio, 23
B
basic settings, 11
Bluetooth
Bluetooth mode, 32
receive data, 32
brightness, 39
C
clock
clock type, 13
date format, 13
time and date, 13
time format, 13
connect
external memory devices, 14
PC, 16
F
file
browse files, 28
copy files, 30
delete files, 31
manage files, 29
transfer files, 17
firmware upgrade, 44
Frame Manager, 42
L
language, 11, 39
M
main menu, 12
mass storage, 17
memory location, 15
mini monitor, 42
music
mode, 27
order, 27
play music, 26
repeat, 27
settings, 27
P
PC requirements, 42
product disposal, 48
product information, 40
Q
quick setup, 11
R
remote control, 9
reset settings, 41
rotate, 21
51
Page 14

Appendix
Index (continued)
S
screensaver, 39
slideshow
aspect ratio, 23
background music, 21
display photo info, 23
mode, 22
order, 23
play slideshow, 19
rotate, 21
settings, 21
speed, 22
transition, 22
view mode, 20, 23
zoom, 21
specifications, 47
startup mode, 39
supplementary monitor, 42
T
touch buttons, 7
troubleshooting, 45
U
USB connector, 16
V
video
mode, 25
order, 25
play video, 24
repeat, 25
settings, 25
view mode, 20
Z
zoom, 21
52
Page 15

RF Radiation Exposure Statement
This equipment complies with FCC RF Radiation Exposure limits set forth for anuncontrolled environment.
This equipment should be installed and operated with aminimum distance of 20cm between the radiator and your body.
This transmitter must not be co-located or operating in conjunction with any other antenna or transmitter.
 Loading...