

Samsung LXB530, LXB310 User Manual

320+520-E 7/21/98 11:33 AM Page i
Color Monitor
Owner’s
Instructions
320+520-E 7/21/98 11:33 AM Page ii
RISK OF ELECTRIC SHOCK
CAUTION: TO REDUCE THE RISK OF ELECTRIC SHOCK,
DO NOT REMOVE COVER (OR BACK).
NO USER-SERVICEABLE PARTS INSIDE.
REFER SERVICING TO QUALIFIED SERVICE PERSONNEL.
The lightning flash with arrowhead symbol, within an equilateral
triangle, is intended to alert the user to the presence of uninsulated “dangerous voltage” within the product’s enclosure that may
be of sufficient magnitude to constitute a risk of electric shock.
The exclamation point within an equilateral triangle is intended to
alert the user to the presence of important operating and servicing
instructions in the literature accompanying the appliance.
C A U T I O N
DO NOT OPEN
About this Manual
This manual shows the precautions, features, specifications, installation, and opearation of your LCD monitor.
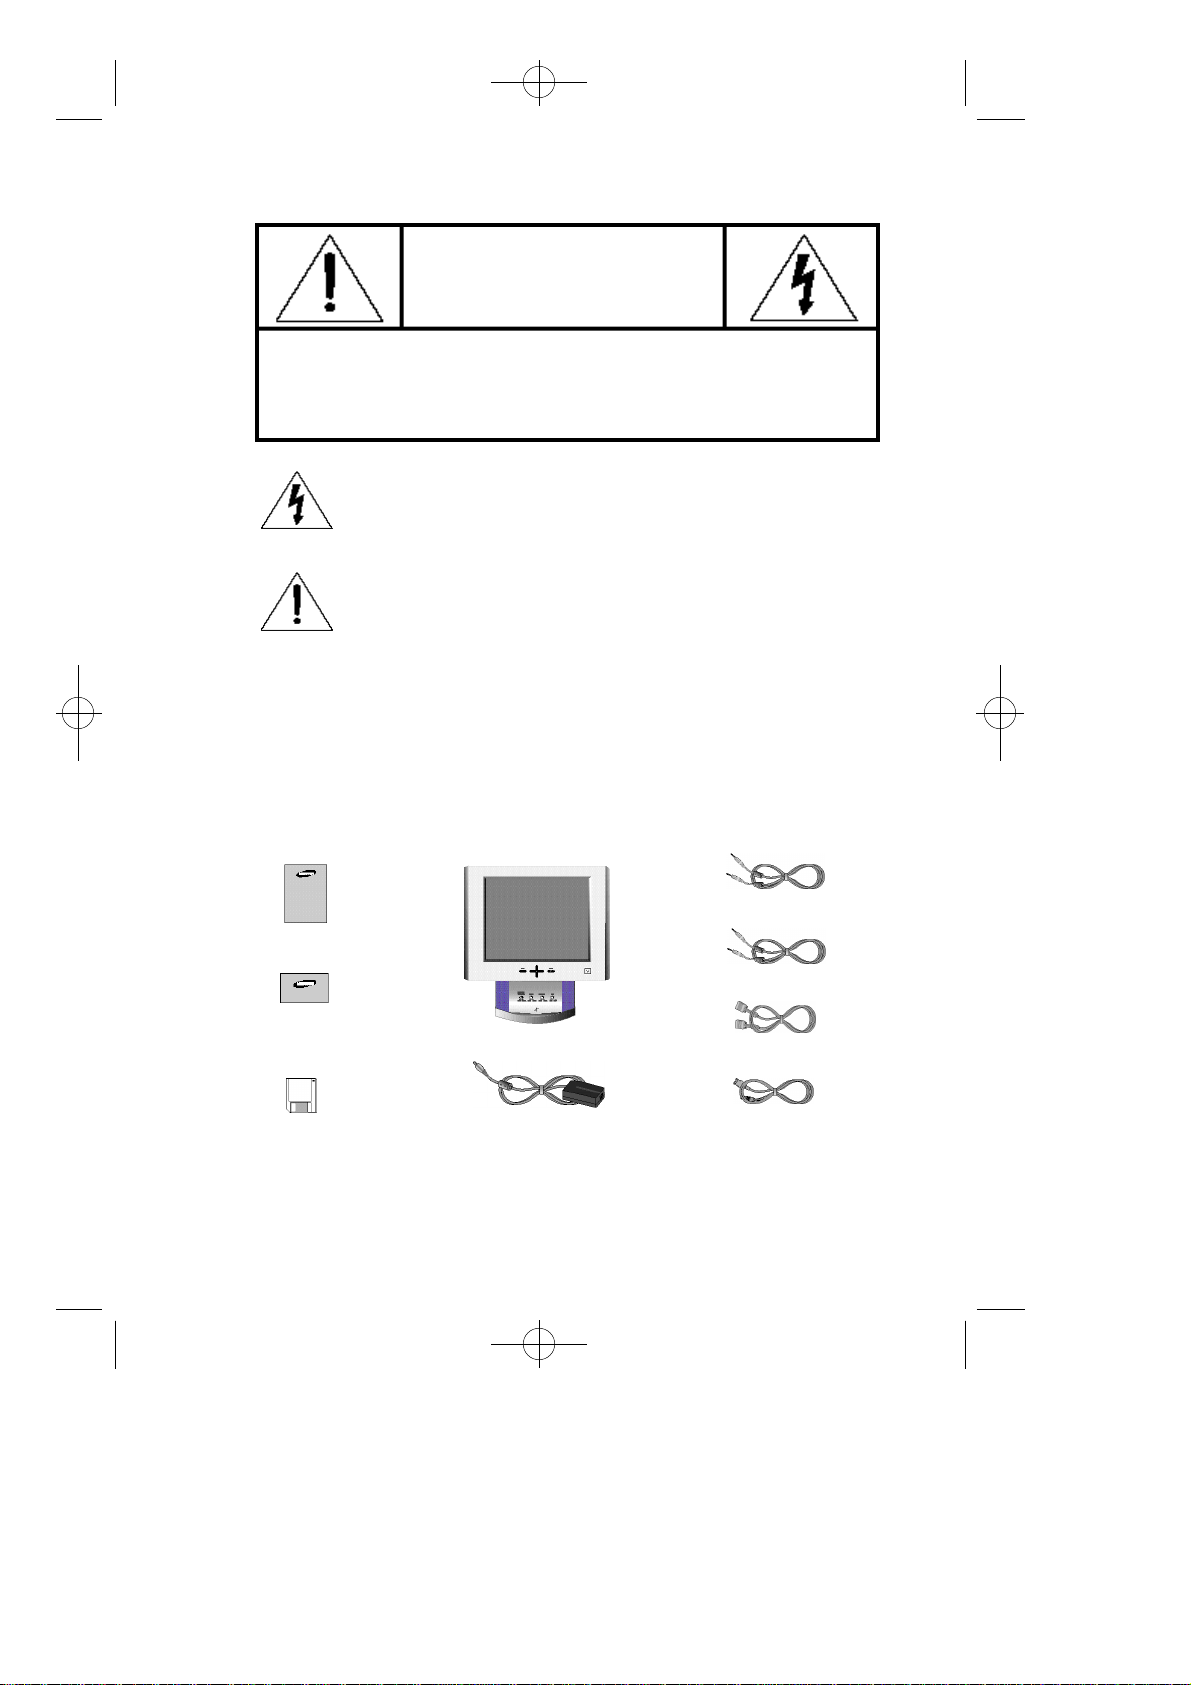
Unpacking your Monitor
Please make sure the following items are included with your computer monitor:
Microphone Output Cable
This Manual
Sound Cable
Warranty Card
(not available in all areas)
Diskette
Note: You can connect the LCD monitor to a Macintosh computer using an optional
adapter. For the optional adapter, please contact your LCD monitor dealer.
ii
Monitor and Stand-base
DC Adapter (Optional)
Signal Cable
Power Cable

320+520-E 7/21/98 11:33 AM Page 1
Precautions . . . . . . . . . . . . . . . . . . . . . . .2
Overview of LCD Monitor . . . . . . . . . . . .3
Installation . . . . . . . . . . . . . . . . . . . . . . . .5
Adjusting Your LCD Monitor . . . . . . . . . .6
Table of Contents
Frontview........................................................................................3
Rearview........................................................................................4
Connecting Your LCD Monitor....................................................5
Screen Image Adjustment...........................................................6
Automatic Adjustment..........................................................7
Manual Adjustments.............................................................8
Non-OSD Controls...............................................................12
Audio Controls......................................................................13
Audio Adjustment................................................................13
Power Saver.................................................................................14
Troubleshooting ..........................................................................15
A p p e n d i x . . . . . . . . . . . . . . . . . . . . . . . . .1 8
Electrical Specifications............................................................18
Mechanical Specifications.......................................................19
Pin Assignments.........................................................................20
Display Modes Timing Chart.....................................................21
1

320+520-E 7/21/98 11:33 AM Page 2
P
recautions
Please read and follow these instructions when connecting and using your LCD monitor.
Do not touch the surface of the LCD monitor panel with objects having sharp tips or edges.
Although the surface of the TFT-LCD monitor has been coated to have scratch resistance,
touching the surface with sharp objects can damage the panel.
Do not press hard or allow heavy objects to fall onto the sur face of the LCD monitor.
Keep the LCD monitor away from direct sunlight and other heat sources.
Setting up the LCD monitor under direct sunlight can significantly decrease the contrast and
increase glare. Also, if the ambient temperature is out of the guaranteed operation specification, the panel can show residual images that will overlap other images.
This ghost-like residual image will gradually disappear as time passes, but for some
extreme cases this residual image means that the LCD panel has been permanently damaged.
When you set up the LCD monitor, allow enough room for ventilation around the back of the
LCD monitor cabinet.
The LCD monitor has guaranteed operation temperature specifications.
Reserving ample space for ventilation and not blocking the ventilation holes on the back of
the monitor is essential for the safe and stable operation of the LCD monitor.
Use the enclosed power cord and optional adapter.
The enclosed power cord and optional adapter are specifically designed for the LCD monitor
you just purchased. Connecting a different power cord and adapter can cause a fire or
equipment damage.
Keep liquids away fr om the LCD monitor.
Although the LCD panel is especially coated to protect it from scratches, dust and moisture,
it is not waterproof. Spillage onto the LCD panel or cabinet can result in electric shock
and/or permanent equipment damage. When you spill liquid on the cabinet, unplug the LCD
monitor immediately and have it checked by a qualified technician.
Do not use any strong solvents or abrasive cleansers to clean the LCD panel.
The use of any strong solvents or abrasive cleansers can damage the very thin coating
layer. This coating improves the screen quality of the LCD monitor.
Use a soft cloth to protect the surface of the LCD monitor when removing dust or any stains.
2
320+520-E 7/21/98 11:34 AM Page 3
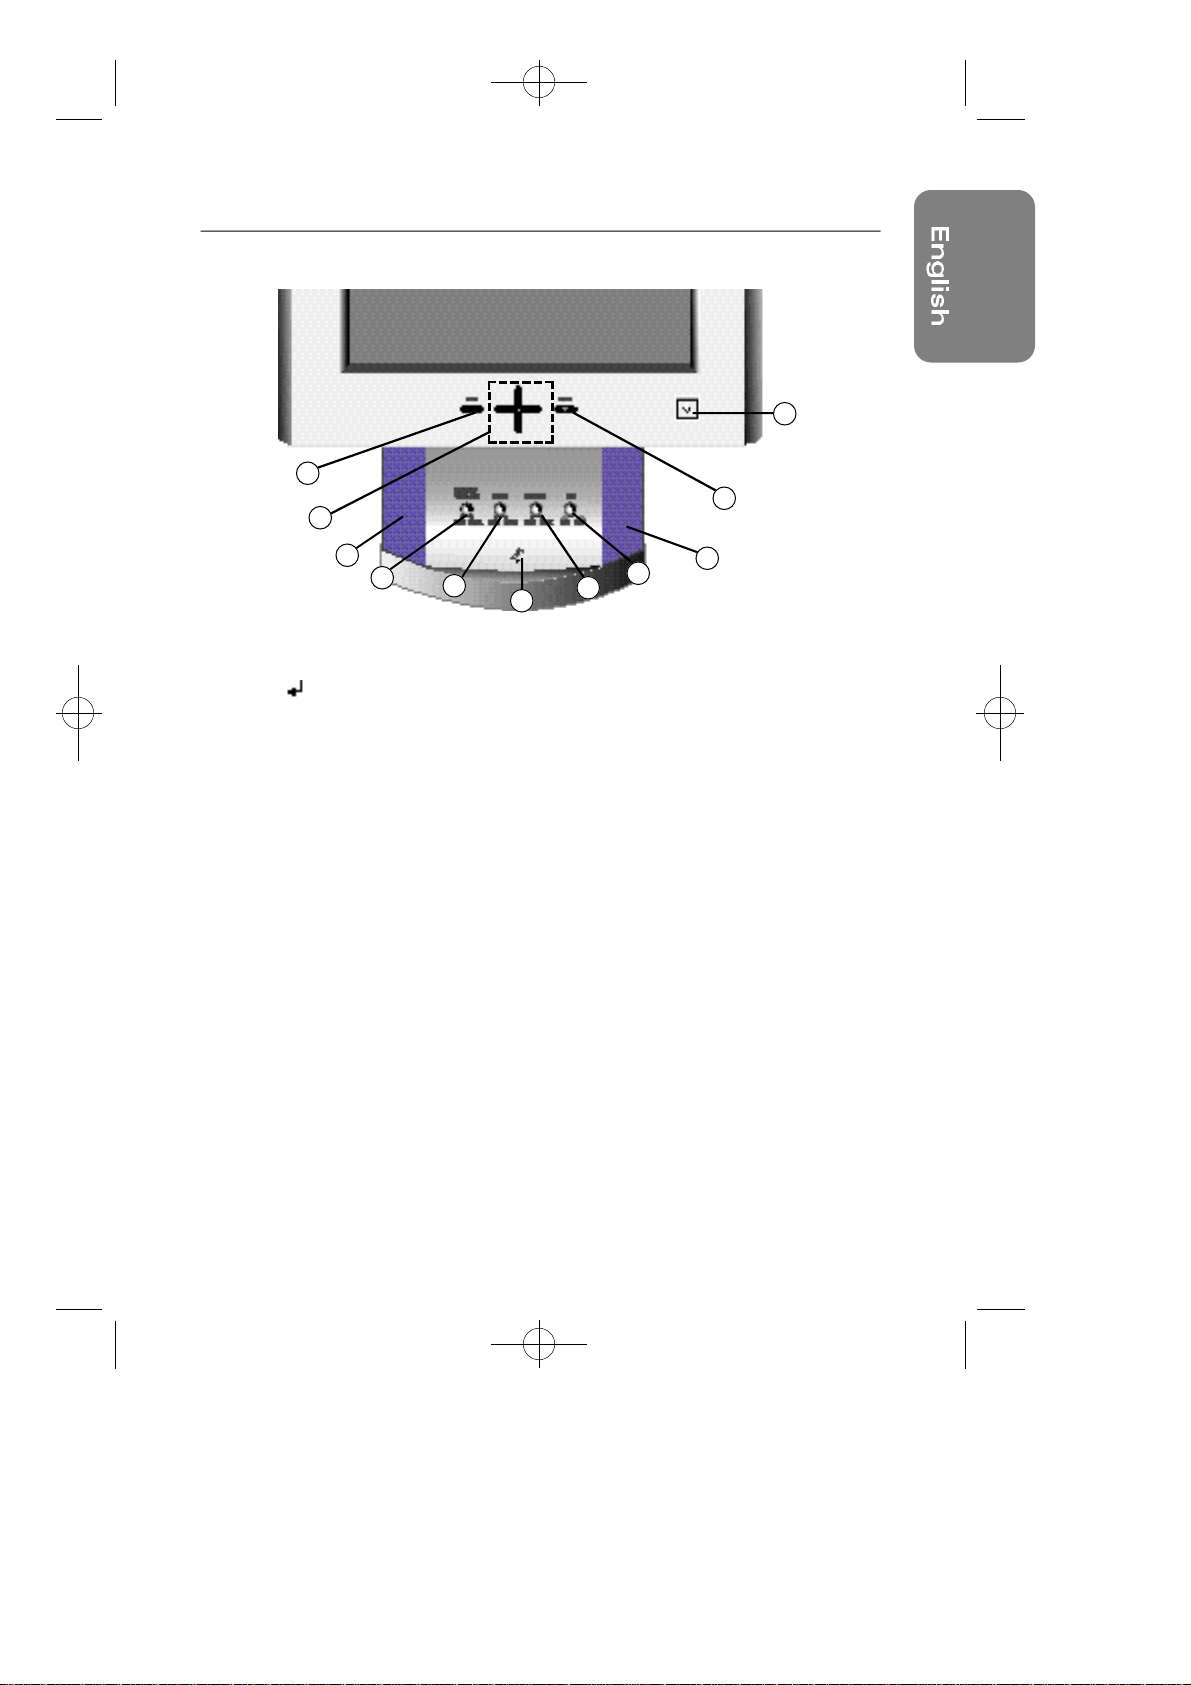
Frontview
2
3
Overview of LCD Monitor
4
1
10
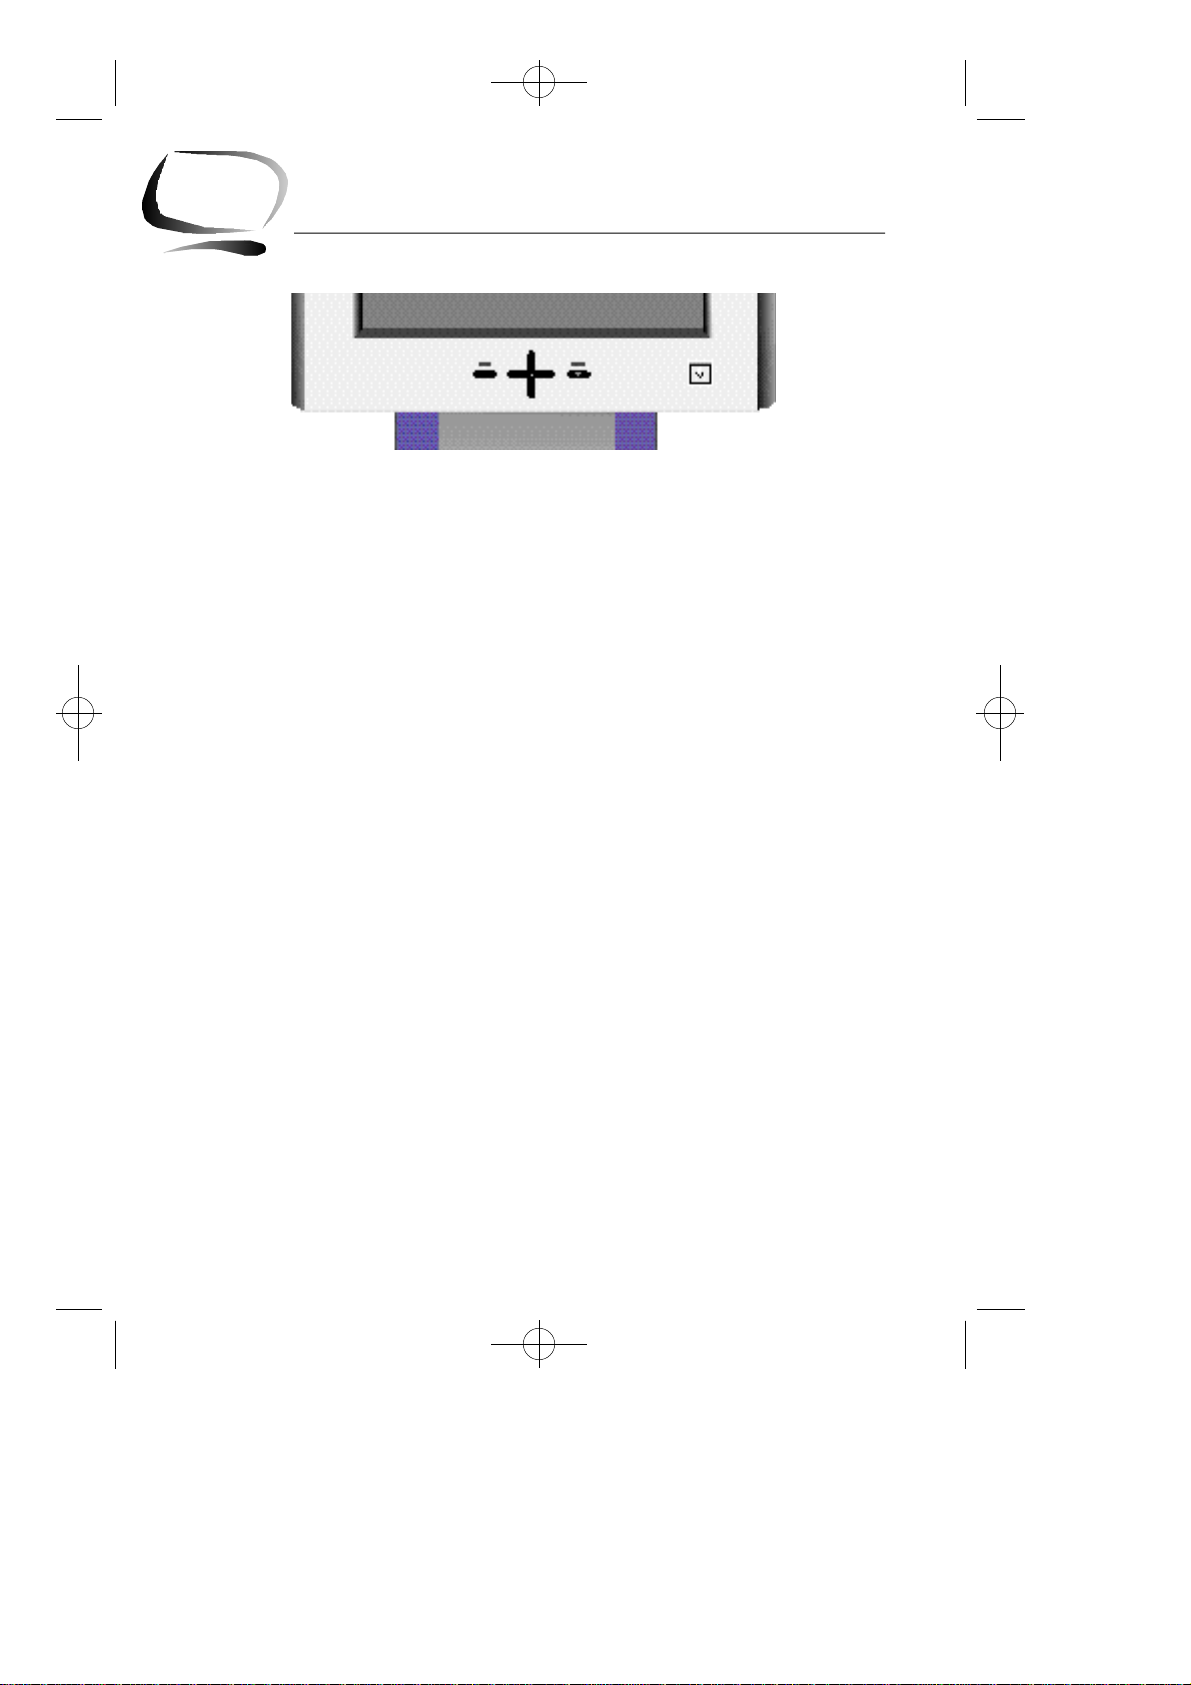
Screen Controls
5
6
9
8
7
10
1. Menu [ ] button. Use this button to activate the on-screen display or to enter a
selection in the on-screen display.
2. Exit button. Use this button to exit the on-screen display.
3. Up [ ▲ ] / Down [ ▼] and –/+ buttons.
Use these buttons to choose or adjust items in the on-screen display.
4. Power button and Indicator.
Use this button to turn the monitor On and Off. The indicator light in the middle of
the button glows green during normal operation and glows amber while the
monitor is in the power saving mode or if the signal cable is disconnected.
Audio Controls
5. Audio On/Off and Volume.
Use this button to turn the sound On and Off and to control the sound volume.
6. Bass. Use this button to adjust the volume of the low sounds.
7. Treble. Use this button to adjust the volume of the high sounds.
8. Microphone On/Off. Use this button to turn the internal microphone On or Off.
9. Microphone. Picks up sound and sends it to the sound card in your PC.
10. Amplified Stereo Speakes
3

320+520-E 7/21/98 11:34 AM Page 4
Overview of LCD Monitor
Rearview
2
1
3 4
6
5
1. Signal cable.
Connect your signal cable to the port of video card in the PC.
2. Power port.
Connect the power cable here.
3. Microphone out port.
Connect a cable here to send sound from the monitor’s microphone to the computer’s sound card.
4. Audio in port.
Connect a cable here to bring in sound from your computer’s sound card.
5. External microphone jack.
Connect an external microphone here. Using an external microphone automatically disconnects the monitor’s internal microphone.
6. Headphone jack.
Connect headphones here. When you connect headphones, the monitor’s speakers are turned off.
4
320+520-E 7/21/98 11:34 AM Page 5
Before connecting the LCD monitor to your computer, make sure that your computer
supports the video mode supported by the LCD monitor. If the video mode, at the time
of installation, is not one supported by the LCD monitor, the LCD monitor may not display the image as it is intended.
Connecting Your LCD Monitor
1. Be sure that the power switches of both the Computer and the LCD monitor are OFF.
2. If you are using a Macintosh computer, connect the other end of the signal cable
to a Macintosh adapter. (The adapter is not included with your monitor. Contact
your dealer for more information.) If you are using a standard PC and graphics
board, skip to step 5.
3. Follow the instructions included with your Macintosh-to-PC adapter to set the
configurations on your adapter, if necessory.
4. Connect the signal cable to the video port on the back of your computer.
This port might be directly attached to your computer, or it might be part of a video
board, video card, or graphics card.
5. Connect the power cable for the LCD monitor to the back of your monitor.
6. Follow the directions that came with your sound card or your computer to connect
the monitor’s speakers and microphone.
7. Plug the computer and monitor power cables into a nearby outlet.
8. Turn your computer and monitor on.
If your monitor displays an image, you have successfully installed the monitor.
If the monitor does not display an image, check all the connections and follow the
troubleshooting guide beginning on page 15.
9. Your LCD monitor is now ready to use, but to get the best image on the LCD moni
tor, most of the LCD monitor parameters must be fine tuned to work with the video
adapter you are using. The following sections will guide you through the step-bystep procedures for adjusting the parameters for your specific needs.
Your LCD monitor uses an On-Screen Display (OSD) which gives you a convenient way to fine
tune the quality of the screen image. Six control buttons on the front panel of the LCD monitor
are used to operate the OSD menu.
Installation
5
320+520-E 7/21/98 11:34 AM Page 6
Adjusting Your LCD Monitor
1. The MENU button turns on the menu and activates the highlighted function.
2. Push the EXIT button to stop and close the OSD.
3. Use the ▲ and ▼ buttons to move between the function menus, and use the –and + but-
tons to make adjustments to the selected function option.
Your LCD monitor also provides audio controls located on the front of the stand. The audio
controls are described starting on page 13.
Screen Image Adjustment
Tip 1:
The LCD monitor needs time to become thermally stable the first time you turn it on each day.
Thus, to achieve more accurate adjustments for parameters, allow the LCD monitor to warm
up (be On) for at least 20 minutes before making any screen adjustments.
Tip 2:
The image on the LCD monitor is viewed best when the monitor is placed just below eye level.
Please tilt the monitor screen for your viewing comfort.
Tip 3:
The accompanying installation diskette with the label “Screen Manager” contains utilities that
are useful when making screen adjustments. Install and run the Screen Manager and read
the “readme.txt” file before you make adjustments.
Caution: Do not push and hold in for more than 3 seconds any control button on the front
panel of the monitor. Doing so may activate a special function that replaces the
parameters with the factory preset values.
6
 Loading...