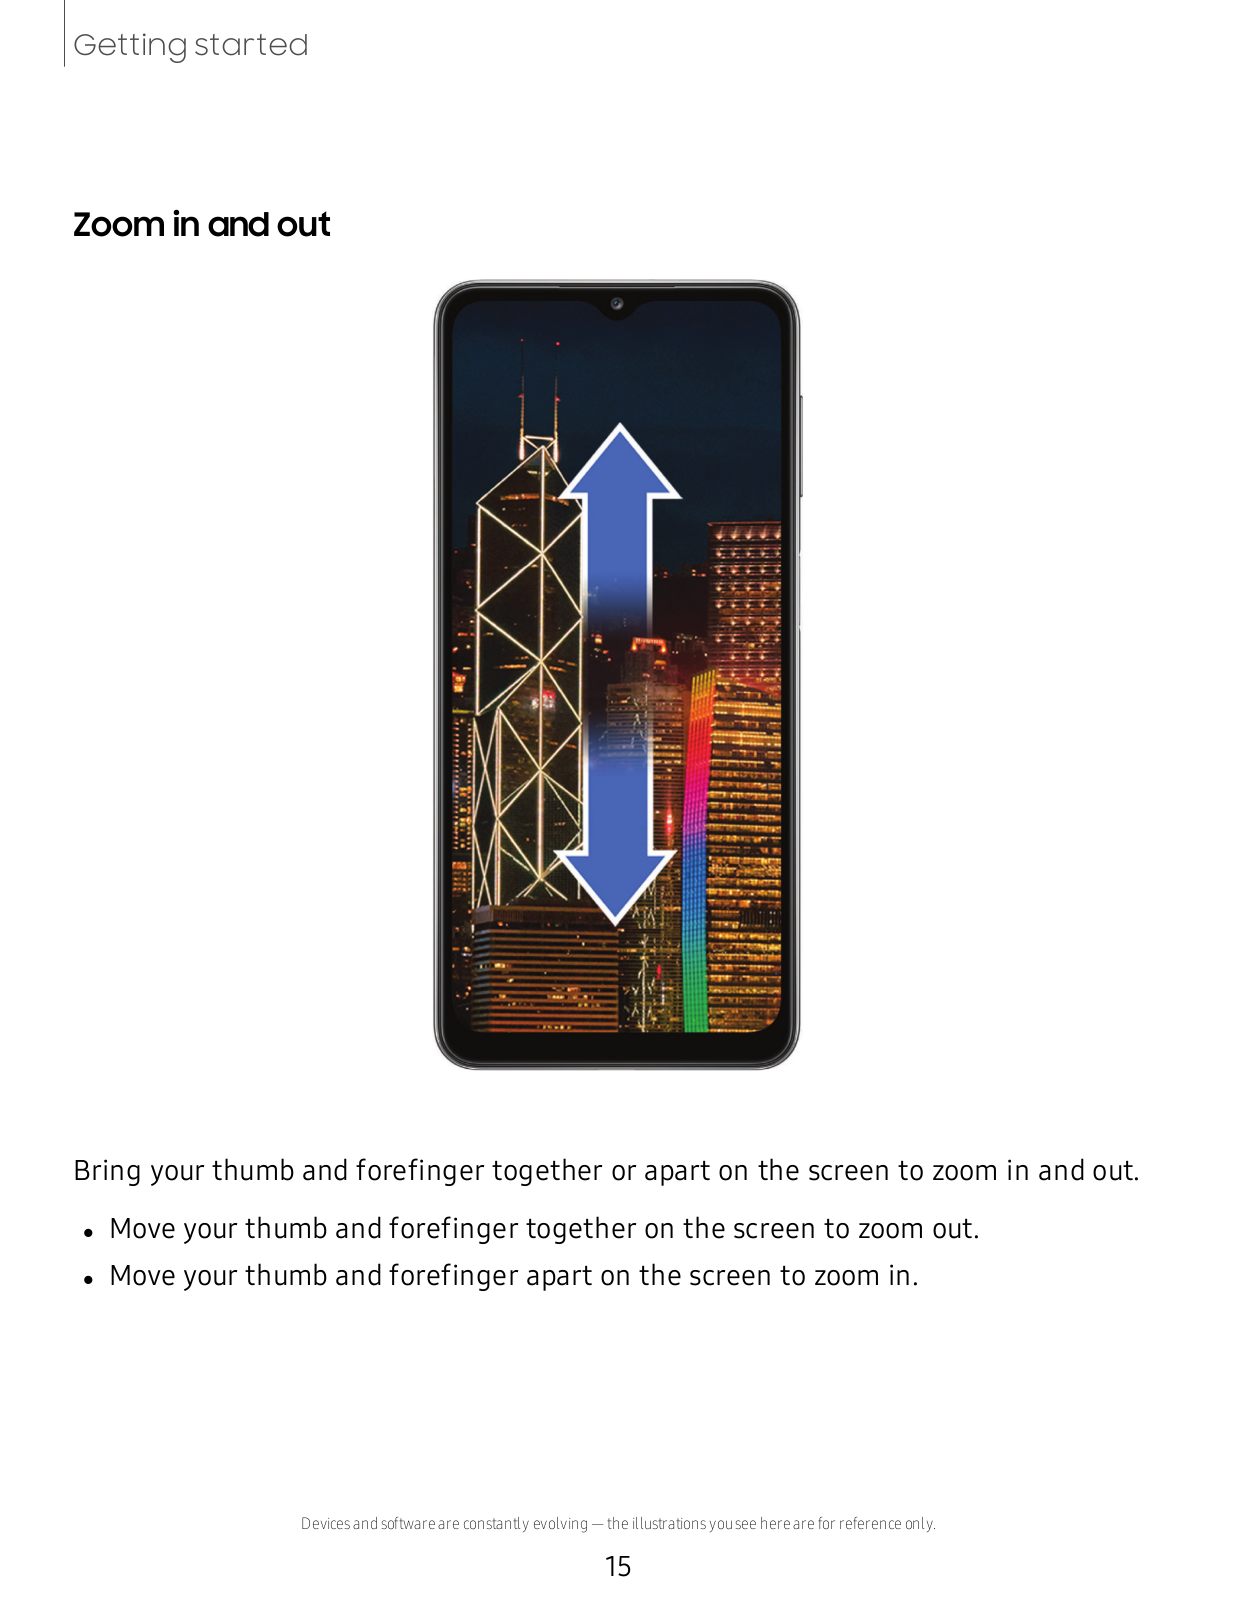
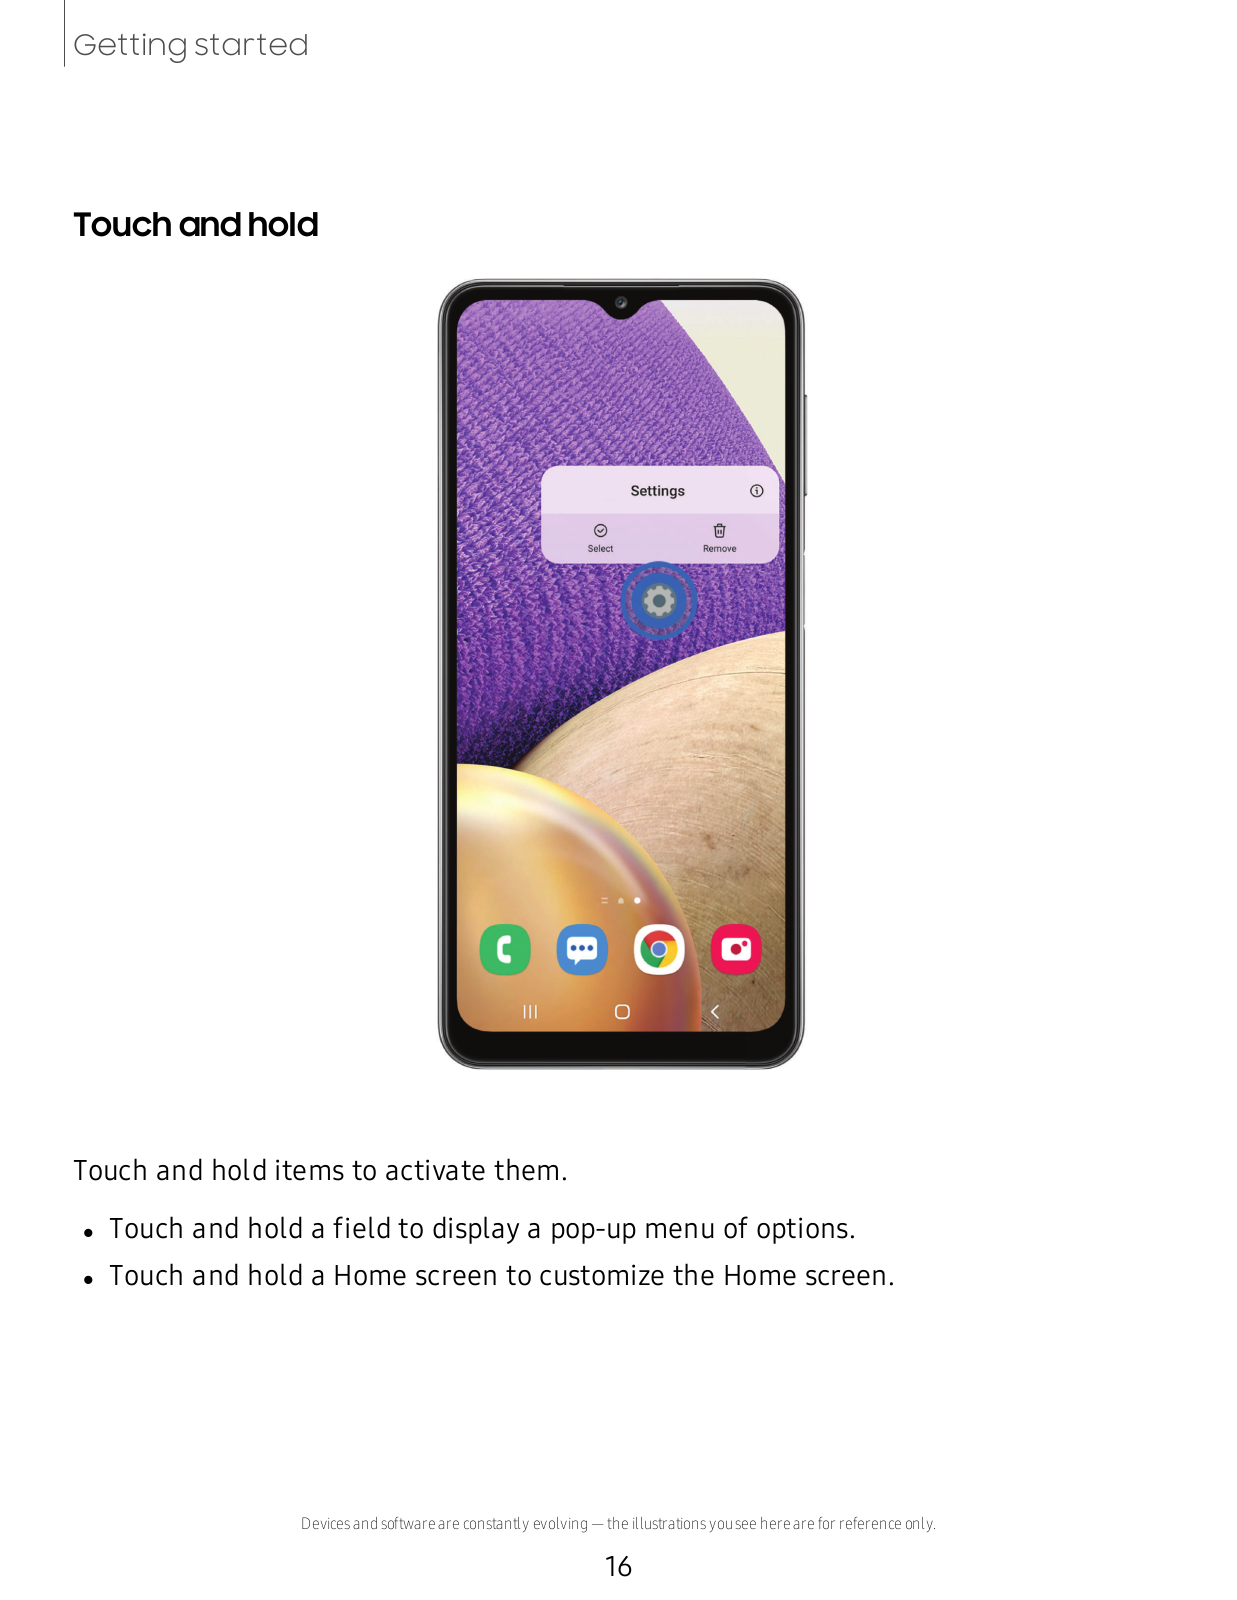
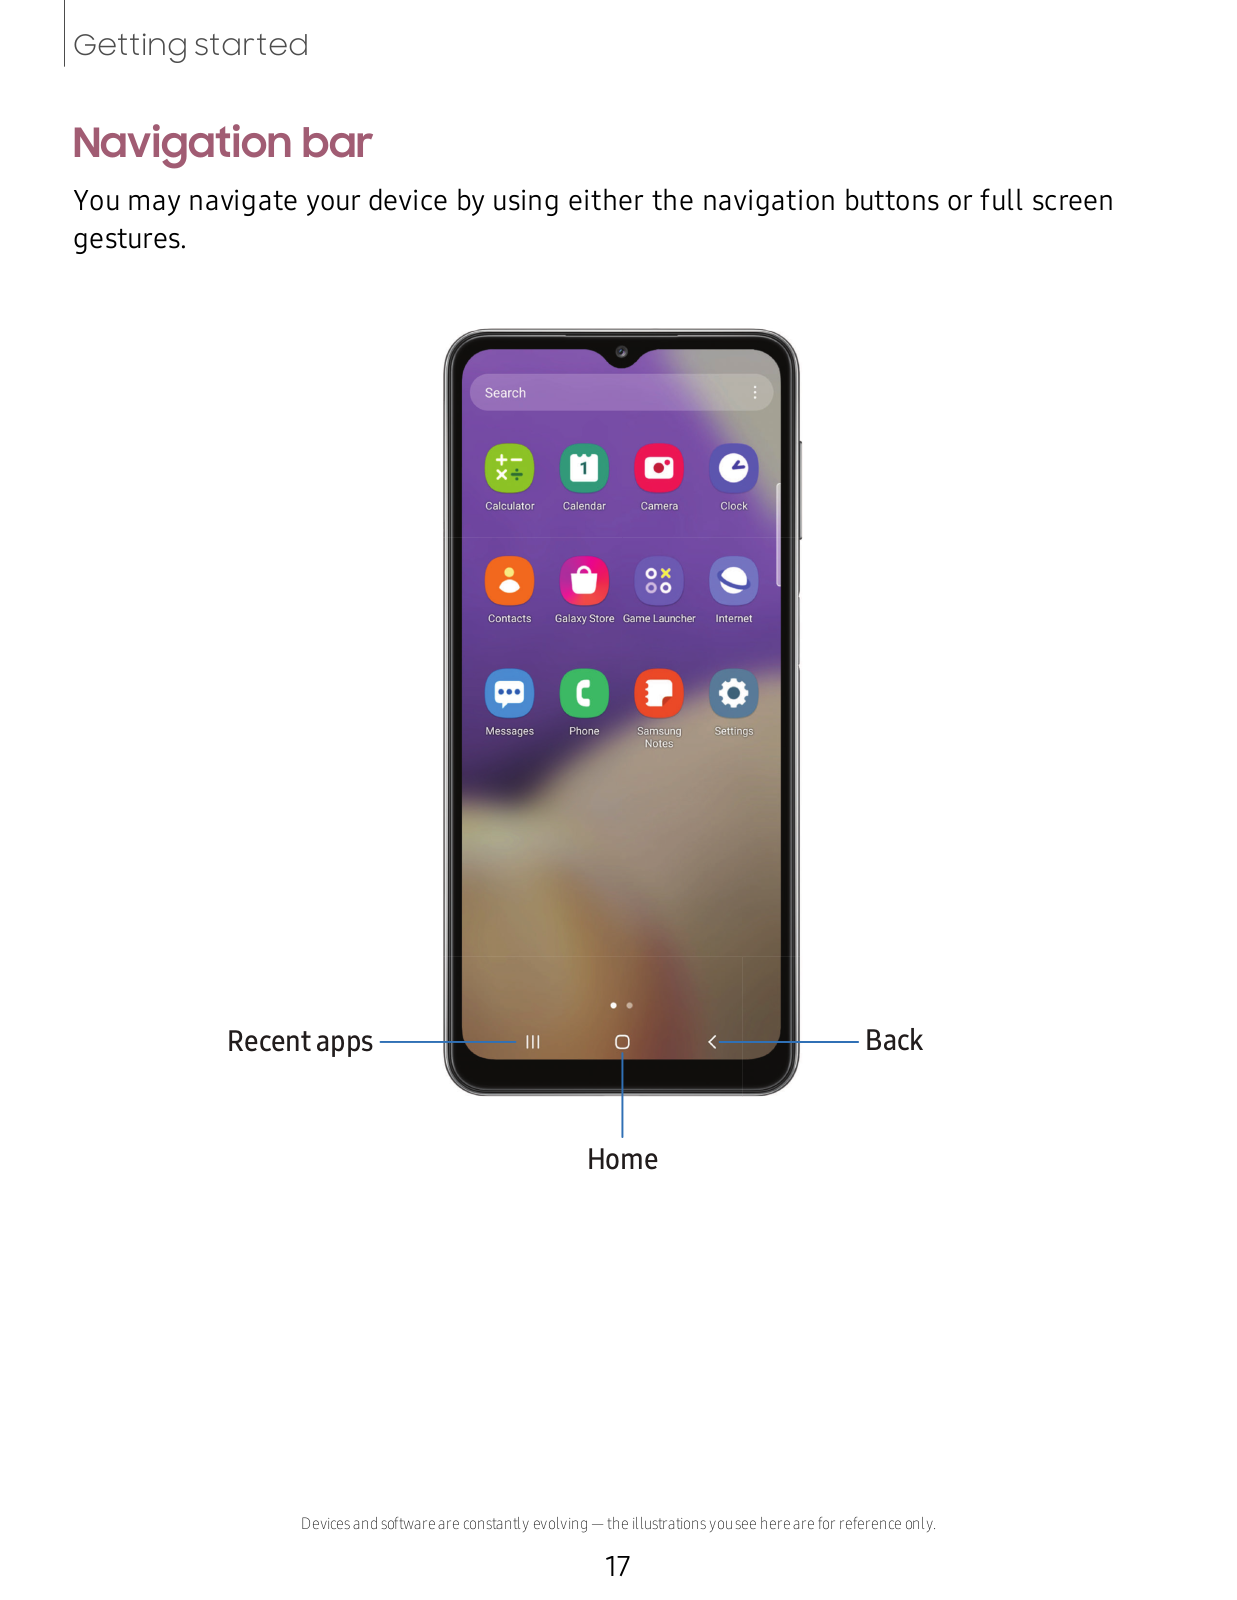
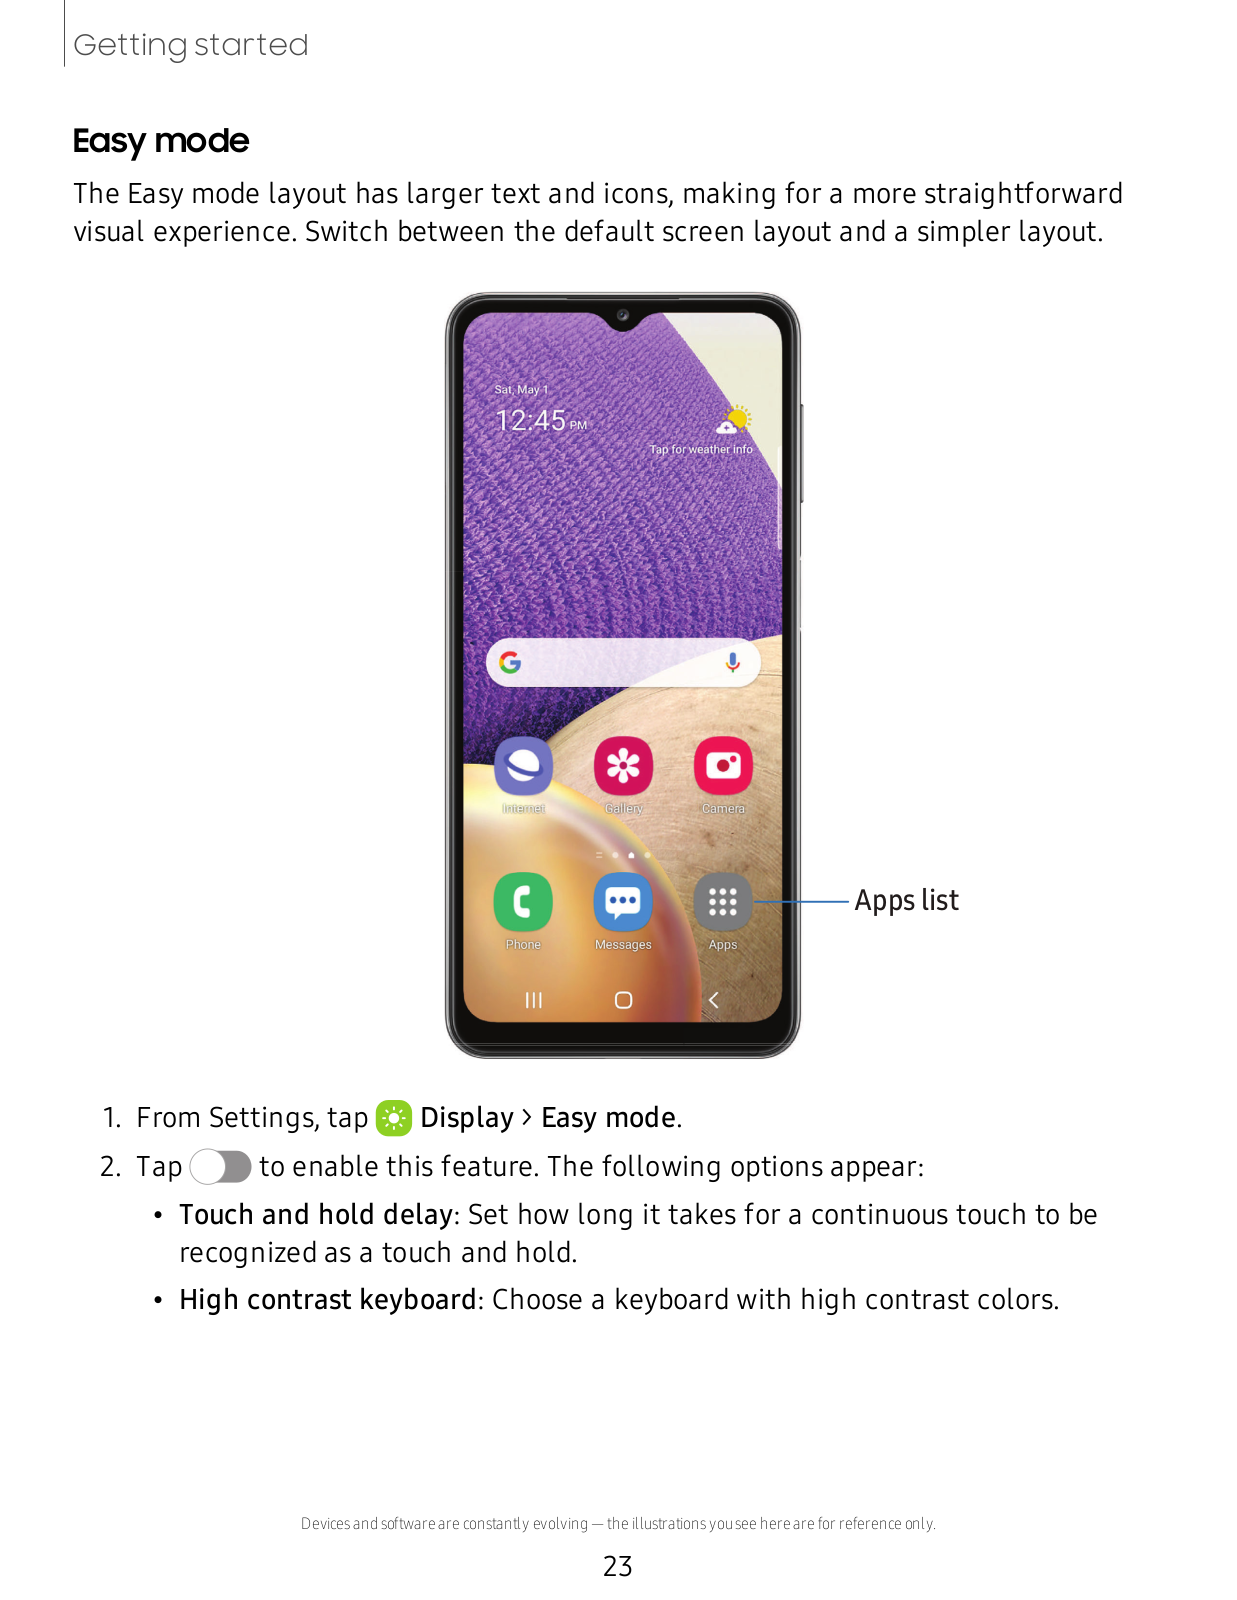
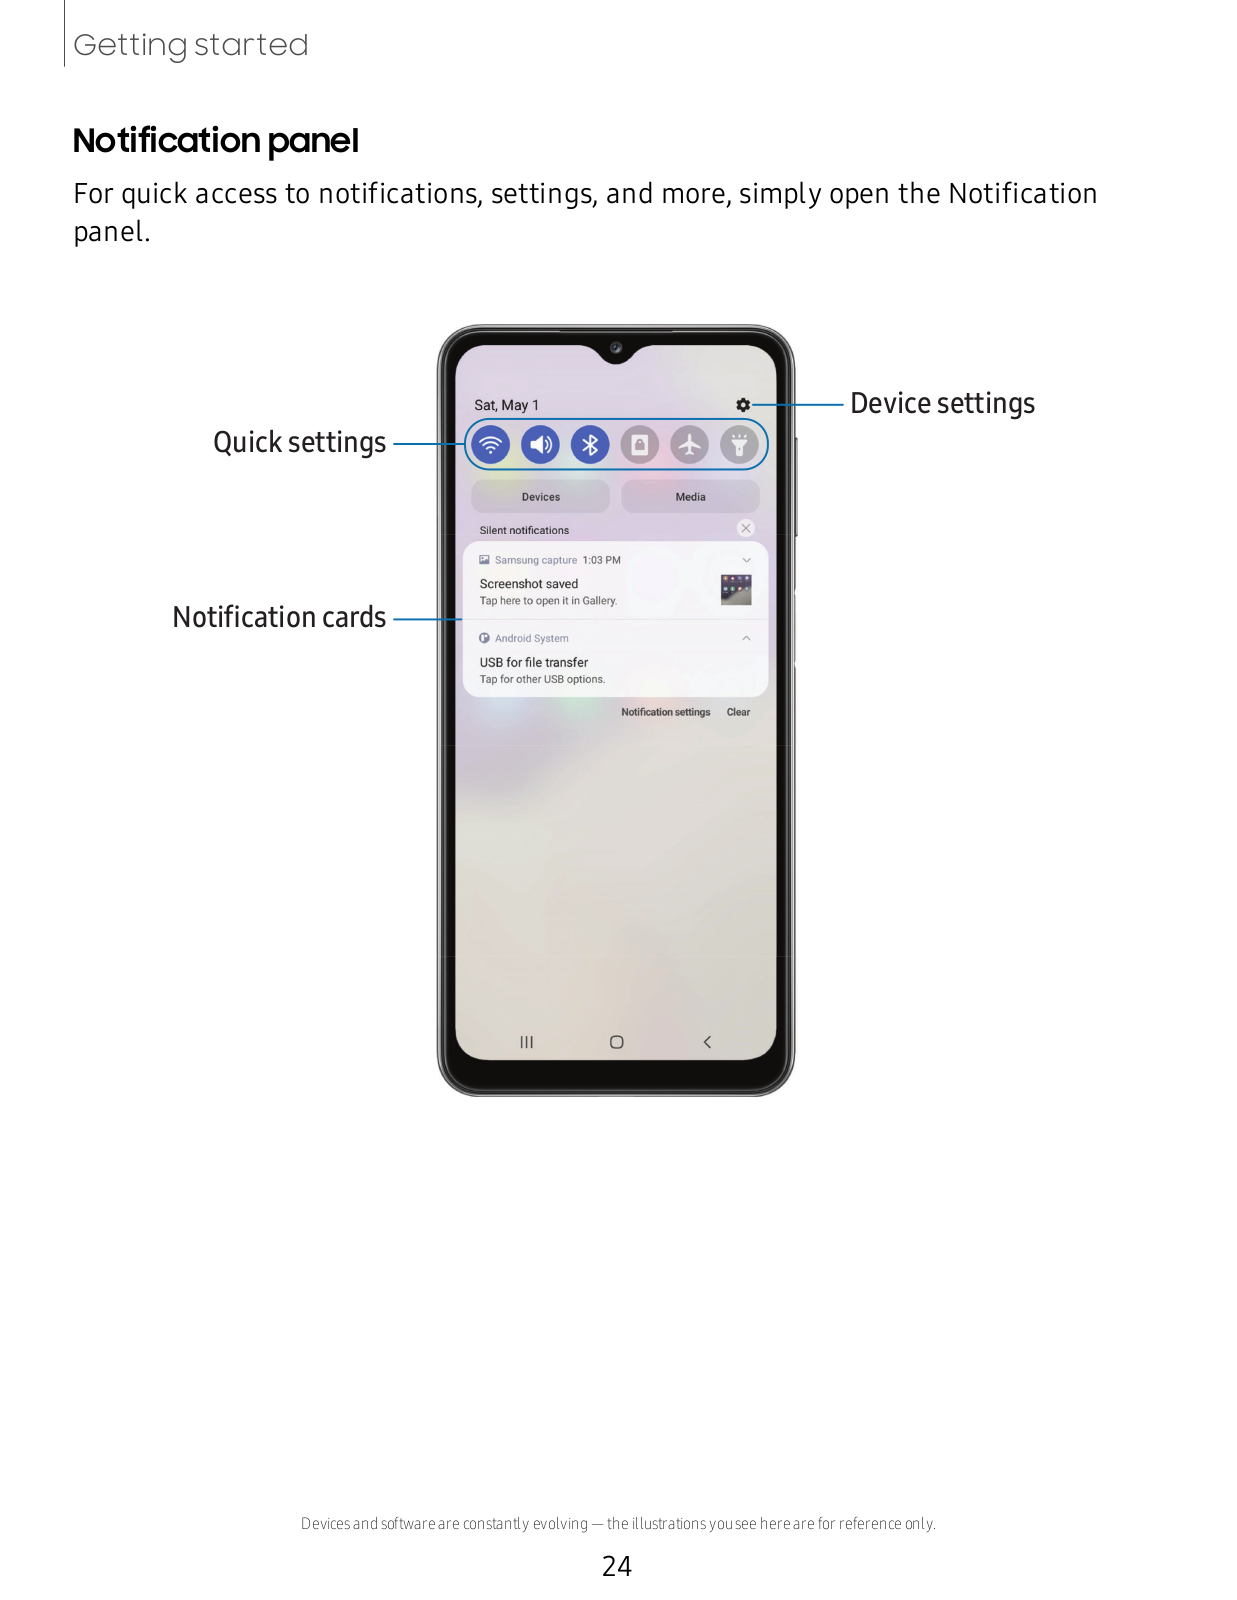
How it Works
Log In / Sign Up
Buy Points
How it Works
FAQ
Contact Us
Questions and Suggestions
Users
Samsung
Loading...
G
G900FD
G910-FS02RU
G920F
G925F
2
G928F
2
G930F
G930T
G950F
G950FD
G955FD
G960F
2
G9730
G973F
G9750
G975F
G977B
2
G980F-DS
GA46UO
2
GA68-60747A
GAAXY STELLAR
GADGET
Gainable MSP
Gainable Slim
Galaly Rugby
Galasy S7
Galaxy
4
Galaxy 10+ 5G
GALAXY 3
3
Galaxy 3 GT-I5801
GALAXY 580
2
Galaxy 5 GT-I5503
2
GALAXY 5 GT-I5503T
2
Galaxy 5 i5503
Galaxy 5 mini
GALAXY 7.0 TAB PLUS GT-P6210
GALAXY 7 TAB PLUS GT-P6210
Galaxy 8
Galaxy A01
3
Galaxy A02s
Galaxy A10
2
Galaxy A10e
3
Galaxy A11
3
Galaxy A12
Galaxy A20
4
Galaxy A20e
Galaxy A20E Weiss
Galaxy A21
2
Galaxy A3
3
Galaxy A30 SCV43
2
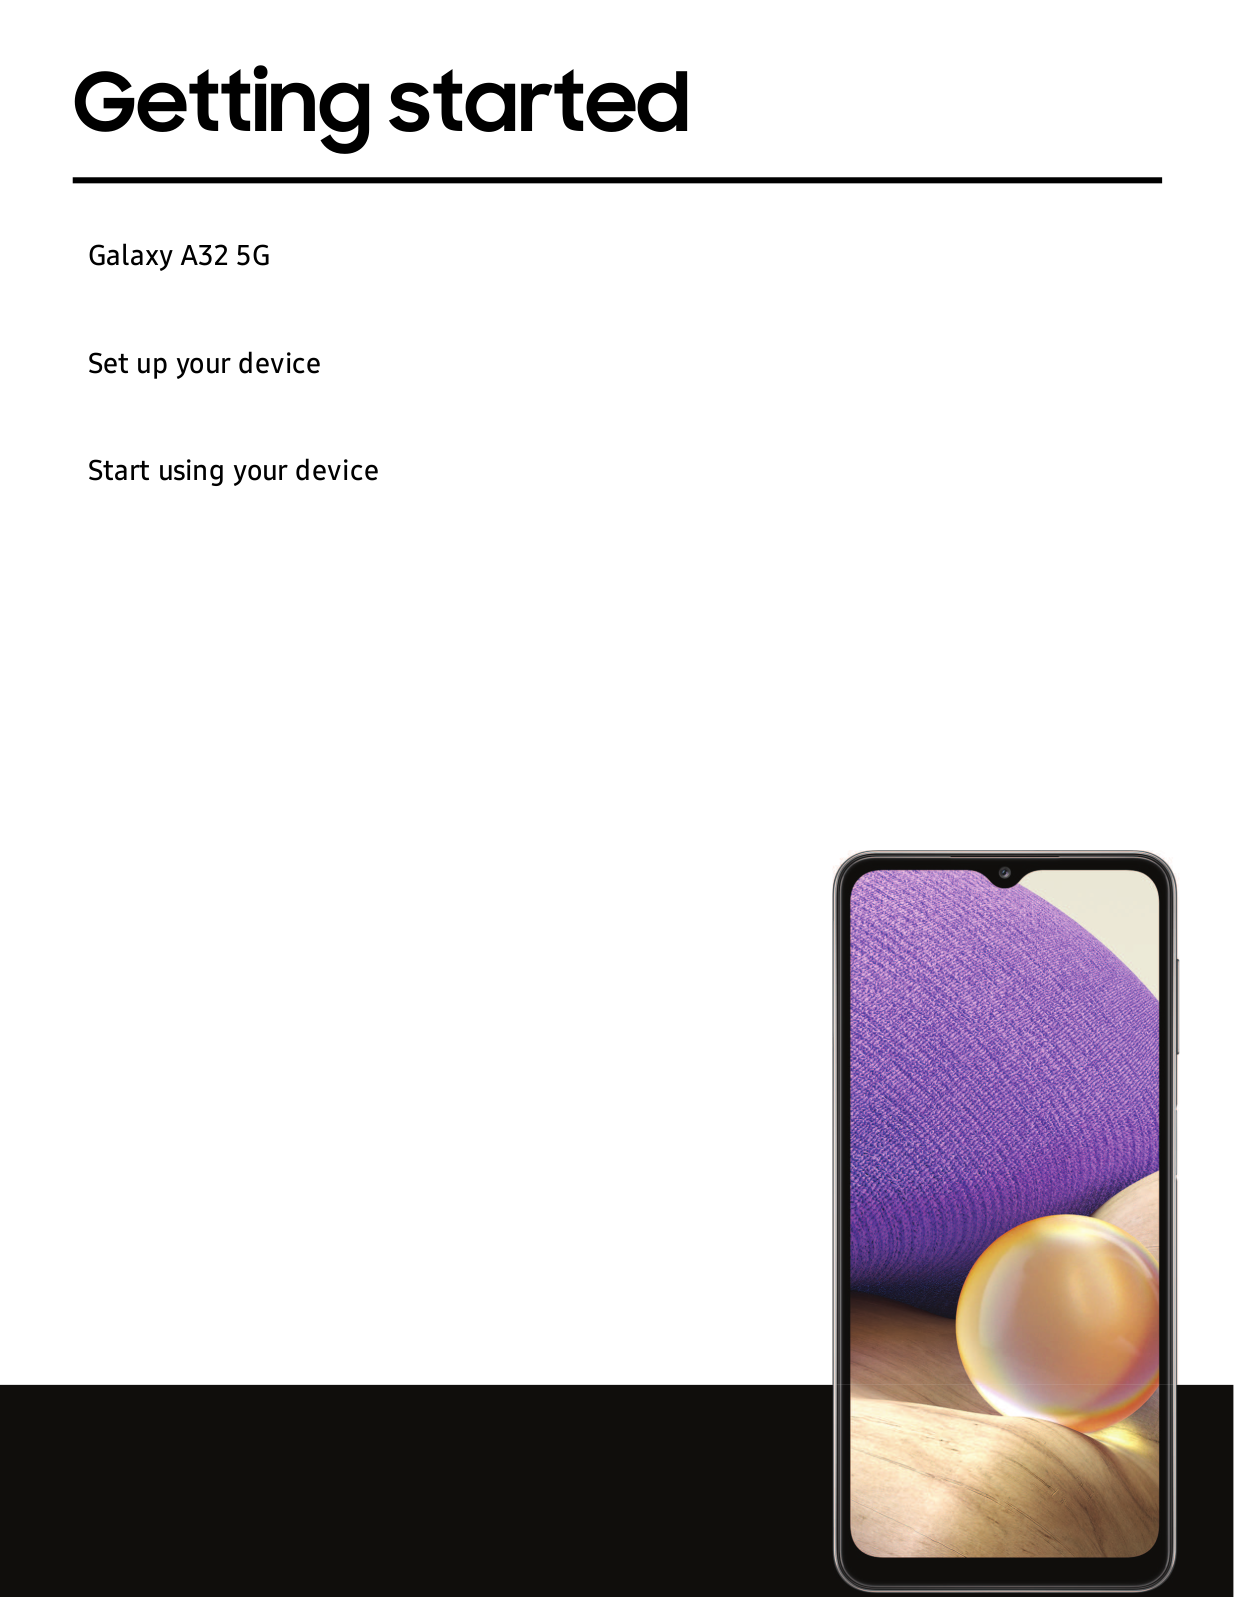
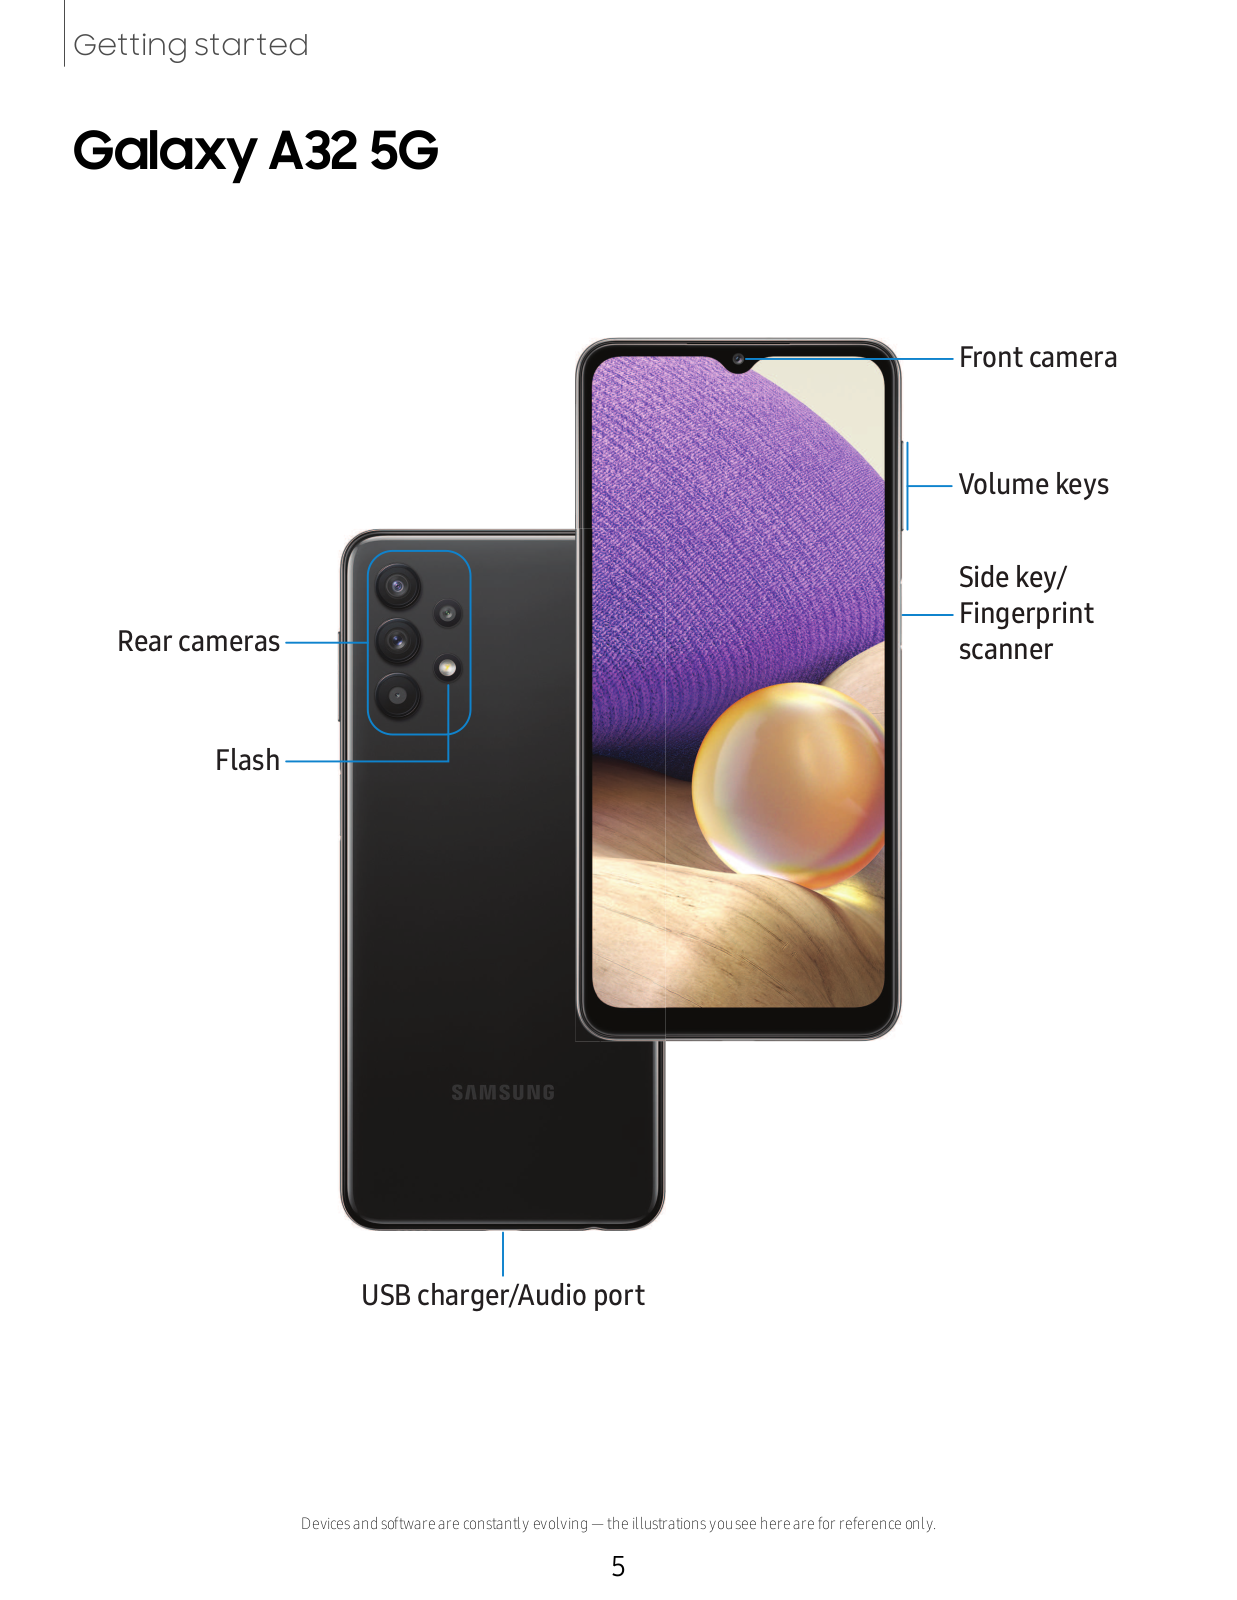
Galaxy A32
Galaxy A40
Galaxy A5
3
Galaxy A50
3
Galaxy A50 Blauw
Galaxy A50 Blue
Galaxy A50 Enterprise Editie
Galaxy A51
5
Galaxy A51 5G
Galaxy A51 Blauw
Galaxy A52 5G
Galaxy A6
2
Galaxy A6 (2018) Paars
Galaxy A7
Galaxy A70
7
Galaxy A71
6
Galaxy A71 5G
Galaxy A80
Galaxy A80 Zwart
Galaxy A8 2016
Galaxy A90
Galaxy A9 Pro
Galaxy Ace
5
Galaxy Ace 2
GALAXY ACE 2 GT-I8160
2
GALAXY ACE 2 LAFLEUR
GALAXY Ace 3
4
GALAXY ACE 3 4G
GALAXY ACE 3 GT-S7275B
Galaxy Ace 4
2
Galaxy Ace II e
2
GALAXY ACE LAFLEUR
Galaxy Ace Plus
GALAXY ACE PLUS GT-S7500
2
GALAXY ACE Q SGH-I827D
Galaxy Ace Style
2
GALAXY ACTIVE NEO SC-01H
Galaxy Admire 2 SCH-R830C
Galaxy Admire 4G
Galaxy Alpha
8
Galaxy Amp 2
2
Galaxy Amp prime
Galaxy Amp Prime 2
Galaxy Amp Prime 3
2
GALAXY APOLLO GT-I5800
2
Galaxy Appeal
4
Galaxy Avant
2
Galaxy Axiom
2
Galaxy Book
9
Galaxy Book 12
Galaxy S20 Ultra
Loading...
Loading...
Nothing found
Galaxy A32
User Manual
159 pgs
9.75 Mb
0
Table of contents
Loading...
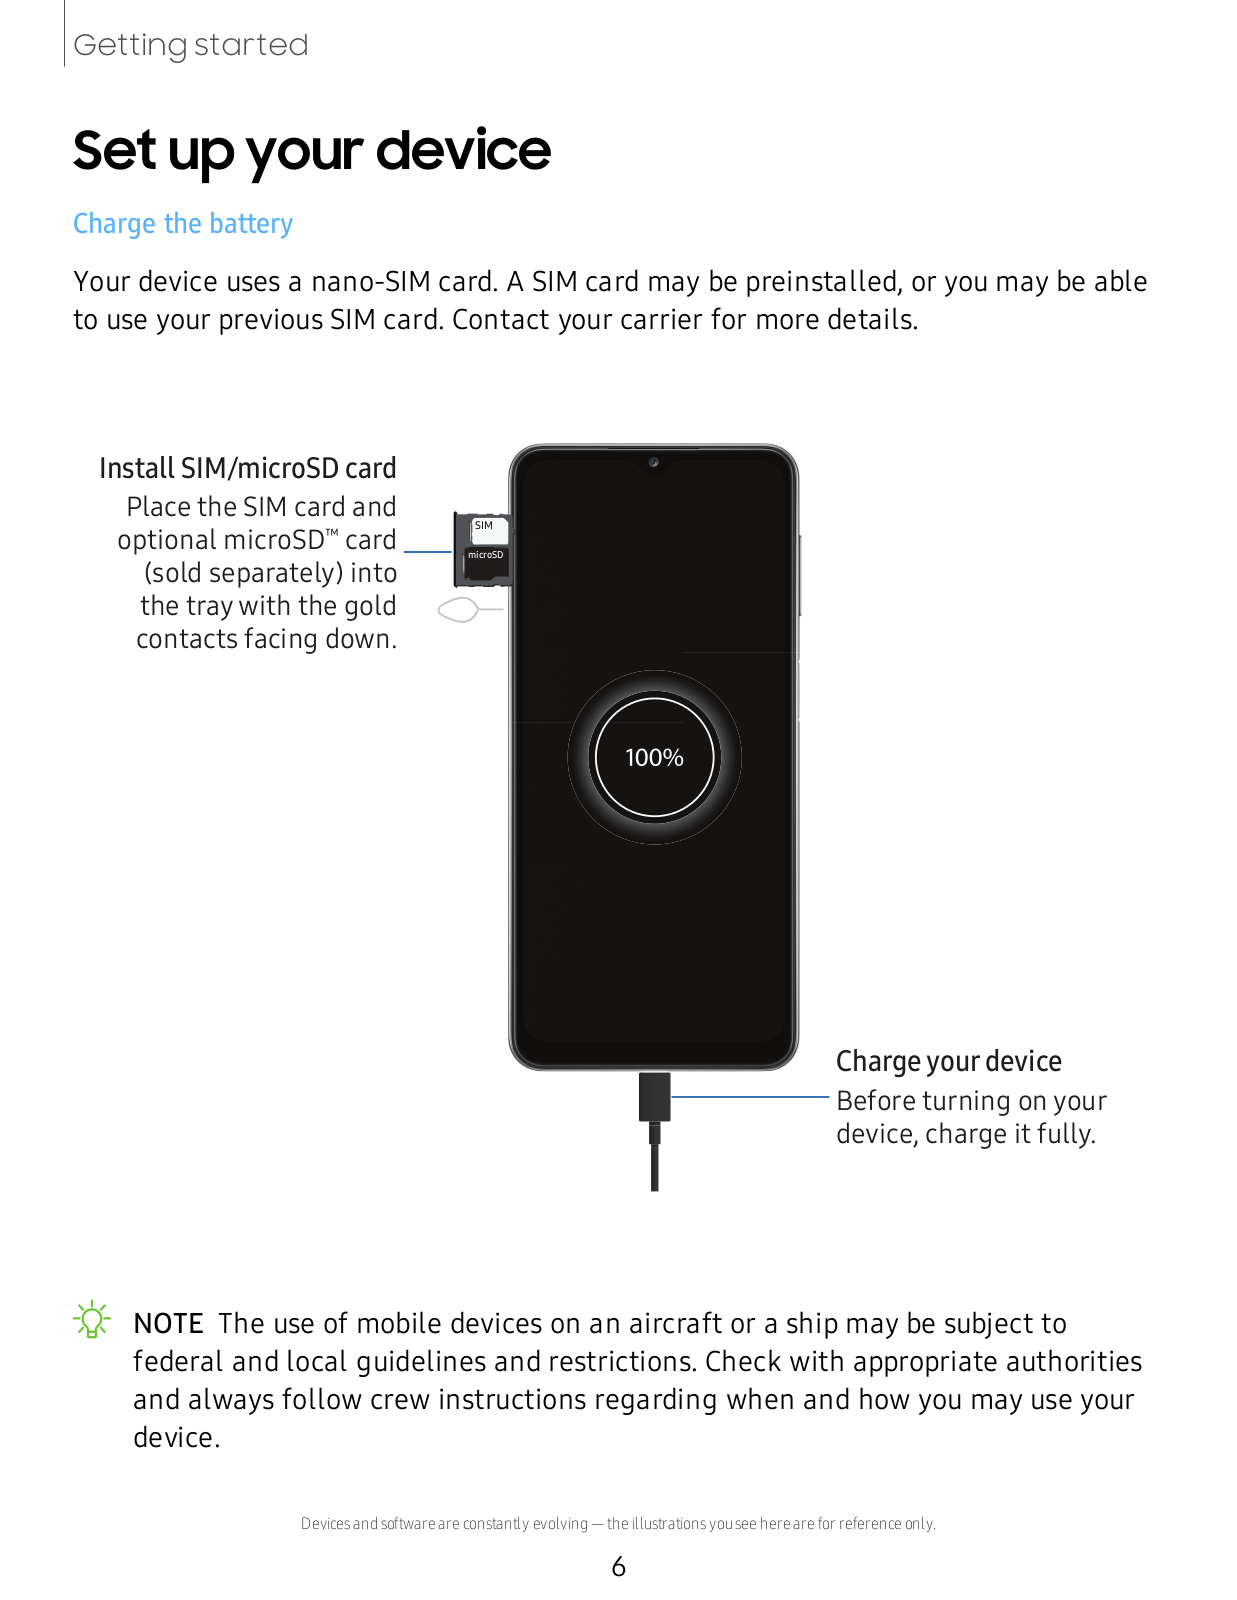
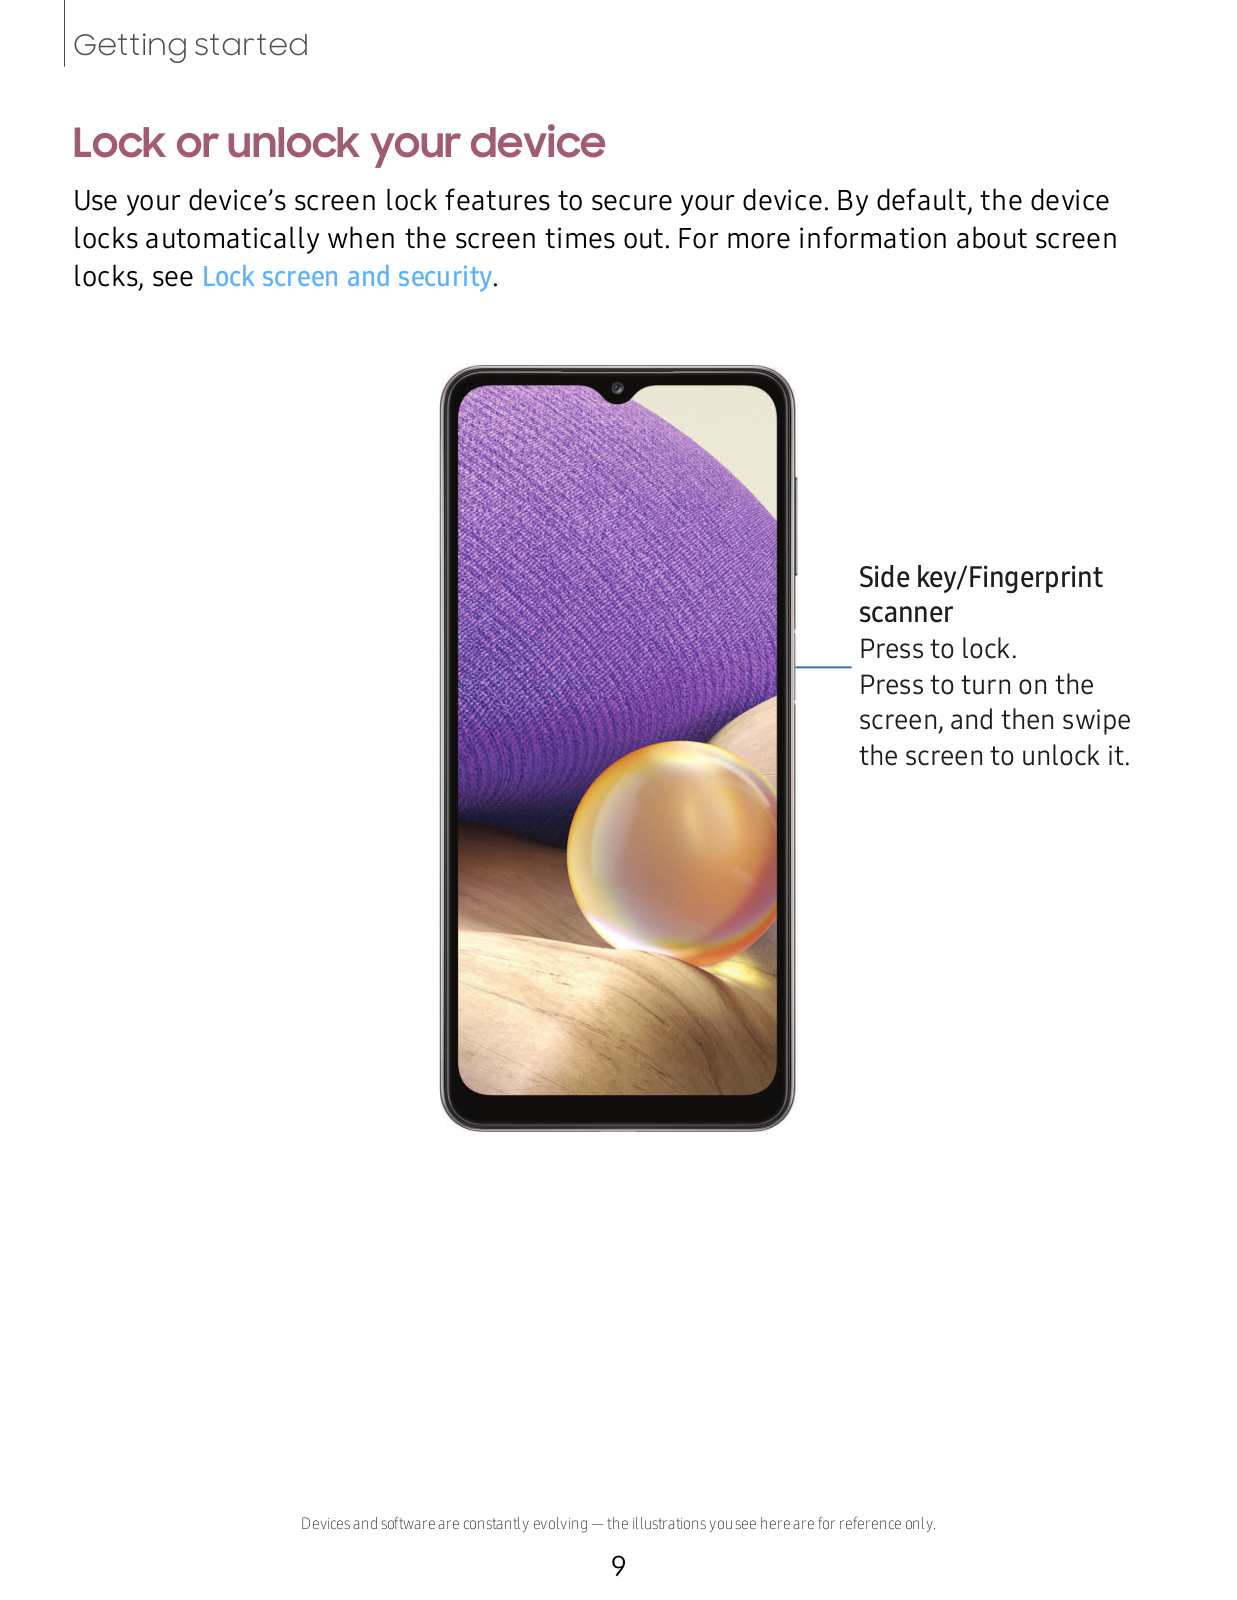
Samsung Galaxy A32 User Manual
...
Samsung User Manual
Download
Specifications and Main Features
Frequently Asked Questions
User Manual
Download
Loading...
+
129
hidden pages
Unhide
You need points to download manuals.
1 point = 1 manual.
You can buy points or you can get point for every manual you upload.
Buy points
Upload your manuals
 Loading...